Print Options:

Sound cans – Build instruments yourself

Material for1 ChildPrep Time10 min.Adv. Time10 min.Total Time20 min.

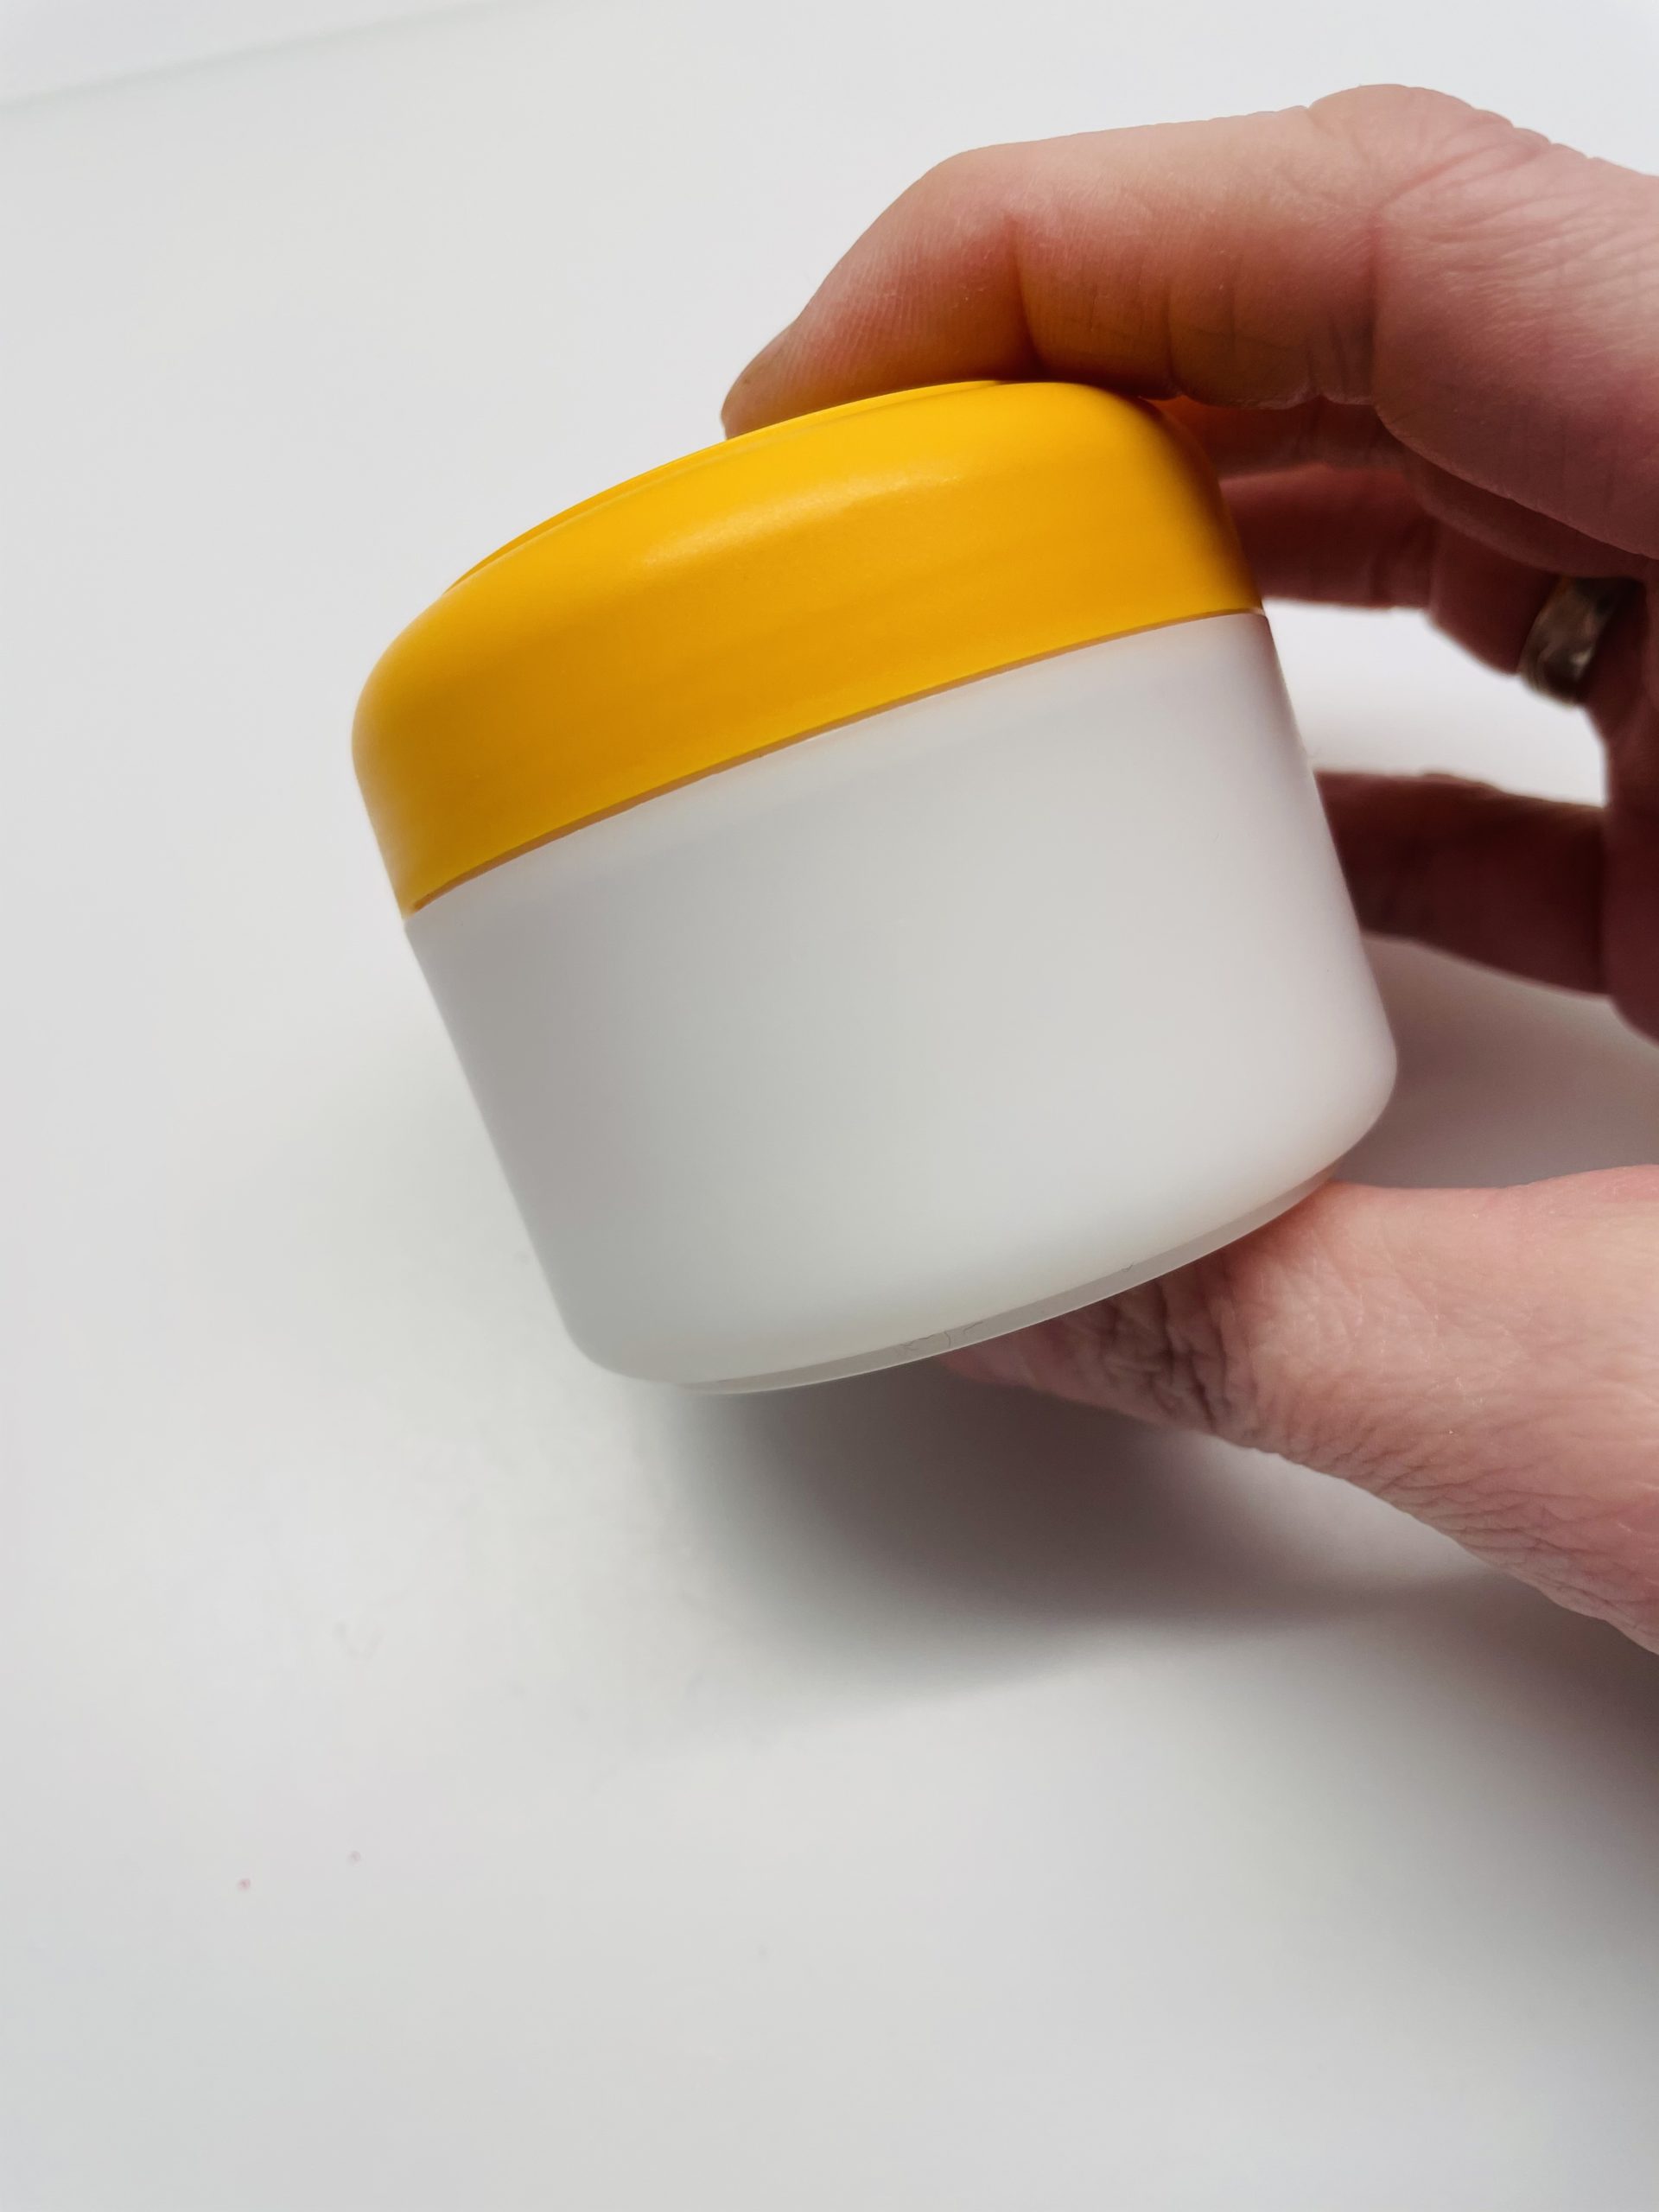
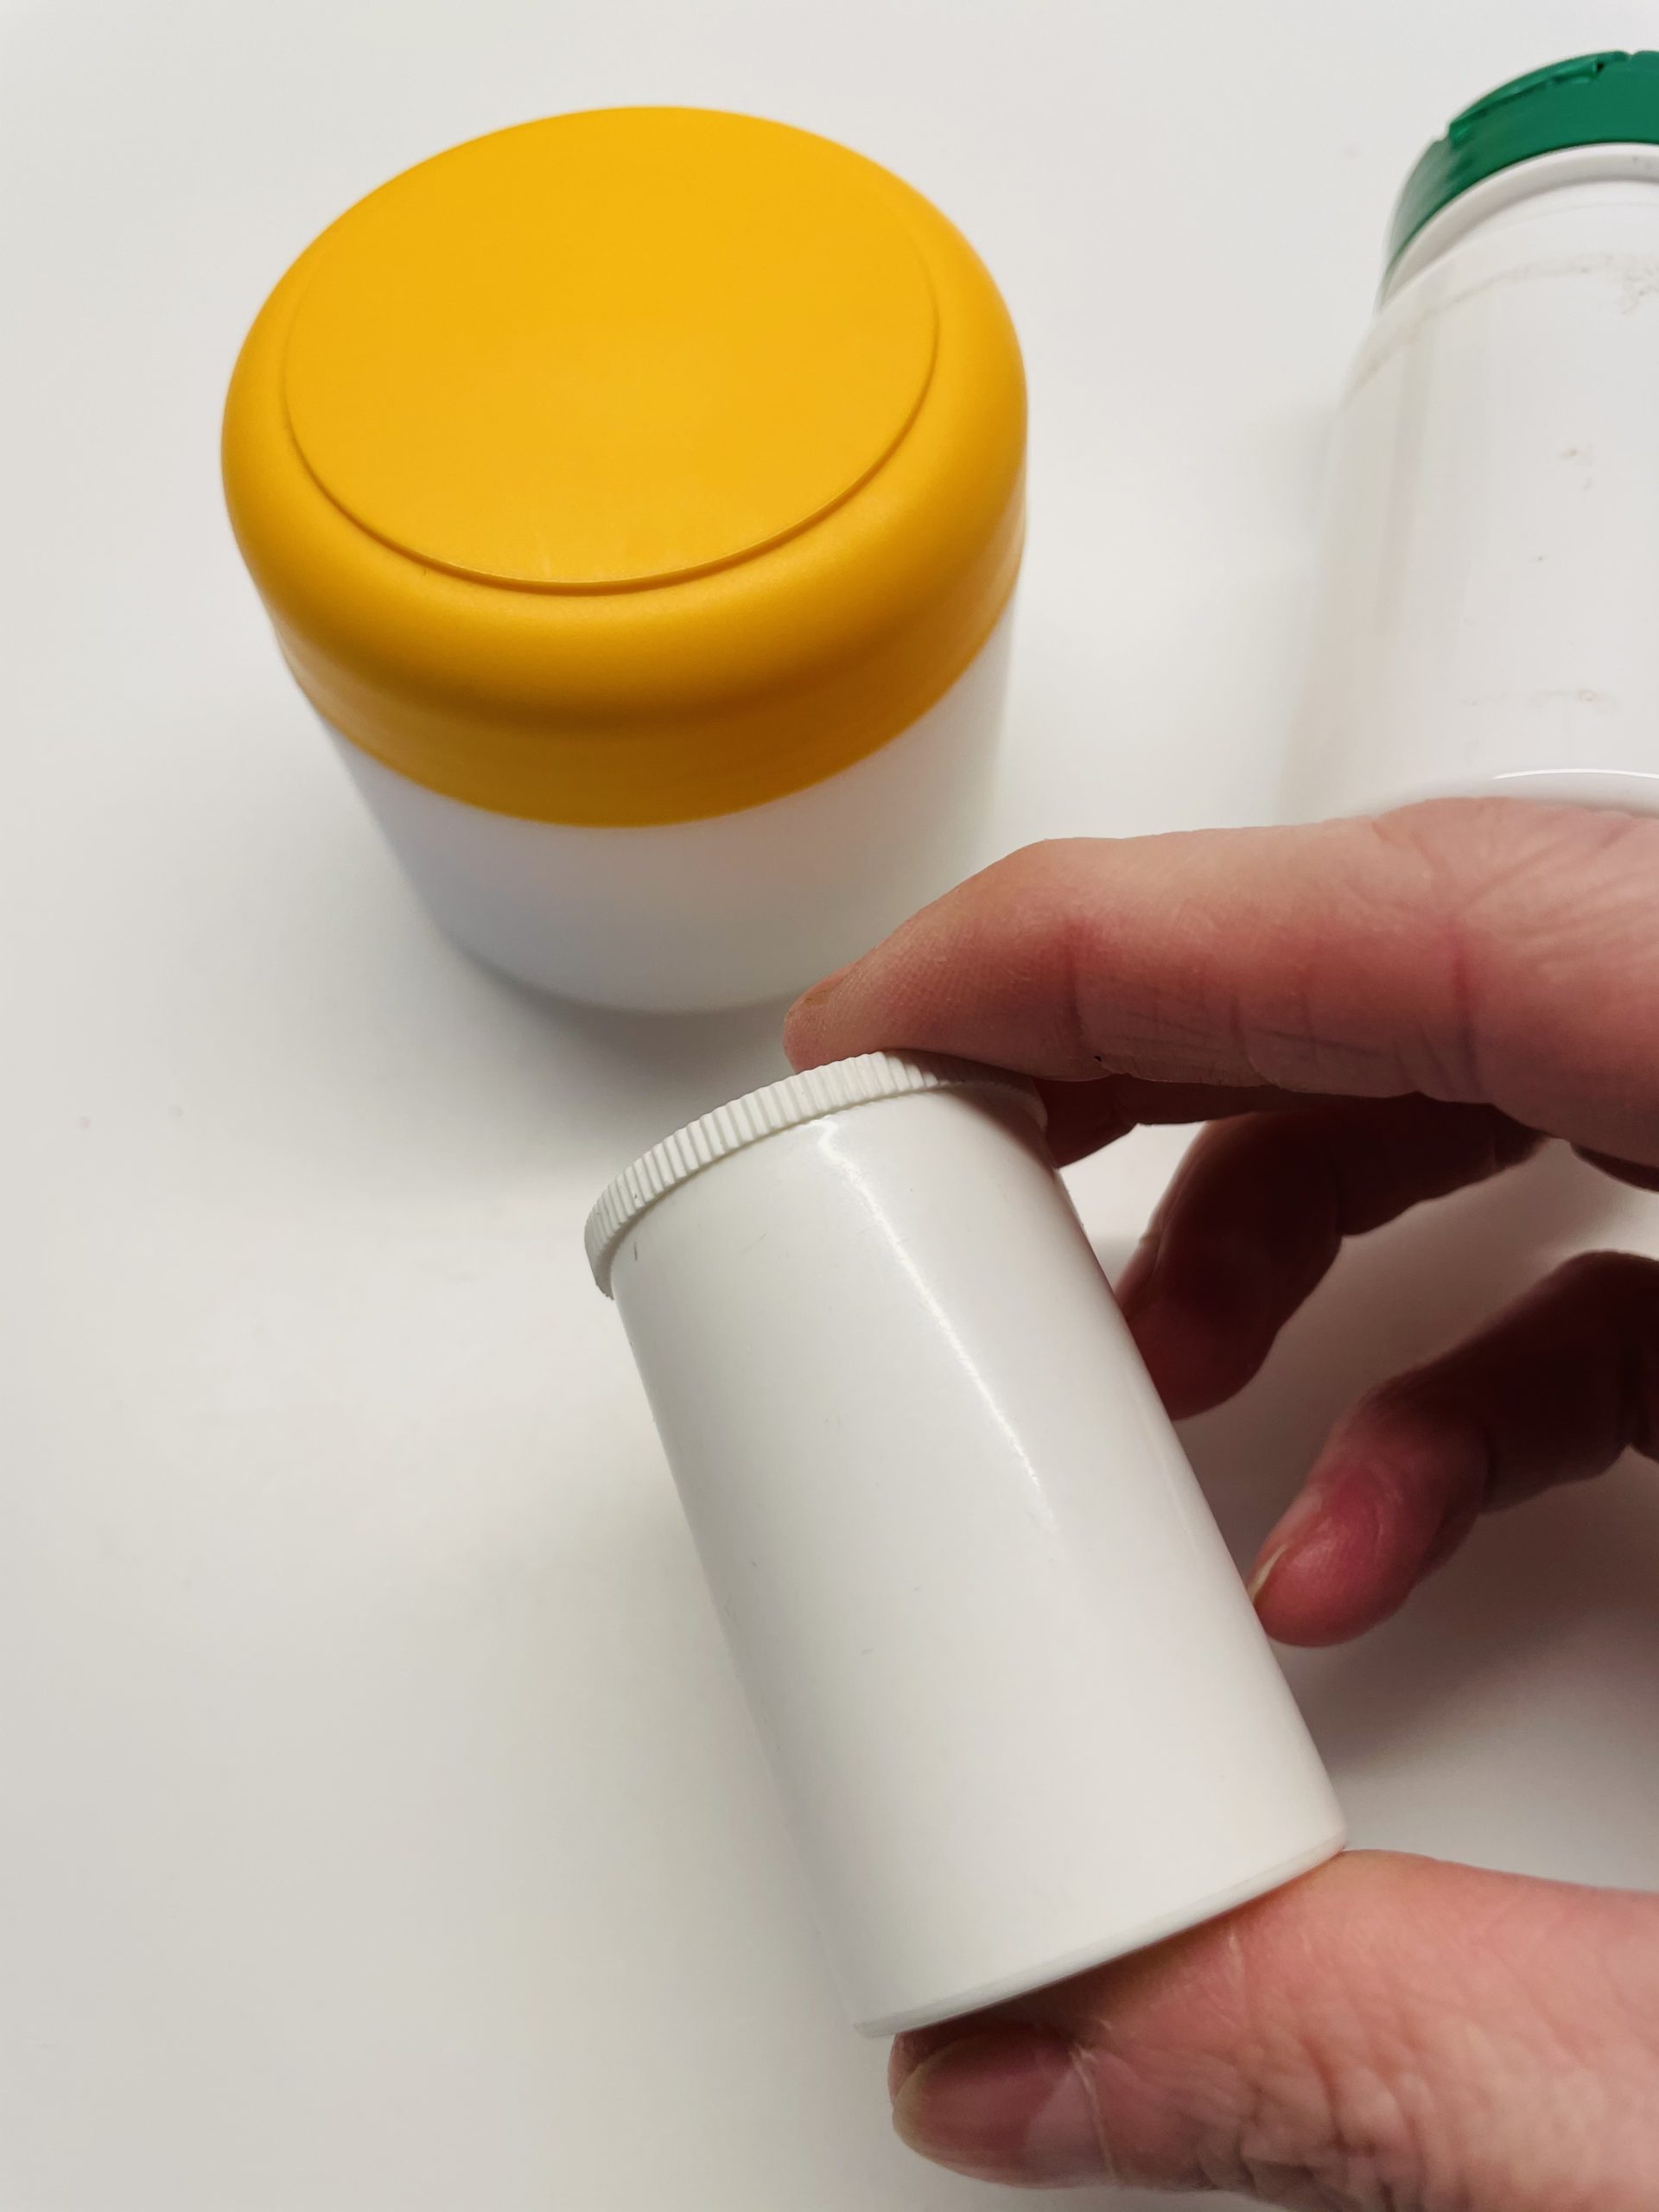
Building musical instruments on your own fascinates many children. In addition, this awakens the spirit of discovery and also makes fun. Promote the creativity of your children as well as the perception by simply looking for a few empty cans with well-closing lids. There are no limits here: from cream cans to medicine cans, from chewing gum cans to film cans.
If you make the cans for smaller children or with crib children, make sure that the children can grab the cans with their fingers.

Titelbild zur Bastel- und DIY-Idee für Kinder '(650) Geräusch-Dosen – Instrumente selbst bauen'

 3 empty cans of different sizeswith well-closing lid
 Hot glue gun
 Felt pins
Per can 1 filling material: e.g.
 Rice
 Lenses
 Gries
 Sugar
 Peas
 Peas
 Sand
 Builder's pad
All links marked with a shopping cart lead to Amazon - here we have selected products that we would order ourselves and in part also ordered. In a qualified purchase via the advertising link, we as Amazon partner receive a commission, for you there are no costs. You thus support our cost- and advertising banner-free, educational offer.
1

Find three cans (it can also be more or less!). These should be clean and dry. Then lay out a craft file.
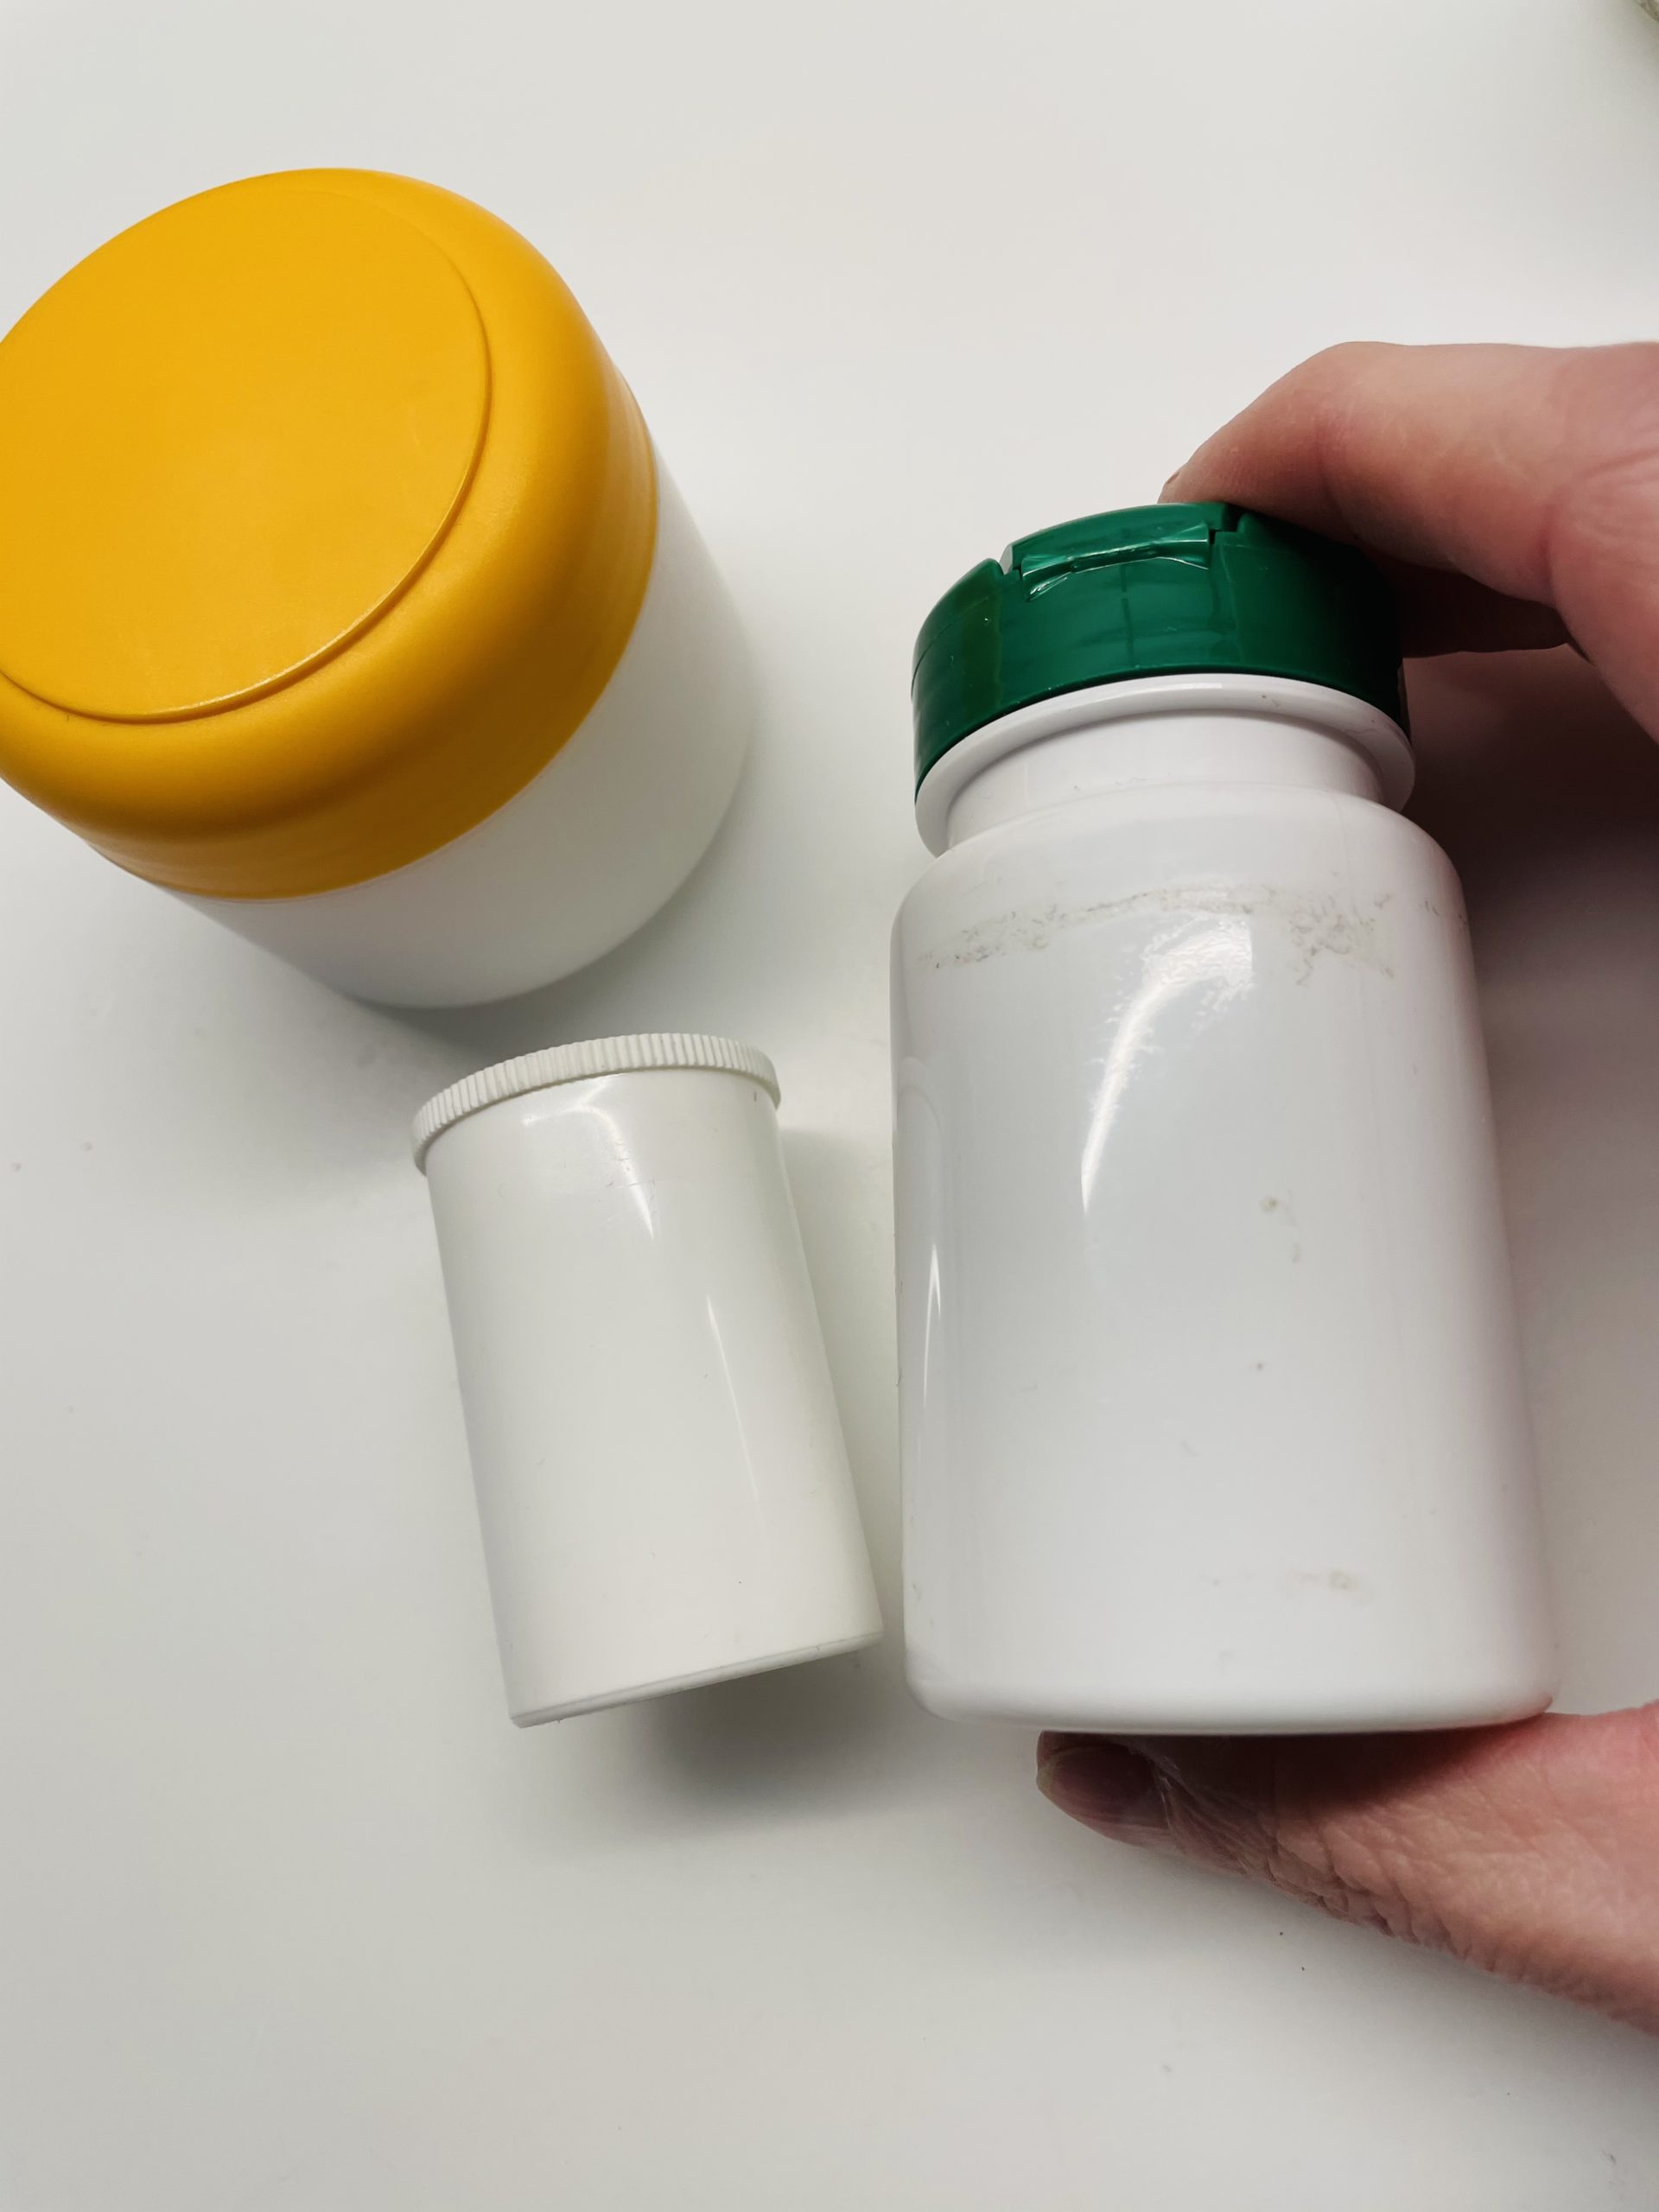
Bild zum Schritt 1 für das Bastel- und DIY-Abenteuer für Kinder: 'Sucht euch drei Dosen (es können auch mehr oder weniger...'

2

Find a different filling material for each can. So you get different sounds or sounds.
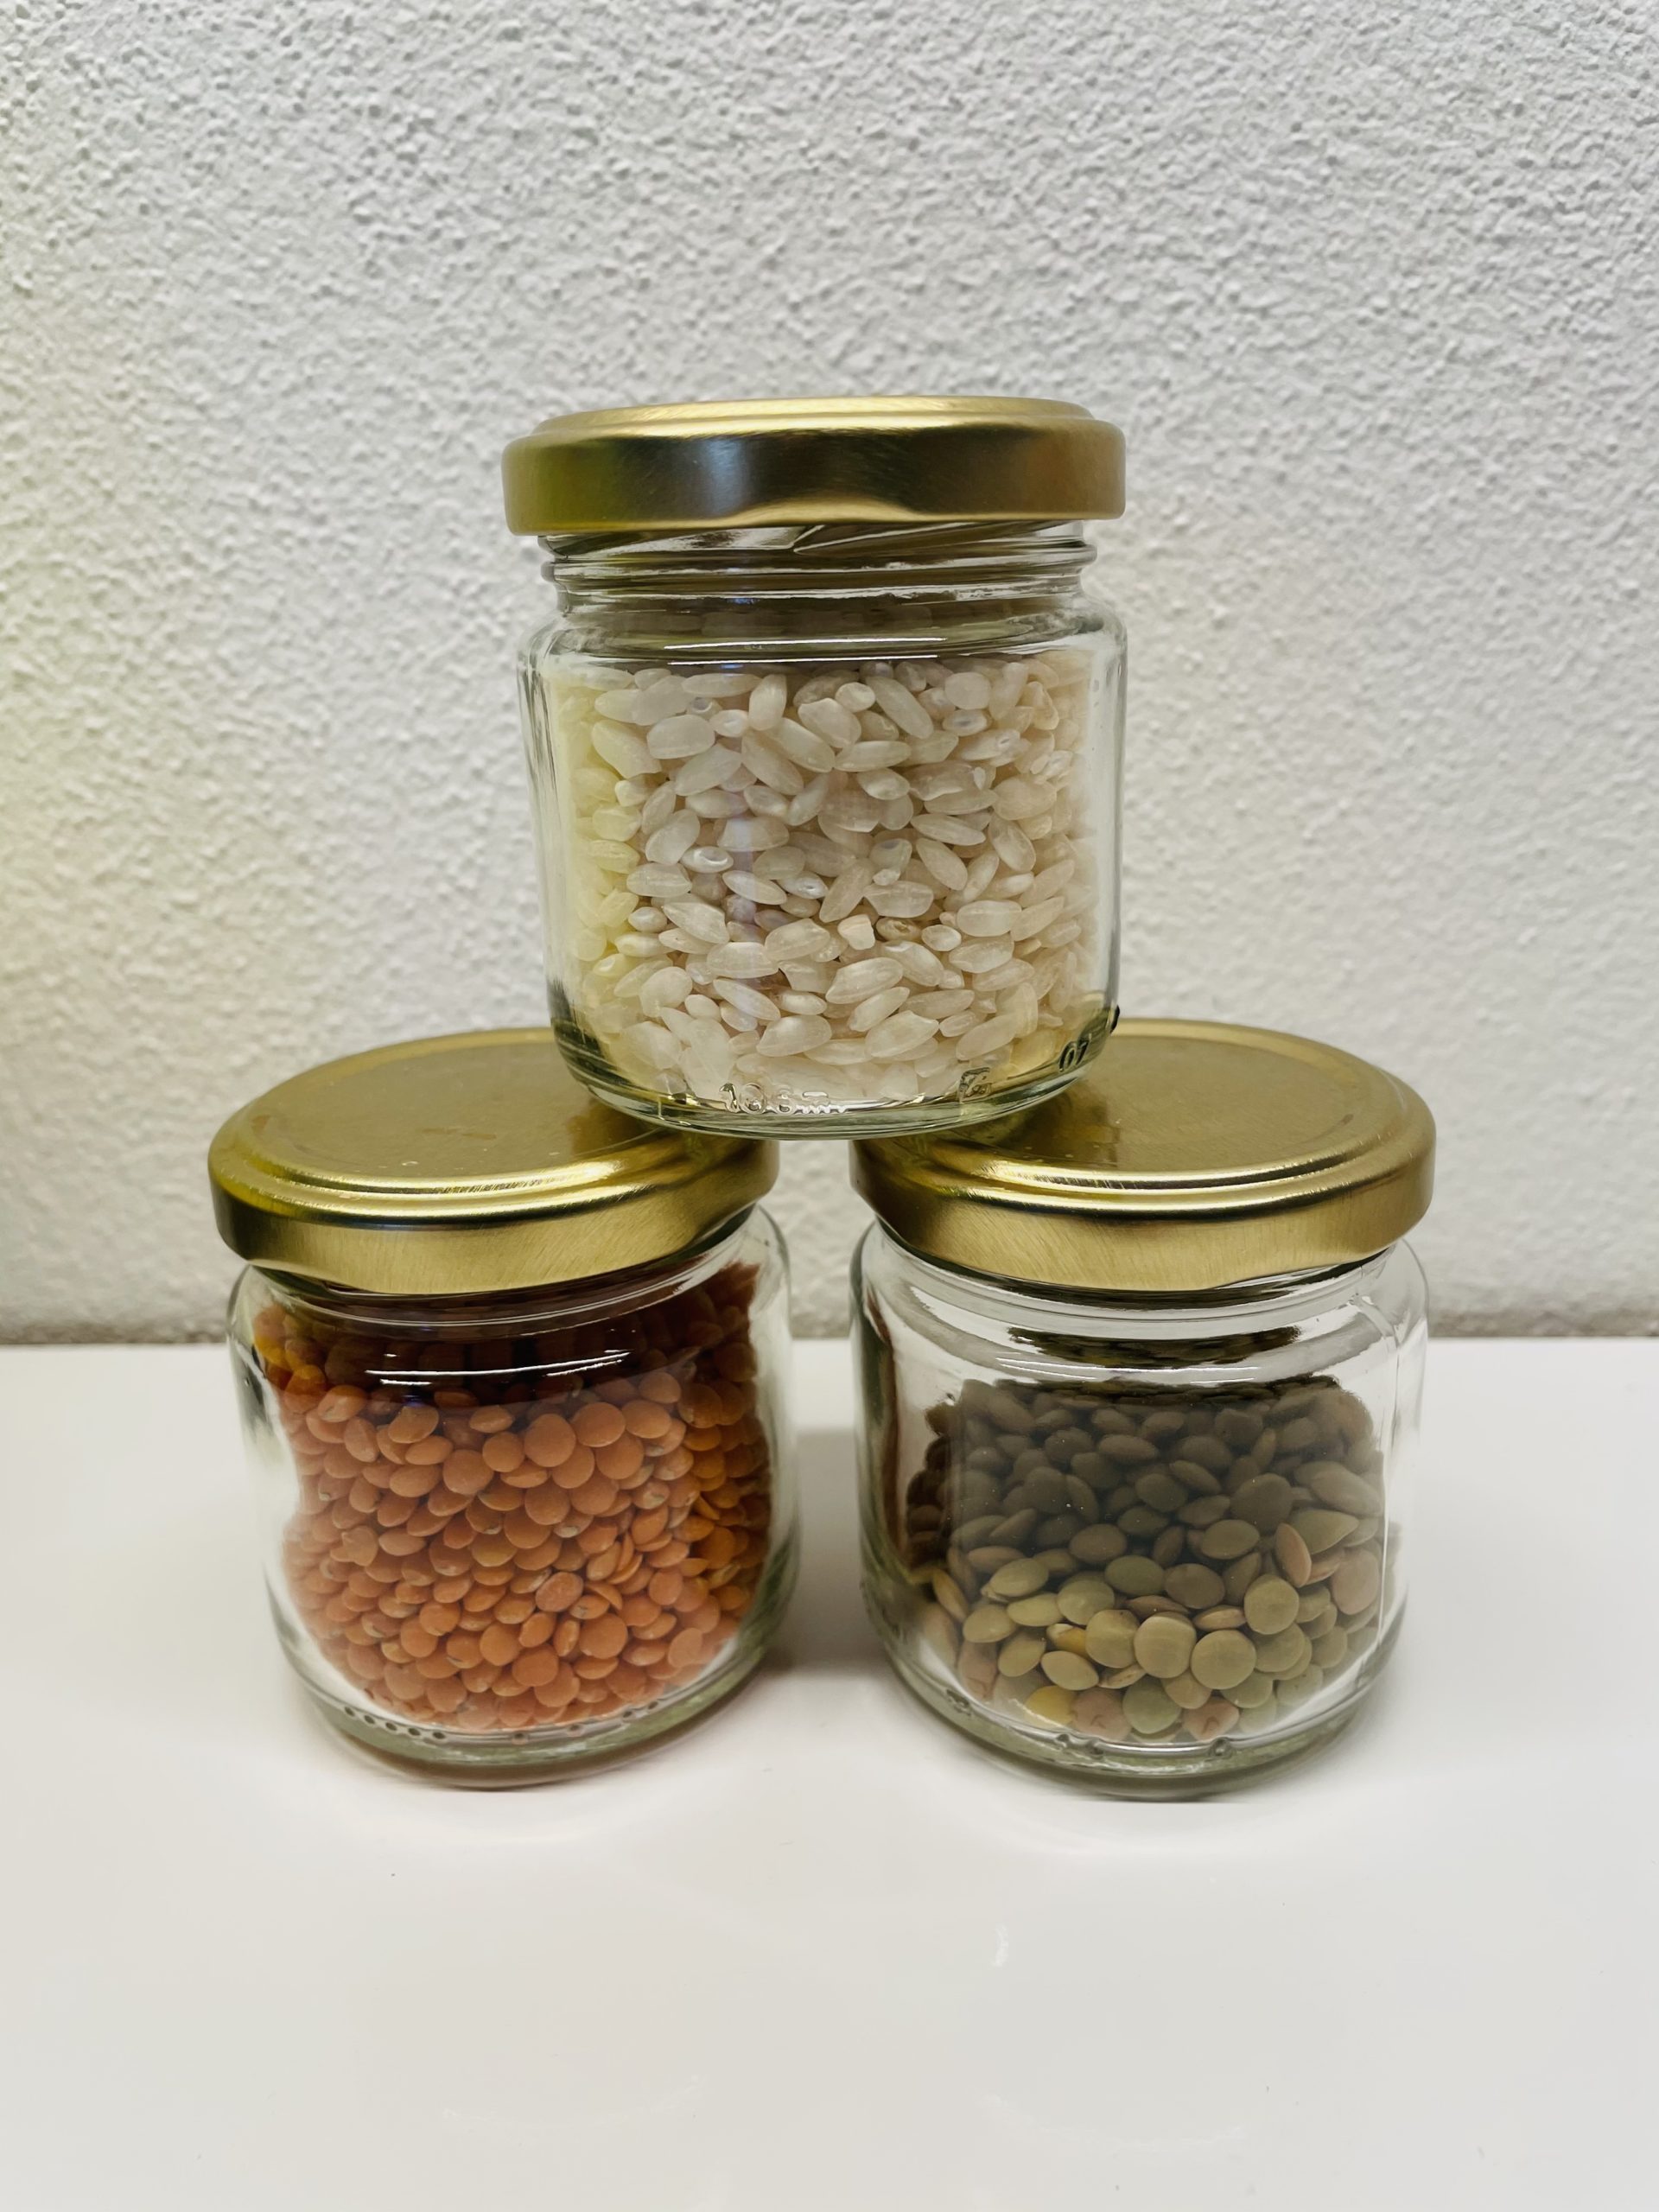
Bild zum Schritt 2 für das Bastel- und DIY-Abenteuer für Kinder: 'Sucht euch für jede Dose ein anderes Füllmaterial. So erhaltet...'

3

Open the first can and select the first filling material.
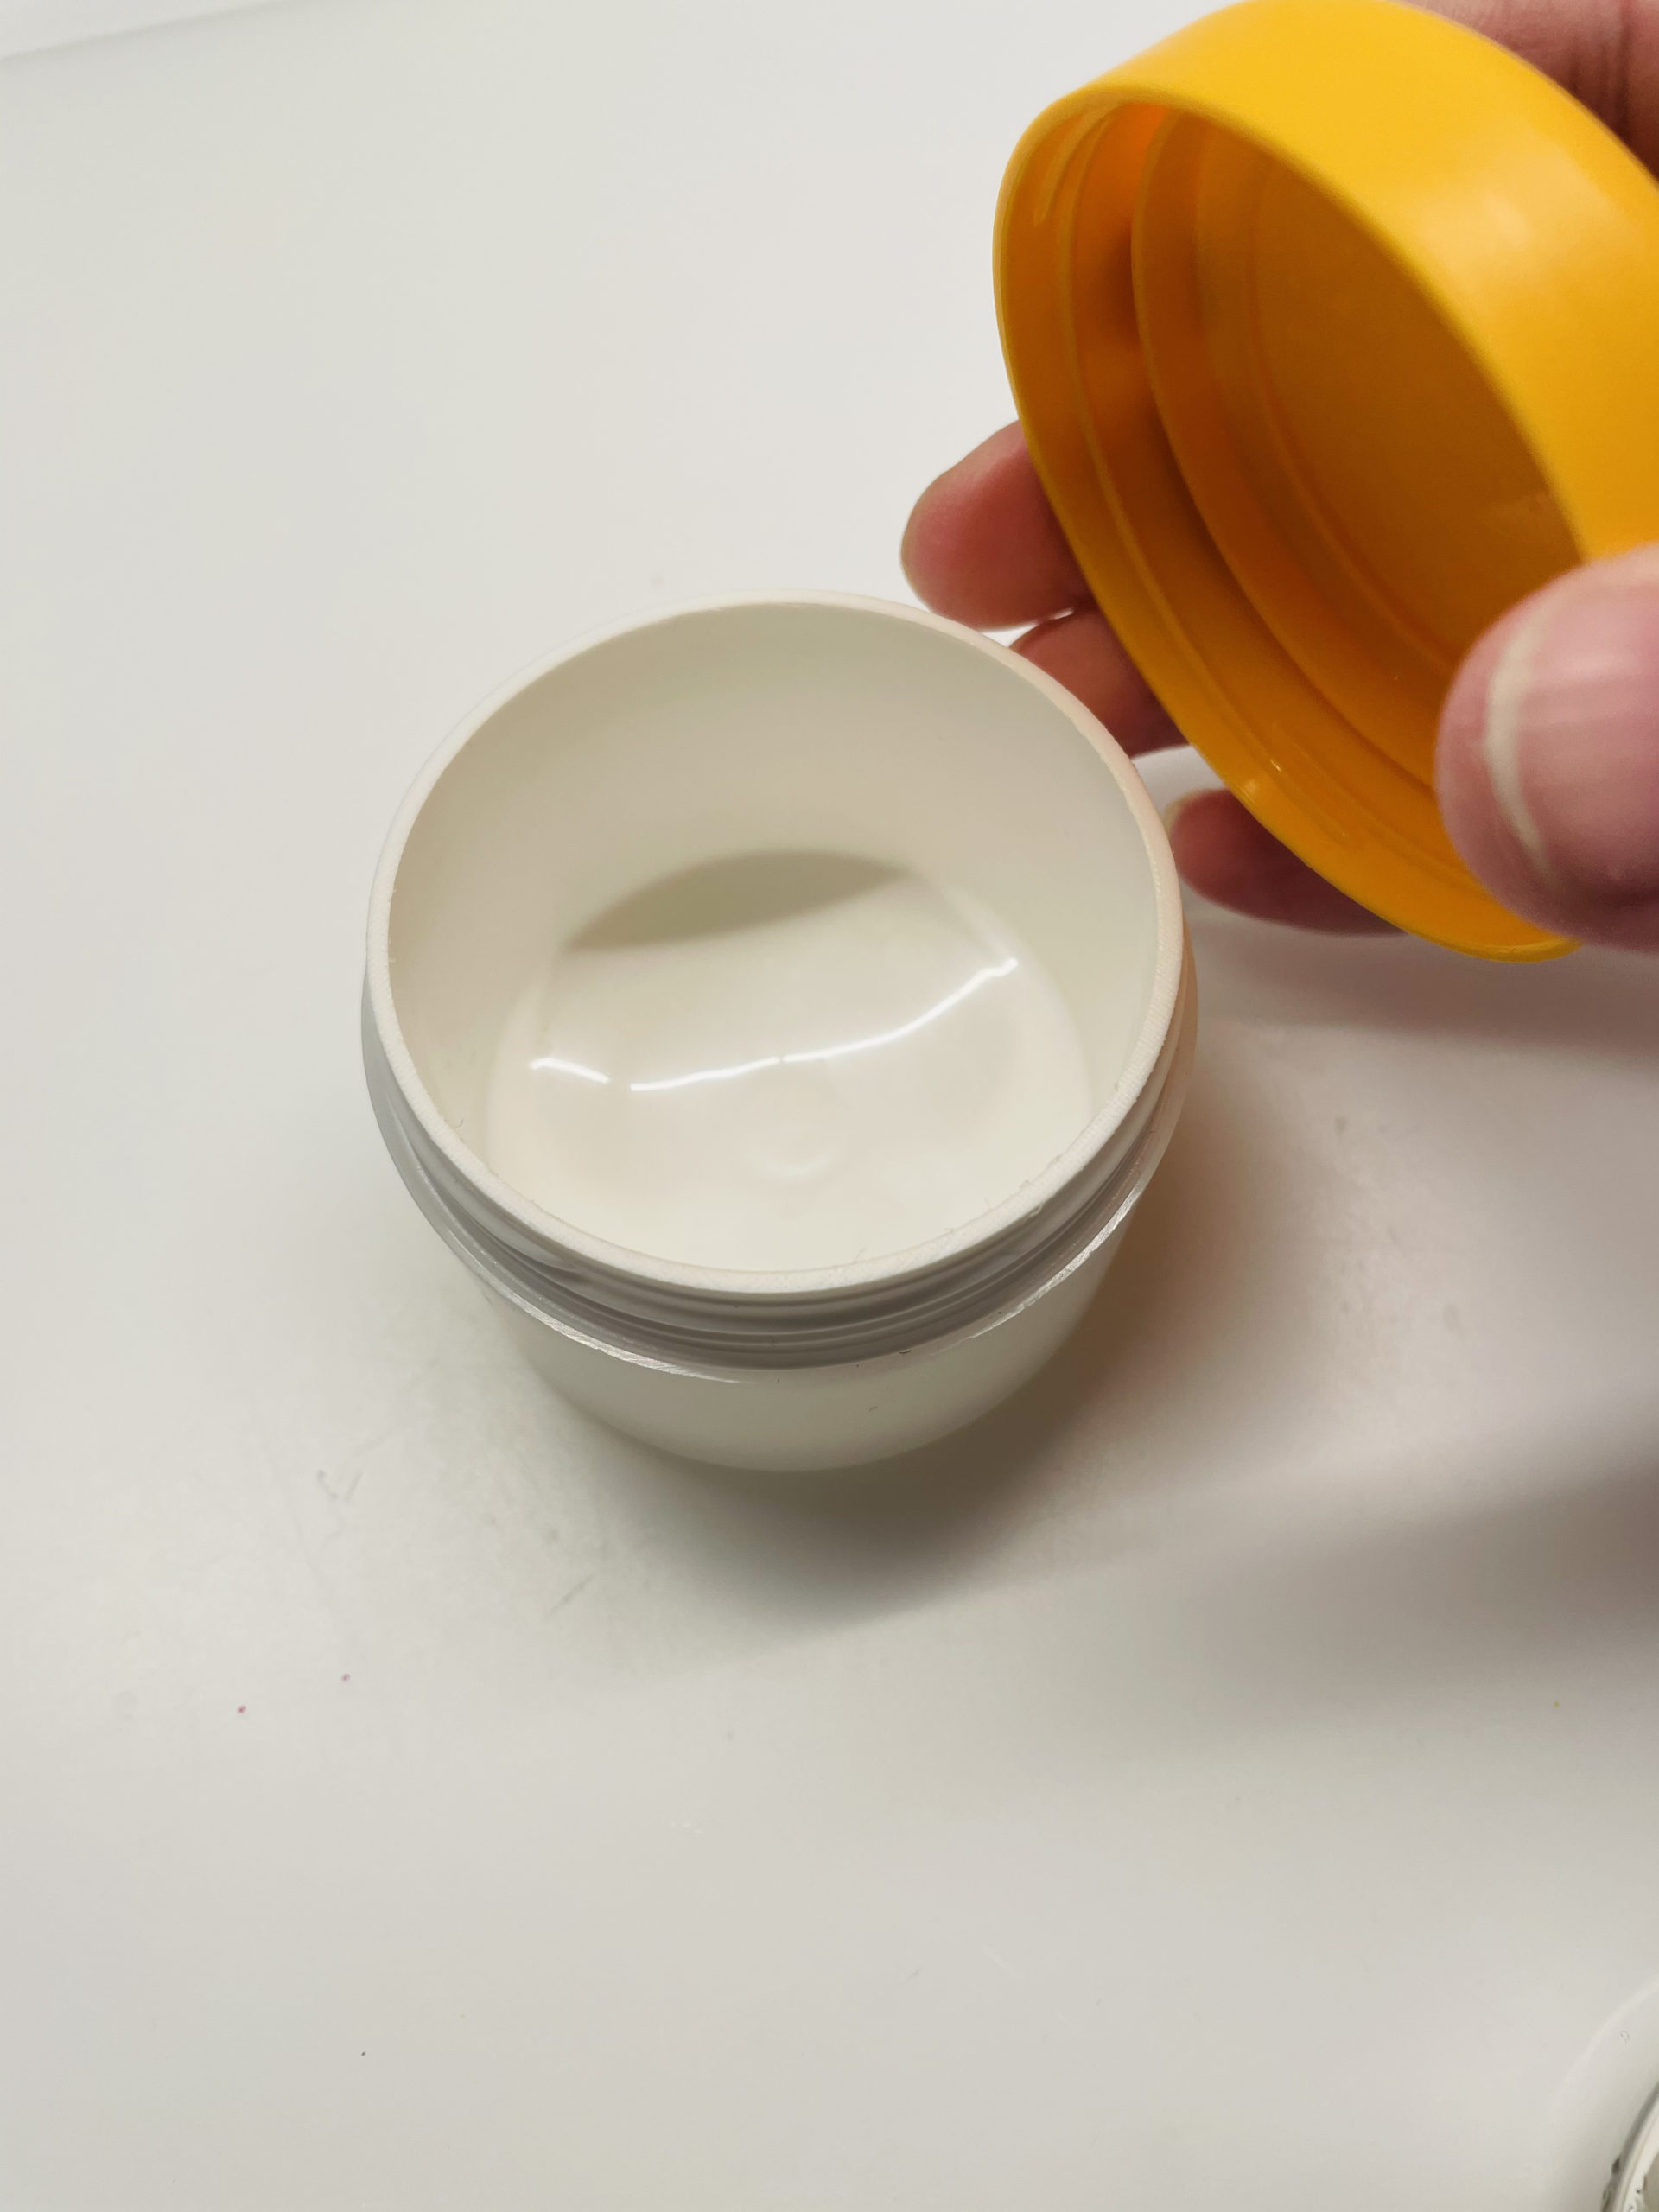
Bild zum Schritt 3 für das Bastel- und DIY-Abenteuer für Kinder: 'Öffnet die erste Dose und sucht euch das erste Füllmaterial...'

4

Fills a maximum of one third of the can with the filling material.
Attention: Do not fill the cans too full. Few filled cans sound better!
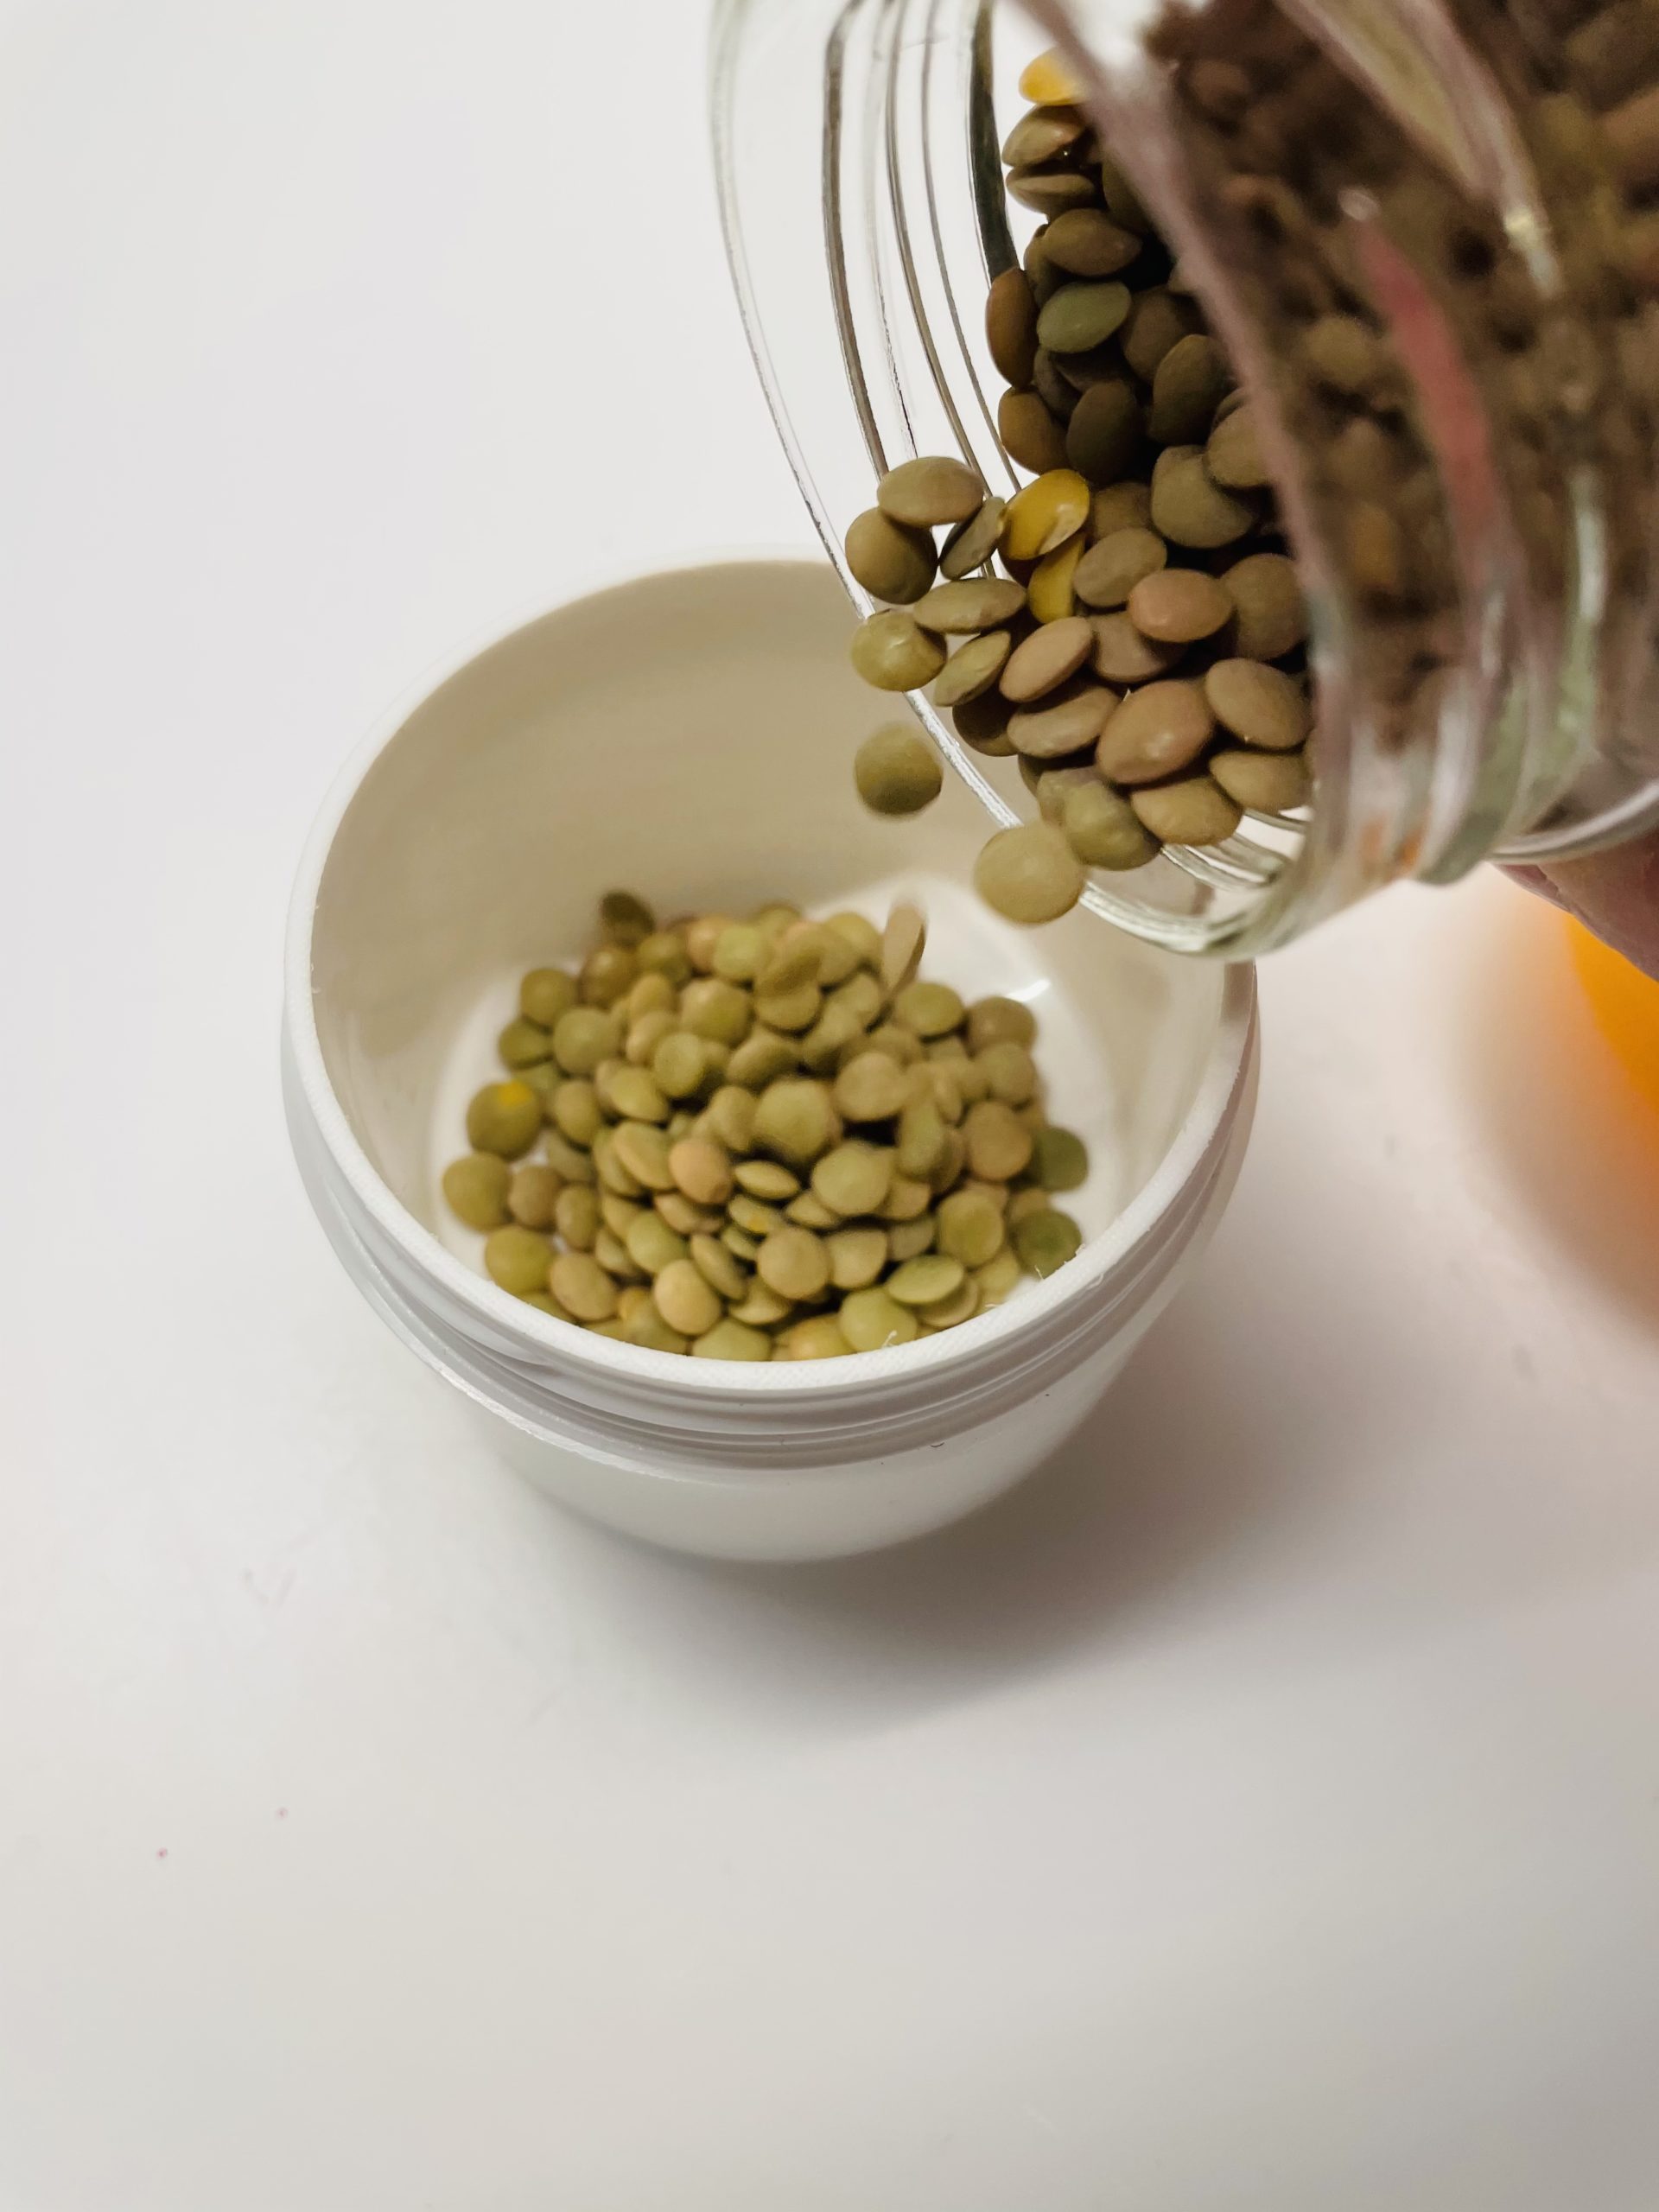
Bild zum Schritt 4 für das Bastel- und DIY-Abenteuer für Kinder: 'Füllt maximal ein Drittel der Dose mit dem Füllmaterial. ...'

5

Now screw the lid firmly onto the can.
Tip: If the lid edge is smeared with glue before screwing, it can no longer be opened after closing.
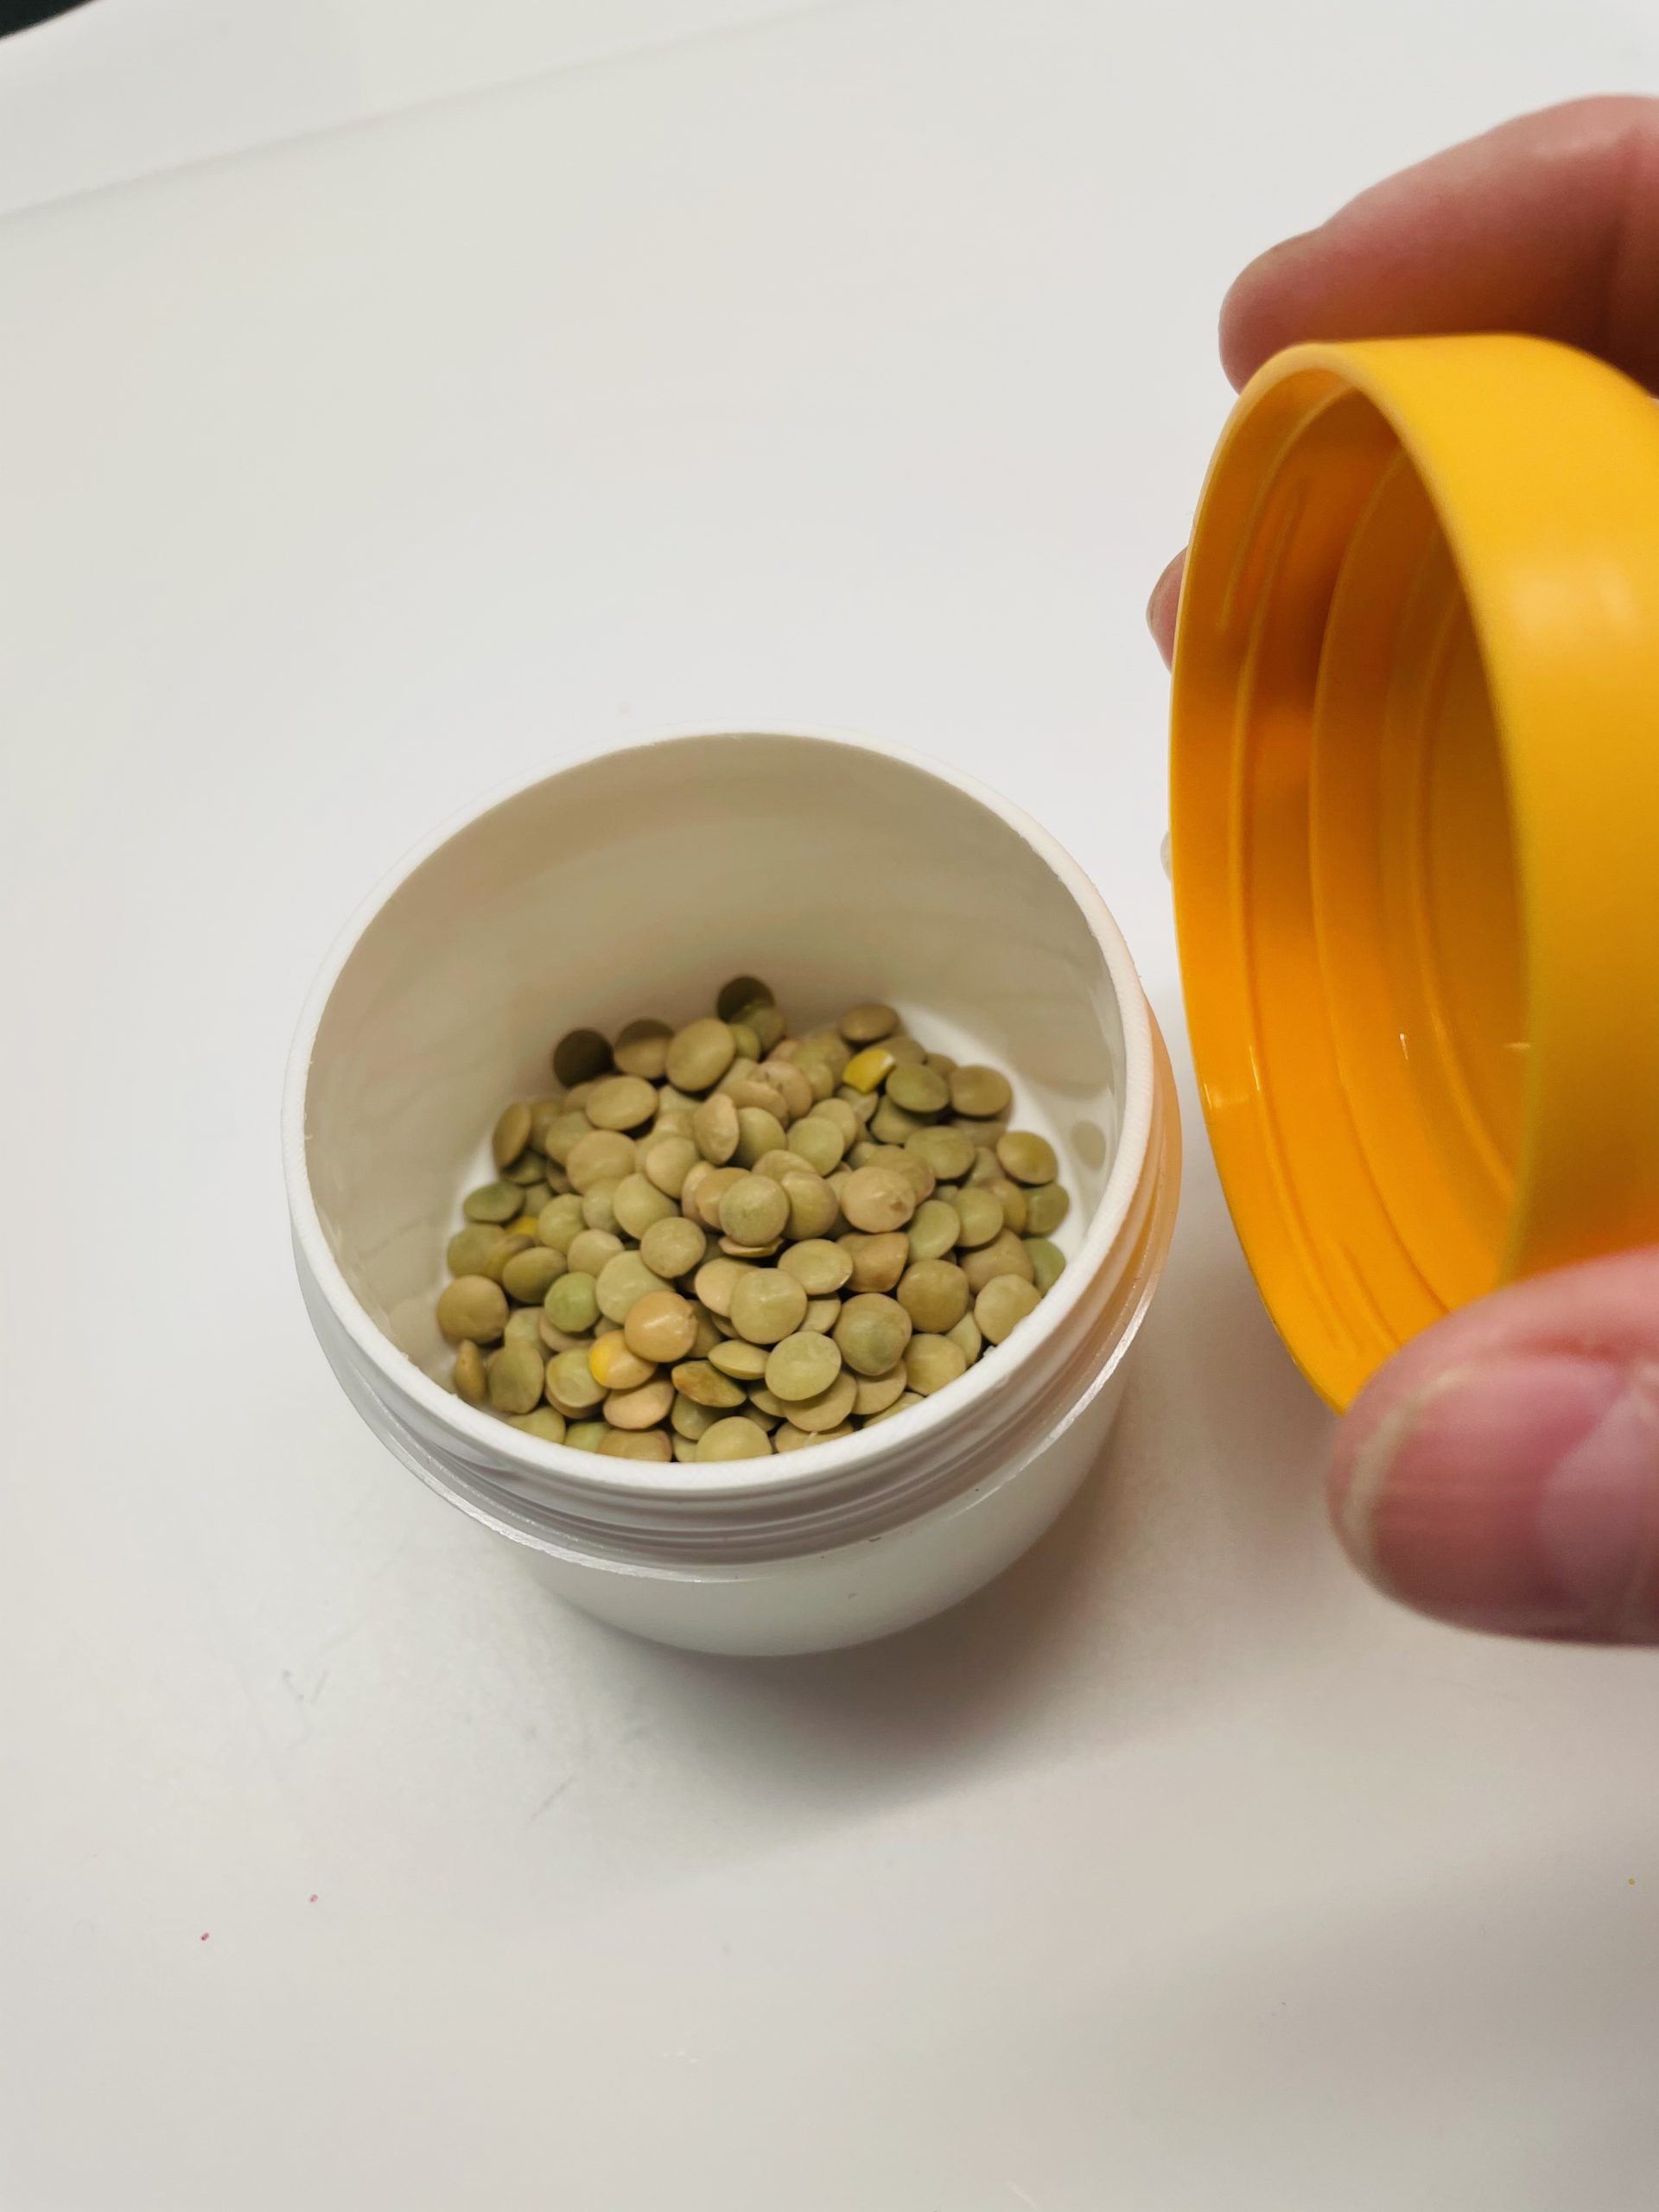
Bild zum Schritt 5 für das Bastel- und DIY-Abenteuer für Kinder: 'Schraubt den Deckel nun fest auf die Dose.  ...'

6

Now the shake can is ready.

Bild zum Schritt 6 für das Bastel- und DIY-Abenteuer für Kinder: 'Nun ist die Schütteldose fertig.'

7

Now fill the other two doses and seal or glue them as well.

Bild zum Schritt 7 für das Bastel- und DIY-Abenteuer für Kinder: 'Füllt nun die anderen beiden Dosen und verschließt bzw. verklebt...'

8

2. Bild zum Schritt 7 für das Bastel- und DIY-Abenteuer für Kinder: 'Füllt nun die anderen beiden Dosen und verschließt bzw. verklebt...'

9

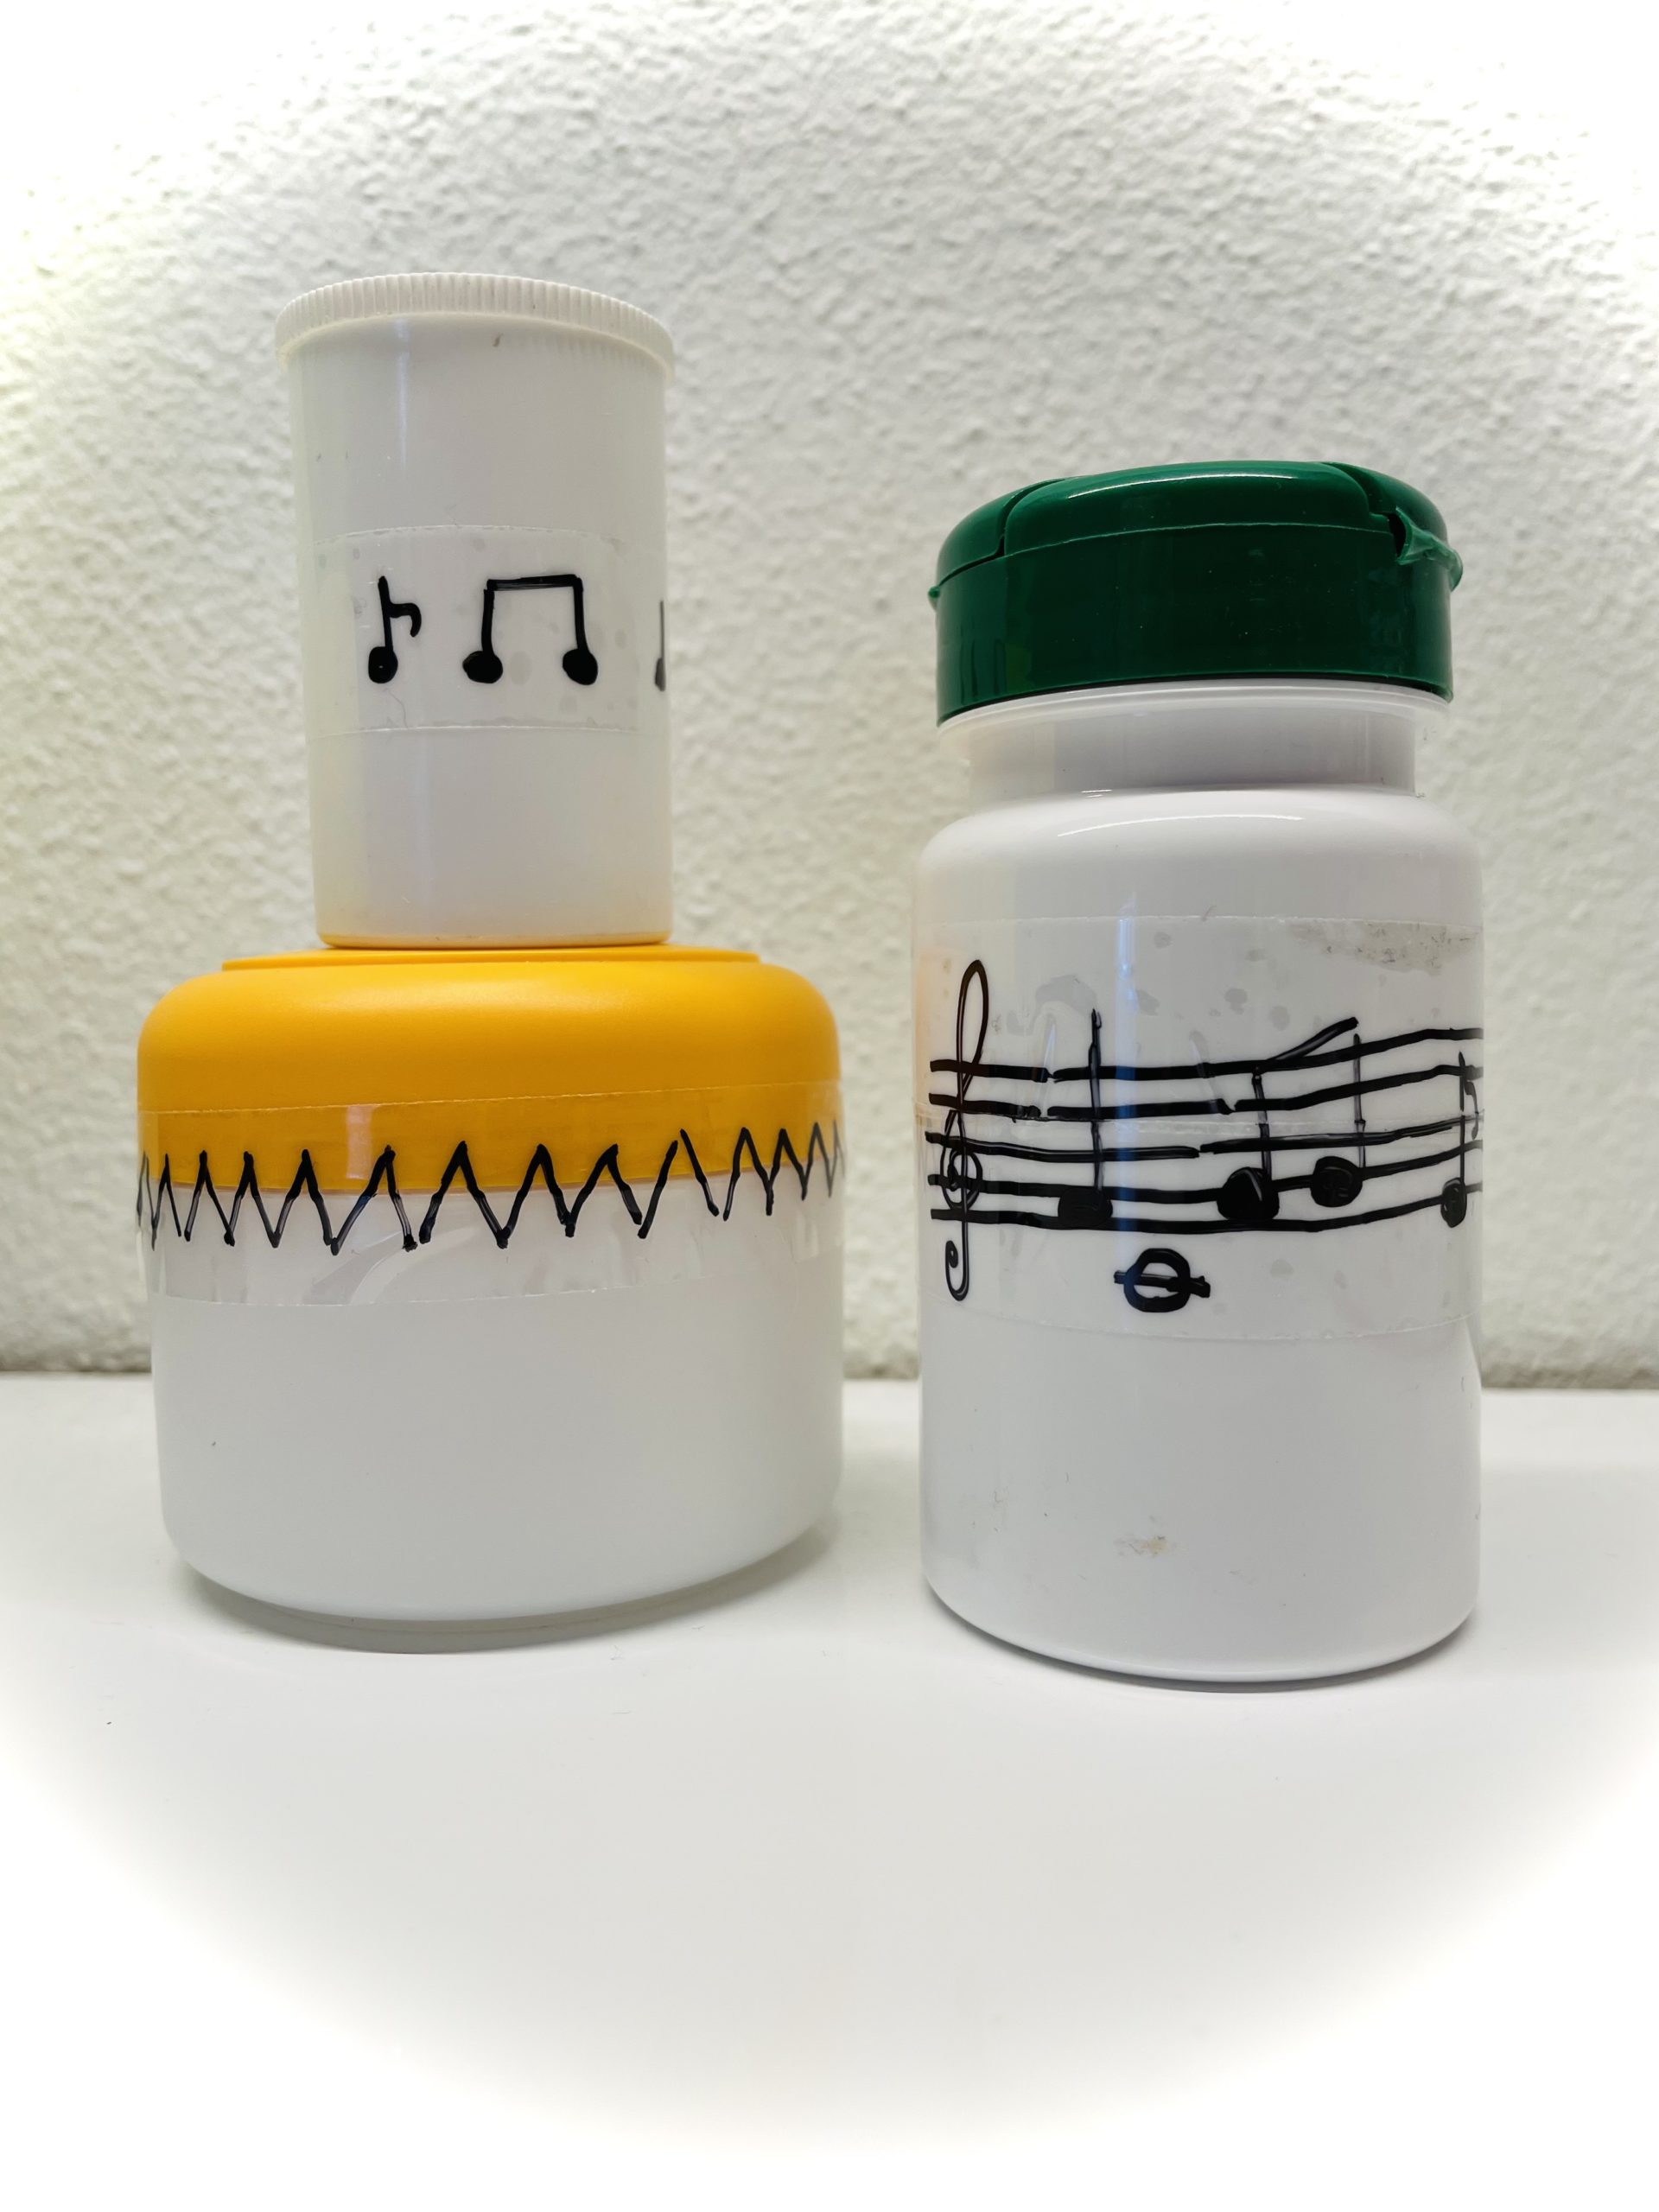
Now paint the cans as you like.

Bild zum Schritt 9 für das Bastel- und DIY-Abenteuer für Kinder: 'Bemalt jetzt die Dosen, so wie es euch gefällt.'

10

2. Bild zum Schritt 9 für das Bastel- und DIY-Abenteuer für Kinder: 'Bemalt jetzt die Dosen, so wie es euch gefällt.'

11

Have fun playing music!

Bild zum Schritt 11 für das Bastel- und DIY-Abenteuer für Kinder: 'Viel Spaß beim Musizieren!'

12

Sings songs and shakes the rhythm with the cans. This promotes the sense of the beat and the rhythm.

13

Have fun with the homemade musical instruments!