Make this simple plane and let cuddly animals get in!
A tin can and an egg box turn into a small plane in no time.
Media Education for Kindergarten and Hort

Relief in everyday life, targeted promotion of individual children, independent learning and - without any pre-knowledge already usable by the youngest!
Get all the materials ready and your craft file.

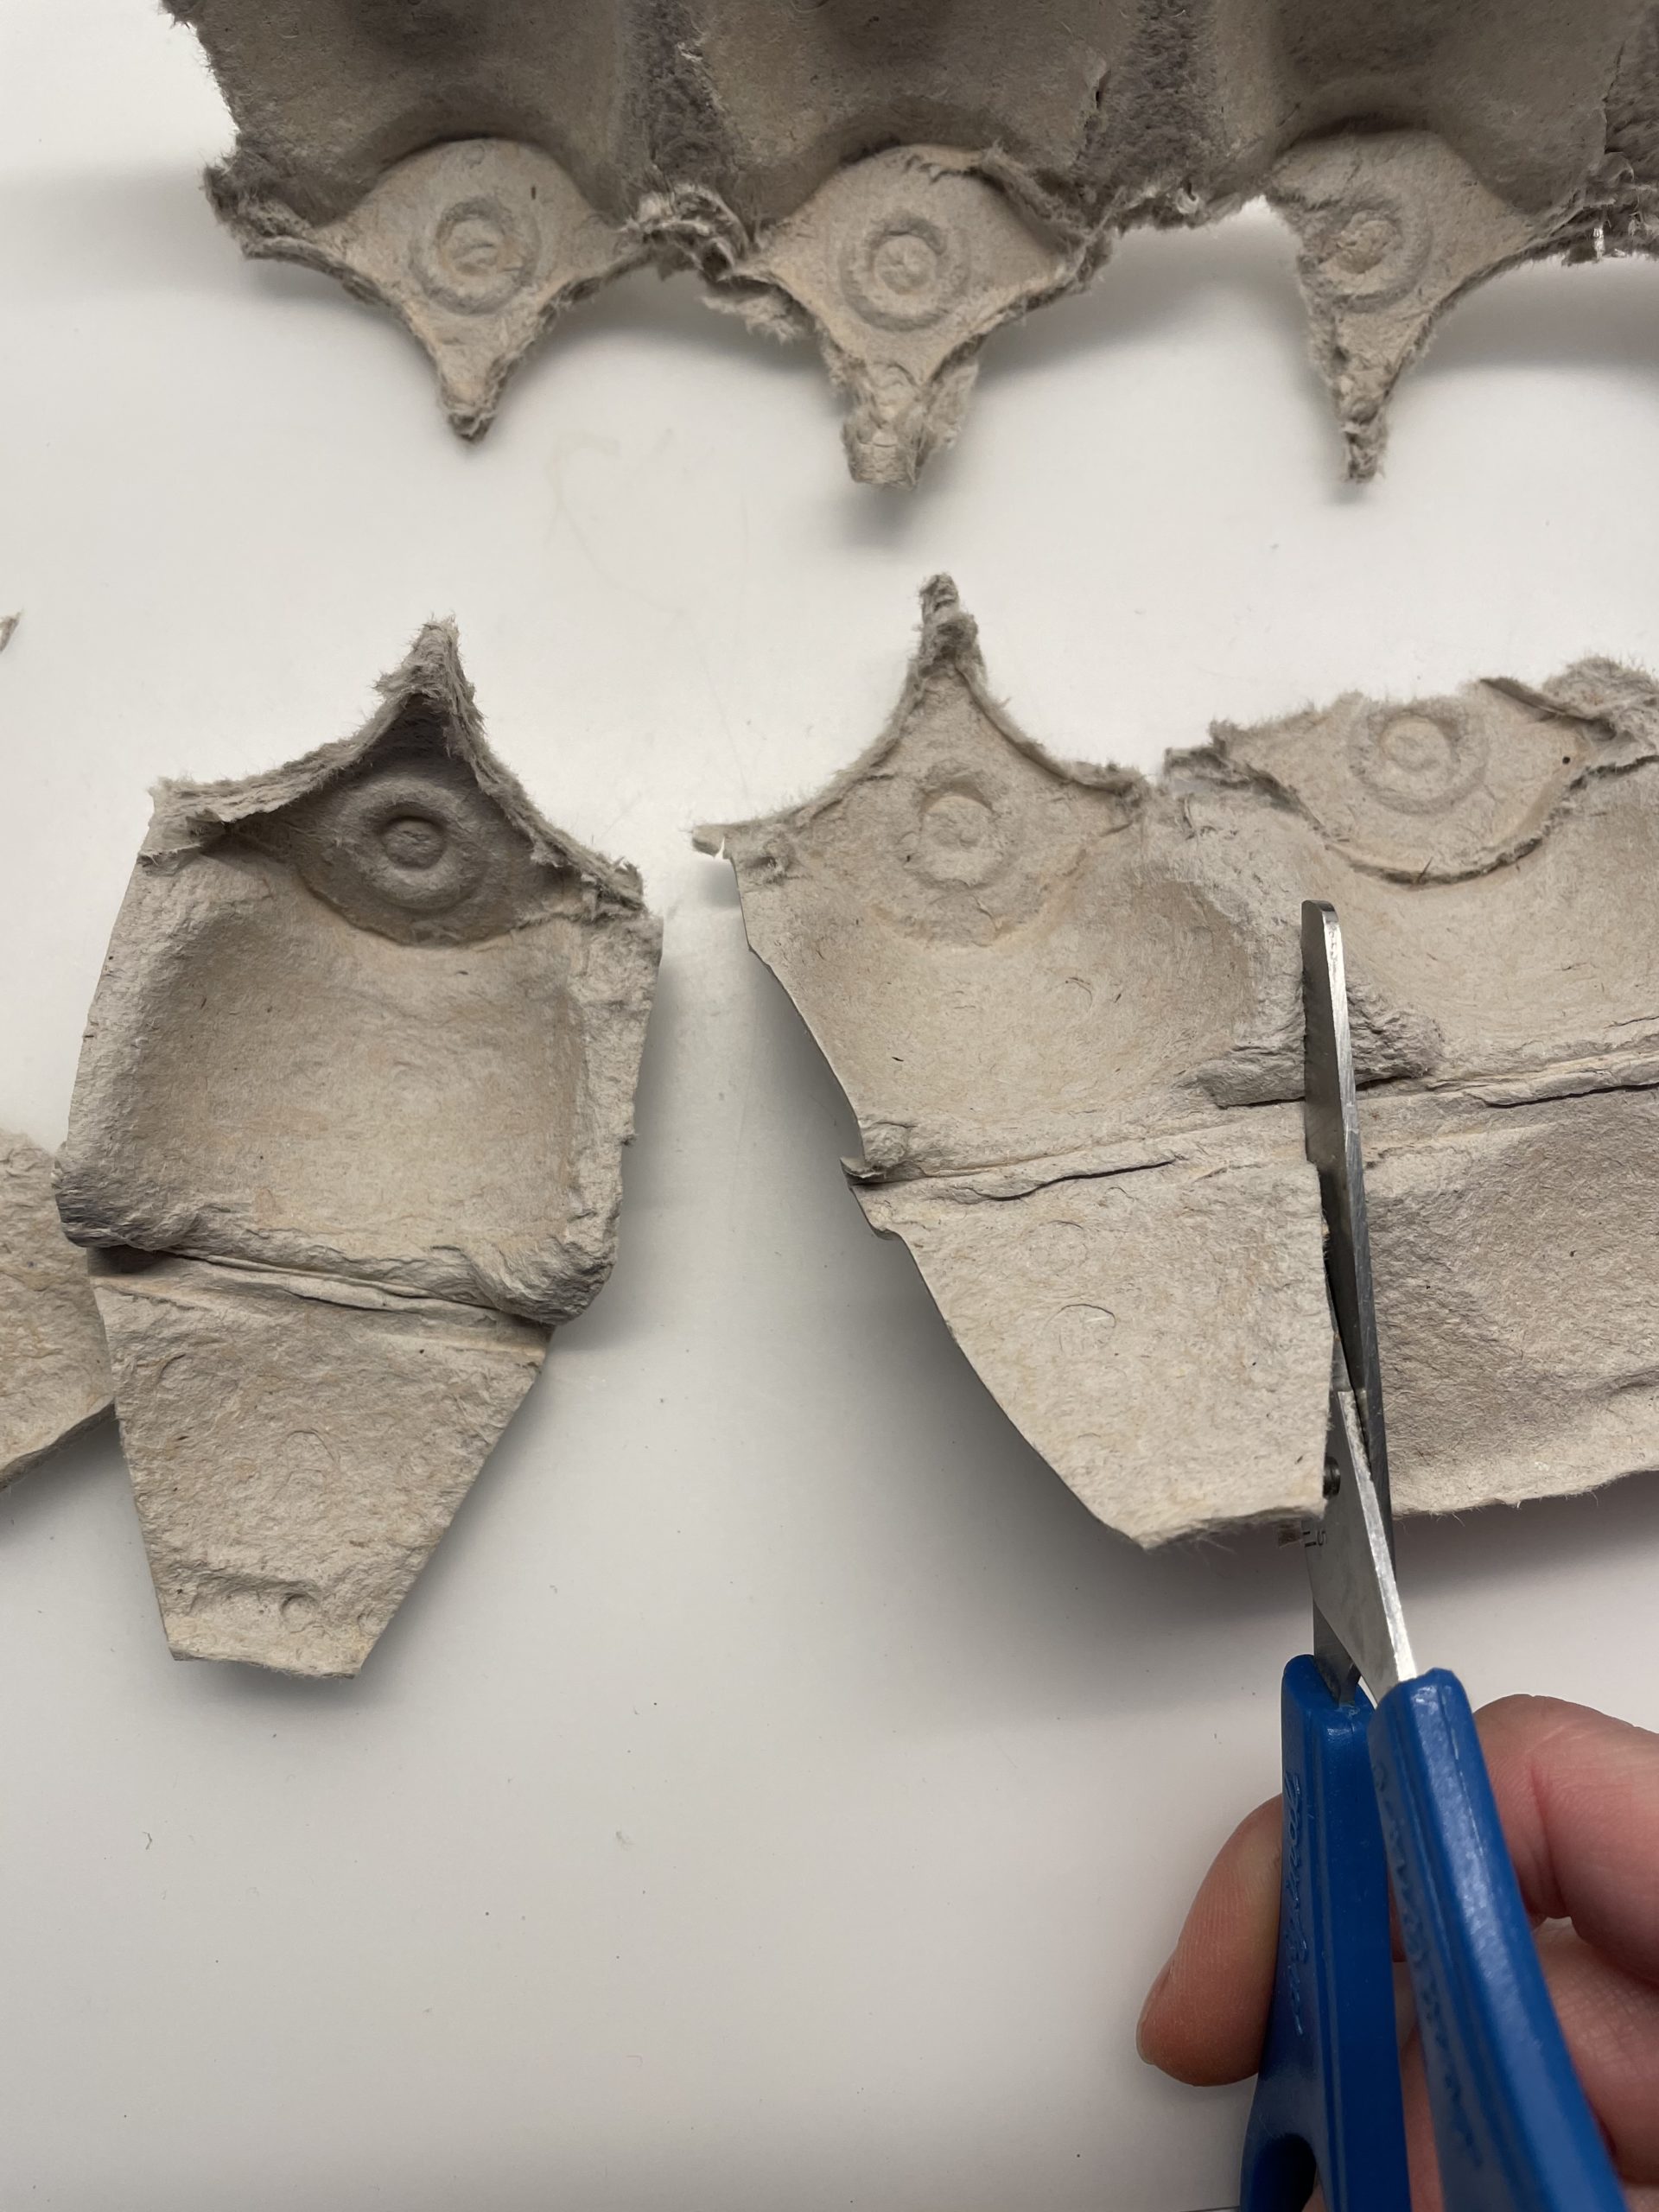
First you separate the tips from the egg box. You need a tip for the aviator can.
Cuts the wings of the plane from one of the side parts created in this way.
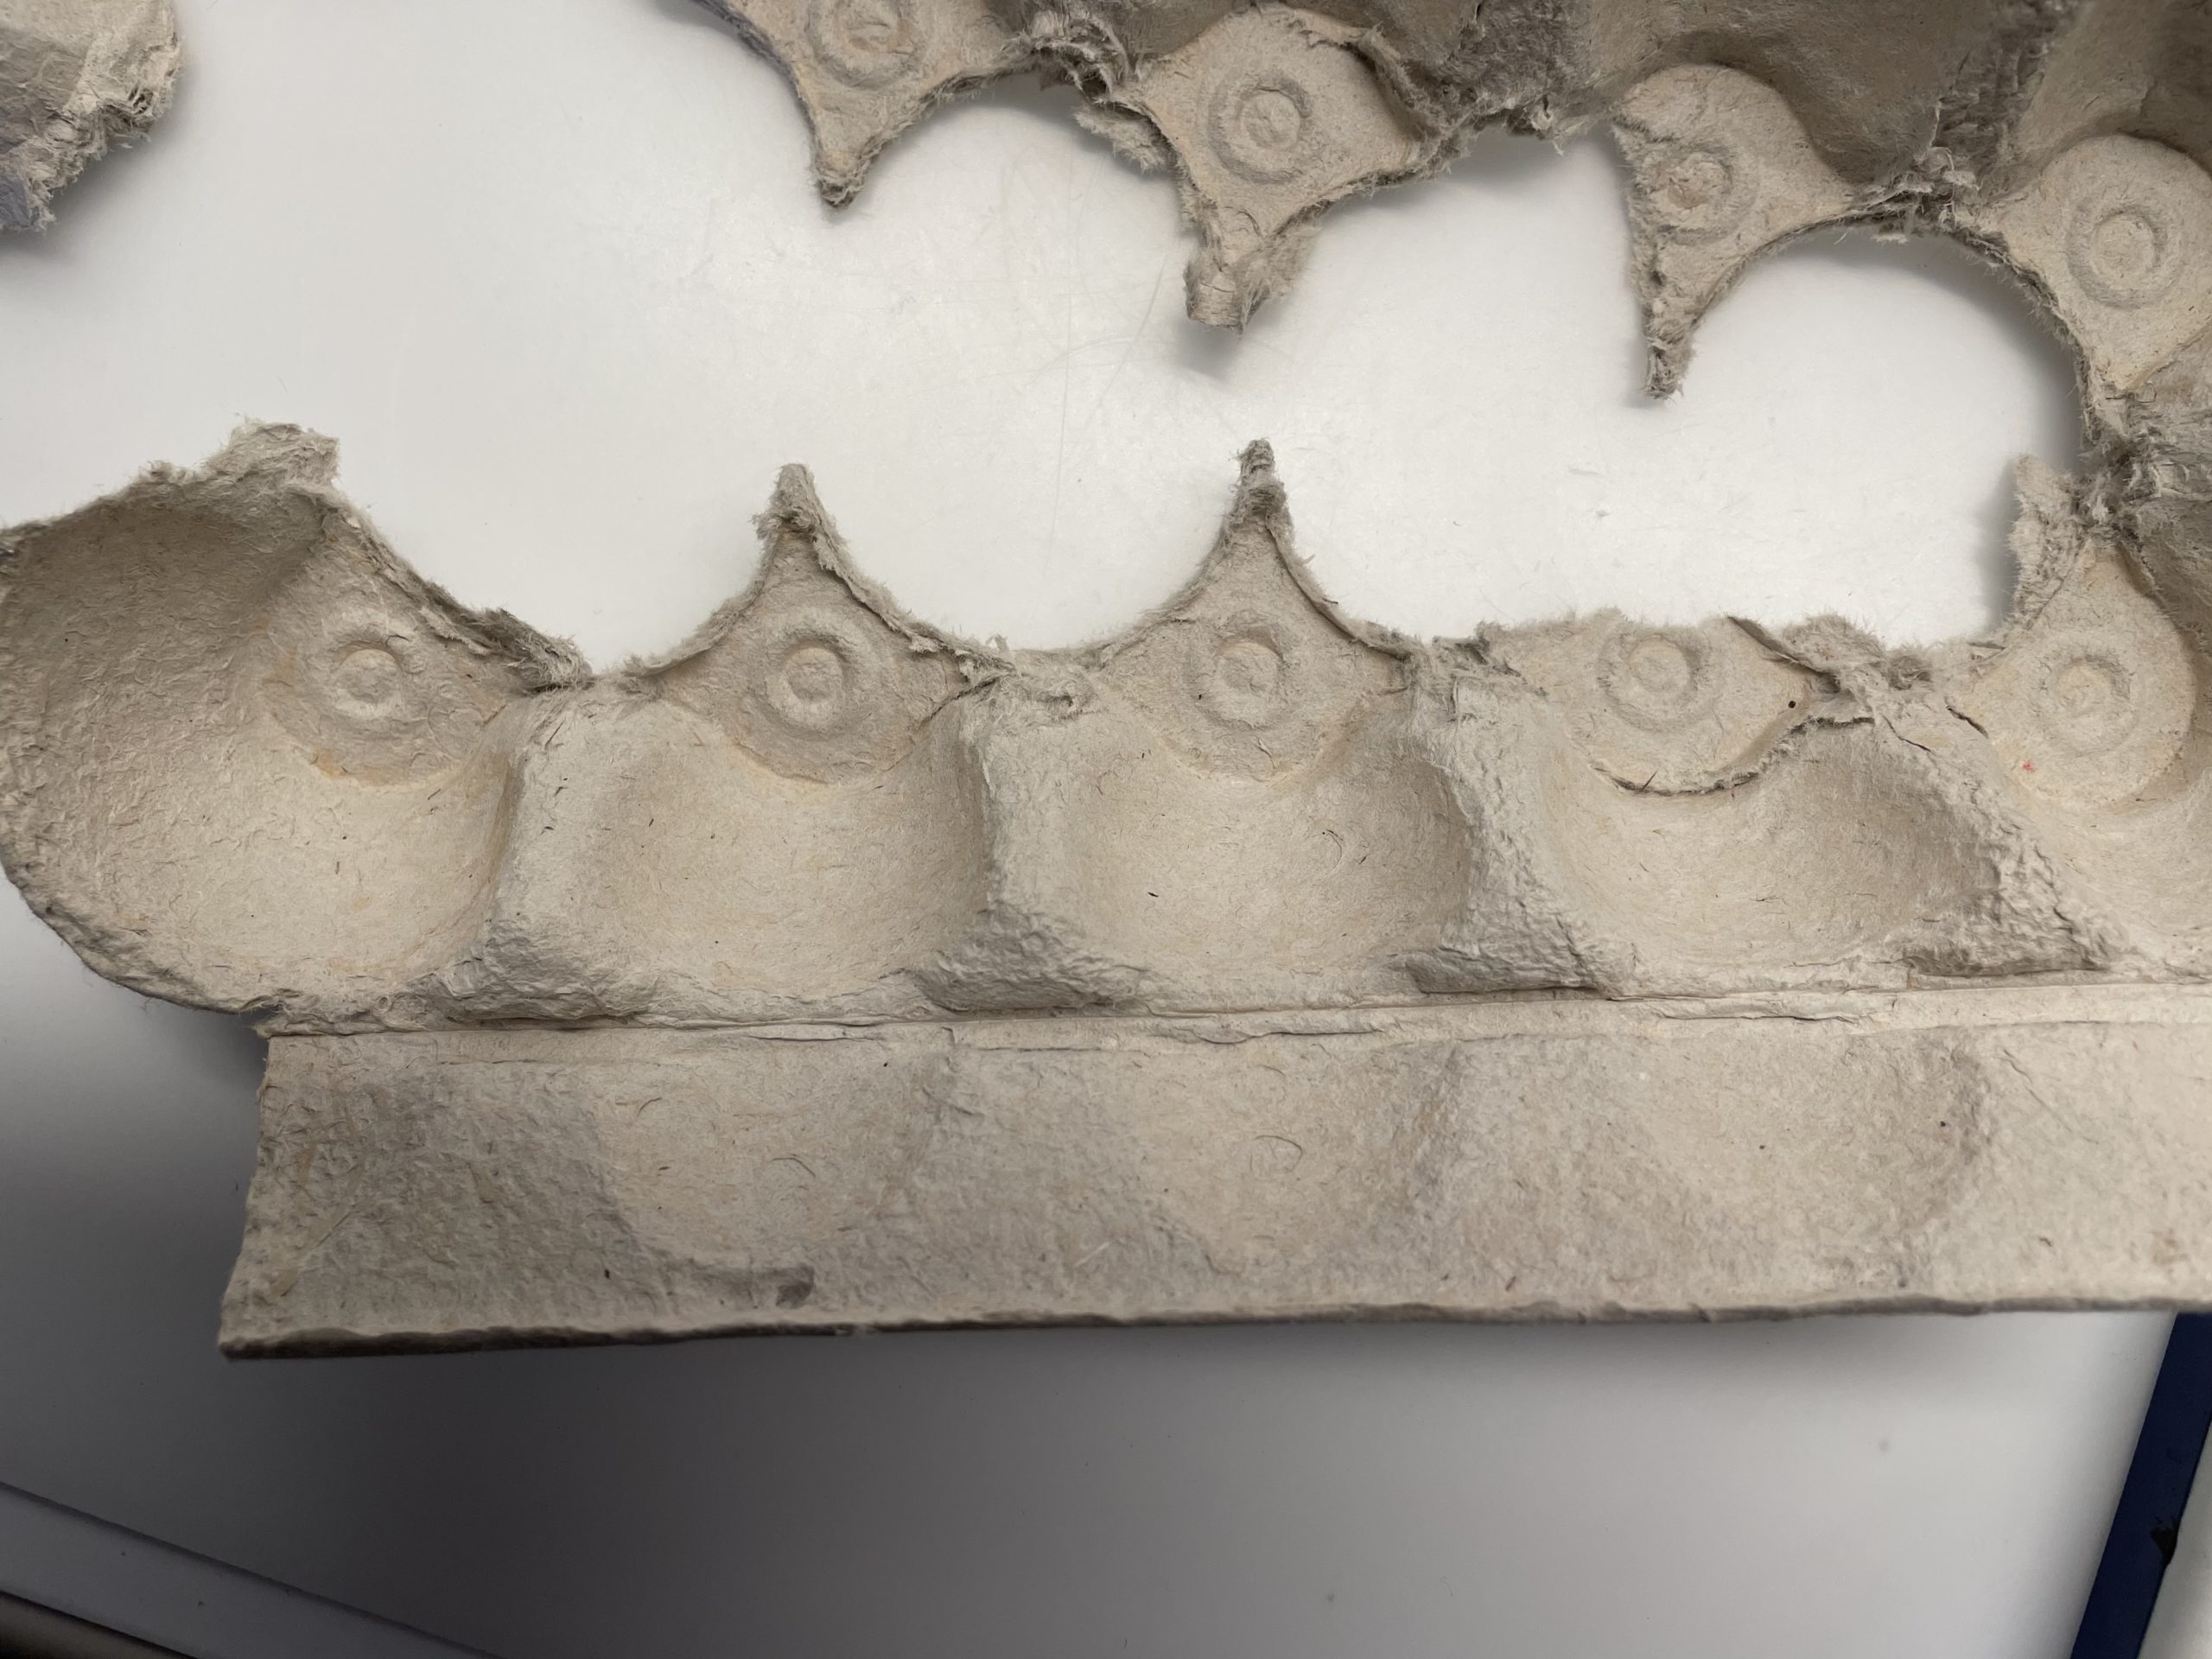
Cut this as in the picture. You need two wings.
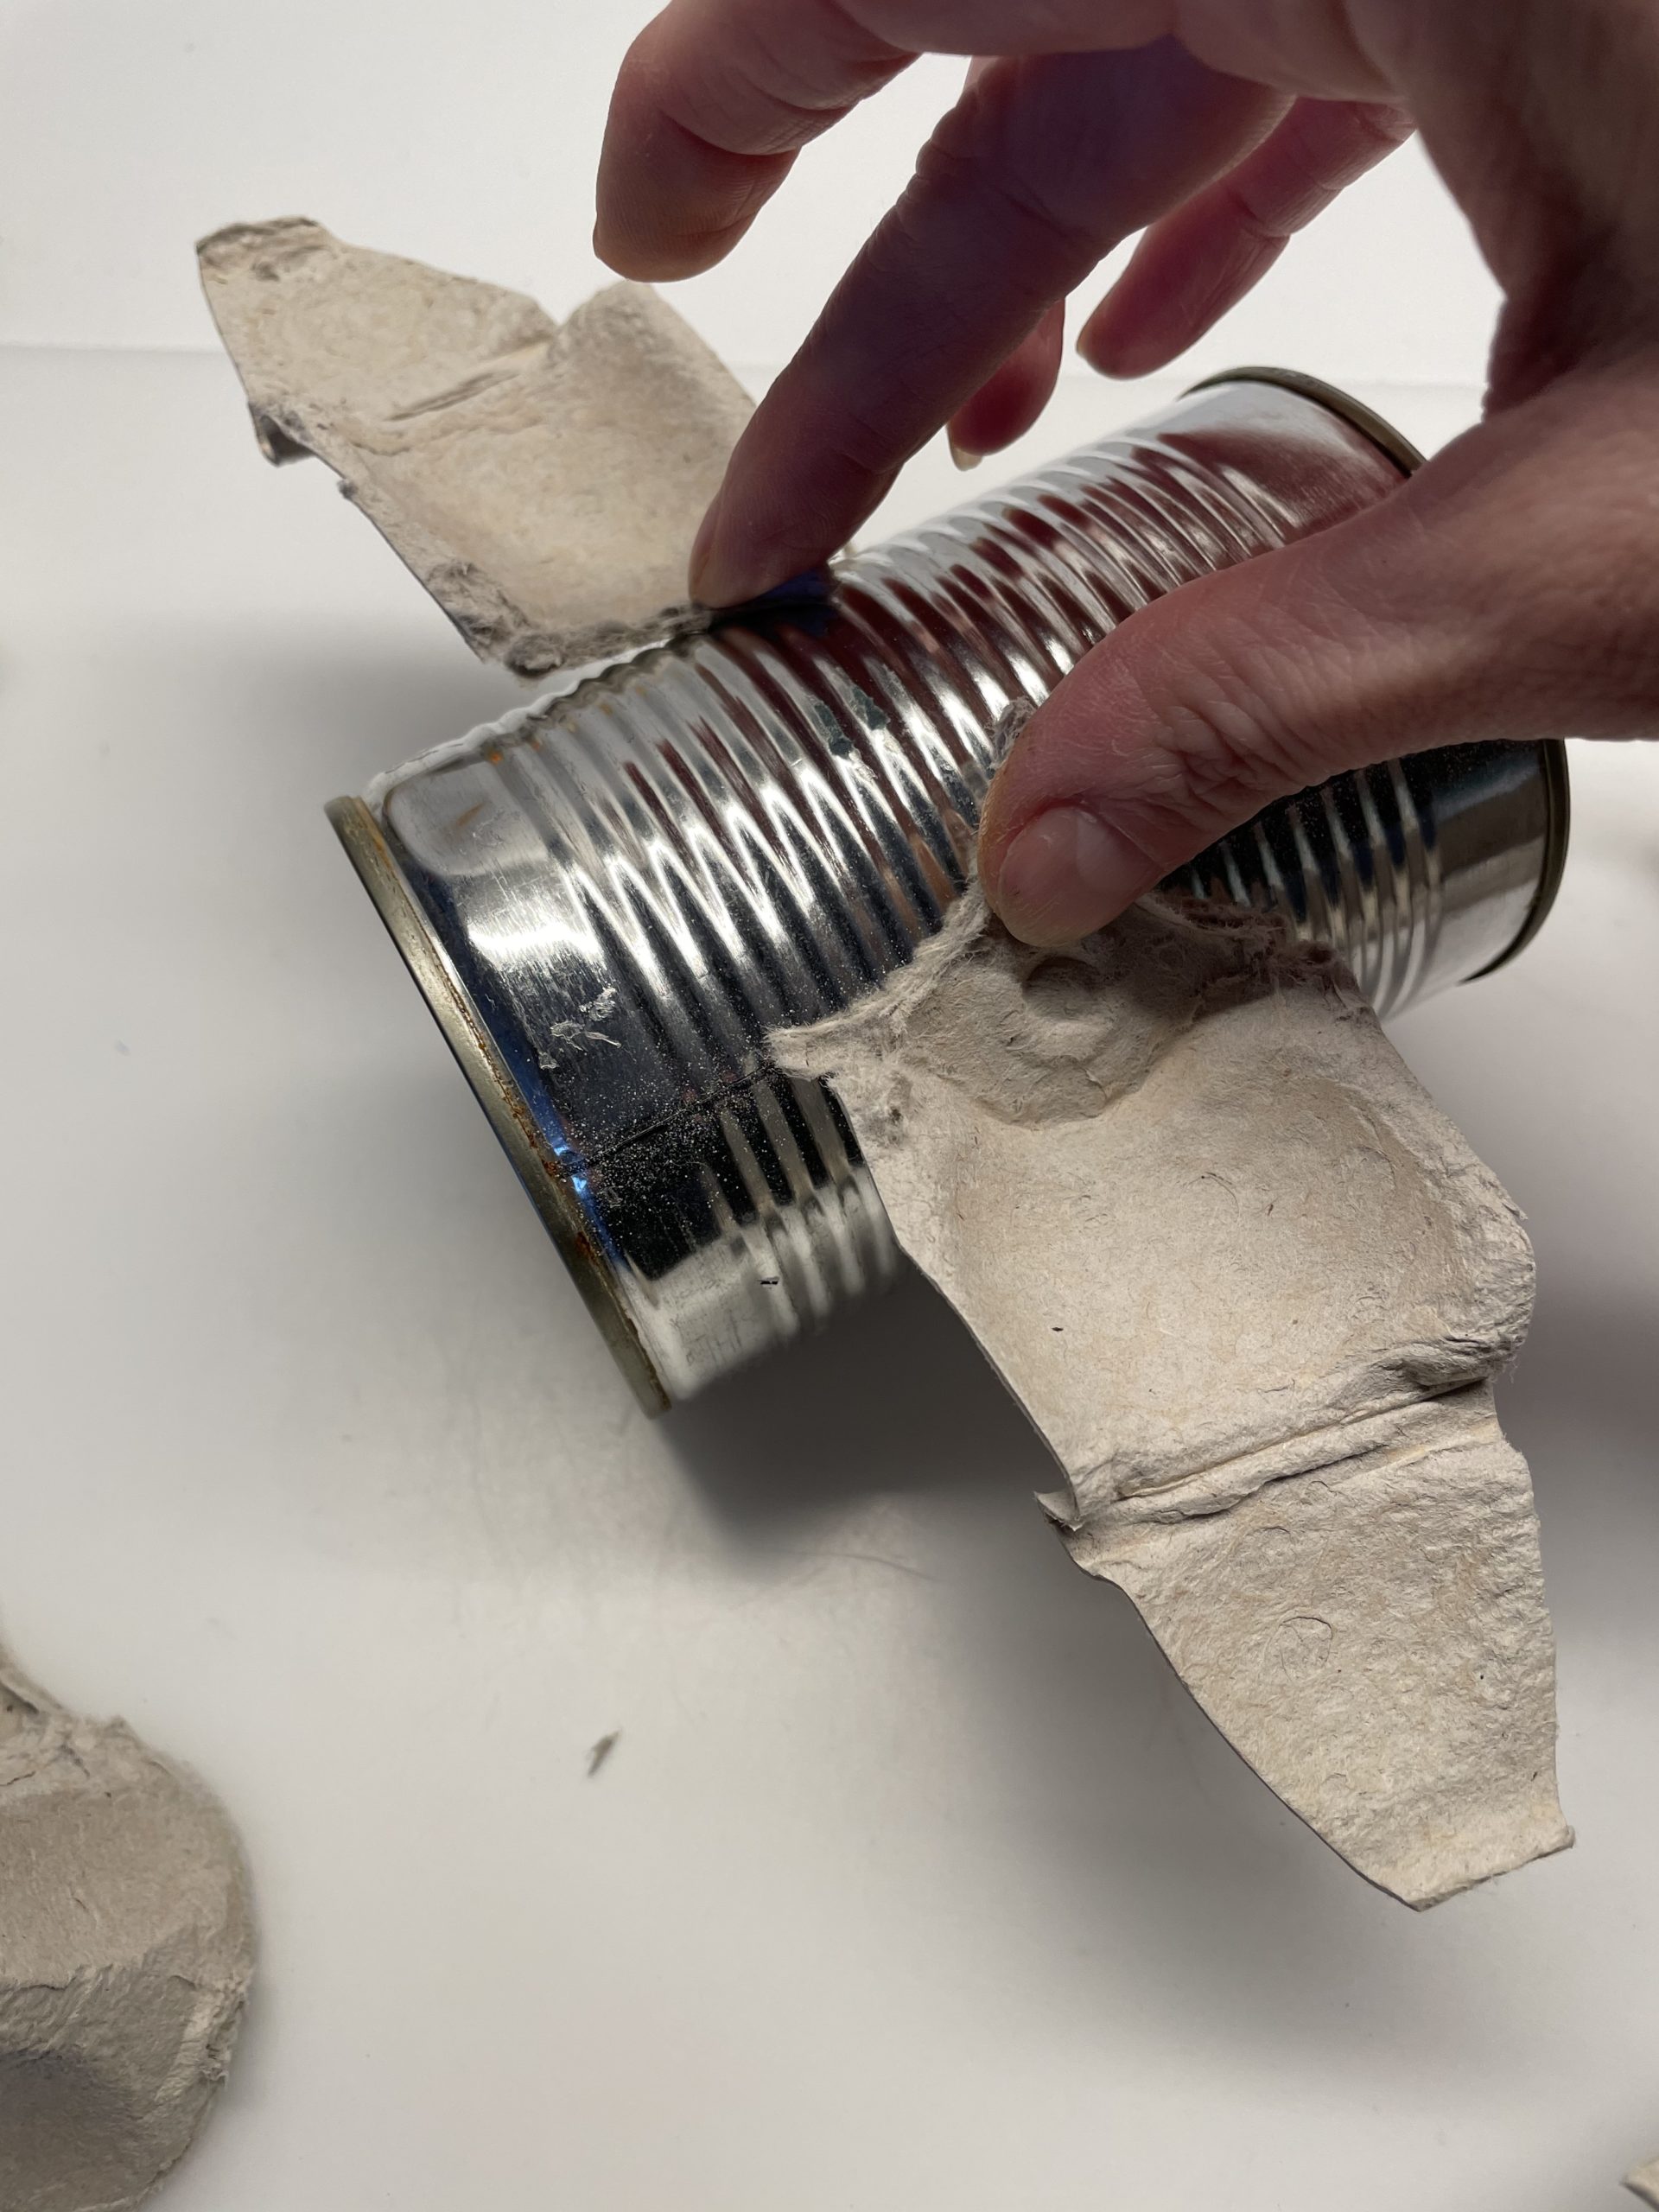
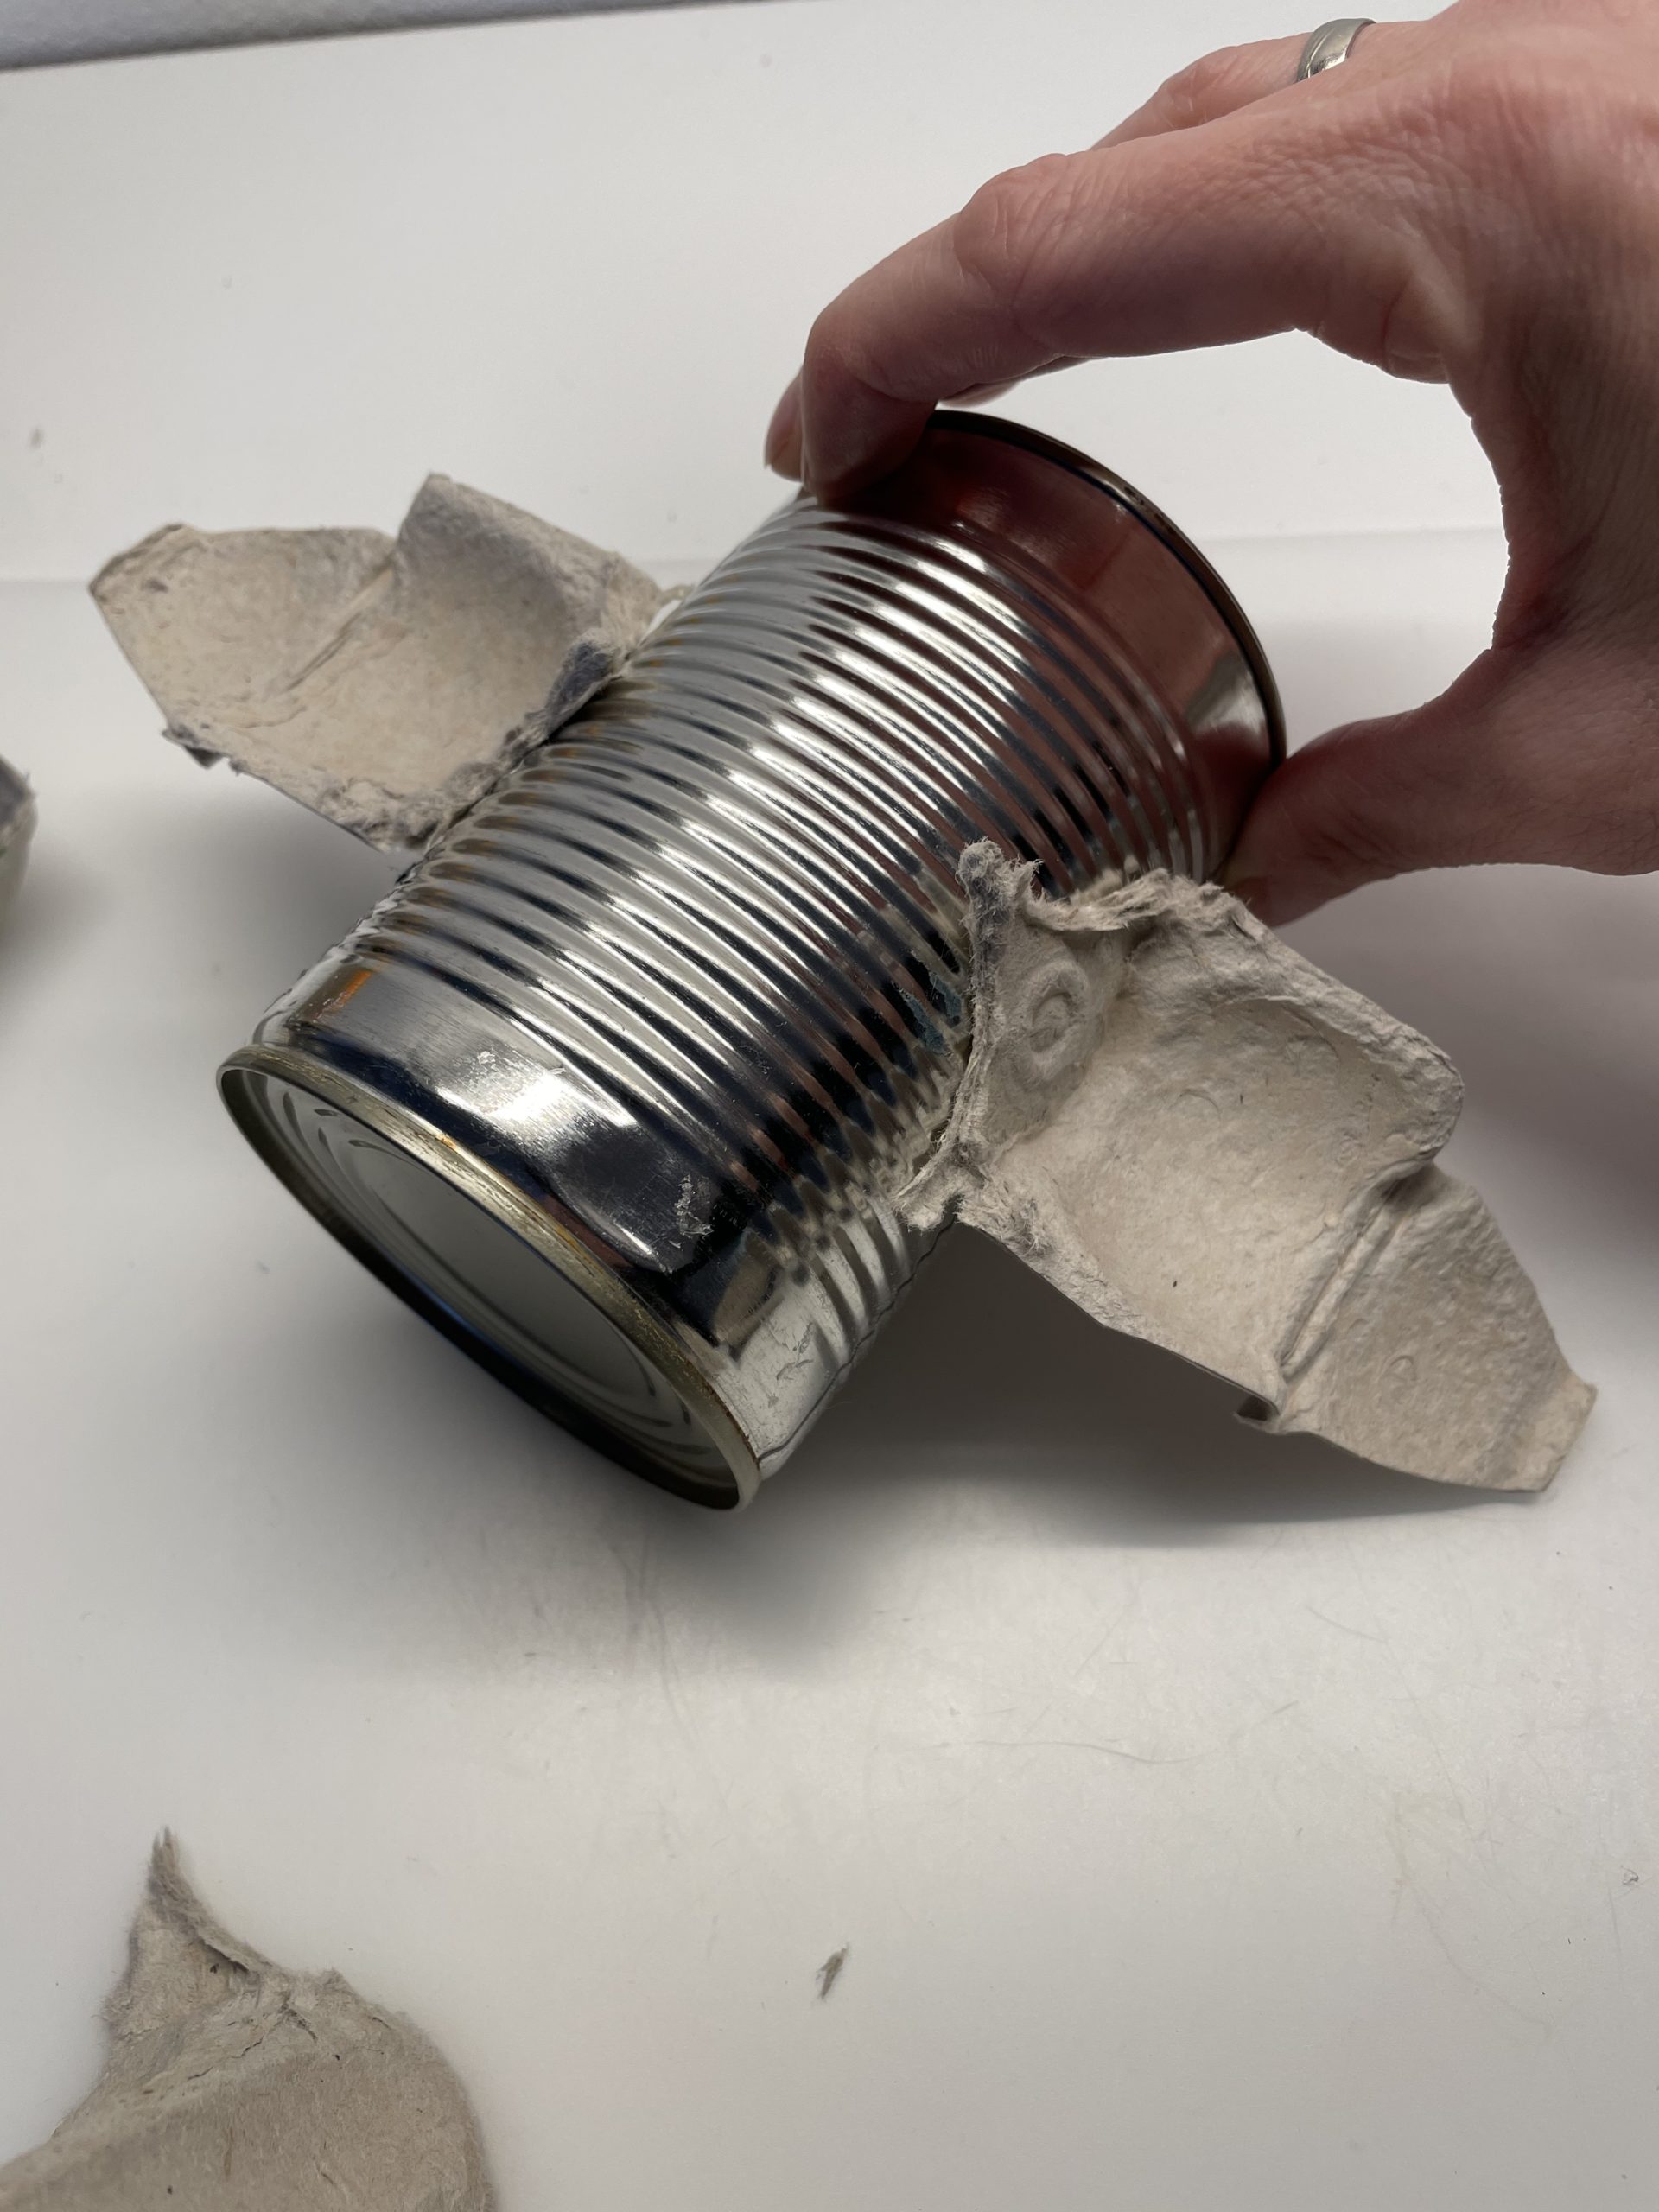
Then glue the wings to the tin can with hot glue on the left and right. Attention when handling the hot glue - risk of injury!
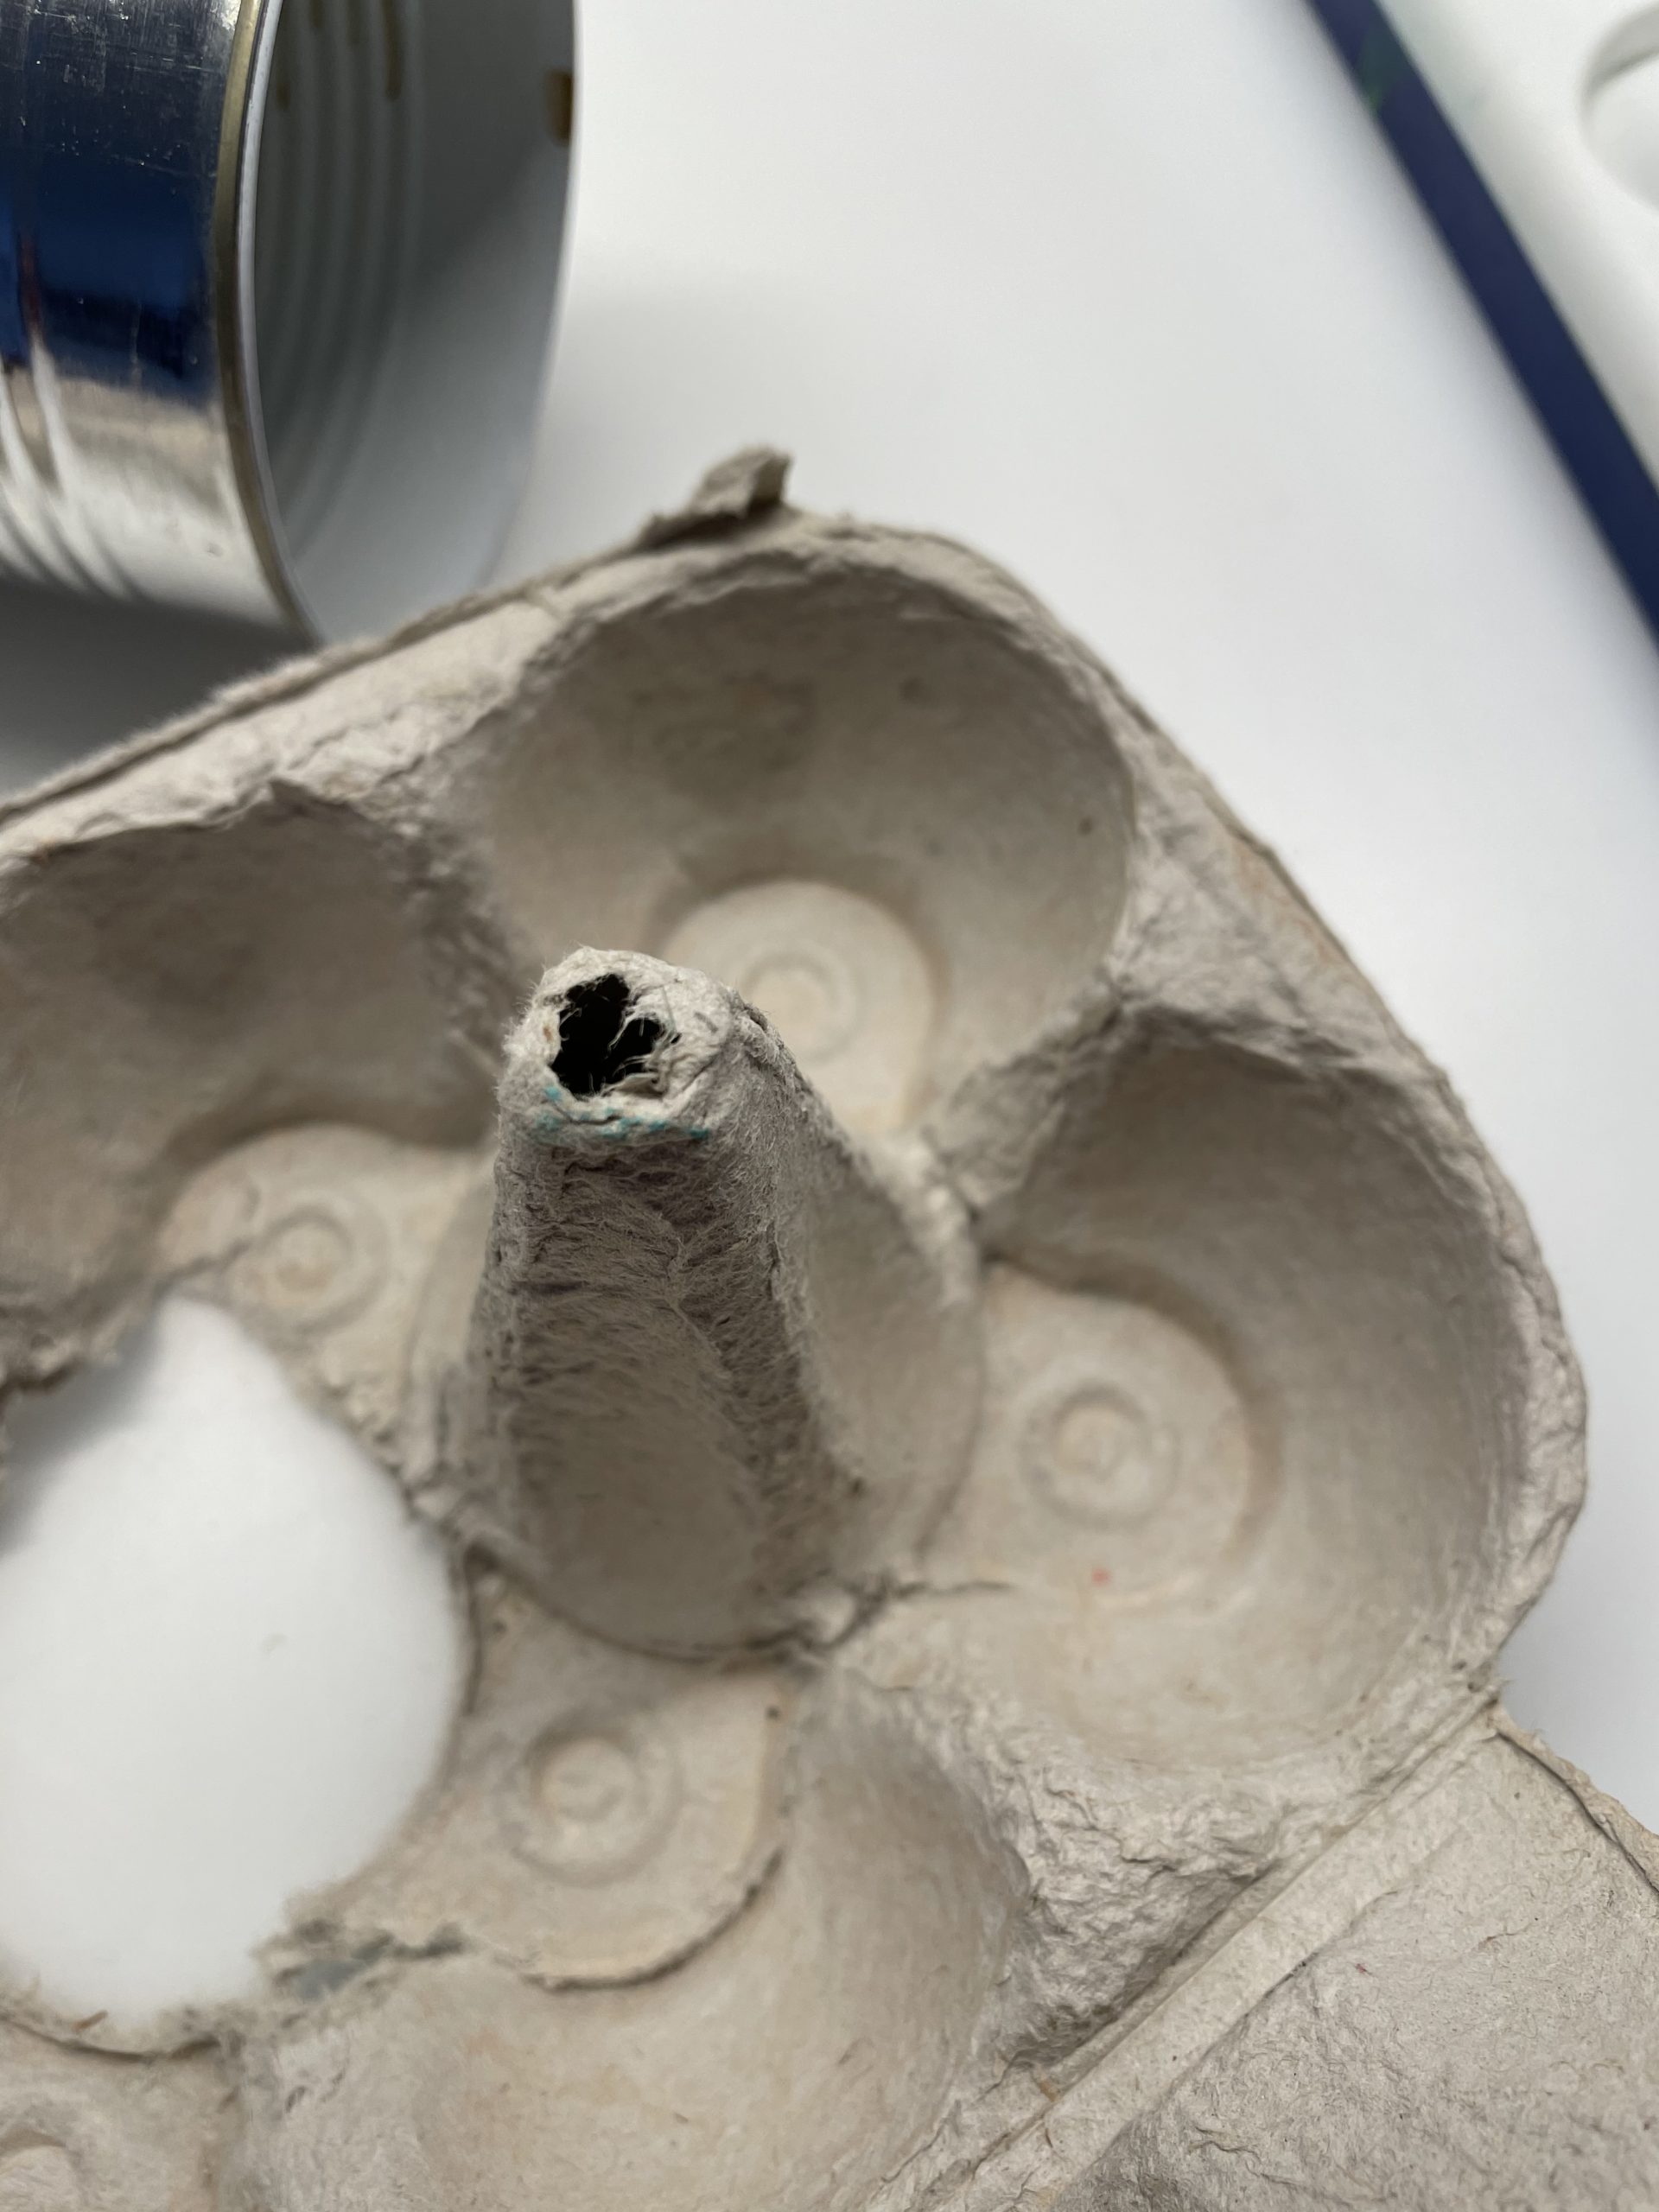
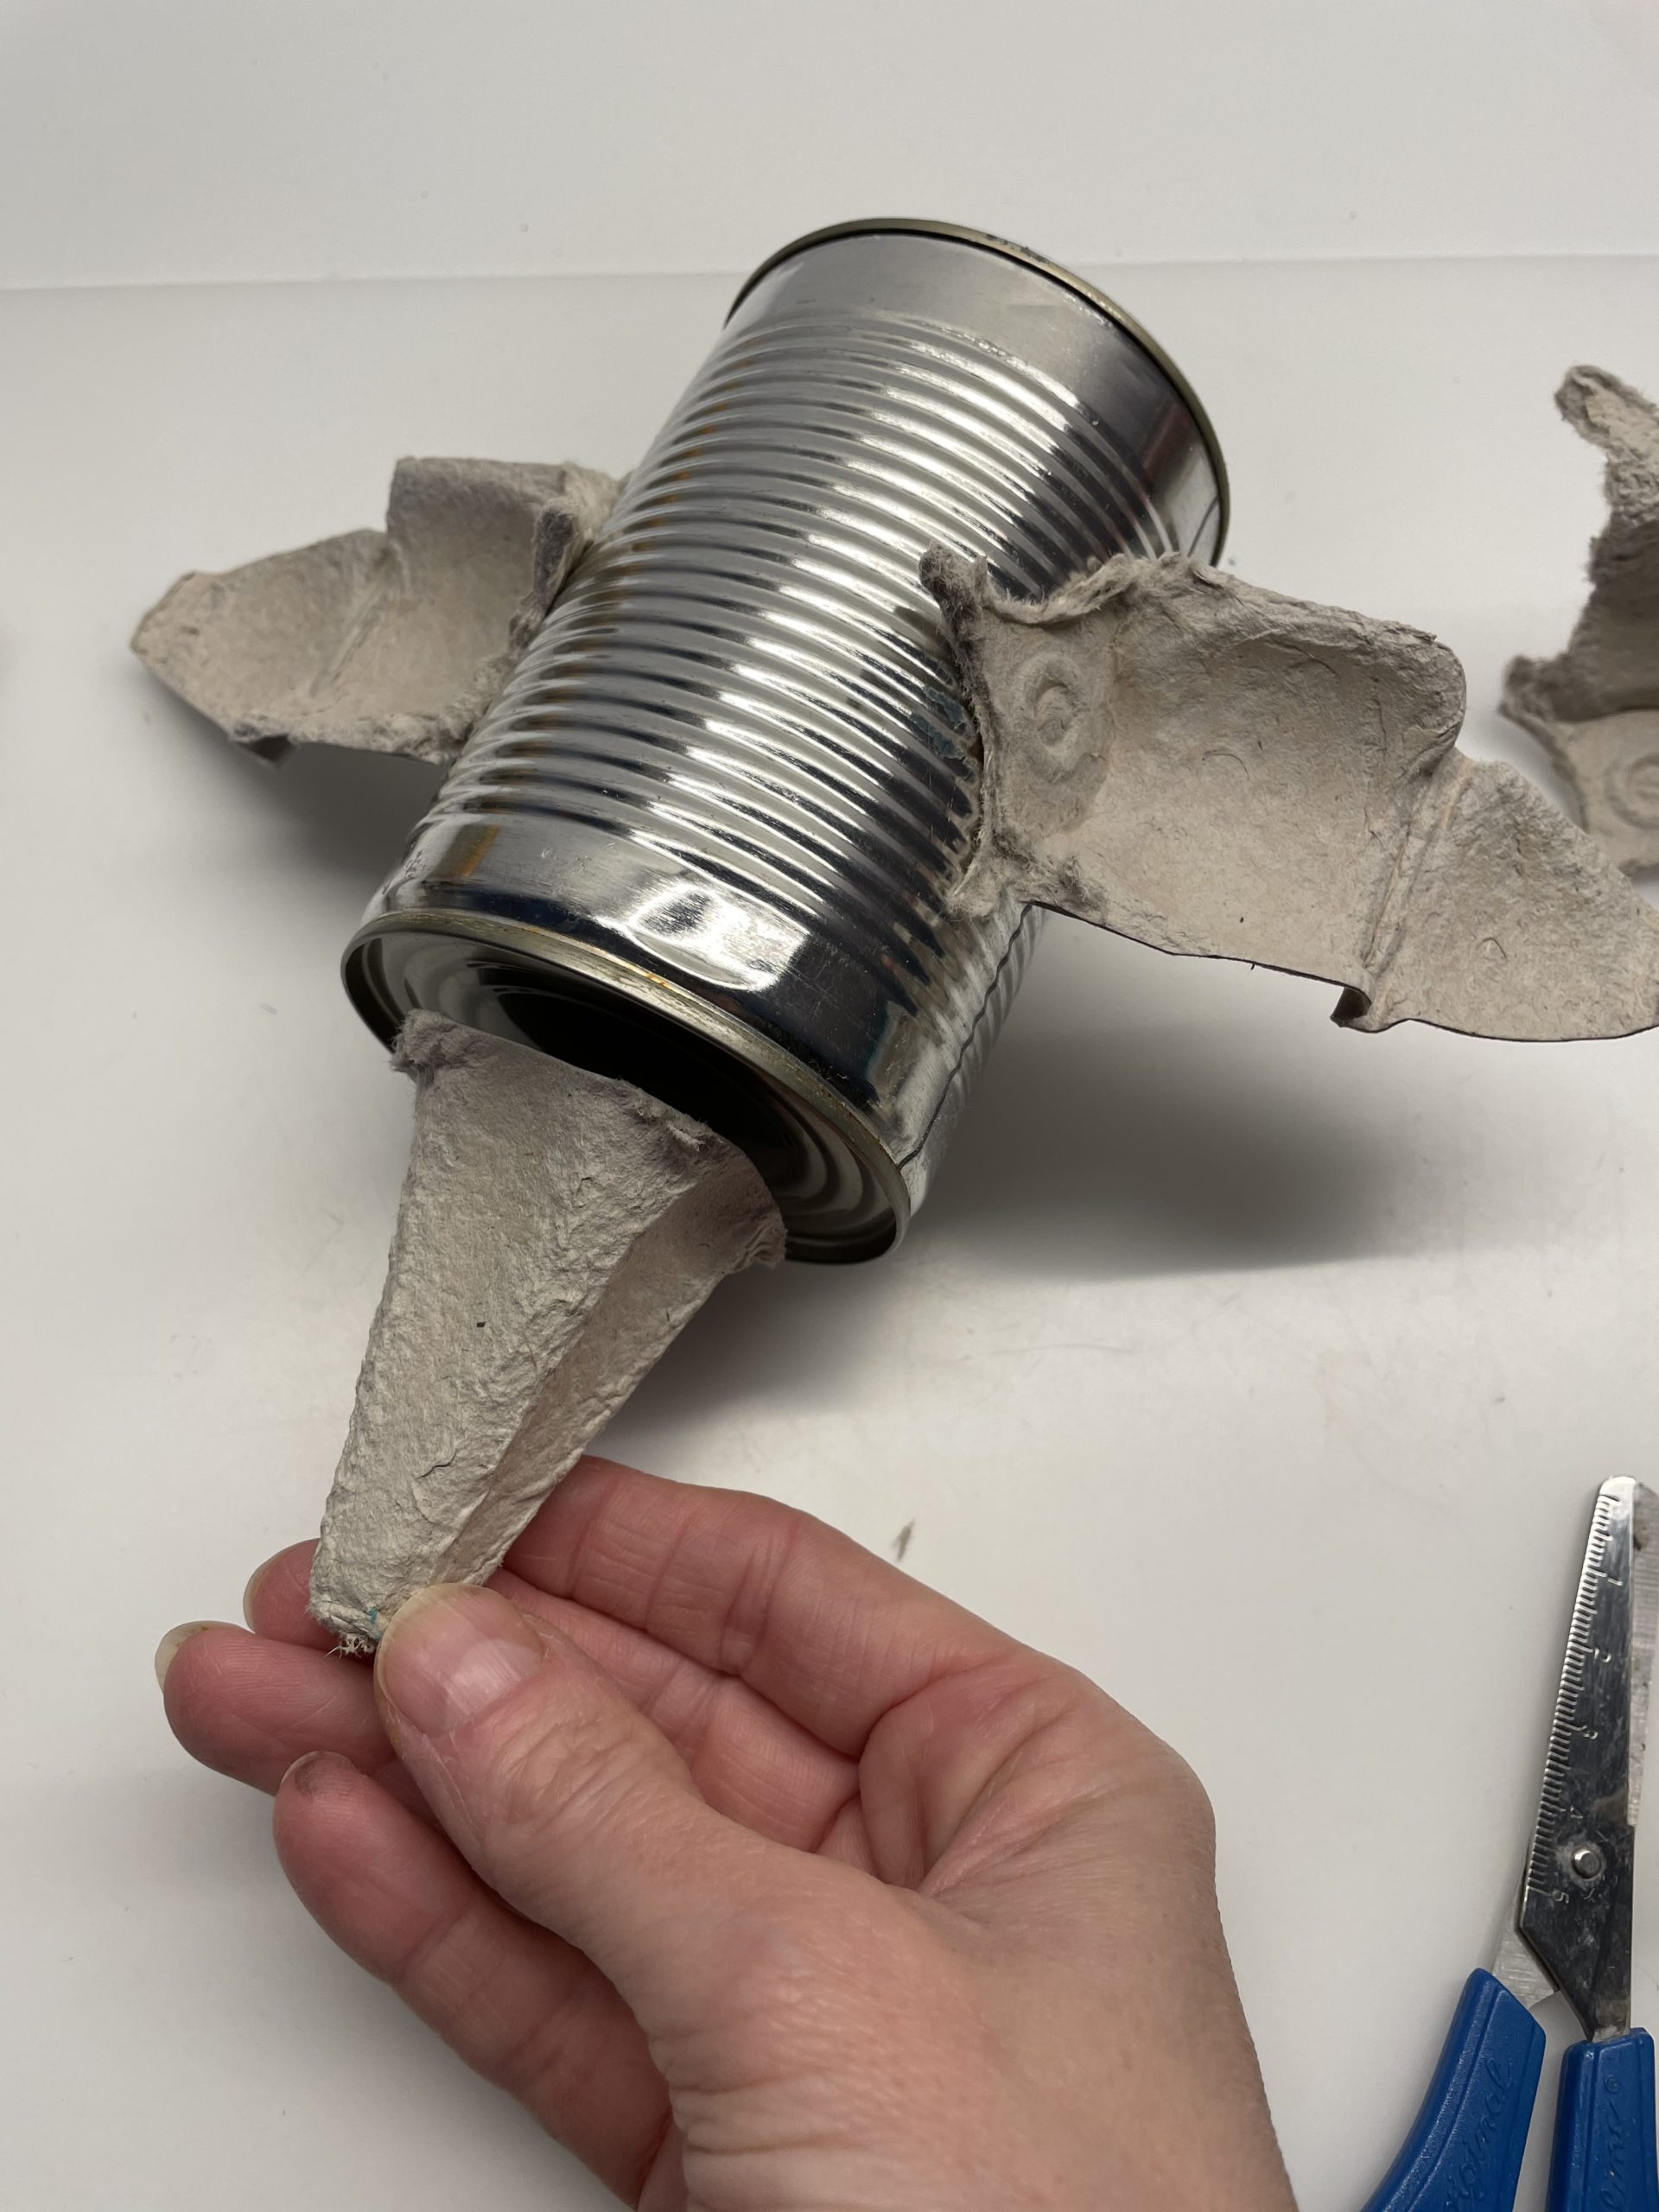
Now cut off the tip of the egg box at the bottom straight.
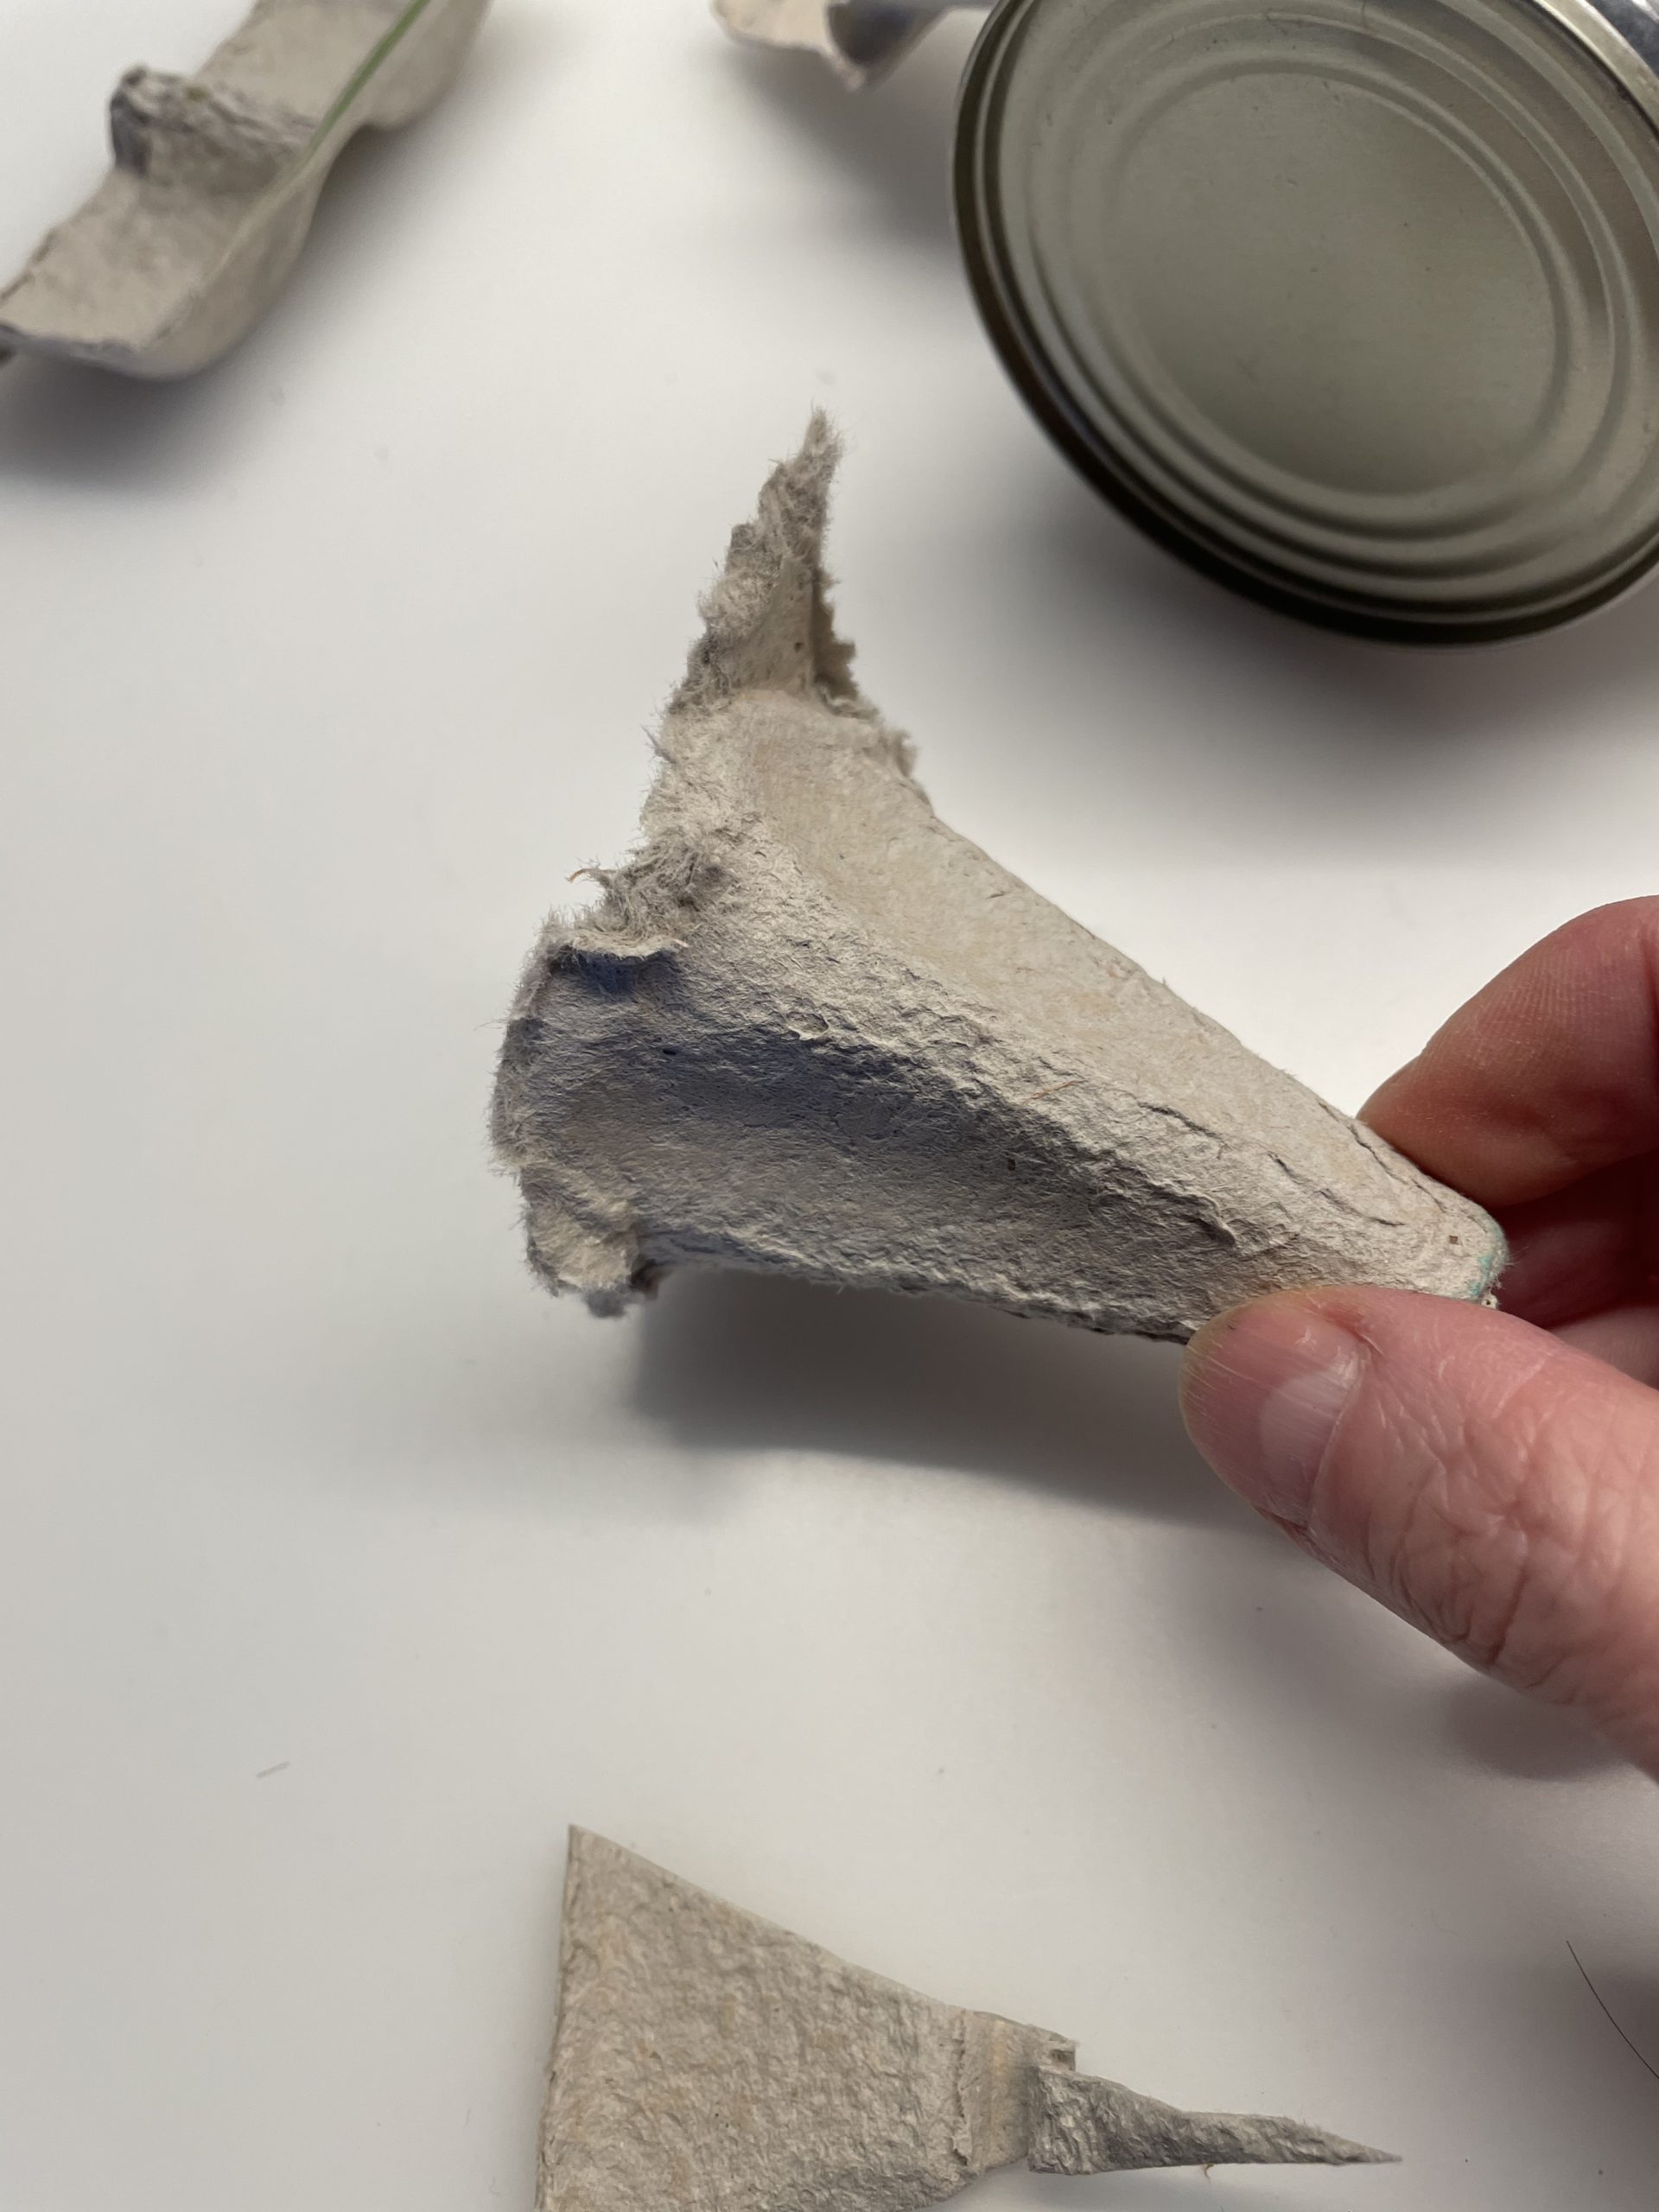
Then you stick the tip to the bottom of the tin can.
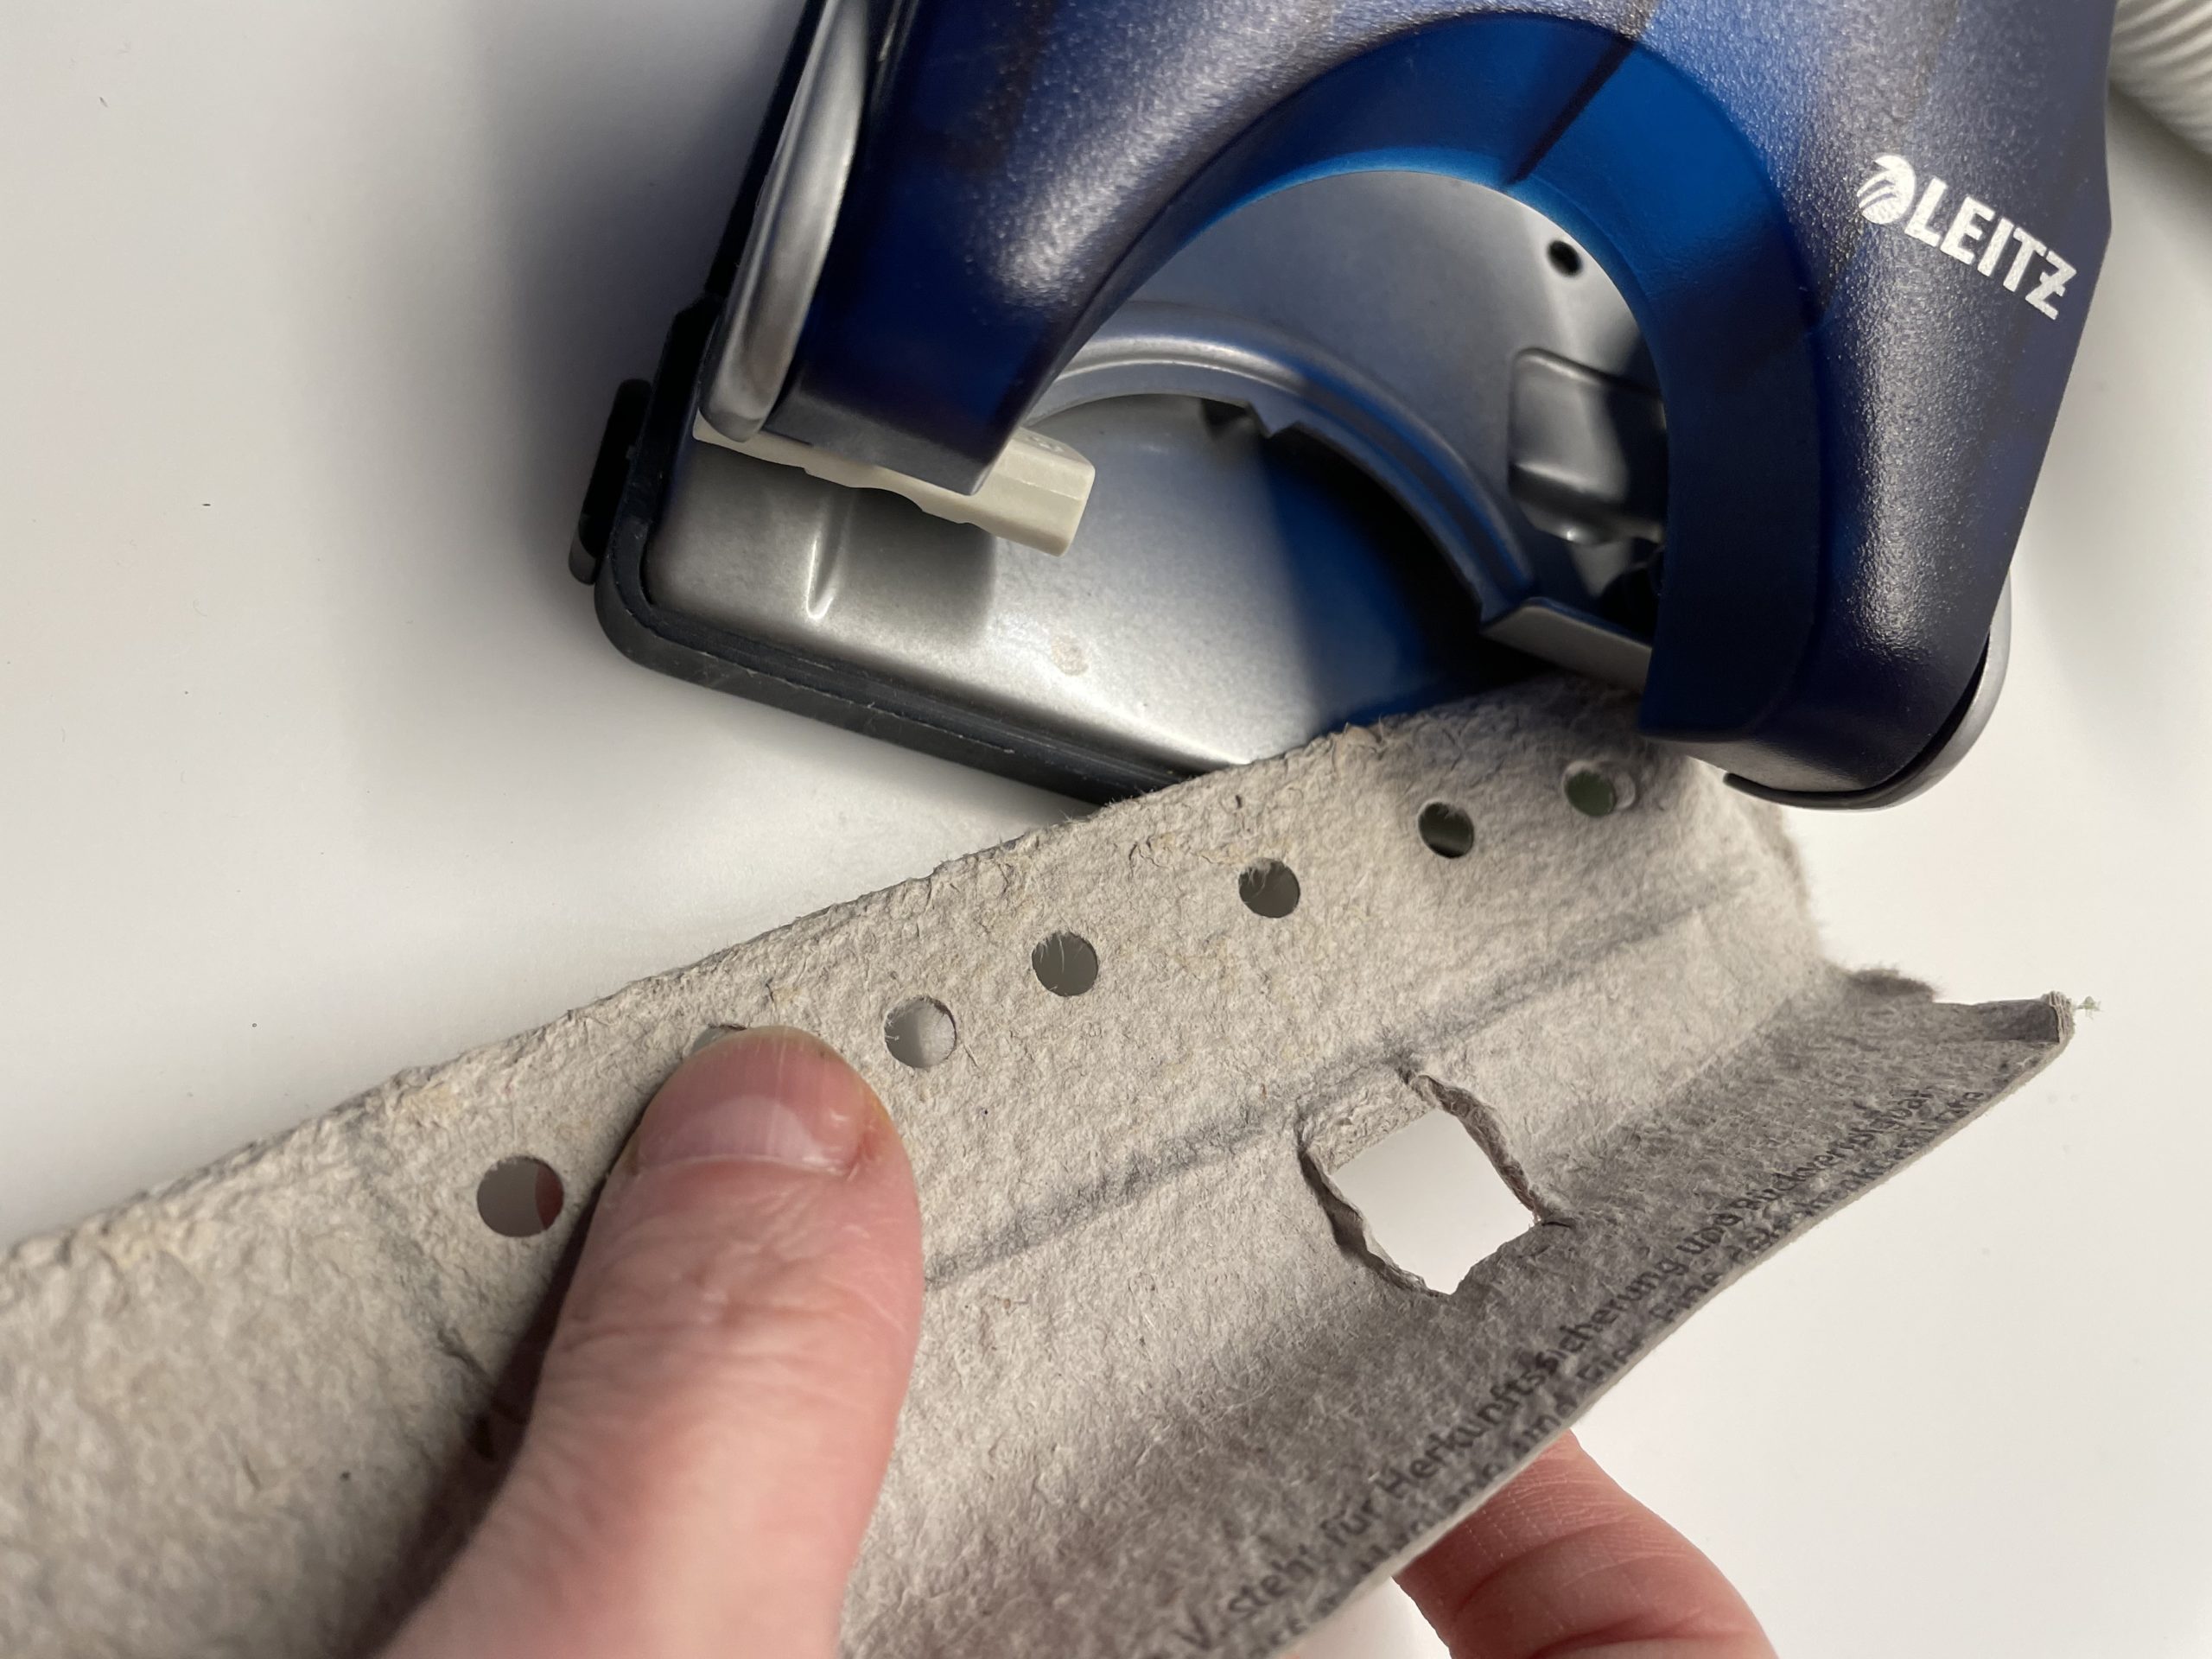
Now cut off a strip of cardboard from the lid of the egg box.

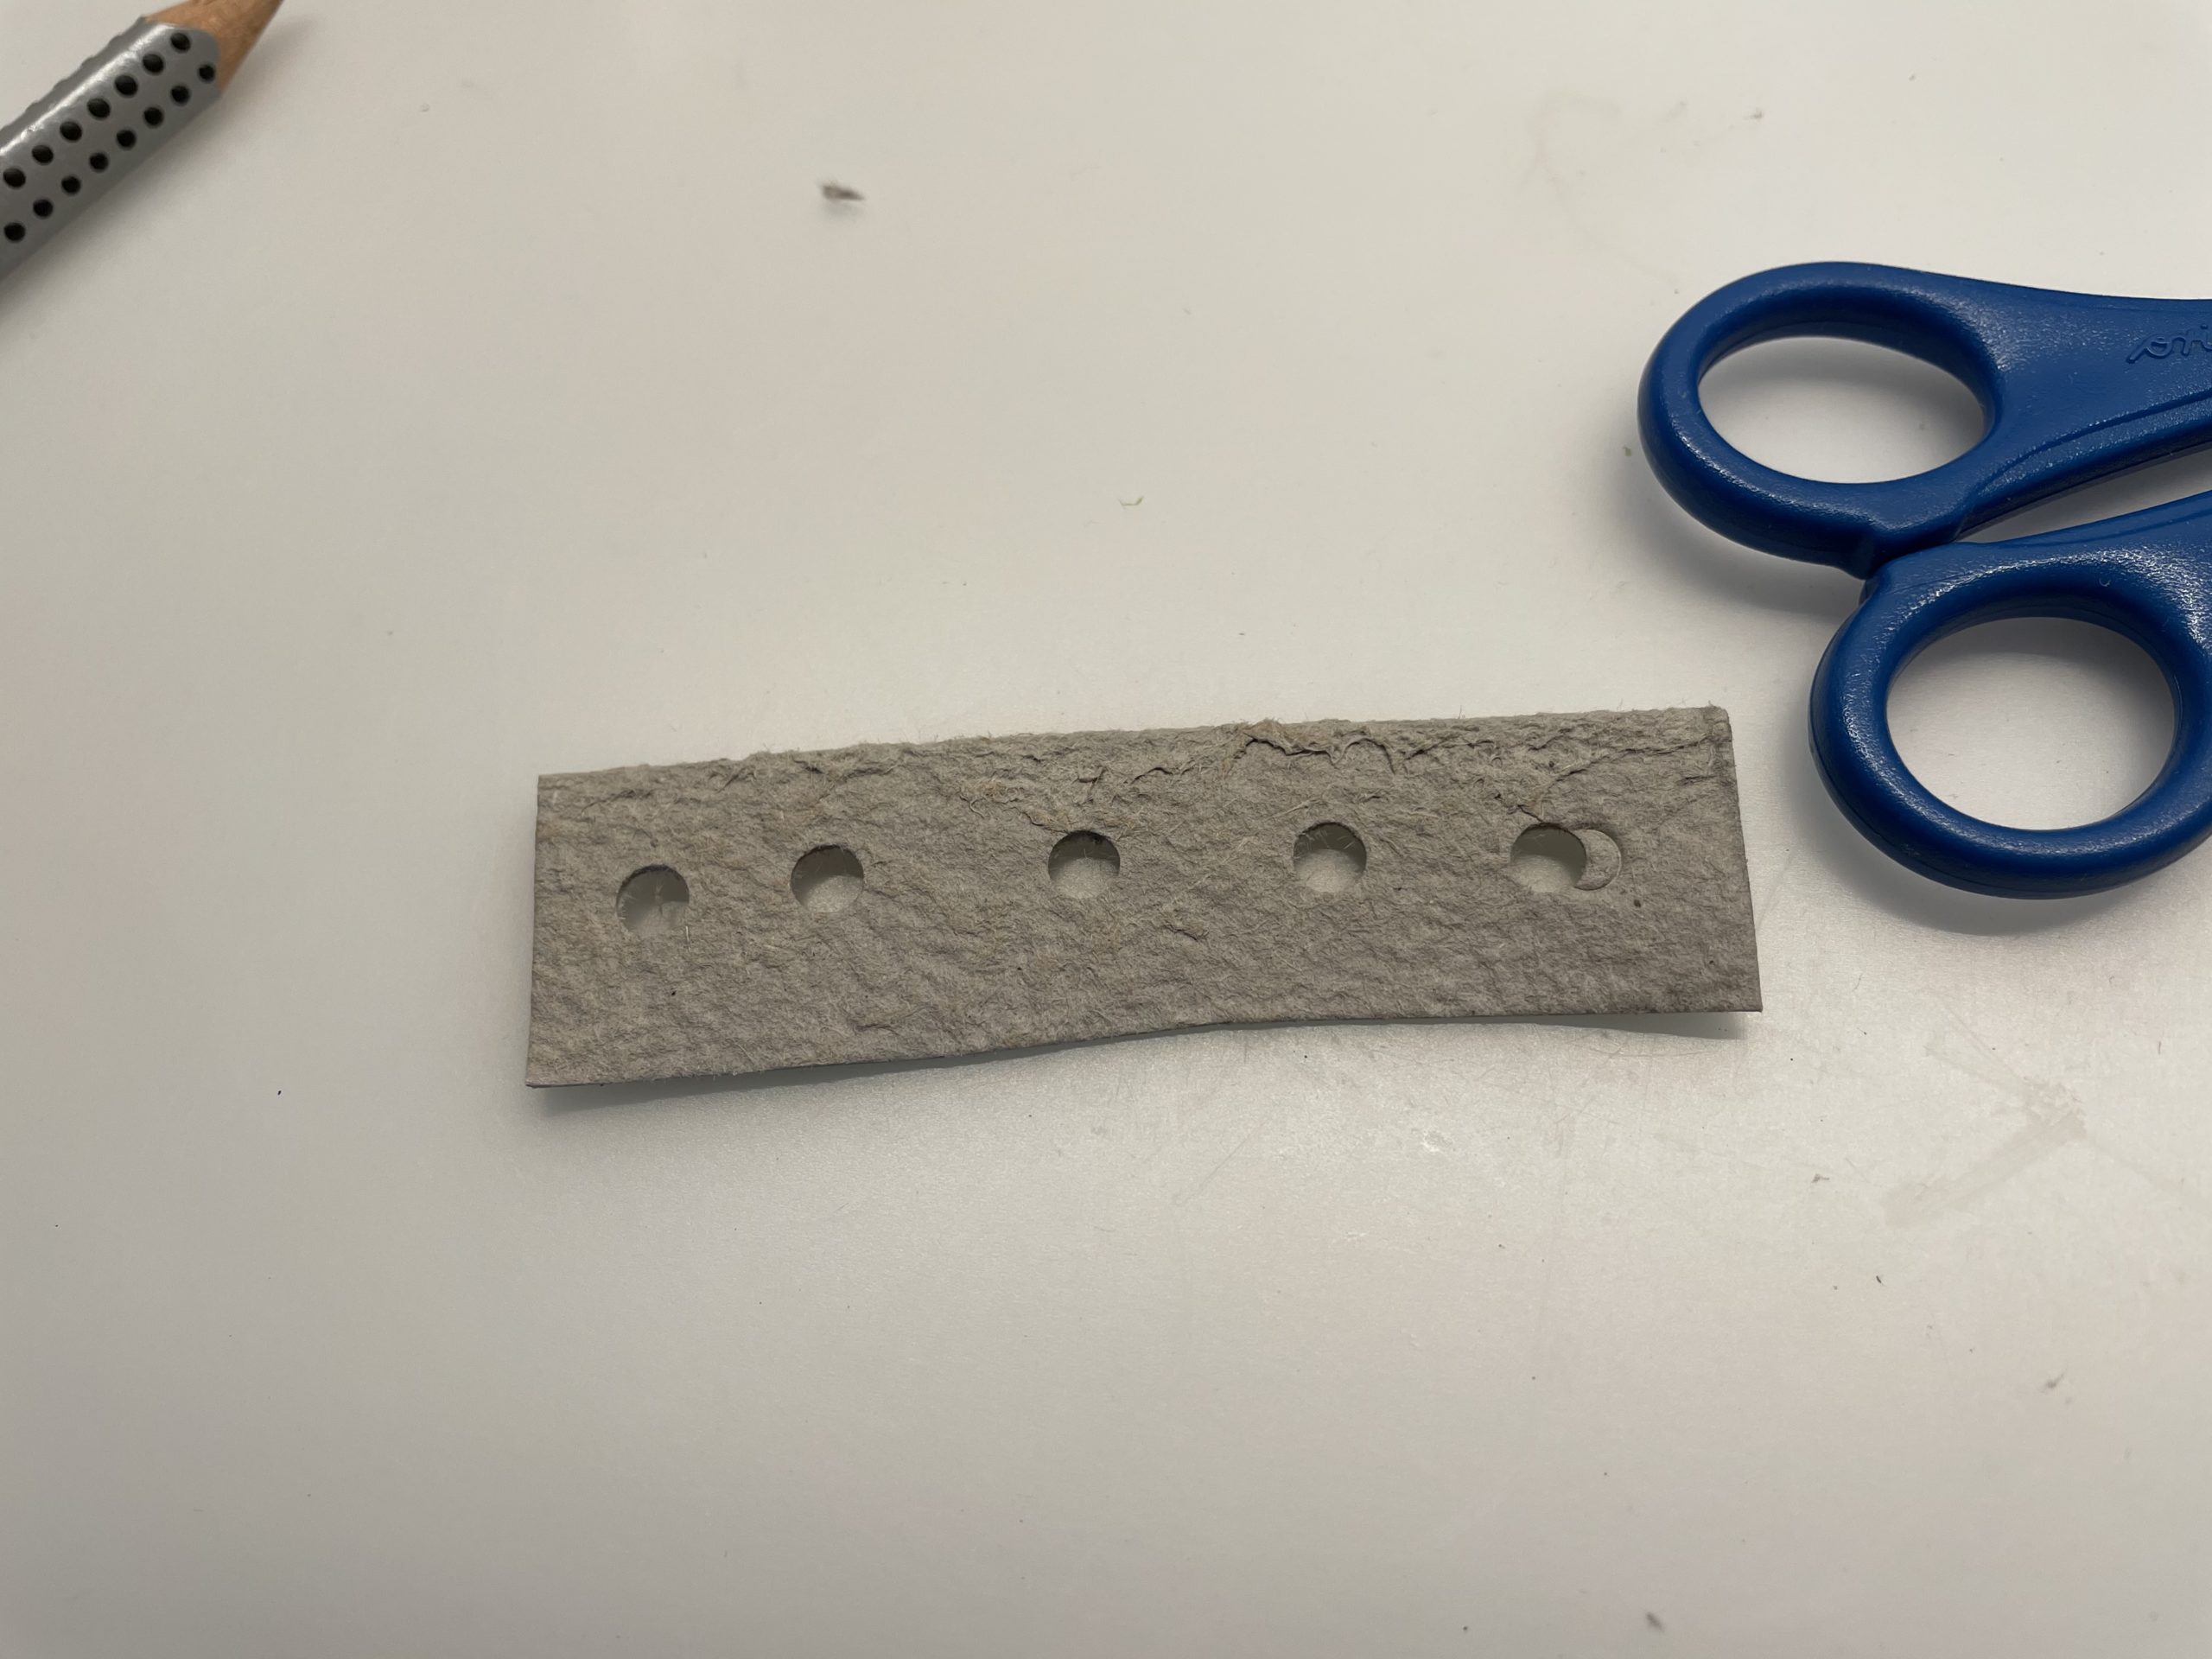
Holes several holes in the box with a perforator.
Then cut the carton 2 times to the length of the tin can.
Then stick these strips under the wings with hot glue on the left and right.

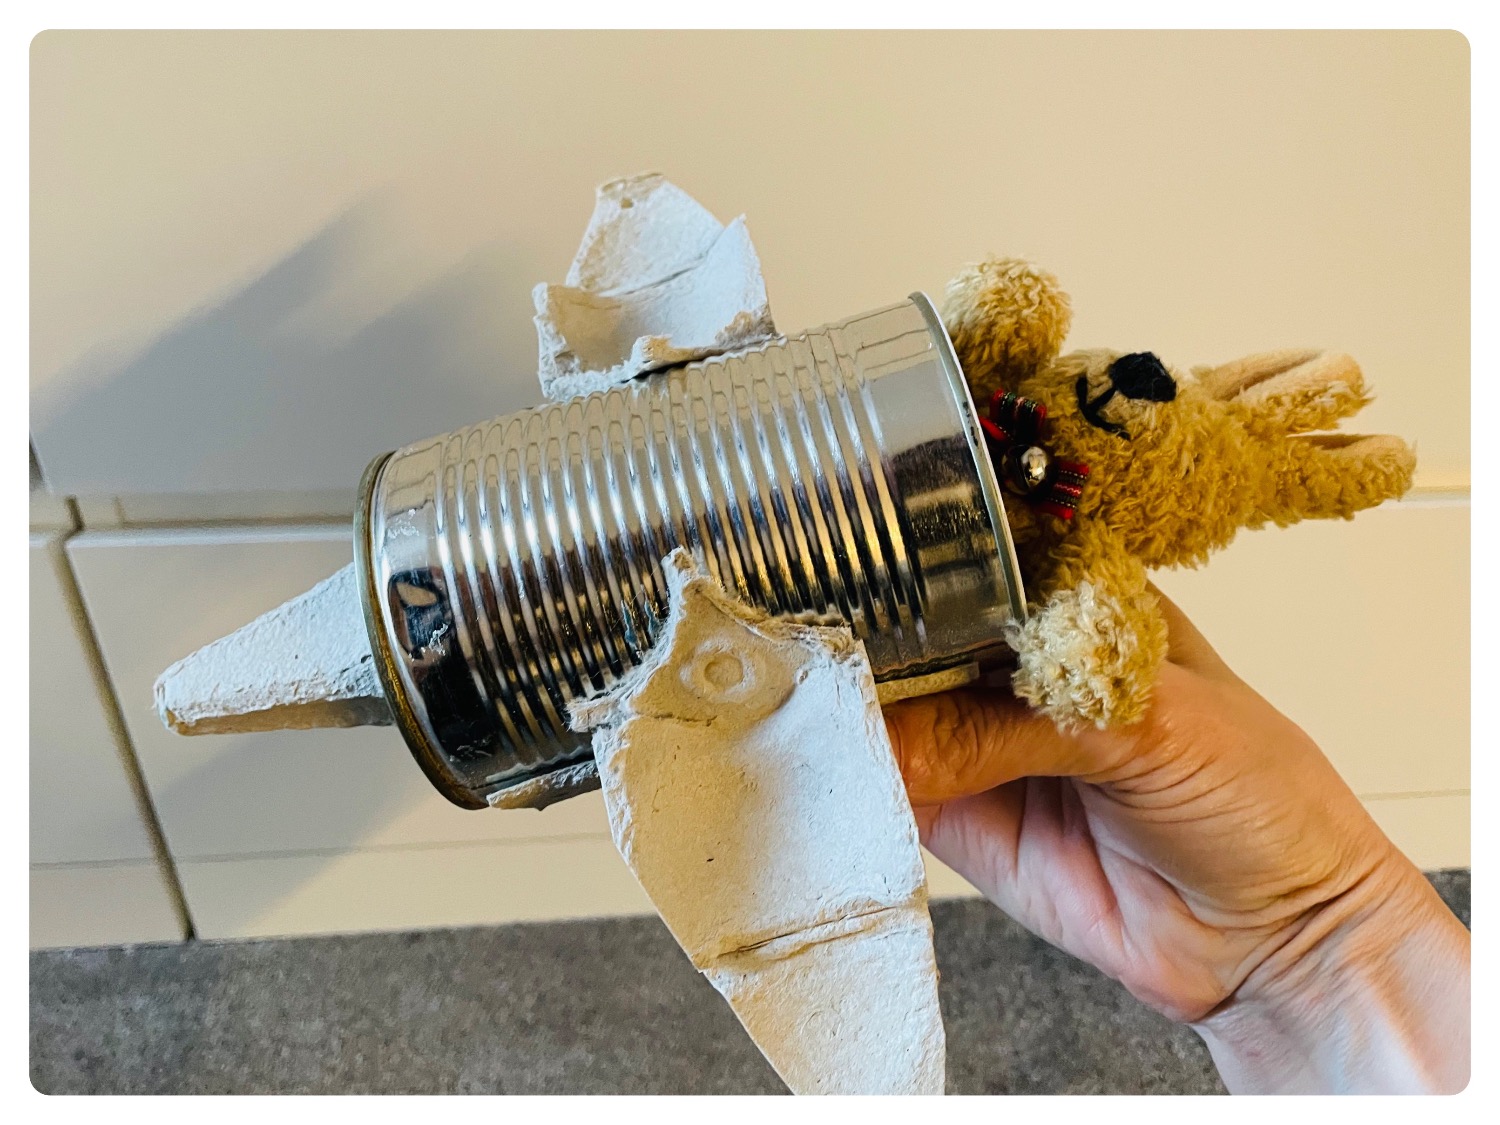
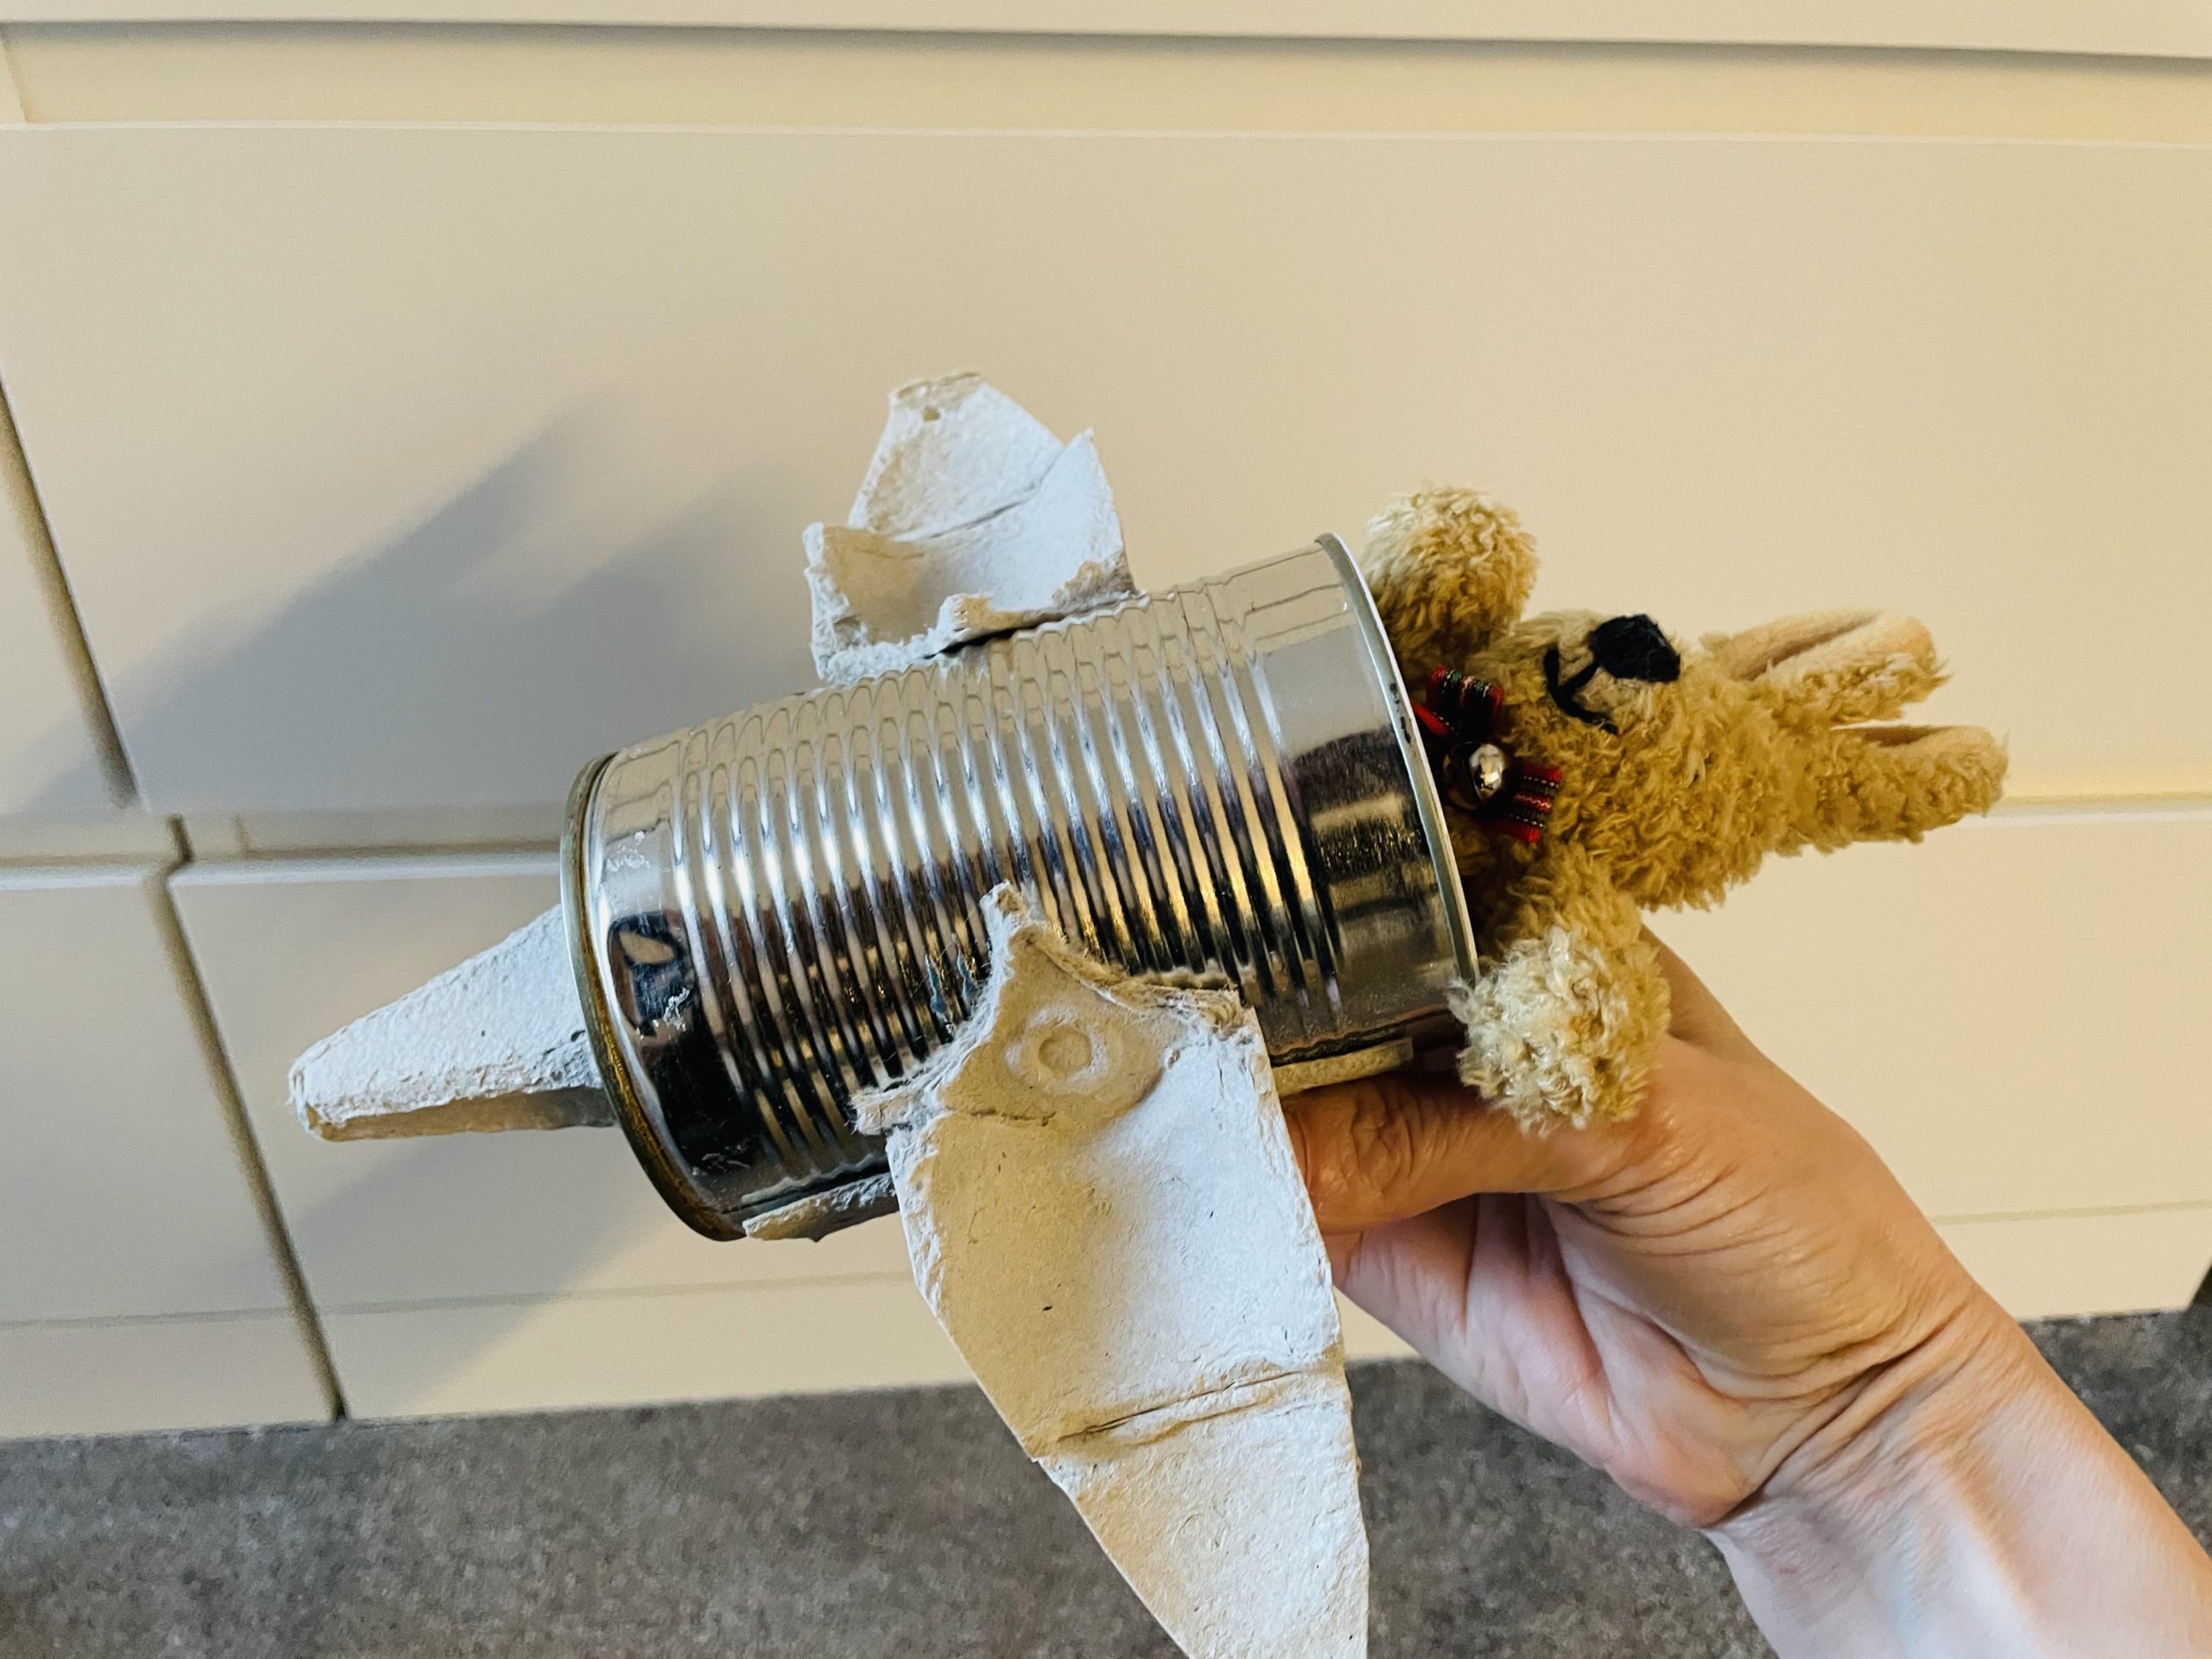
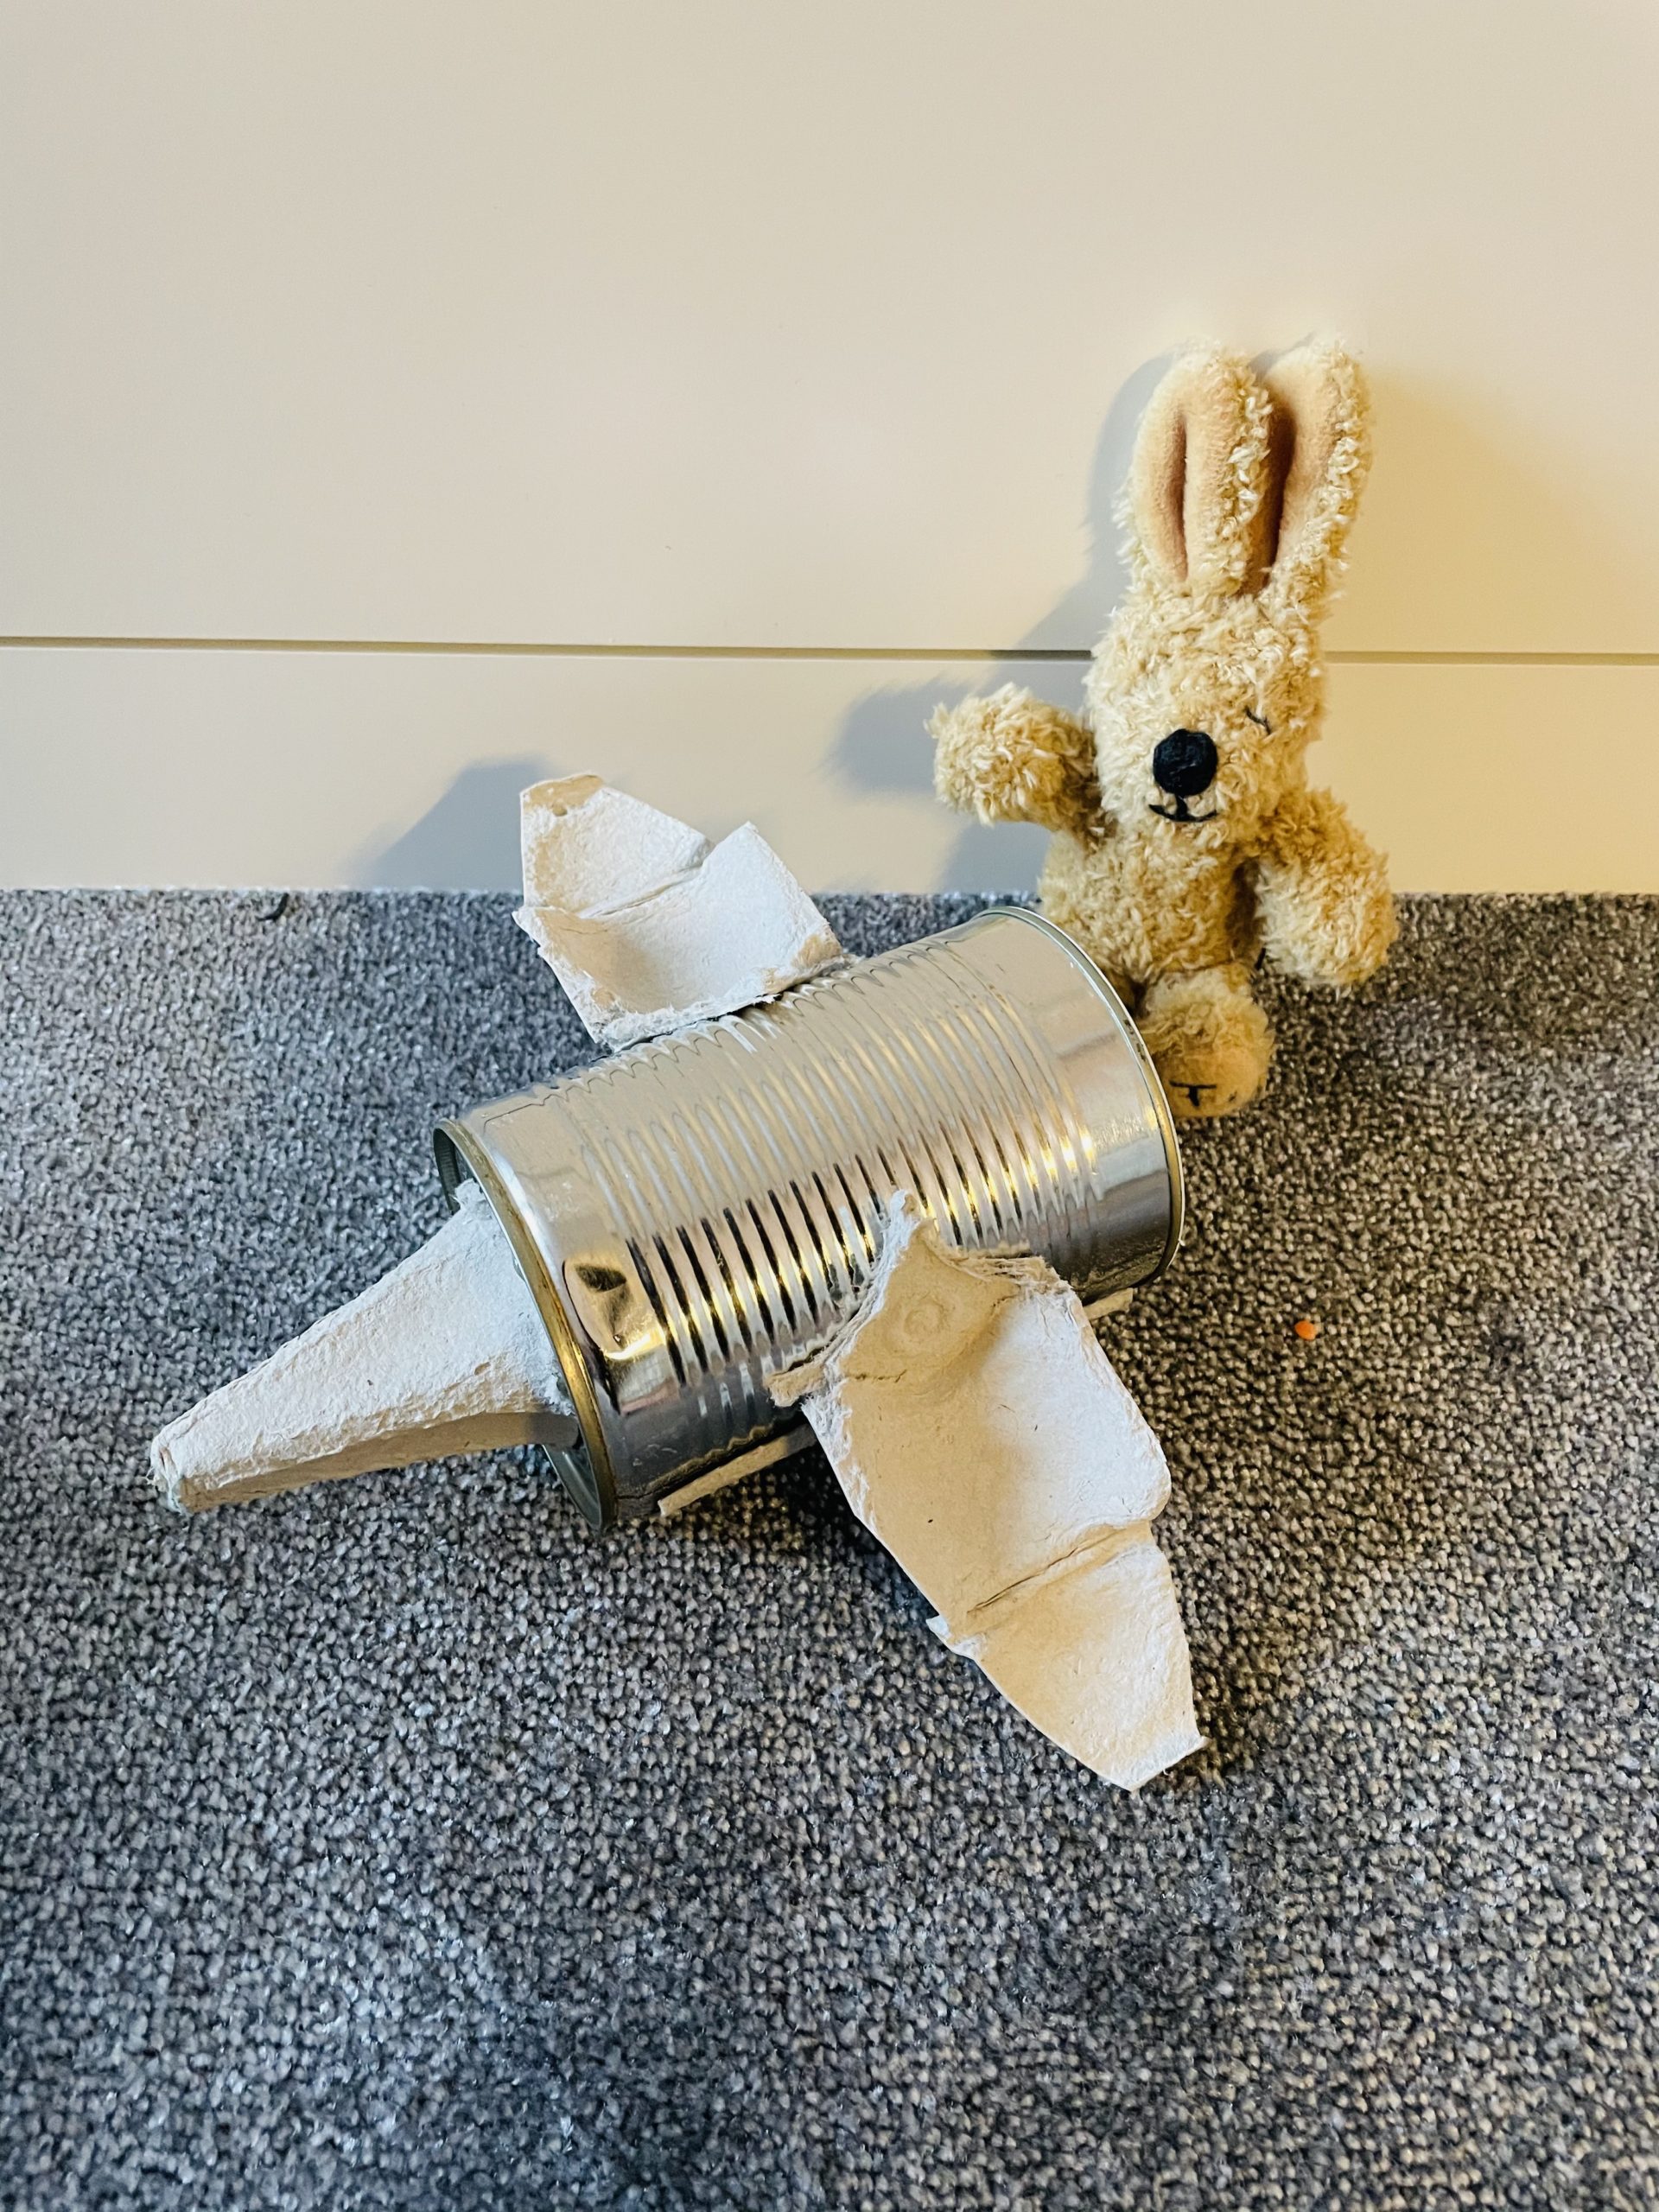
The plane's ready.
The passengers can get in. The can is open at the back. Thus, cuddly toy or another character can get in.

Ready to fly!
Have fun doing crafts and then playing.
Materials
Directions
Get all the materials ready and your craft file.
First you separate the tips from the egg box. You need a tip for the aviator can.
Cuts the wings of the plane from one of the side parts created in this way.
Cut this as in the picture. You need two wings.
Then glue the wings to the tin can with hot glue on the left and right. Attention when handling the hot glue - risk of injury!
Now cut off the tip of the egg box at the bottom straight.
Then you stick the tip to the bottom of the tin can.
Now cut off a strip of cardboard from the lid of the egg box.
Holes several holes in the box with a perforator.
Then cut the carton 2 times to the length of the tin can.
Then stick these strips under the wings with hot glue on the left and right.
The plane's ready.
The passengers can get in. The can is open at the back. Thus, cuddly toy or another character can get in.
Ready to fly!
Have fun doing crafts and then playing.
Follow us on Facebook , Instagram and Pinterest
Don't miss any more adventures: Our bottle mail