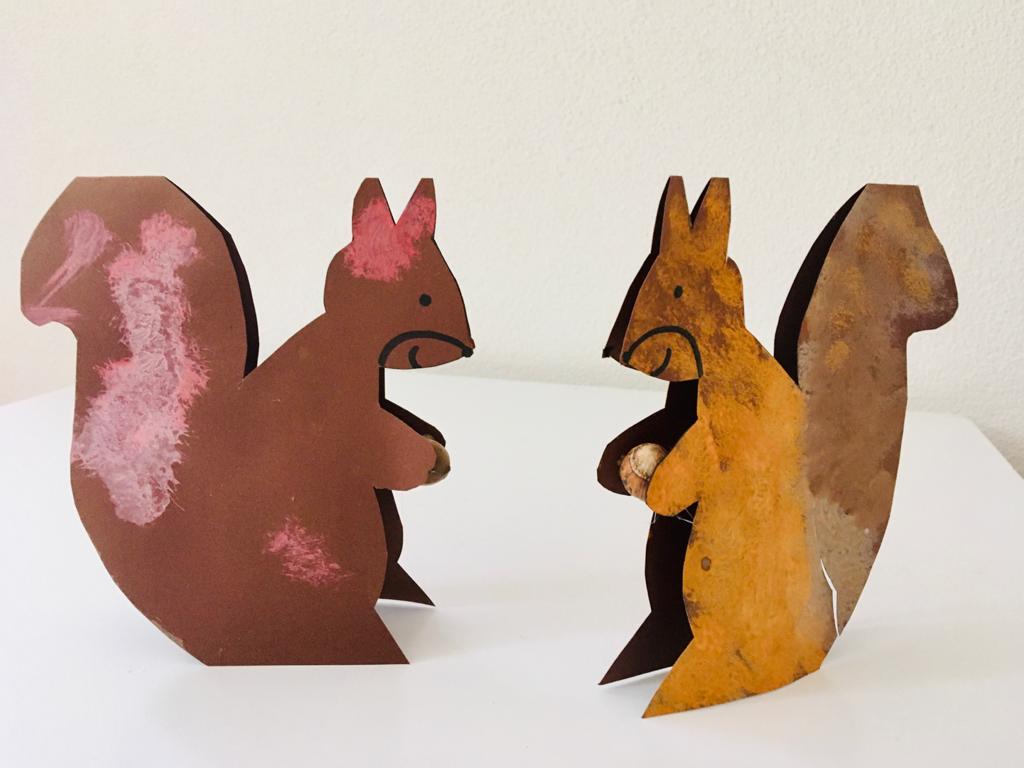
In our garden we can watch the squirrels again and again, which motivated the children to make one. Of course it should also hold a hazelnut and so I became creative. A beautiful craft for the autumn.
Prepare a craft place. Place a tablecloth and put on a paint coat.
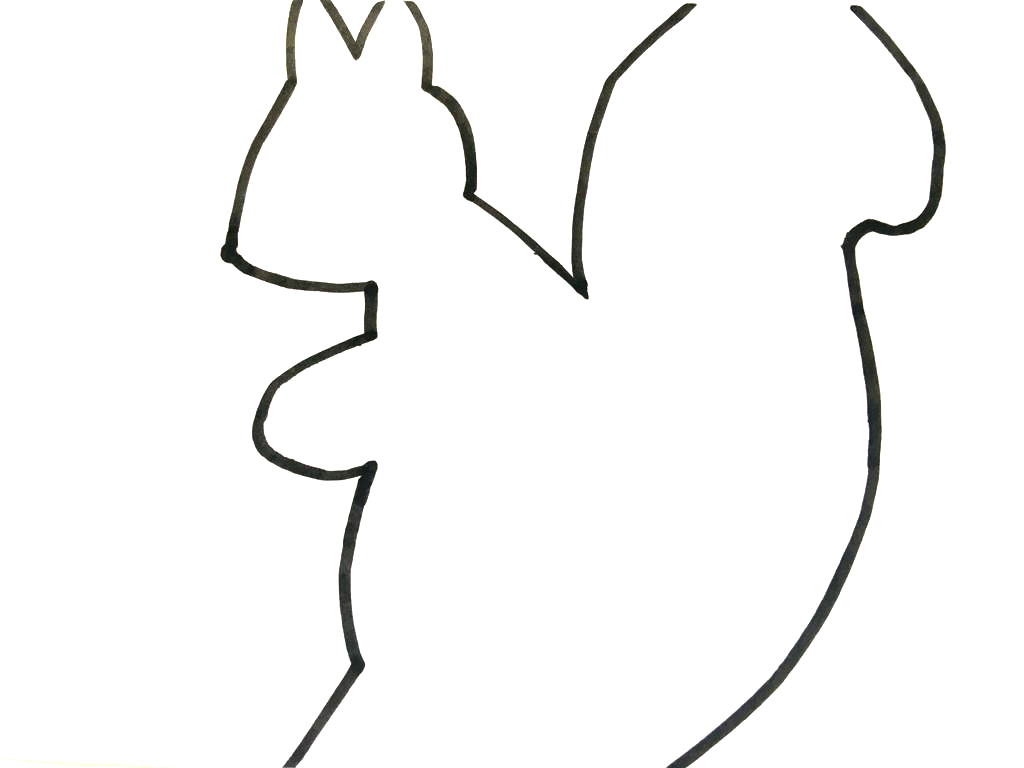
Print template. Attention: the template is not cut off. The ears and tail are shortened, because at these places the squirrel is held together later.
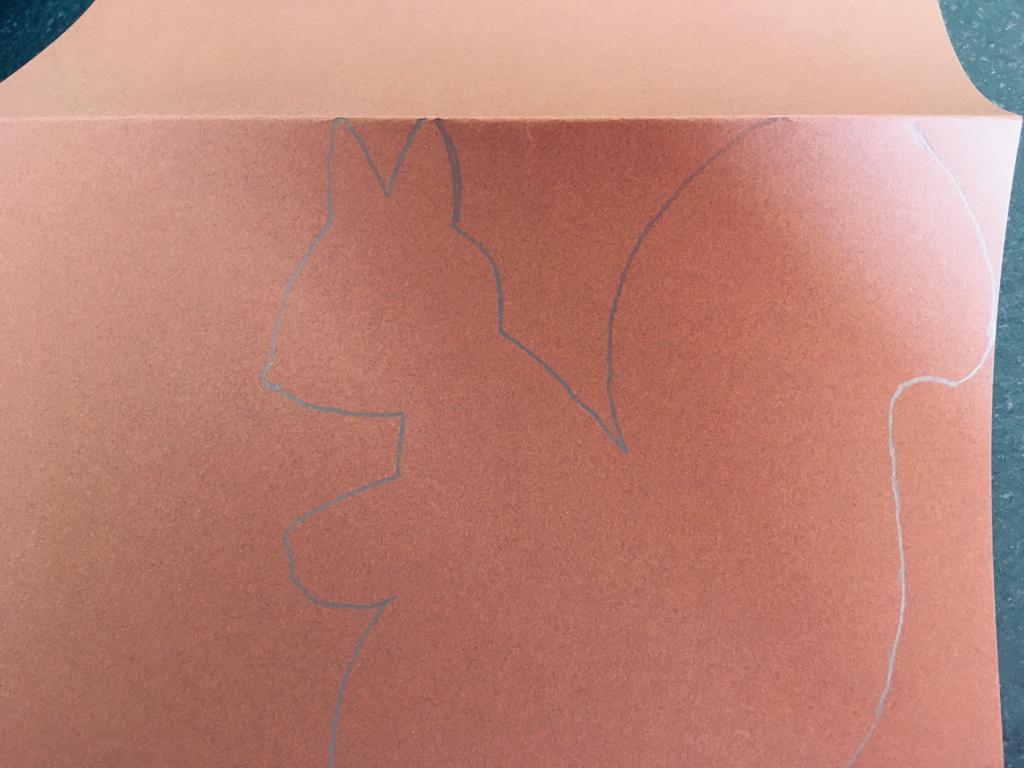
Half-fold brown paper and spread fold.

Transfer the cut-out template to the brown paper. The ear tips are on the paper kink! See picture.
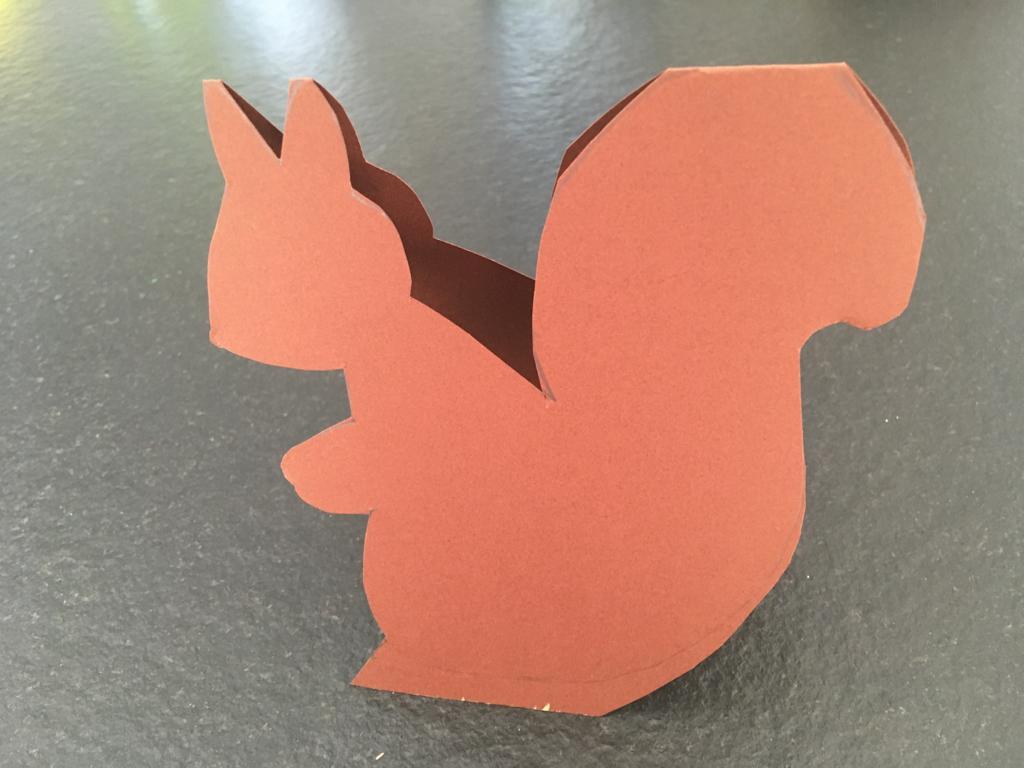
Cut out squirrel twice.
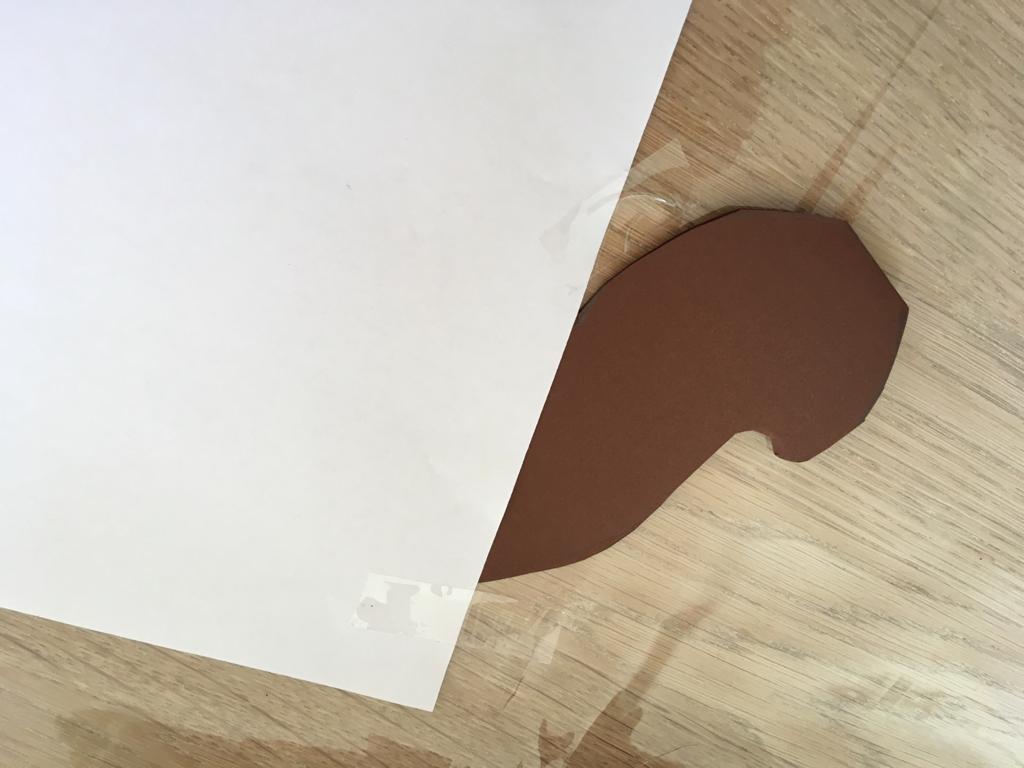
Cover the cut-out squirrel with a leaf that only the tail of the squirrel looks out. Fix the cover sheet with an adhesive tape (that it does not slip!)
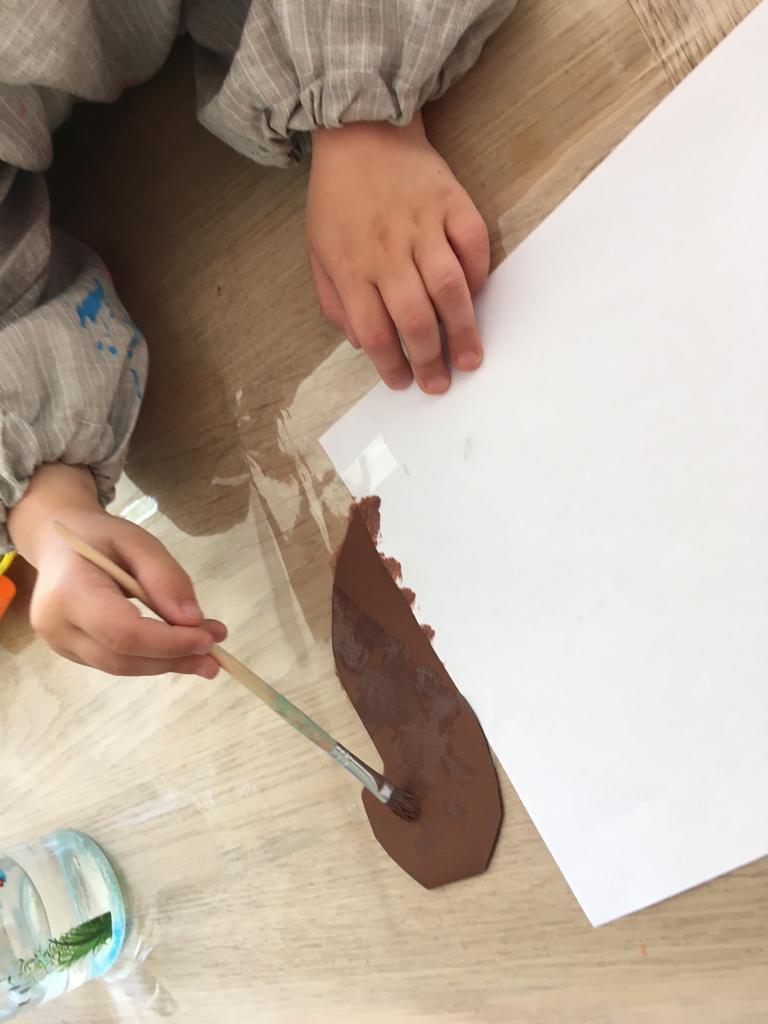
Now the tail can be painted with water paint and brush. (Without the body of the squirrel being painted)
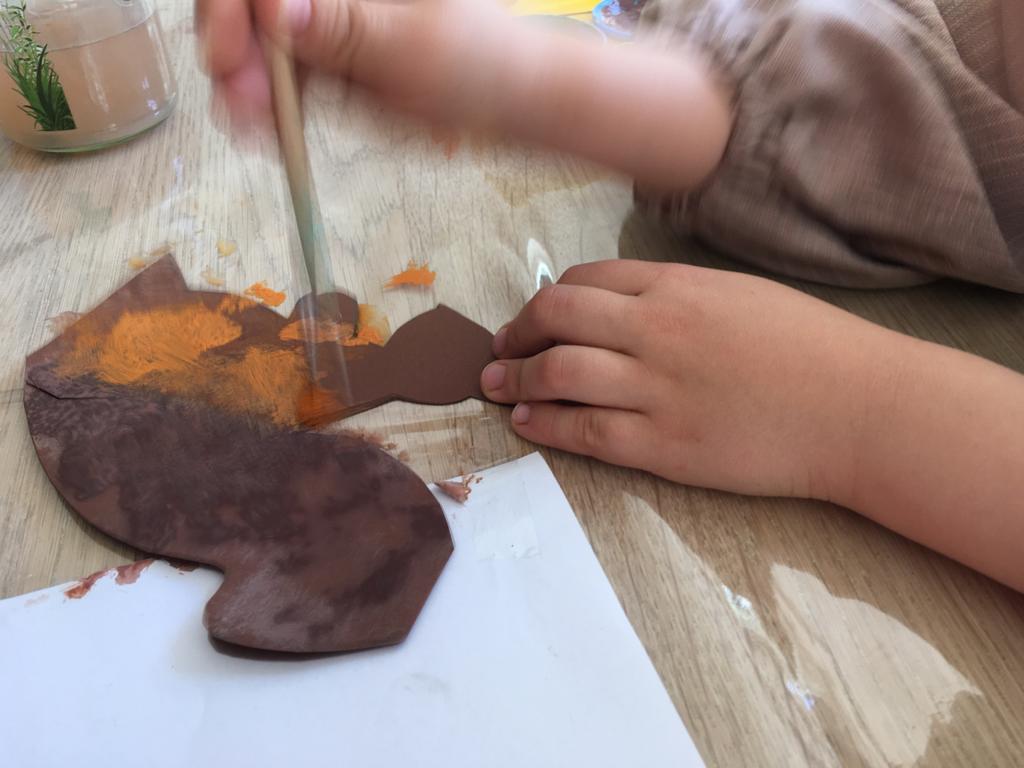
Remove cover sheet and paint or dab the body with a different shade.
Place the painted squirrel for drying and then put it up.
Glue the nut with hot glue between the two "paws".
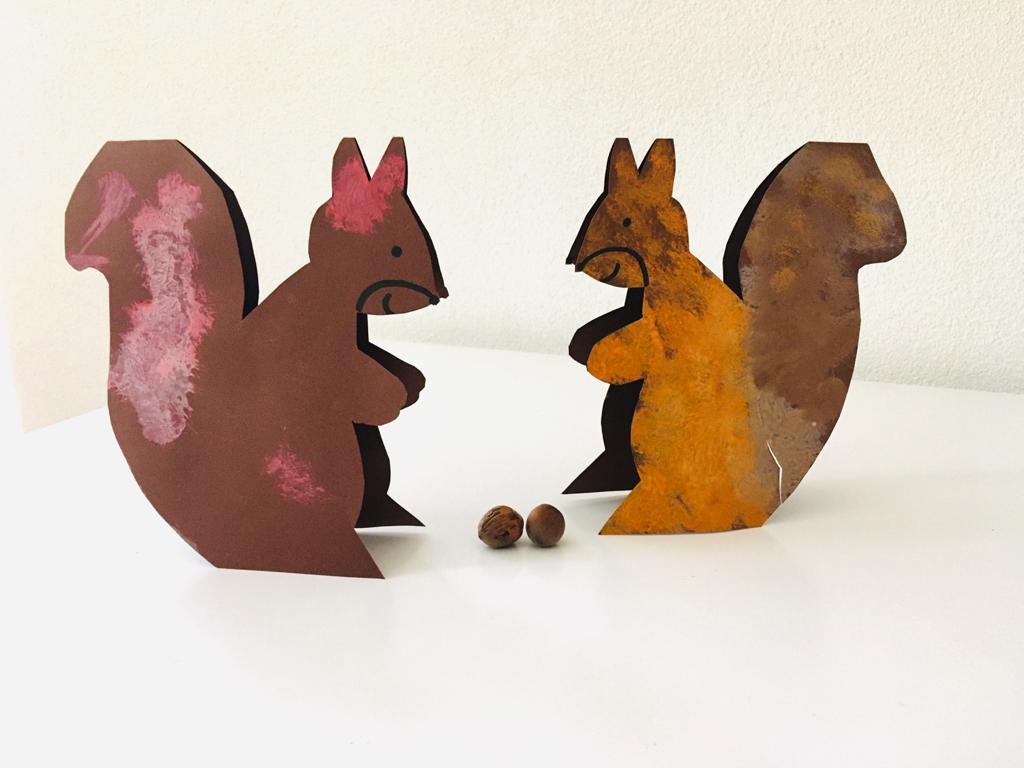
The squirrel is ready.