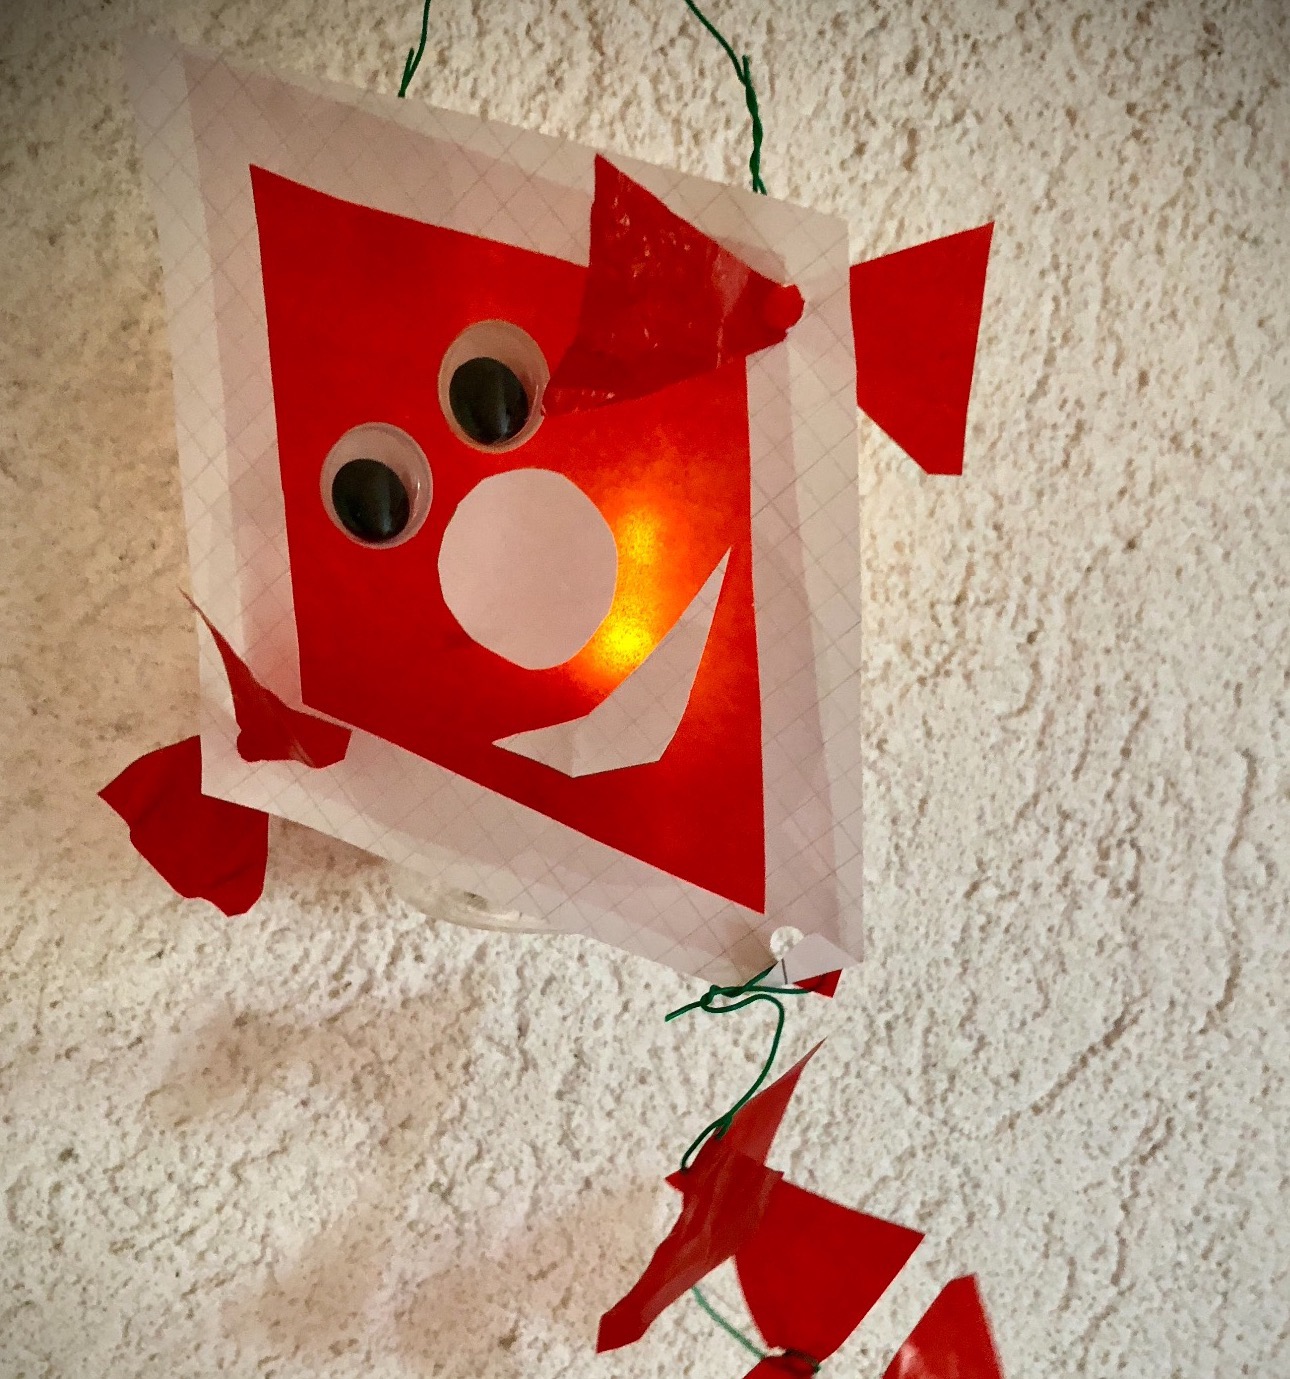
Autumn time: lantern time!
Let your dragons rise. When the wind goes, many bring out their dragon and let it rise.
Today we want to make a dragon lantern.

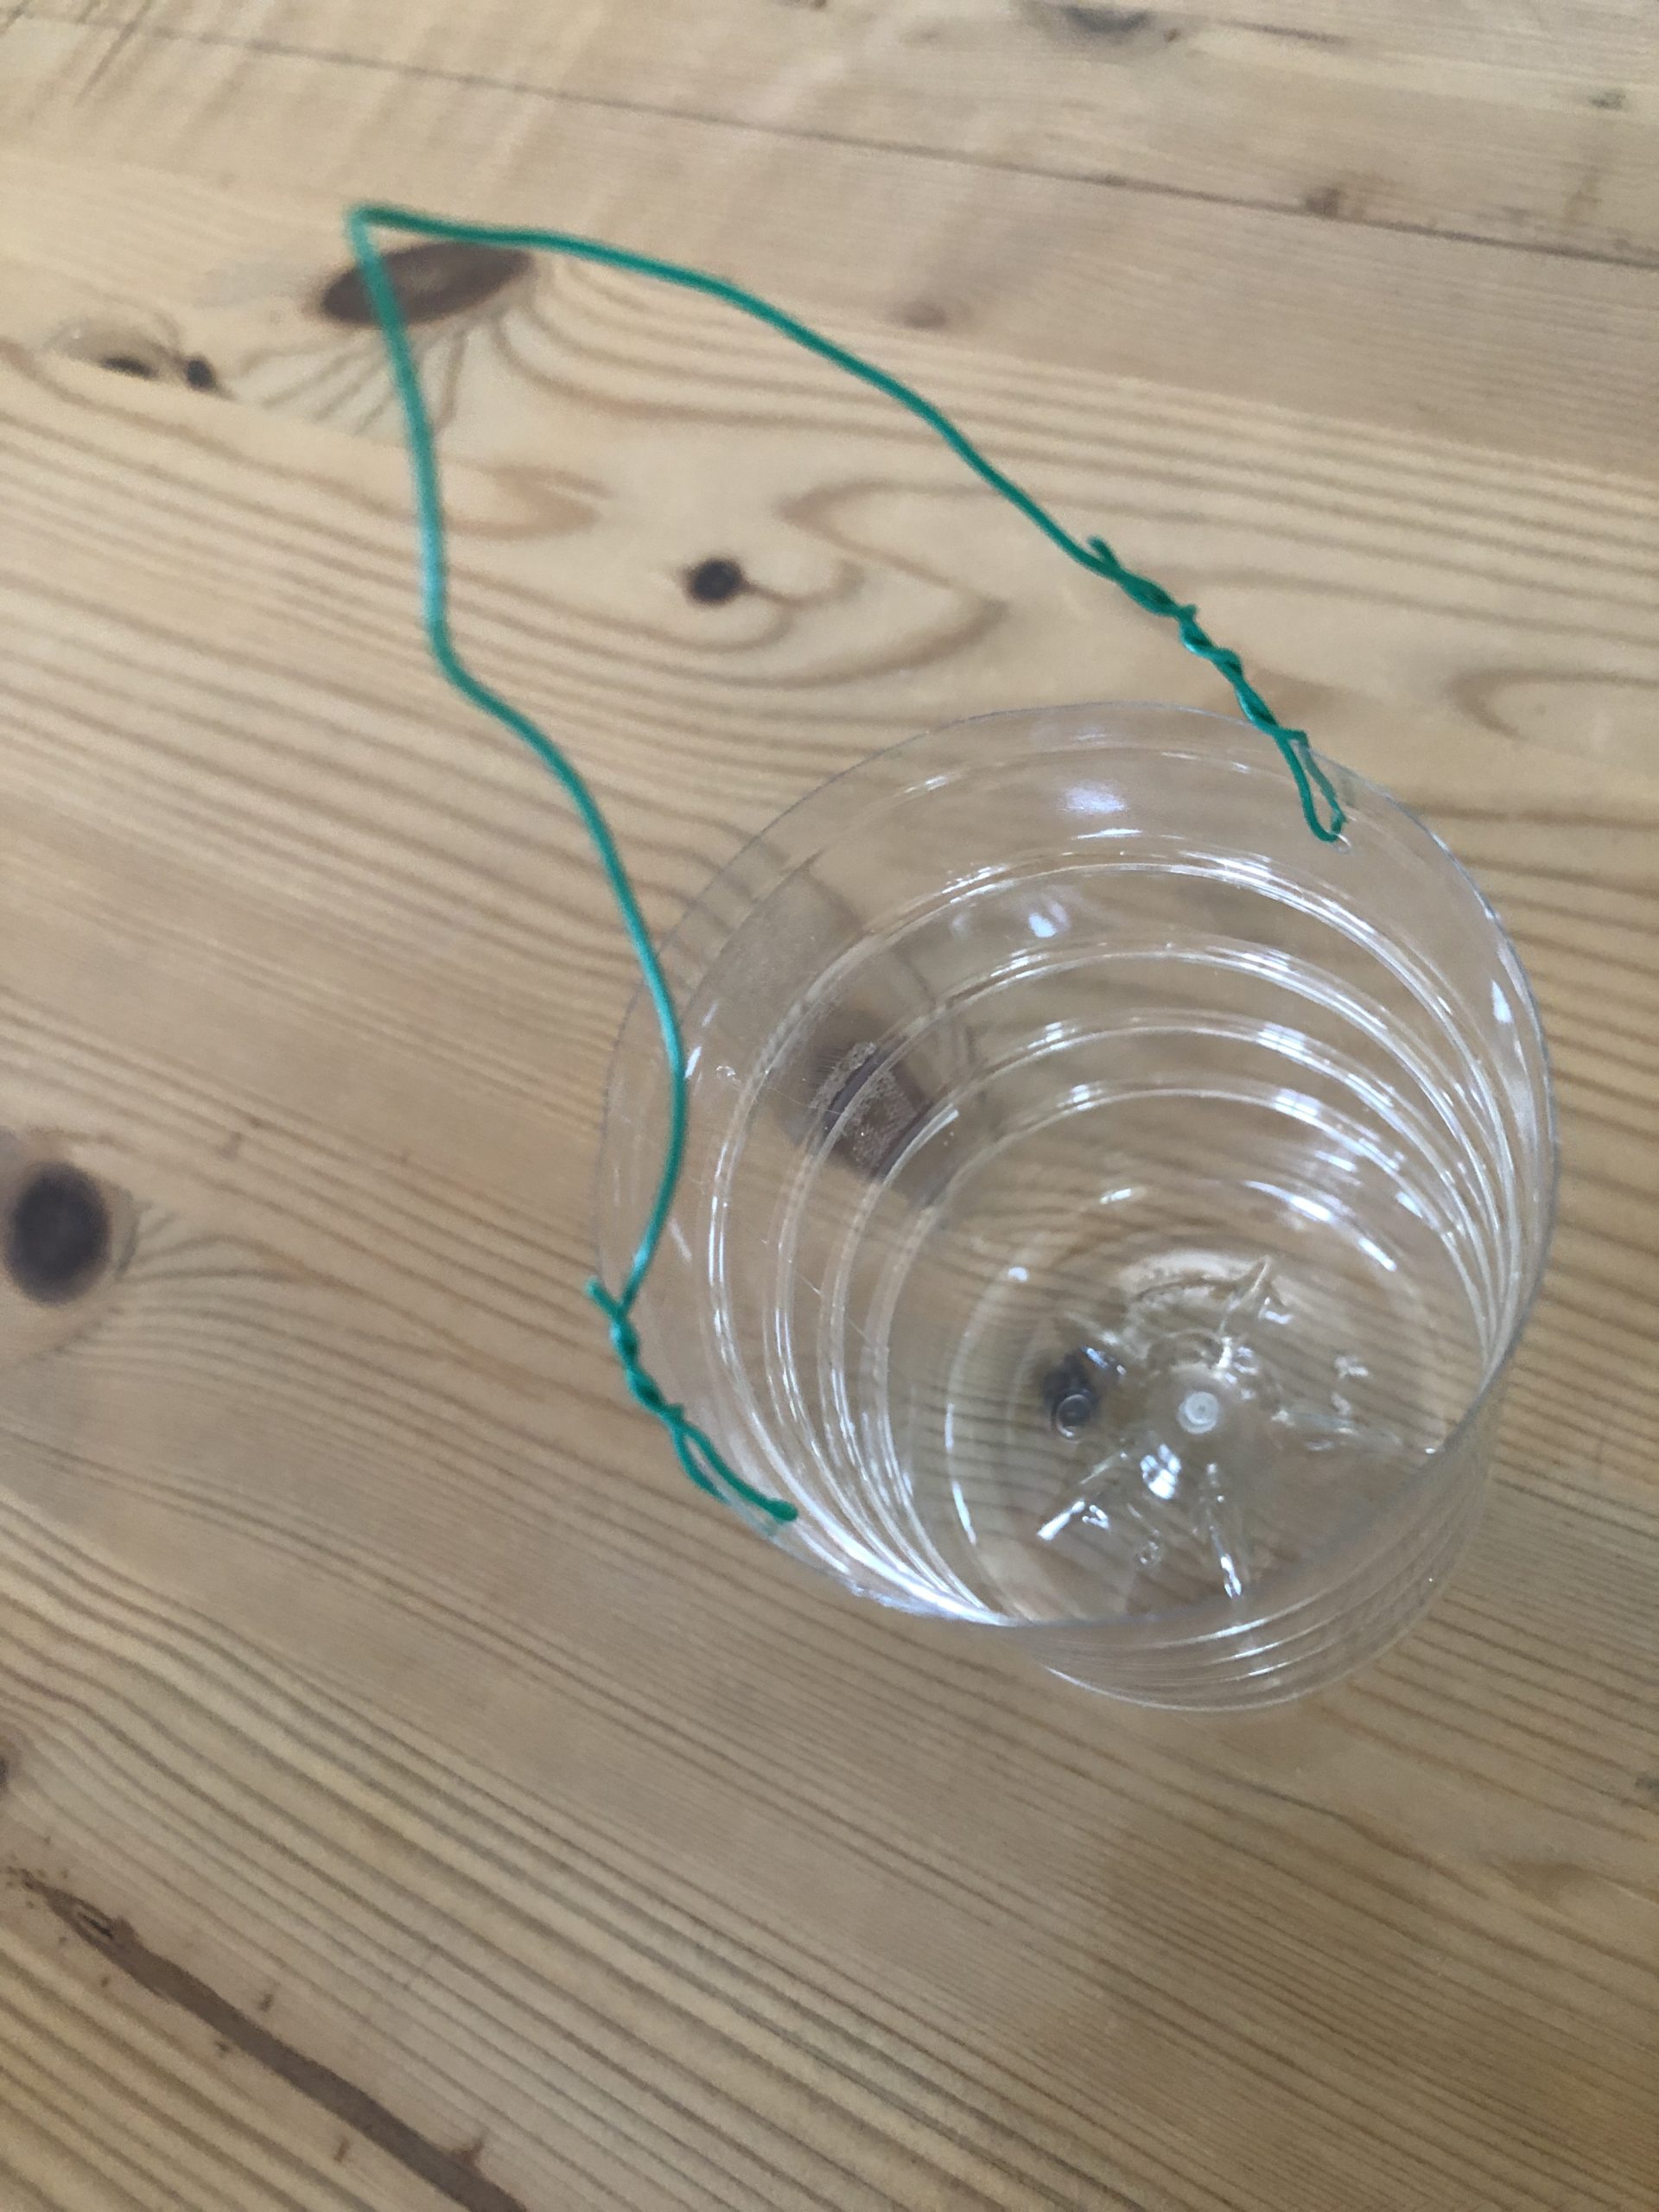
First you cut off the bottle neck. Then you punch two opposite holes in the upper edge with a punched tong.

Now cut off a piece of wire (about 20cm long) which you thread through the holes and twist the ends of the wire so that it sits tight.
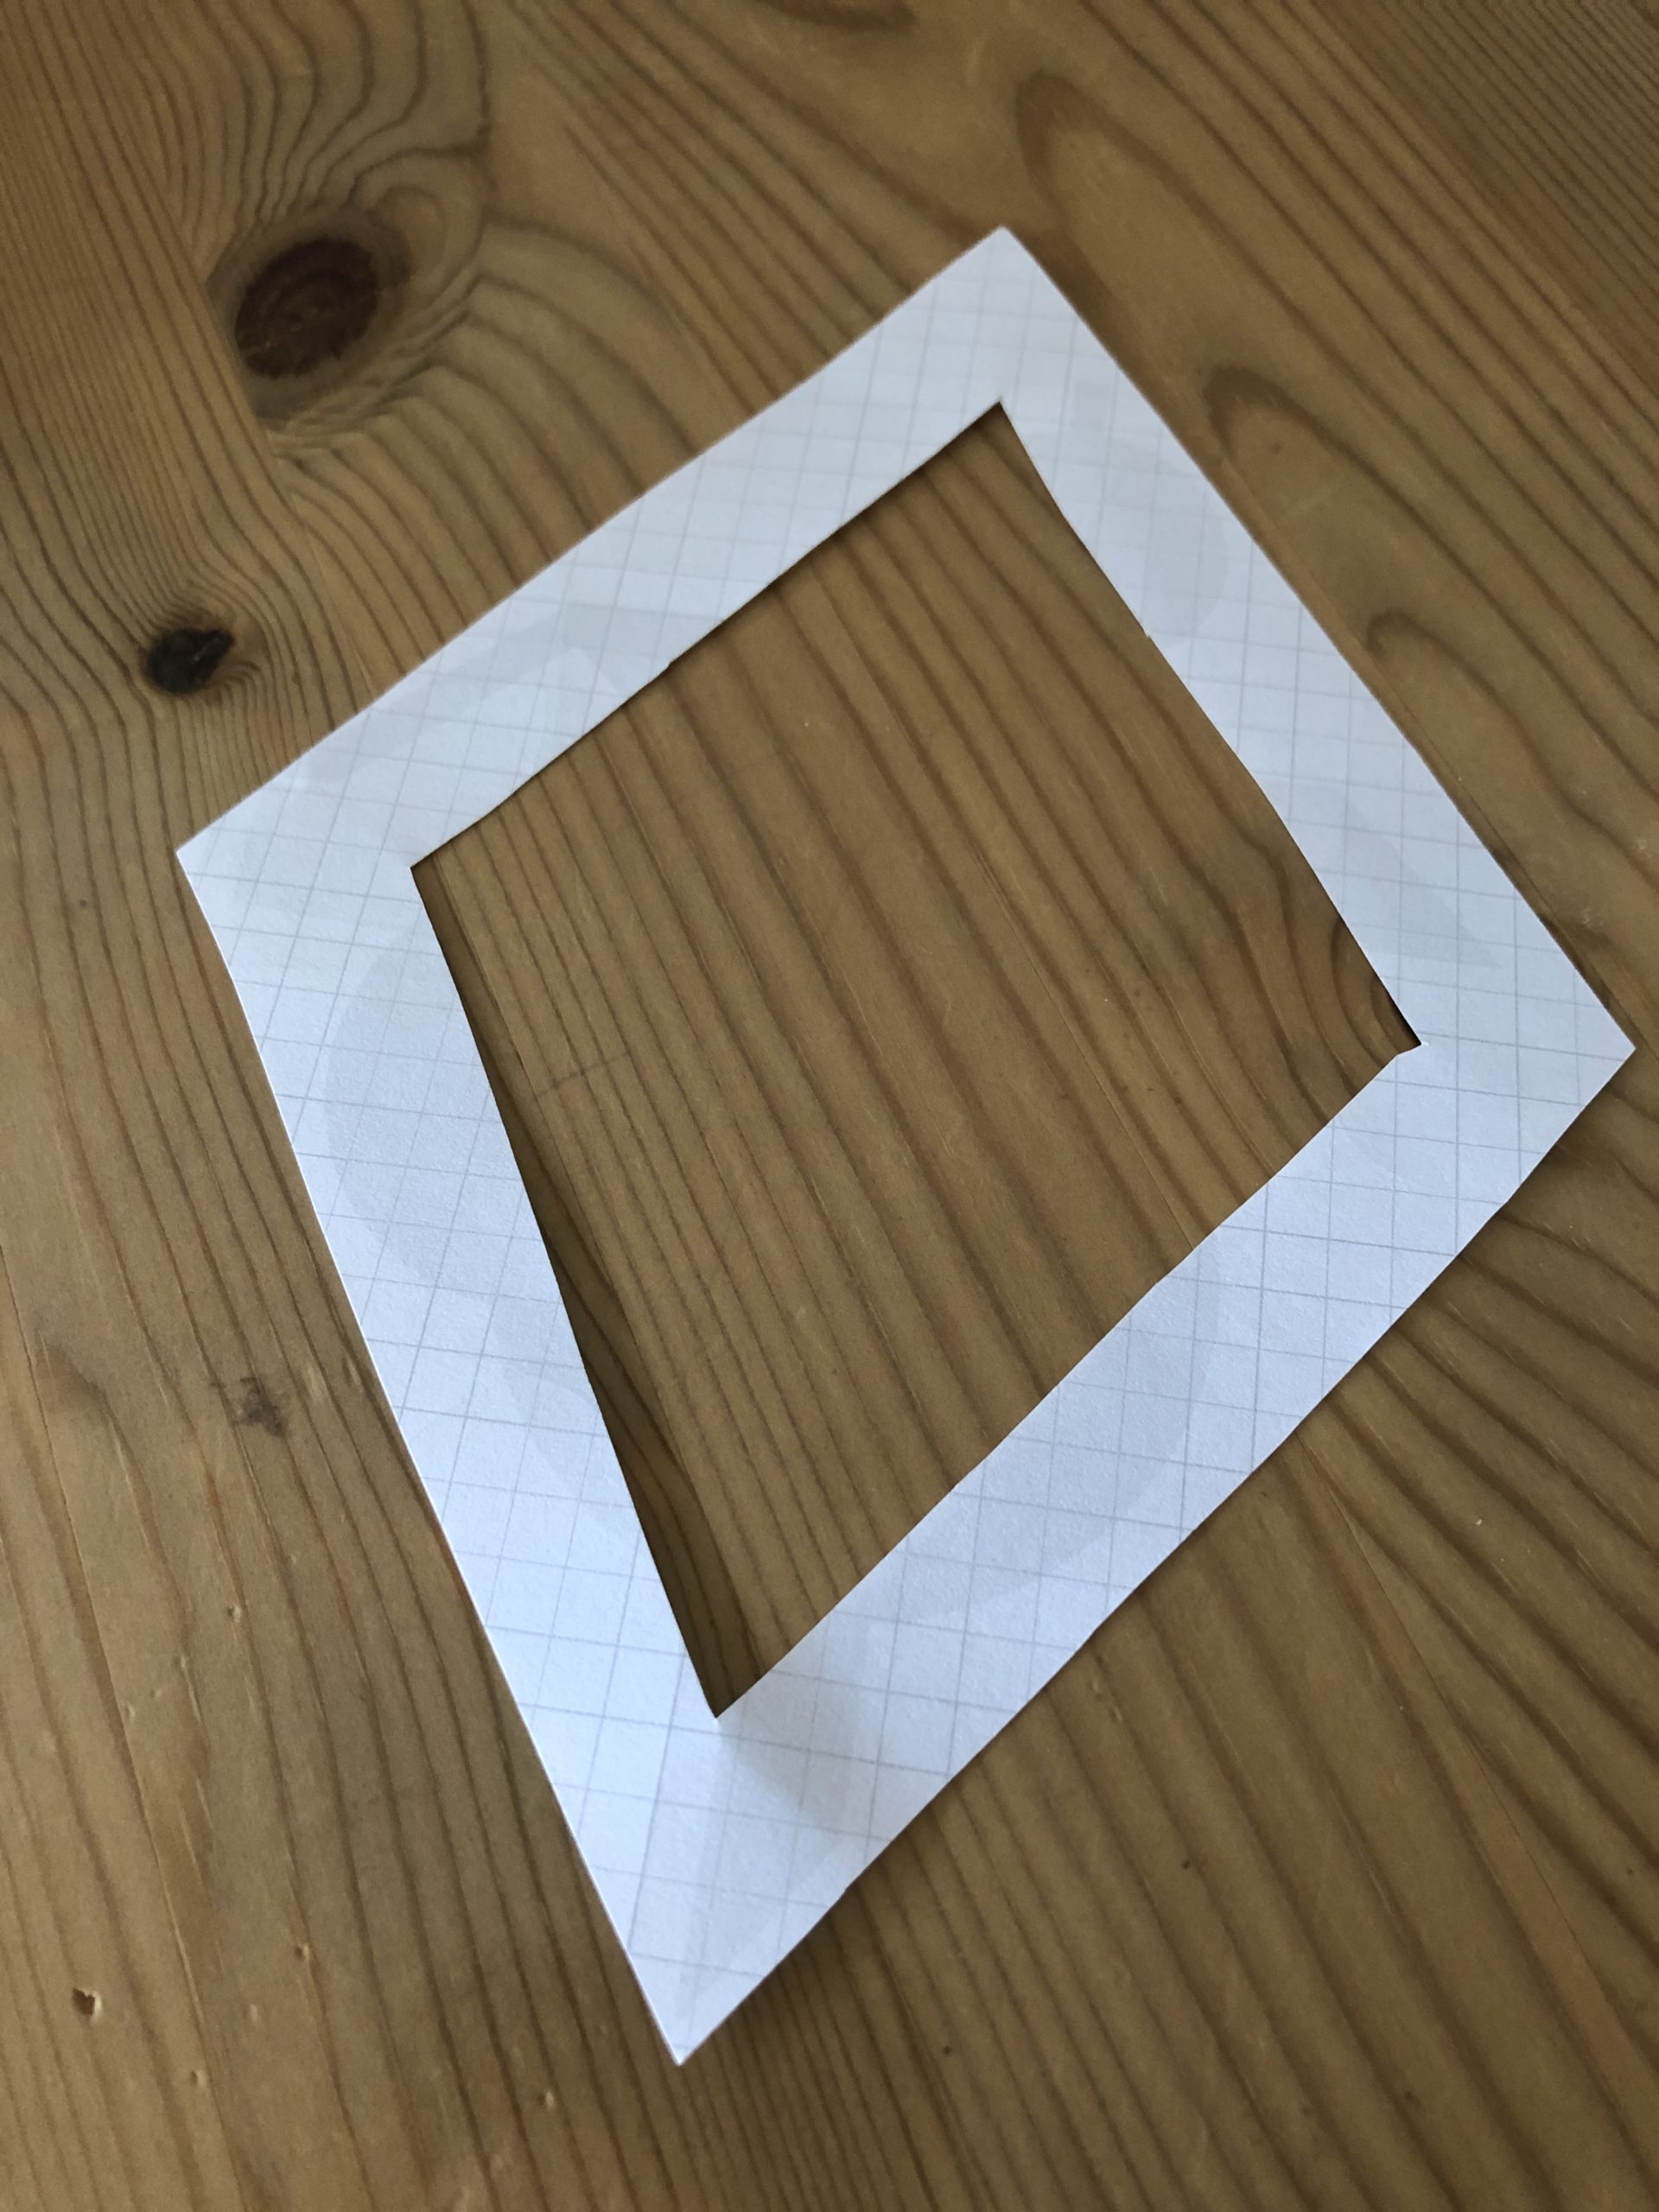
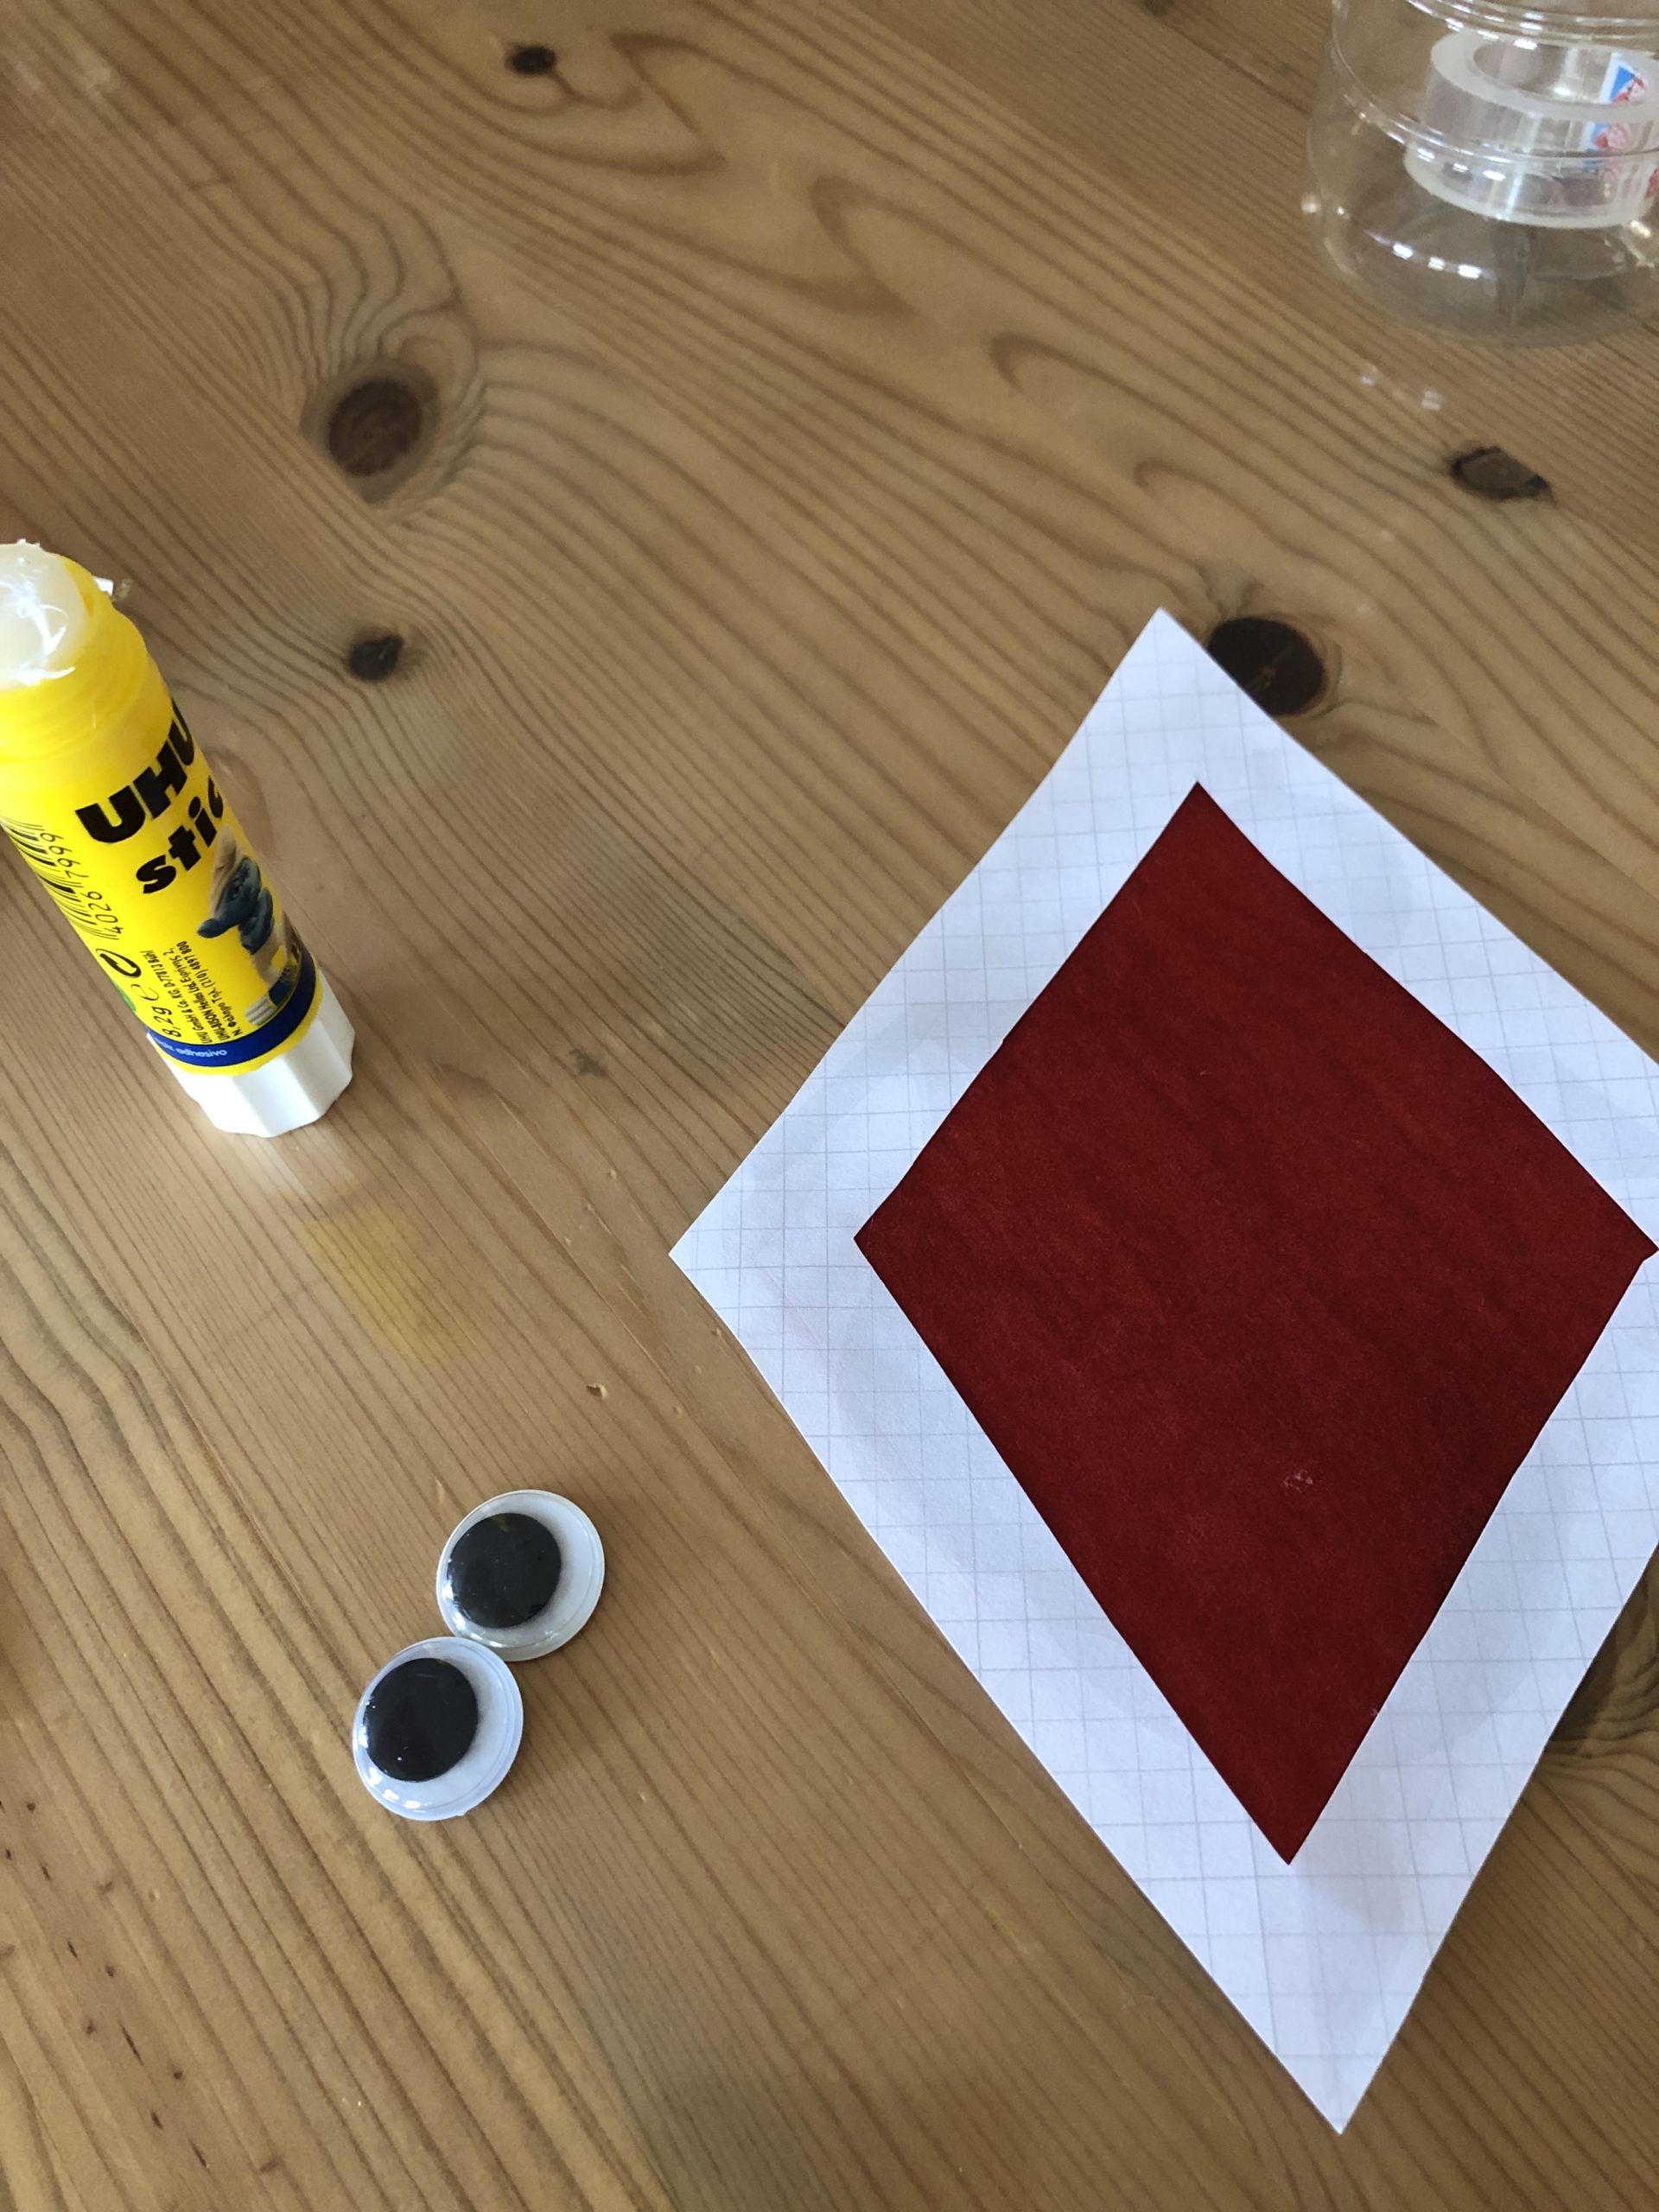
Paint a dragon (see photo). You can use a ruler for this, but you can also paint it freely. Then paint another edge about 1-2 cm further inside and cut out the inside. Attention: small children do not find it difficult to cut the edge. It should now stand a edge about one and a half cm wide.
This frame of the dragon is now glued with transparent paper.
To do this, cut the transparent paper. Place the dragon frame on the transparent paper and border it with a pen. Then cut the transparent paper. Cut it inside your template. Now stick the transparent paper on the frame.
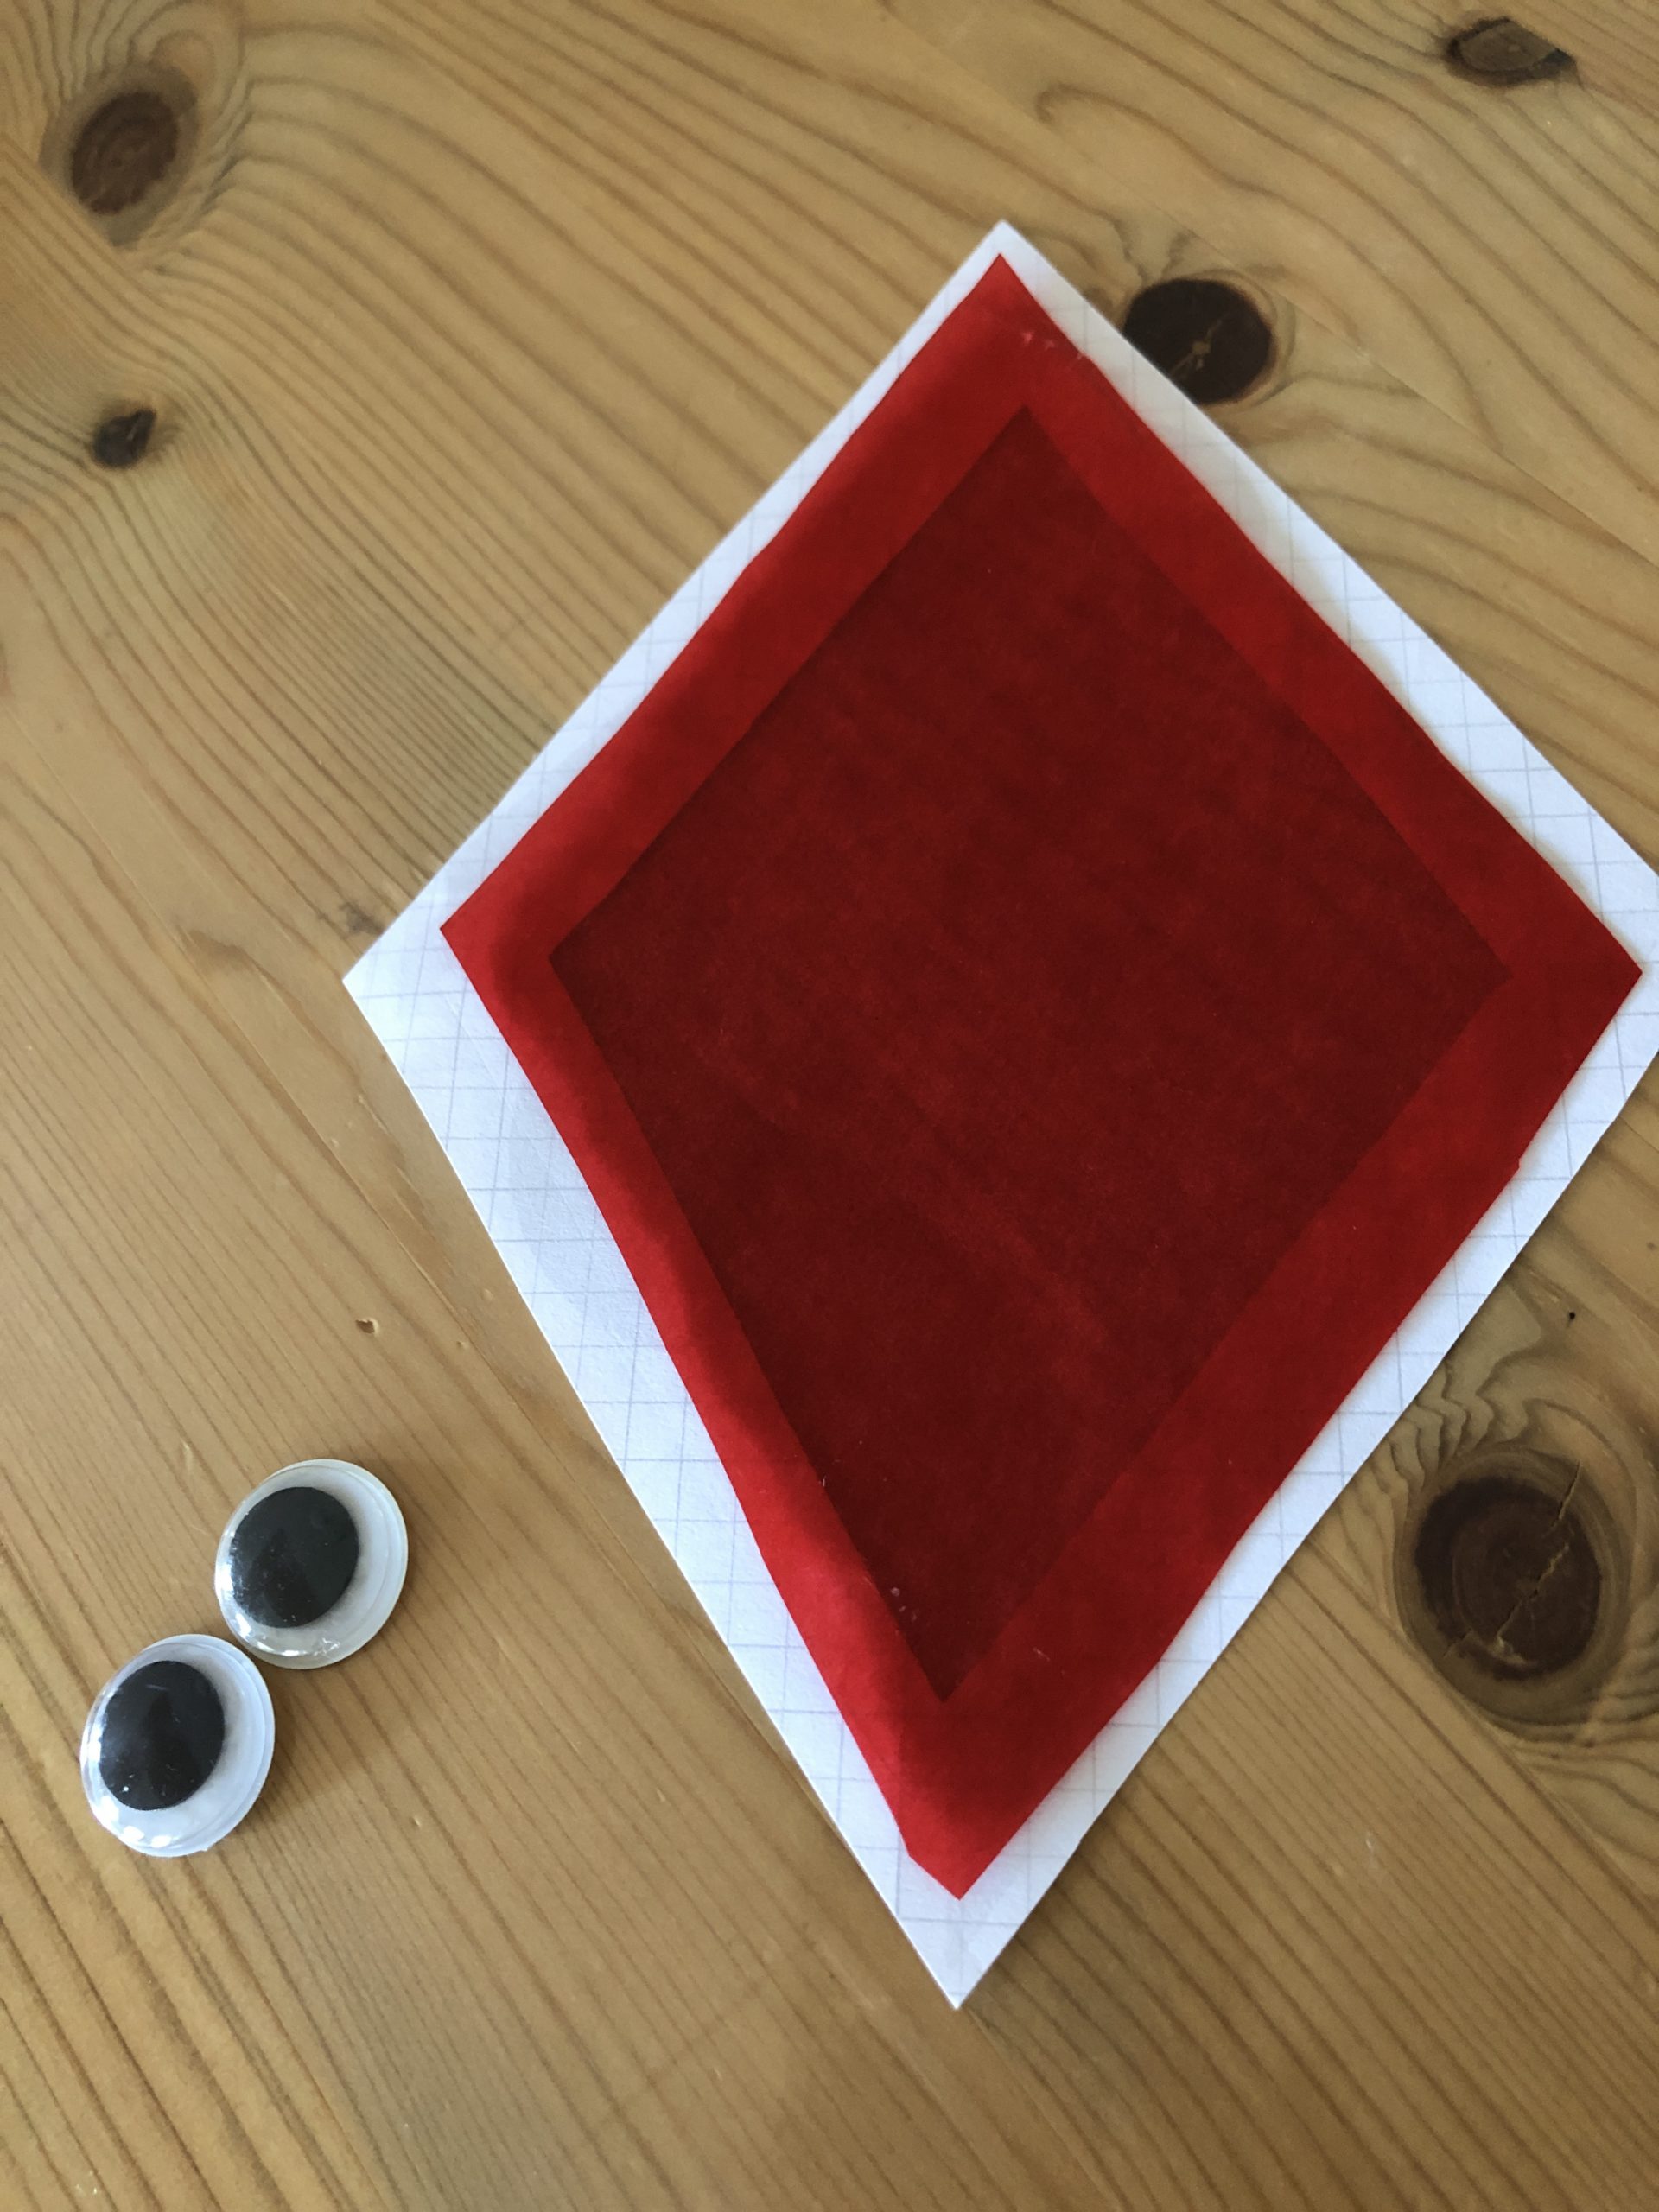
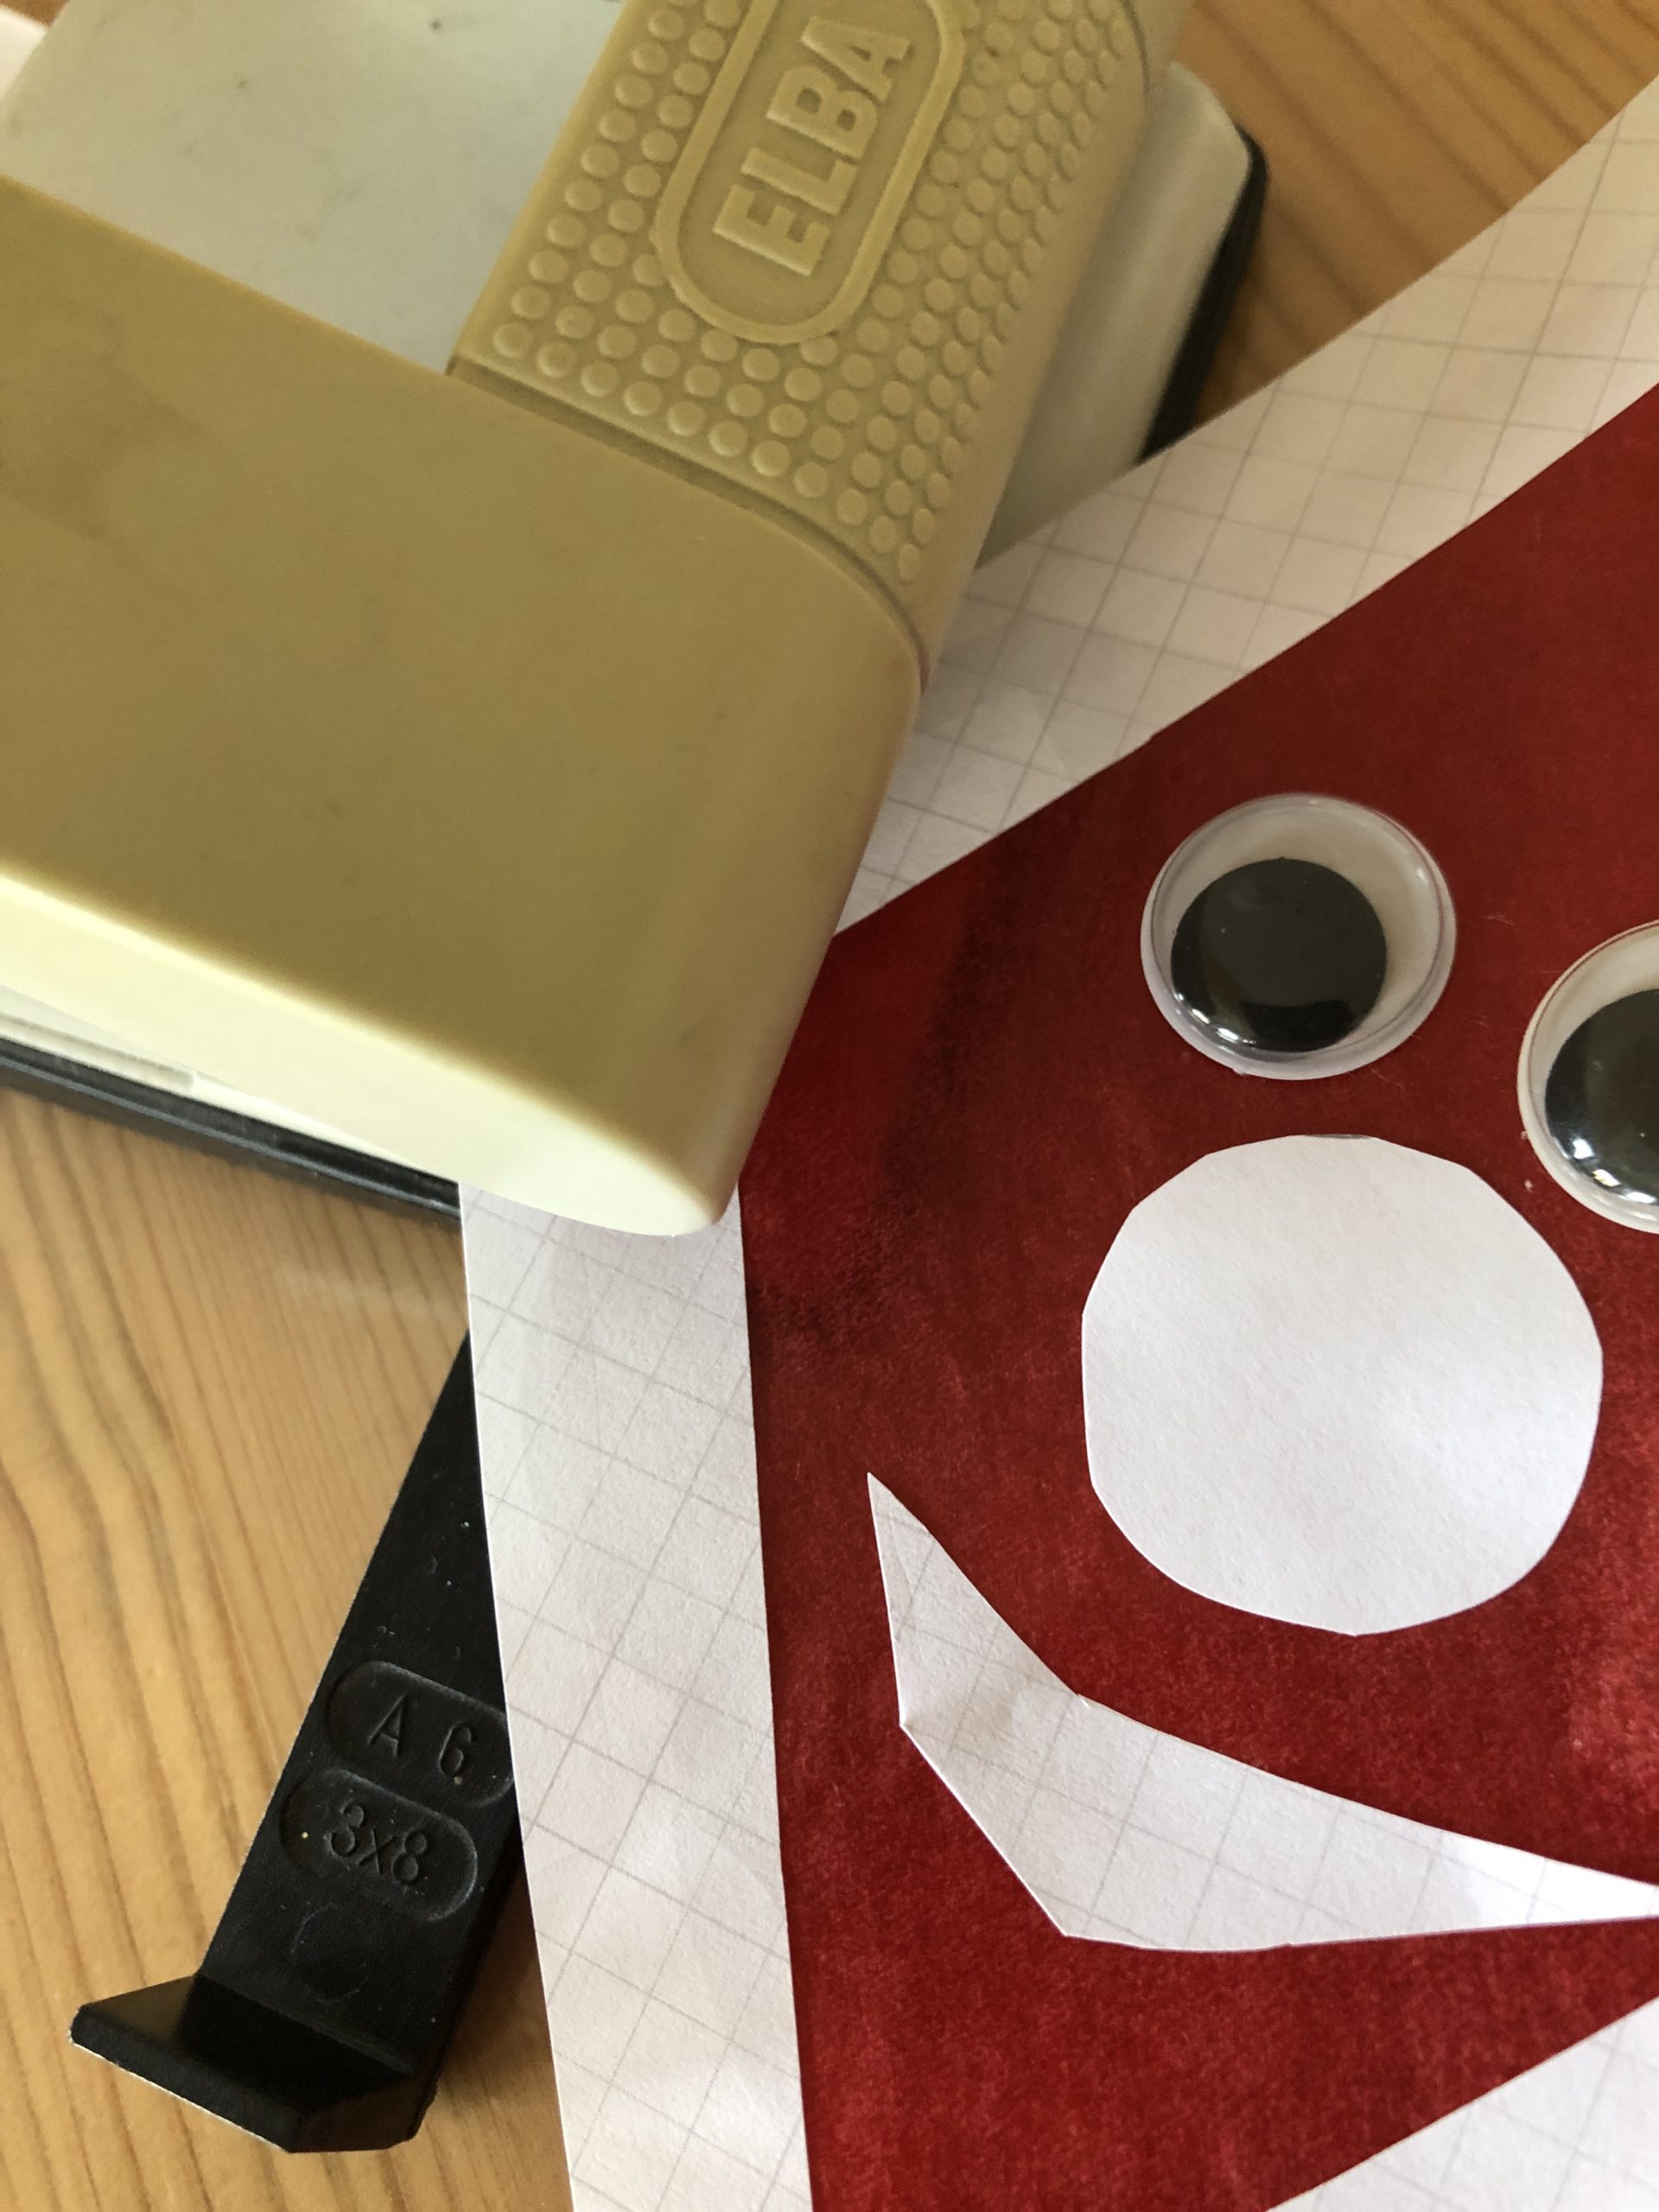
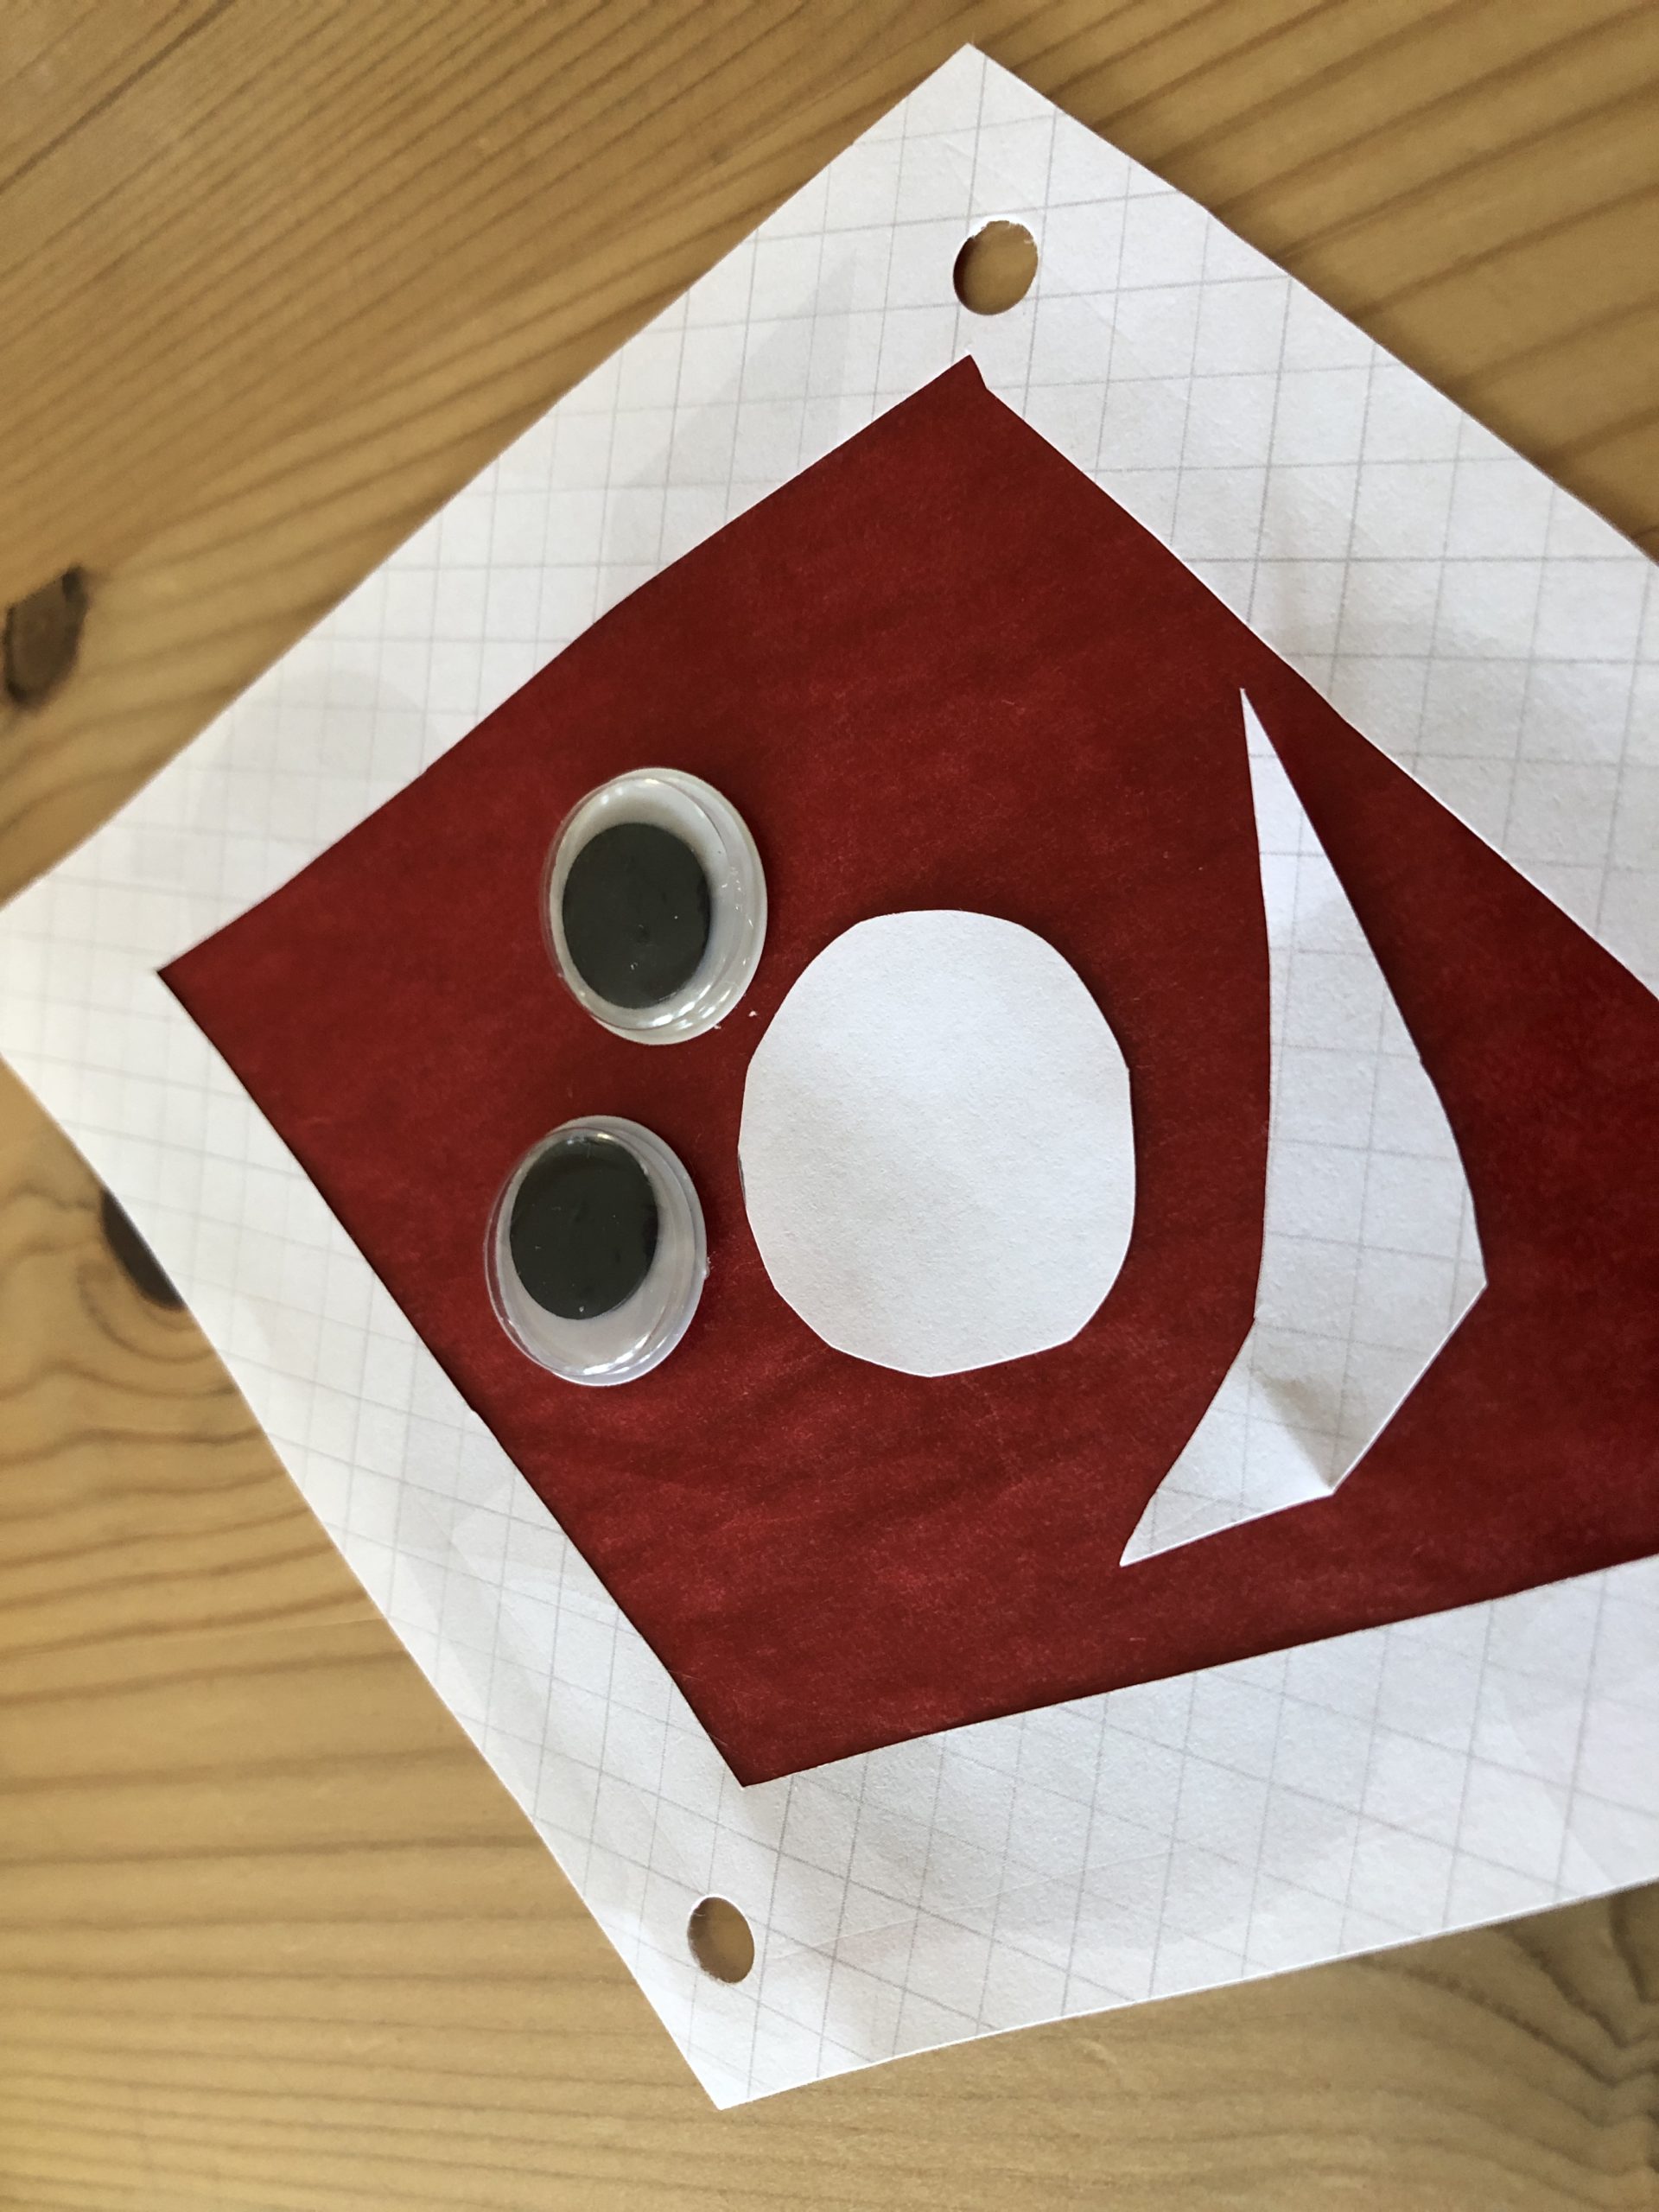
She then sticks two wobble eyes to the front.
If you don't, paint two eyes on a paper and cut them out!

Now another nose and a mouth and your dragon face is ready.
Of course, you can also make another face.

Now cut some equally large paper strips out of the transparent paper.

Now you punch a hole in the dragon face on both sides to the left and right. For this you use a puncher or a punch plier.
Now you cut the transparent paper strips on the side so that a loop is created.
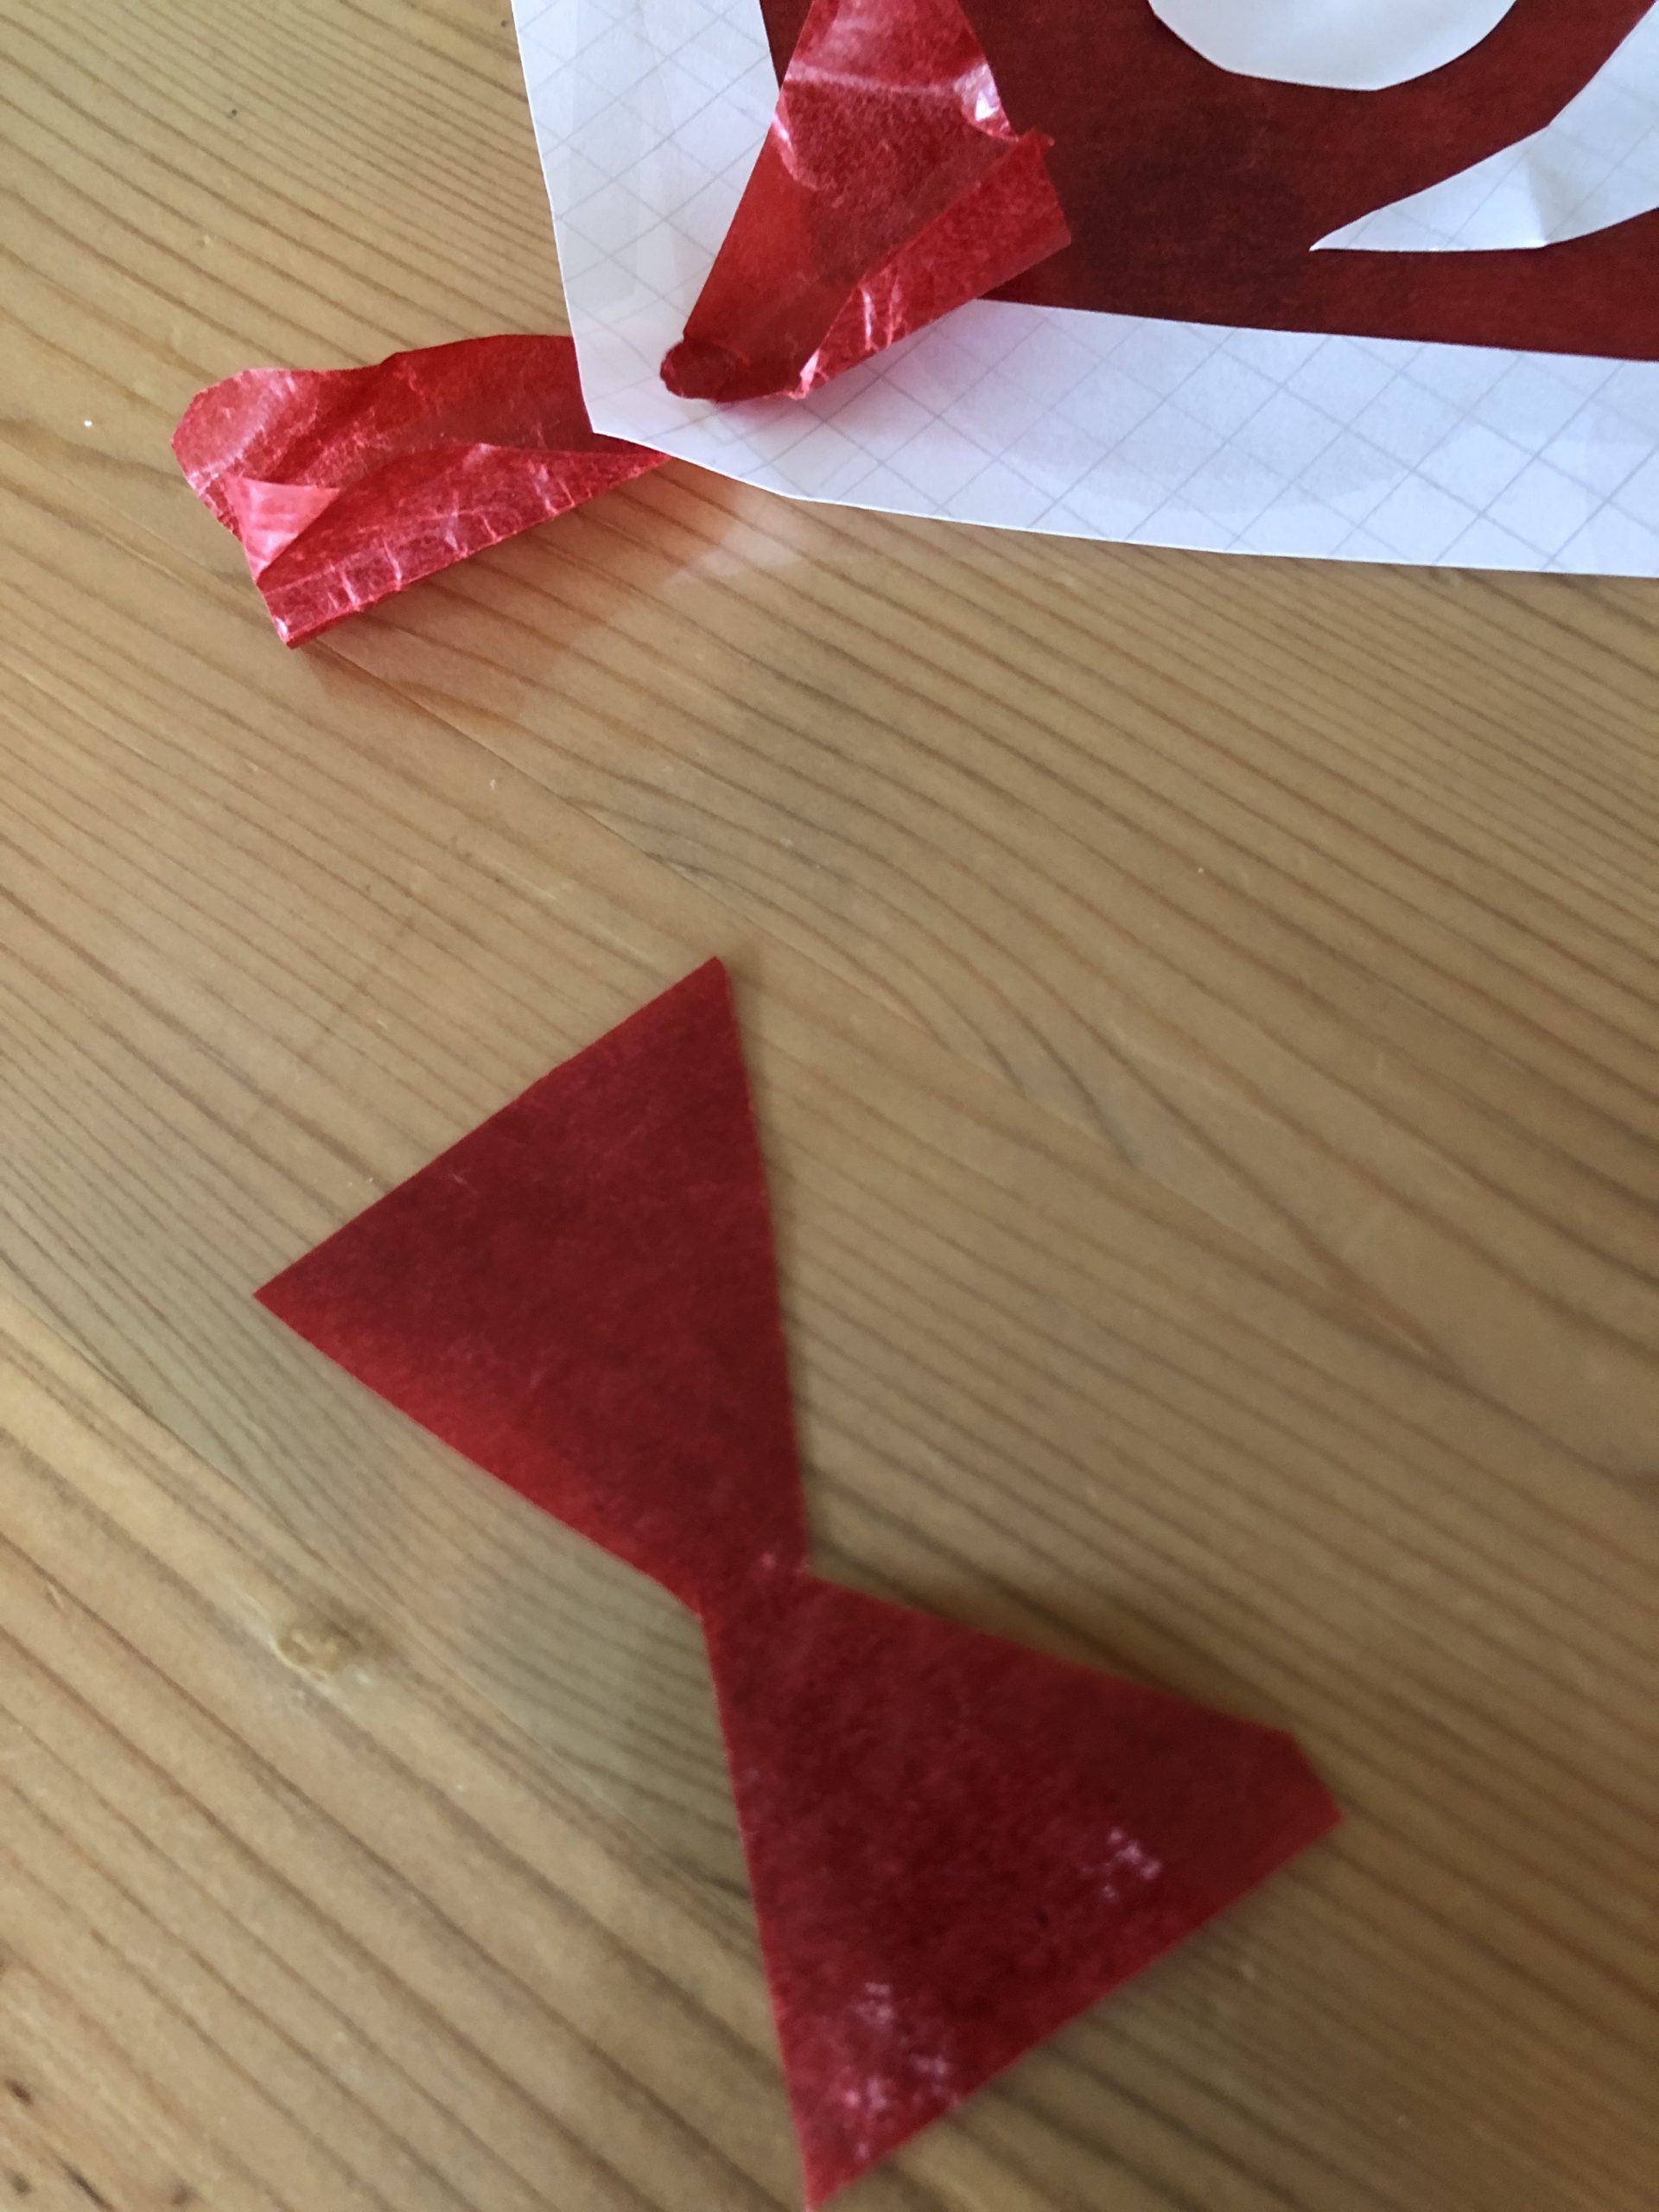
This loop is now placed in the middle of the hole.

A hole is also punched out at the bottom of the dragon's face.
Then cut off a wire in the length of about 30cm. You thread it through the hole and twist the end. Thus, it is attached.
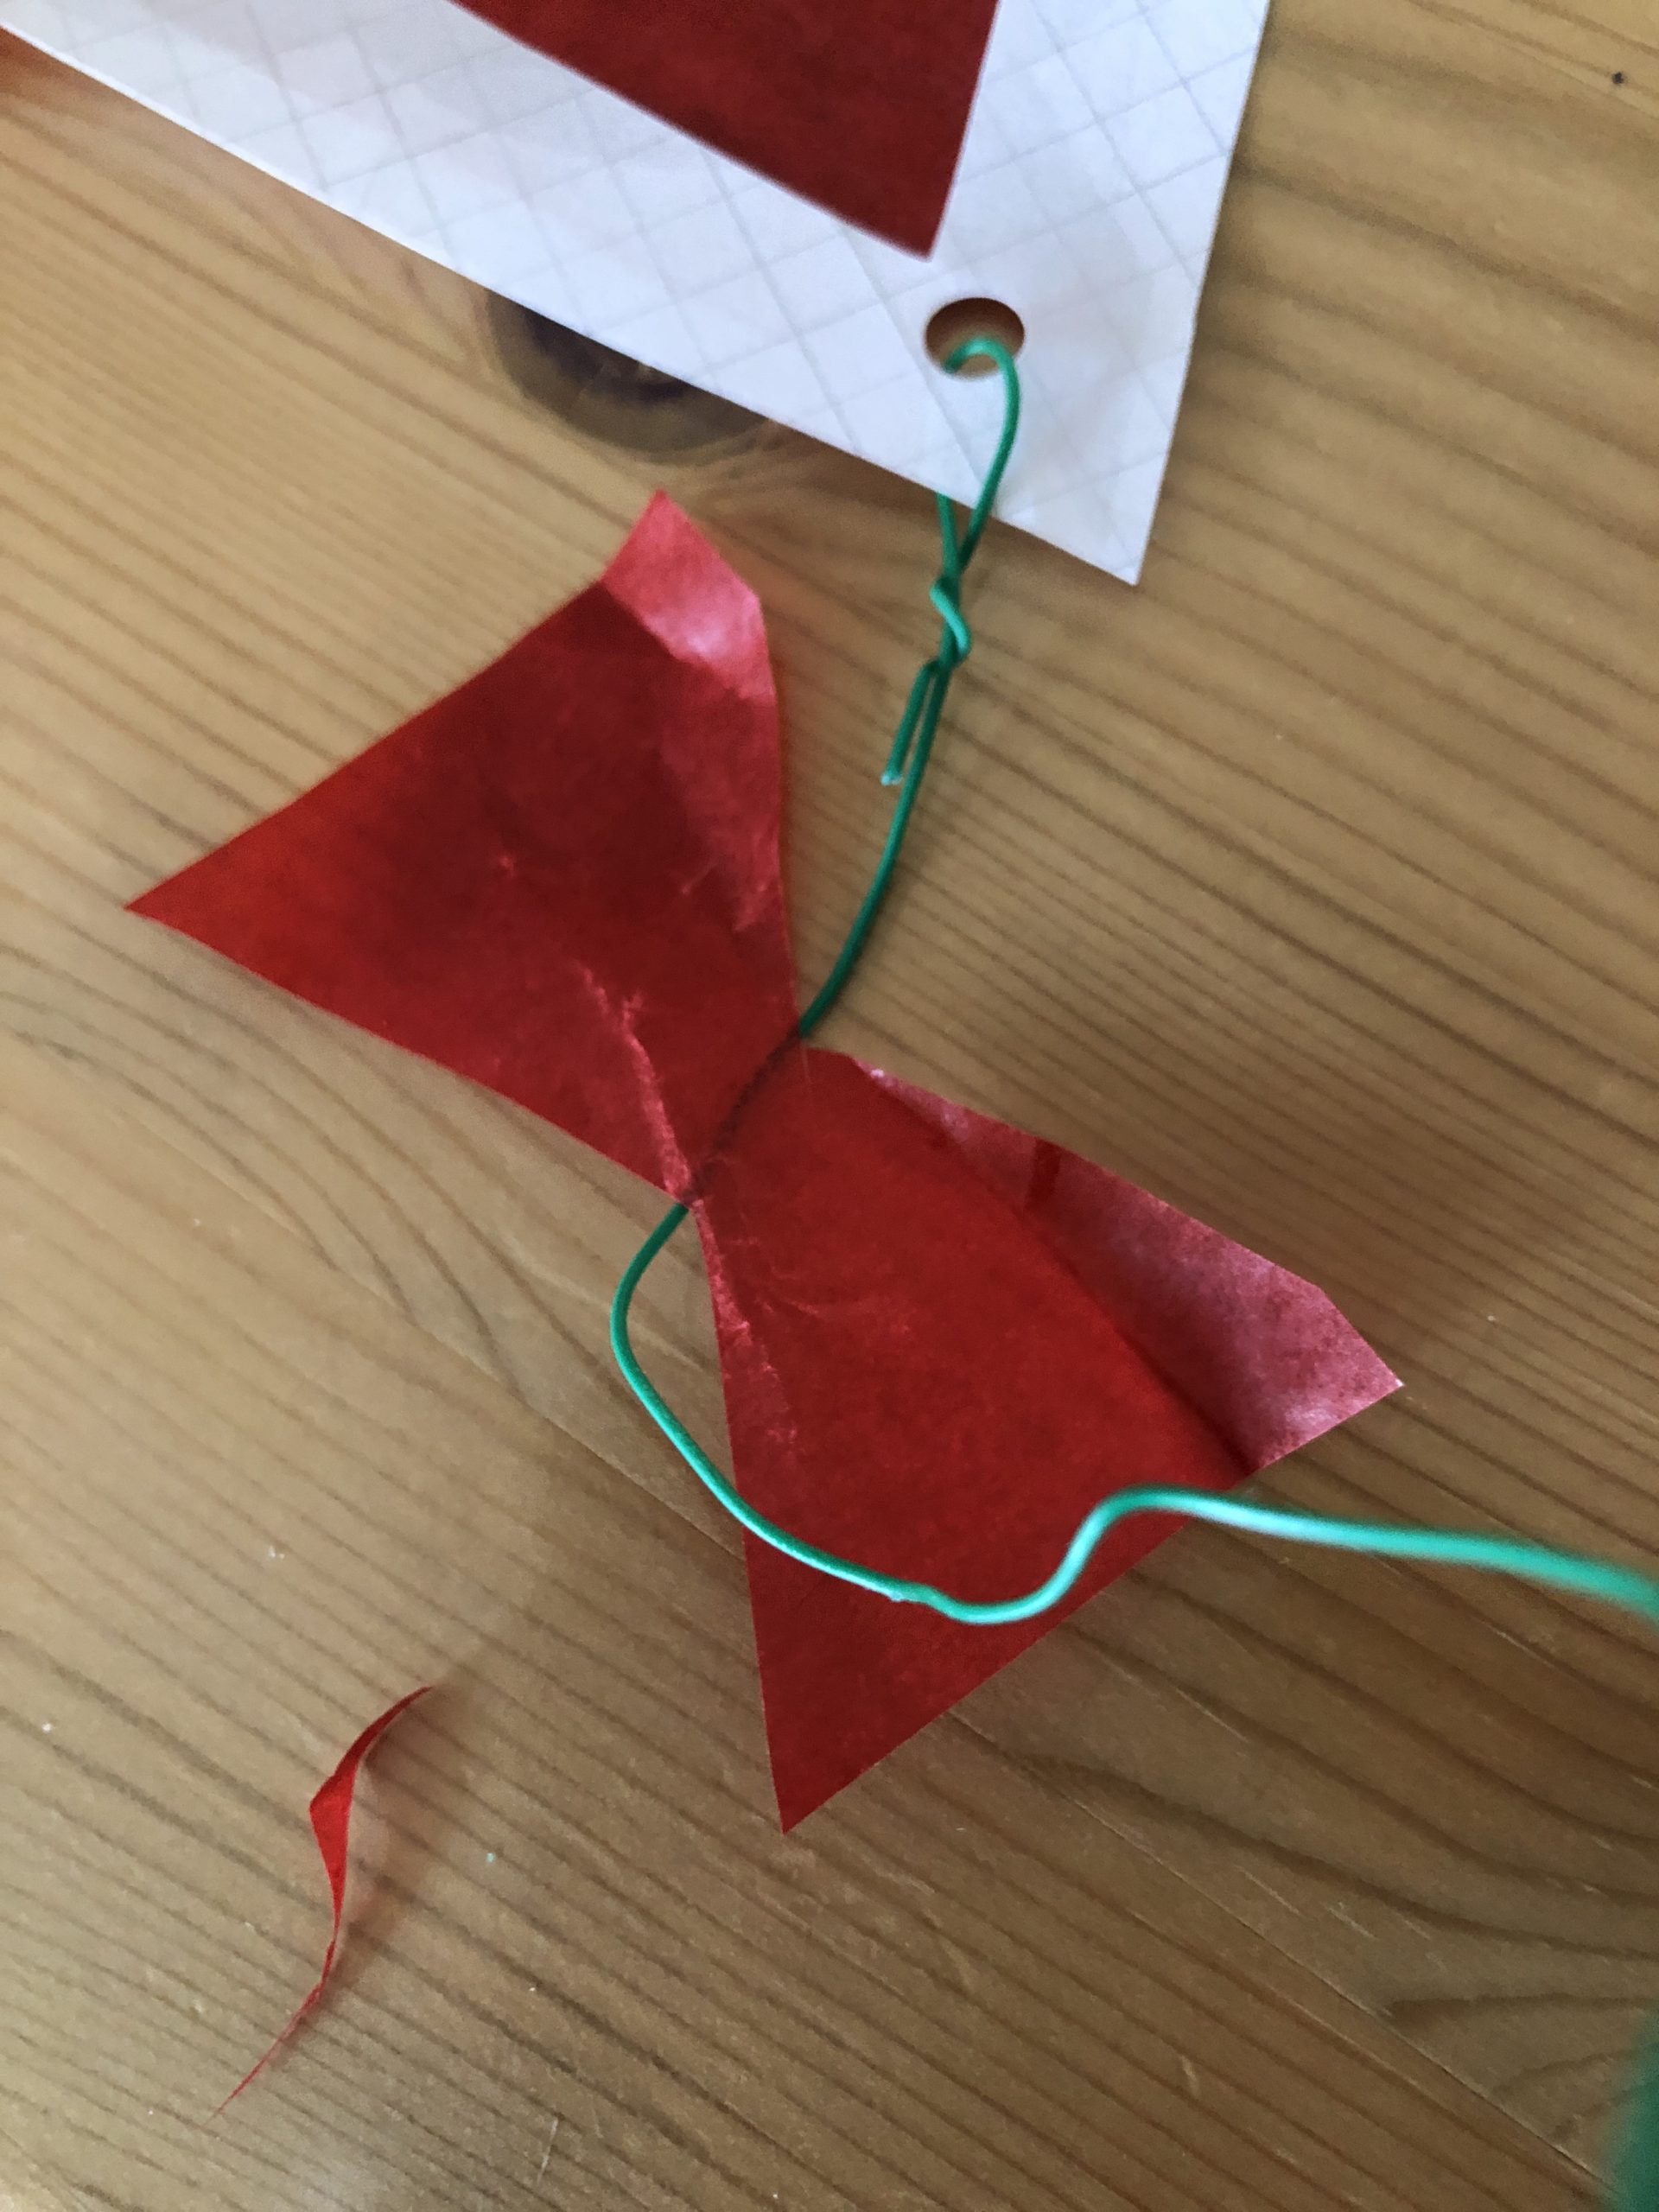
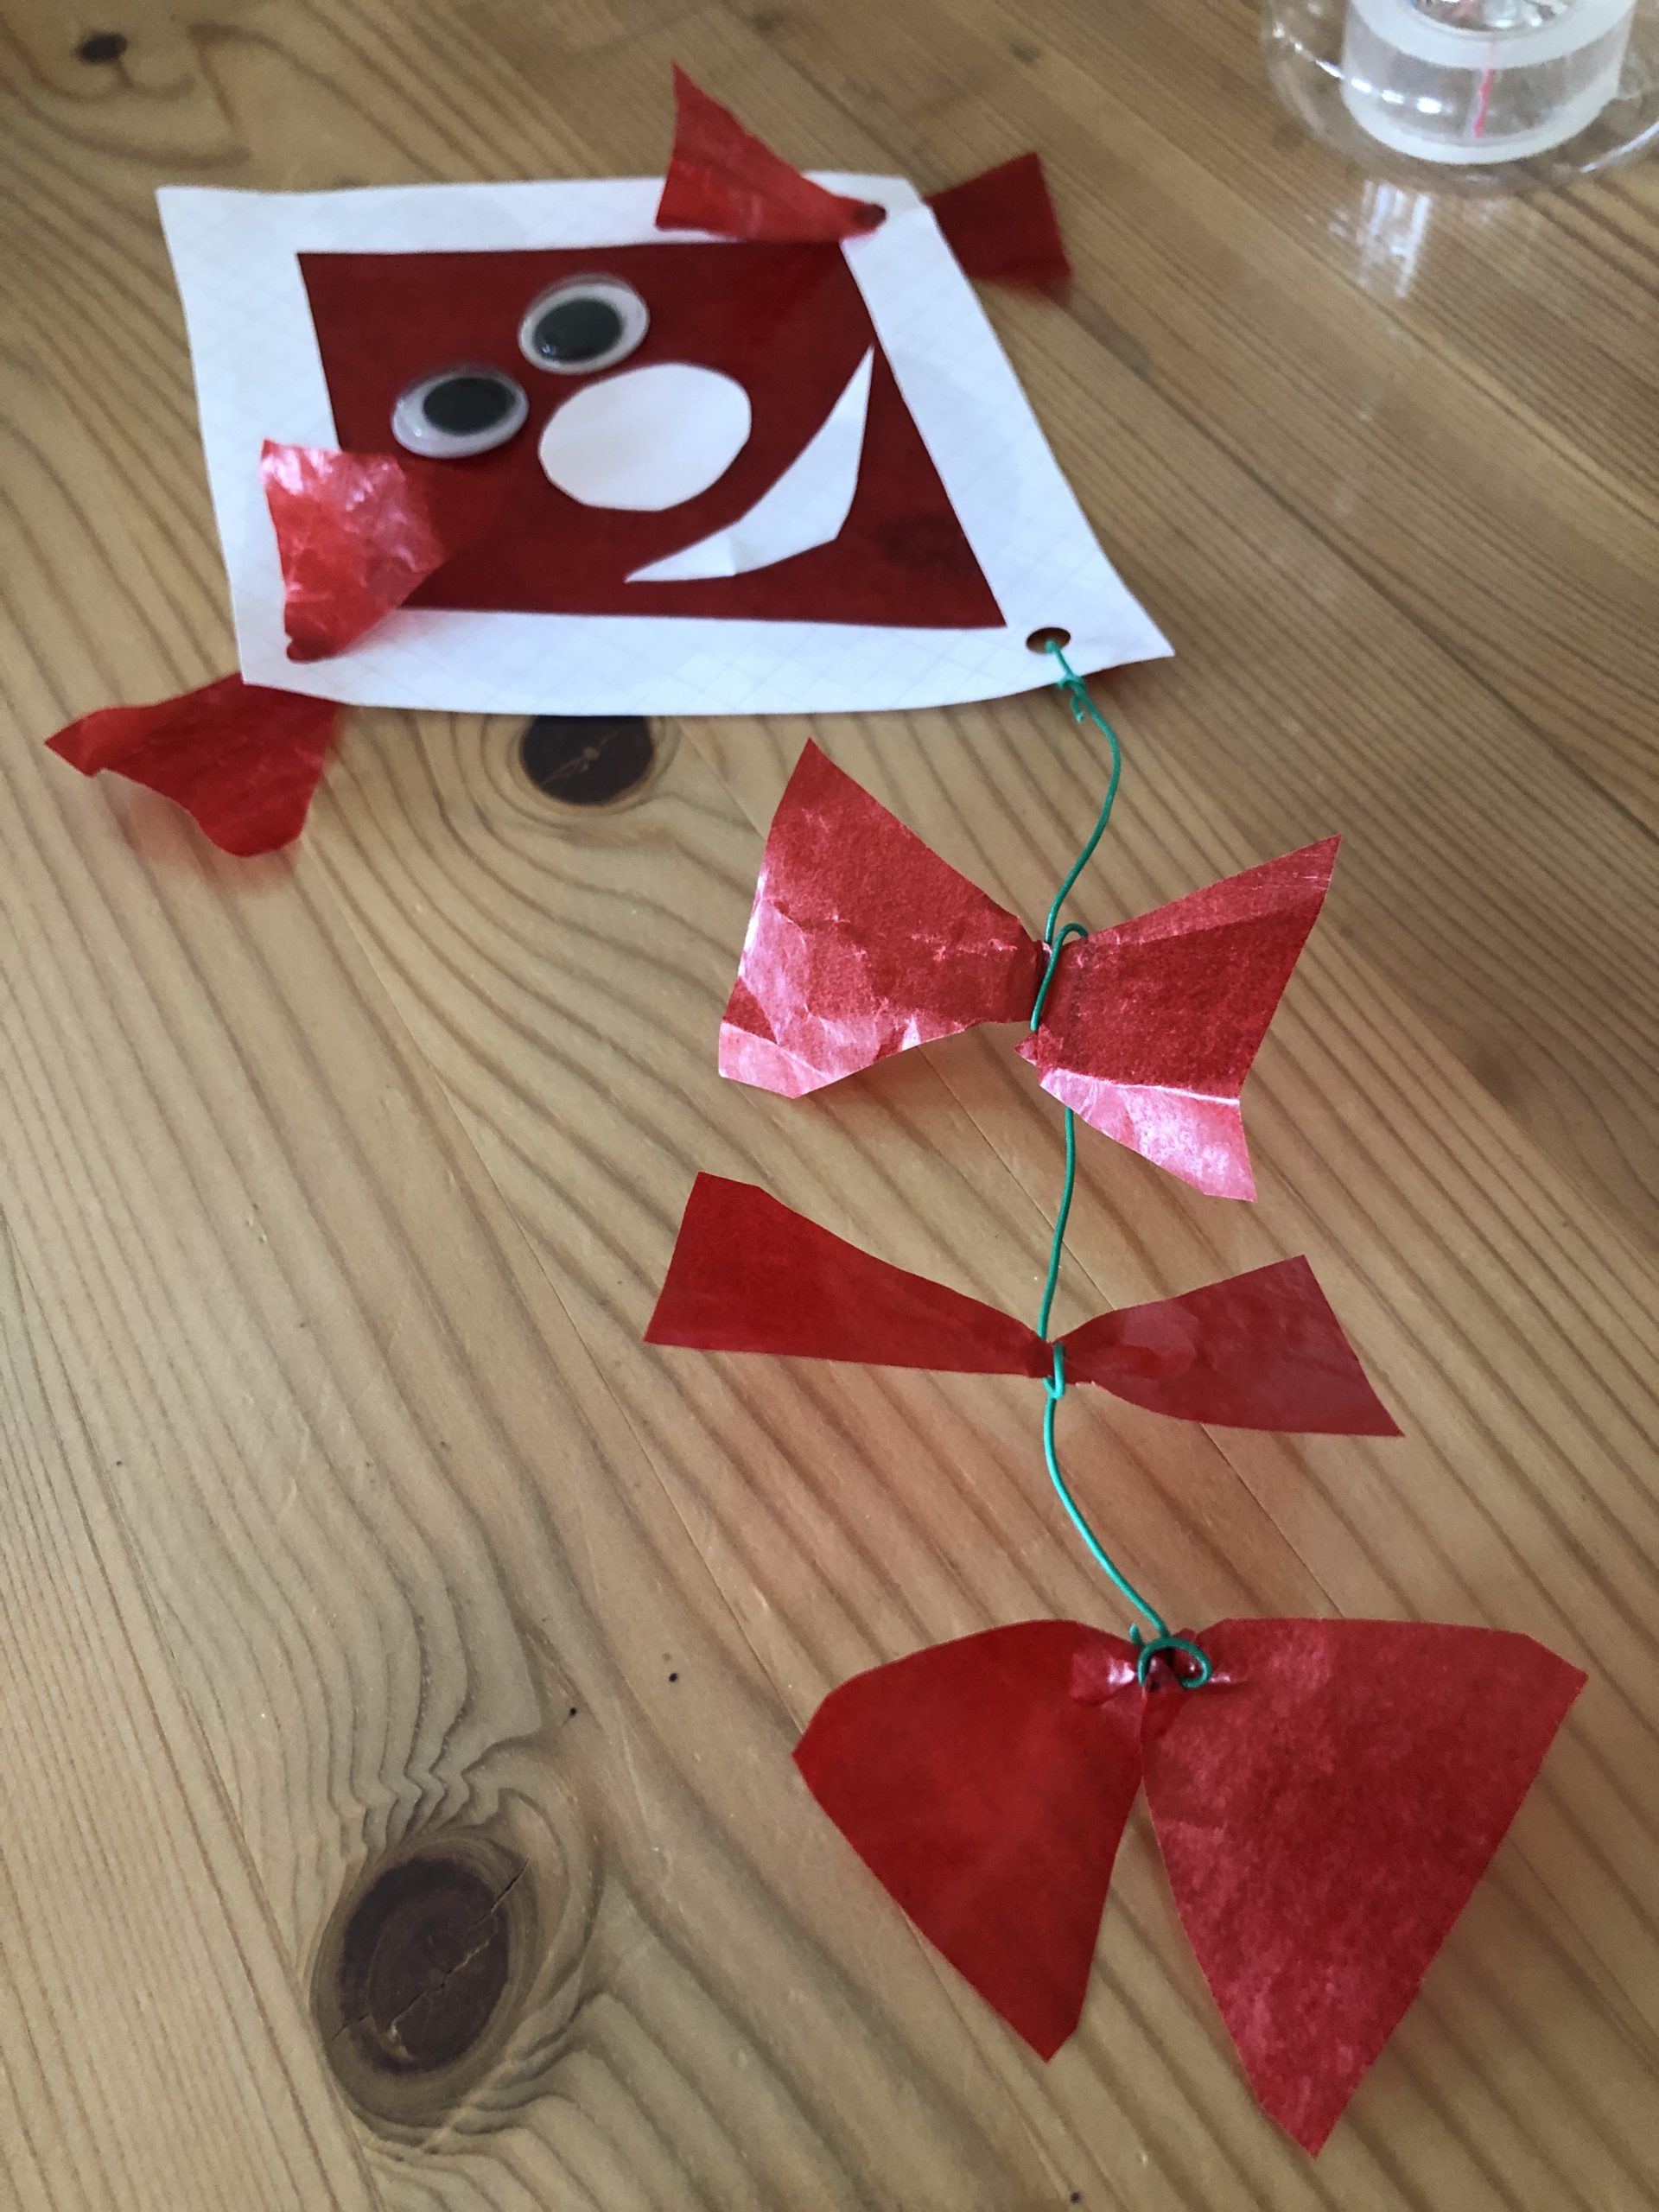
The loops are now tied to the wire by far, in addition to winding the wire around the transparent paper loops and correcting the loops.
Your dragon is ready.
The dragon is now glued slightly obliquely to the prepared bottle with a hot glue point.
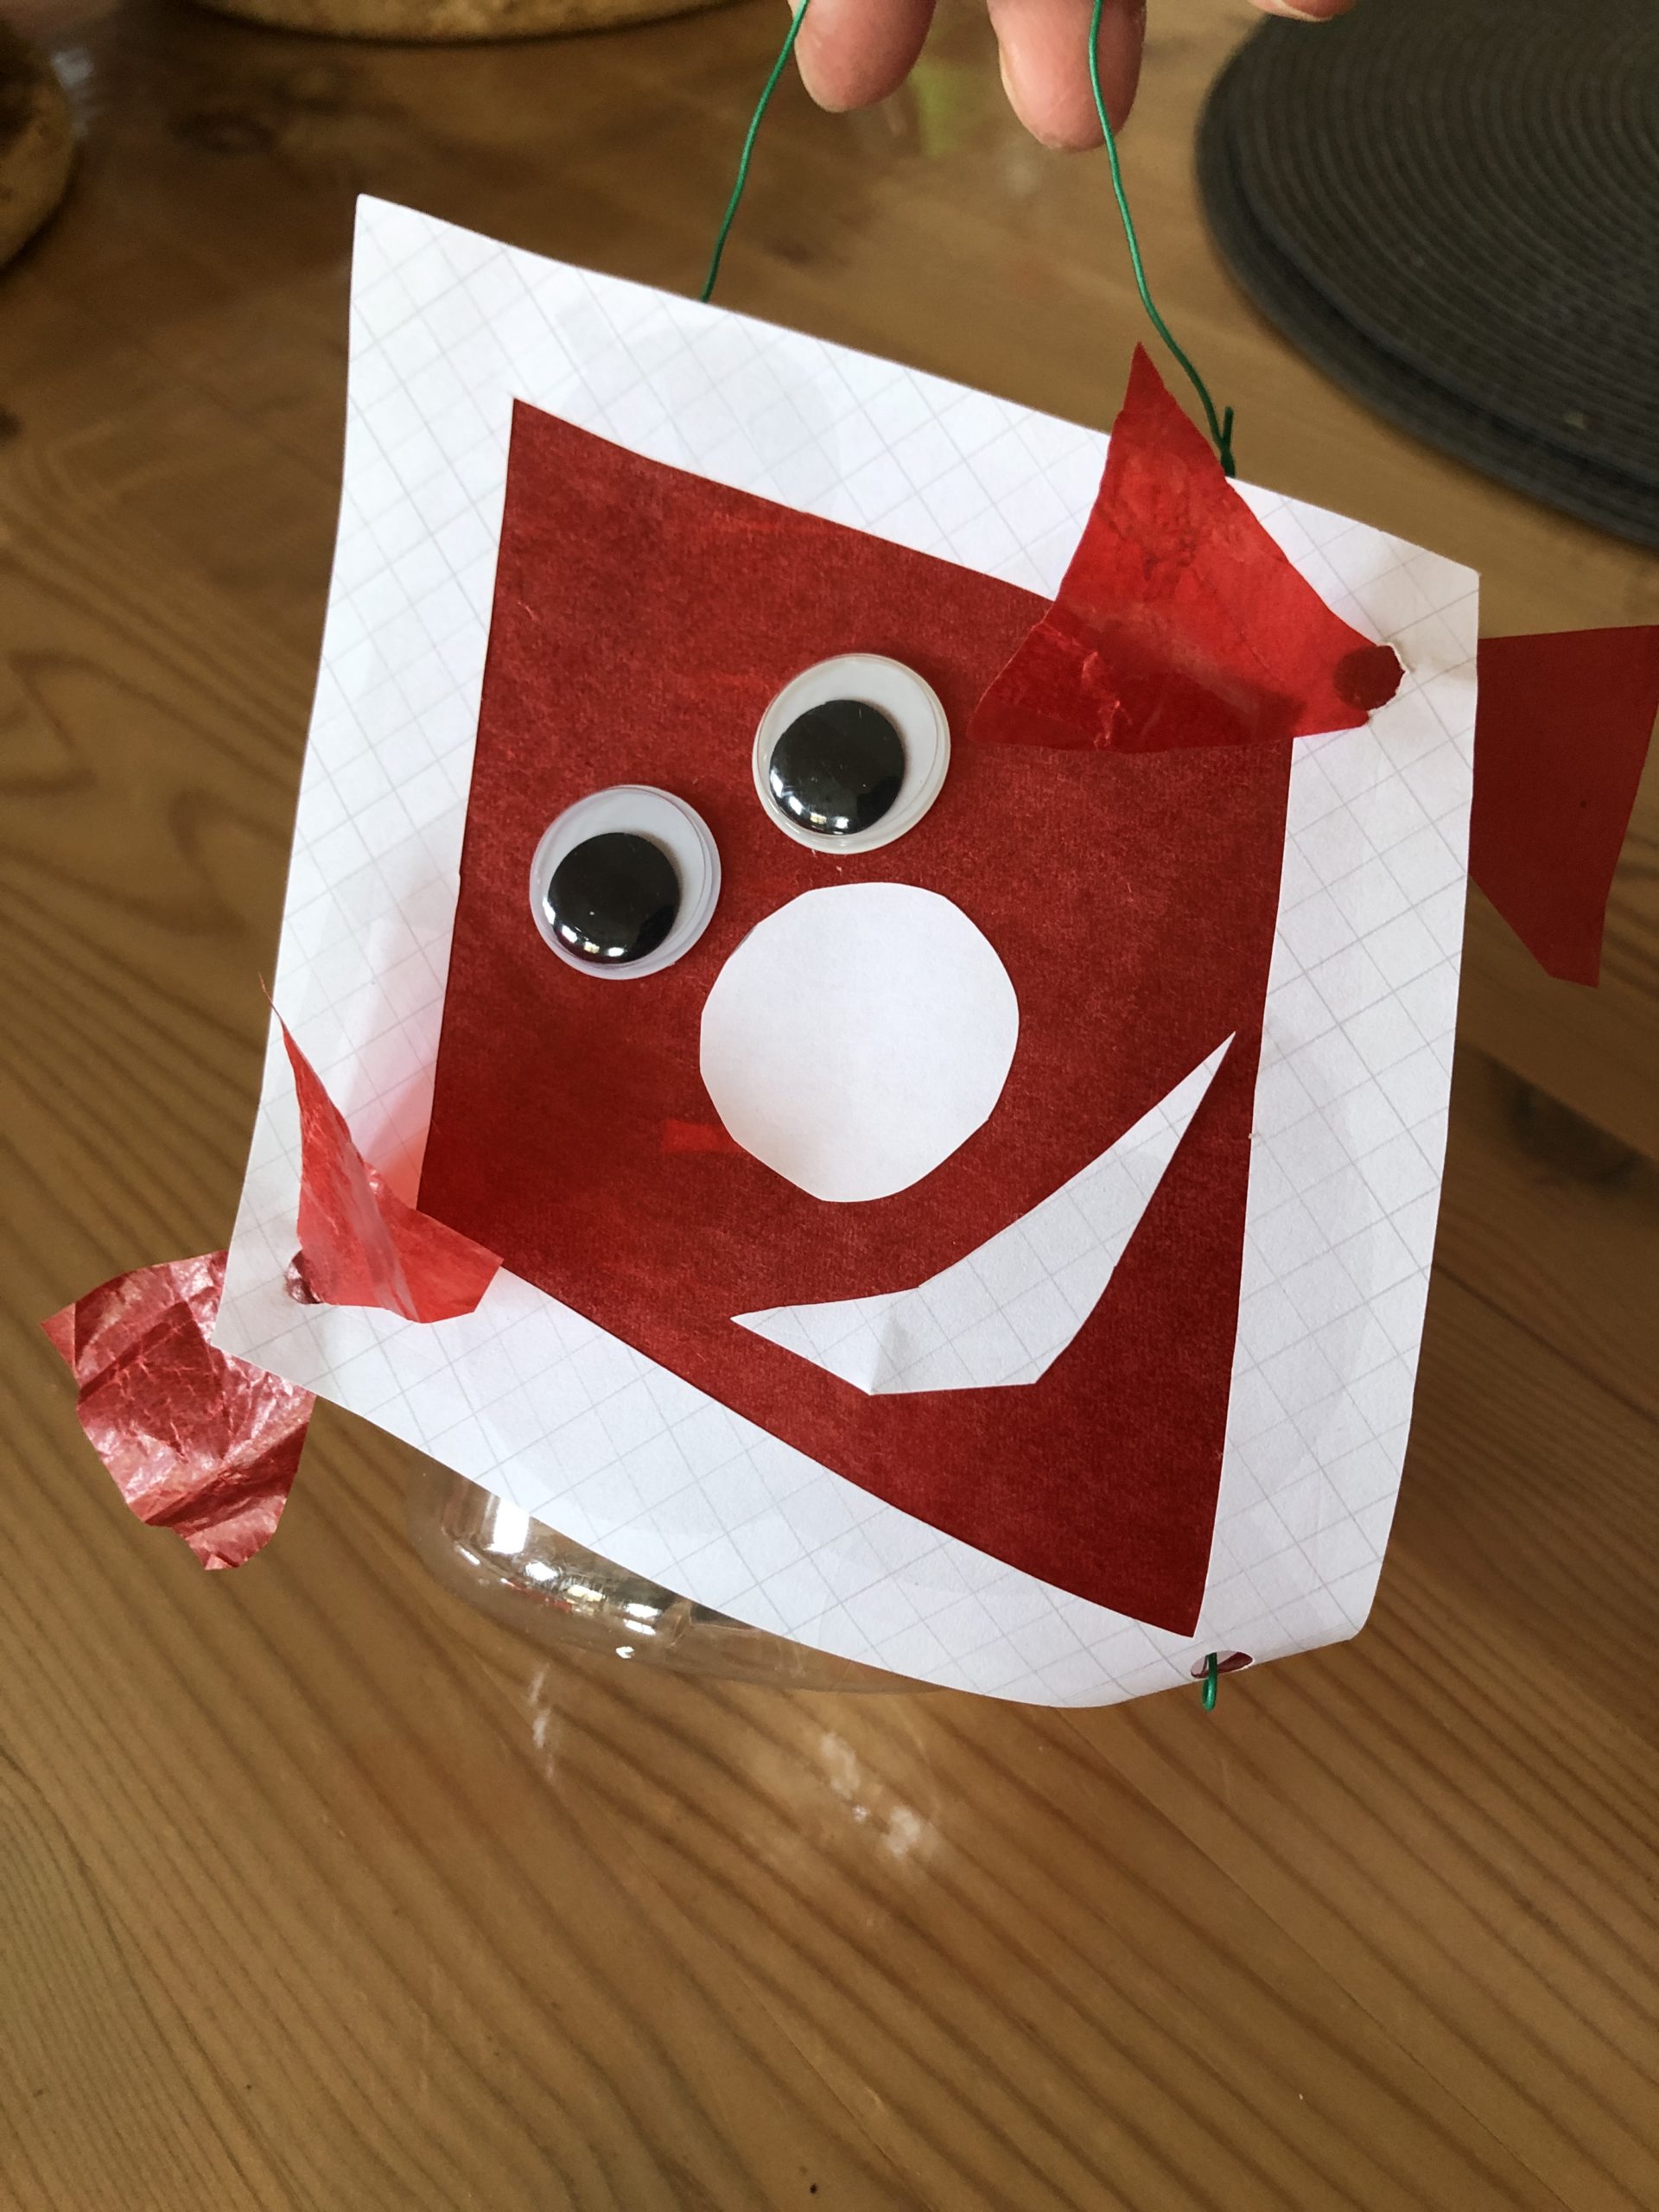
The small dragon lantern is ready. With a button-cell tealight or an electric lantern rod the dragon comes to light.

Also as decoration the dragon is a beautiful sight.

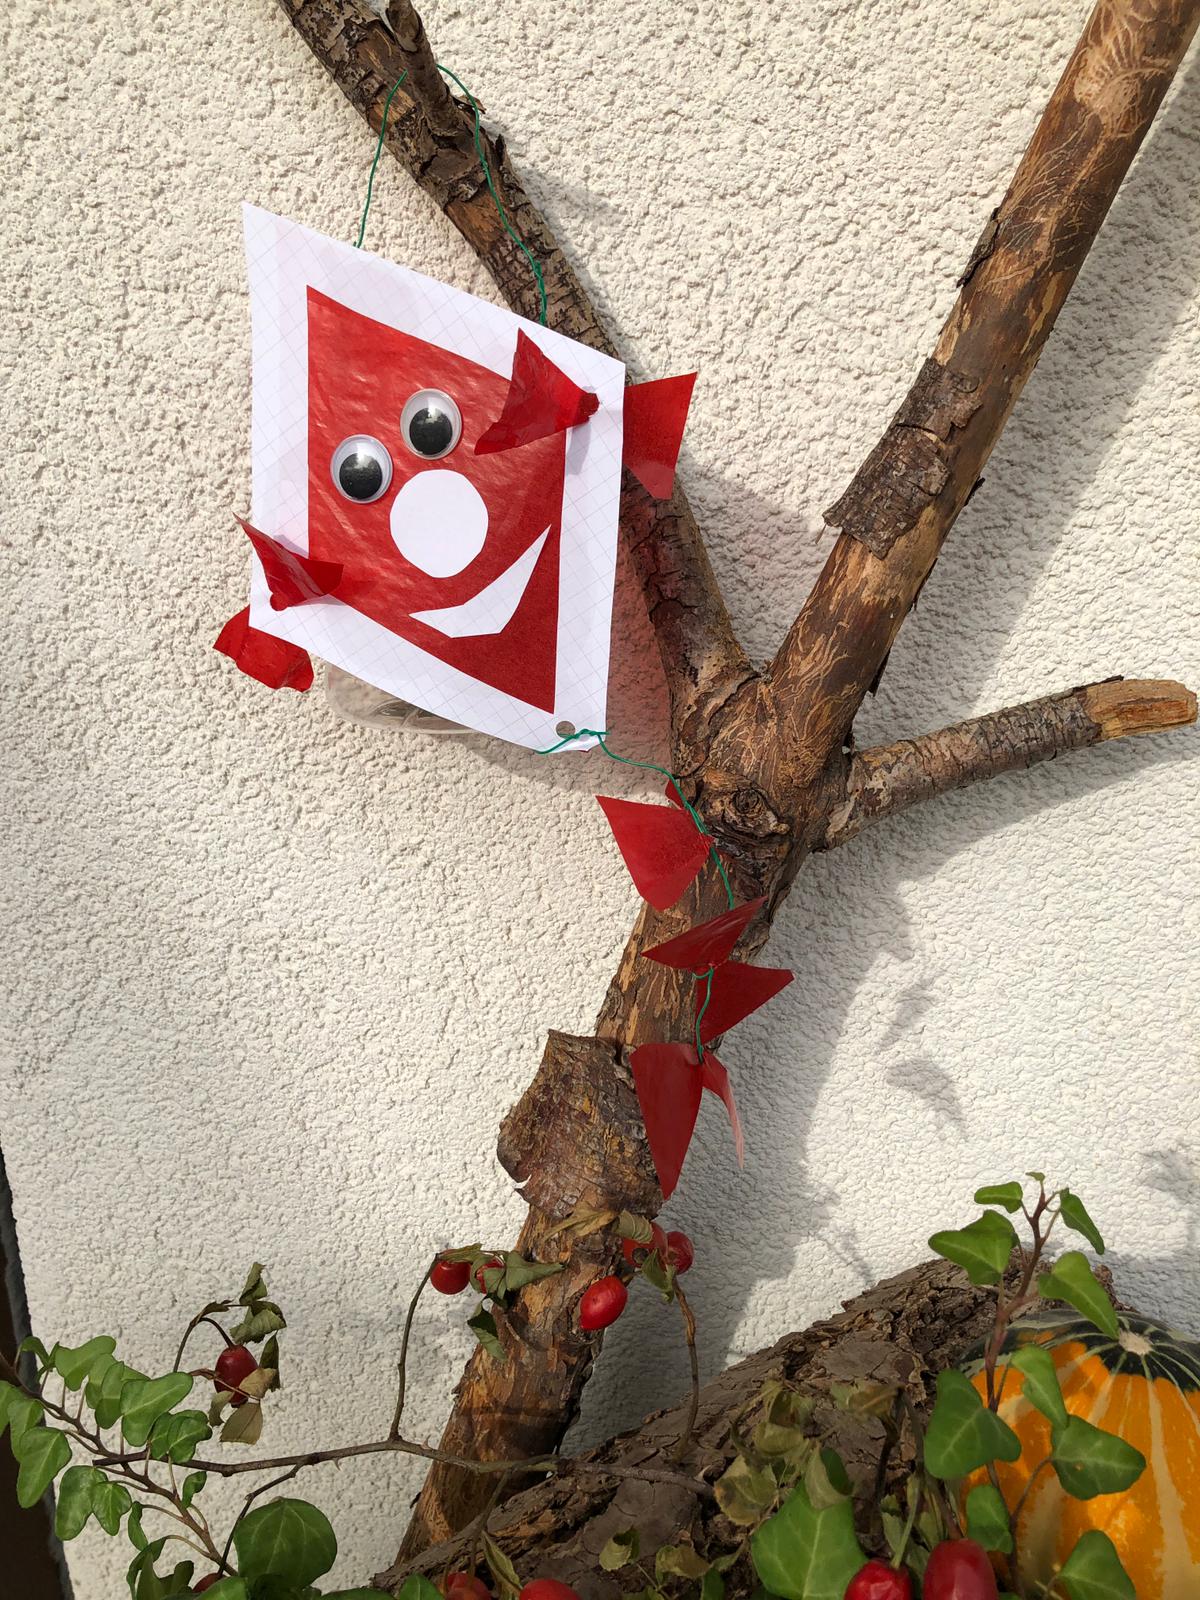
Or you hang the little dragon on a branch. It fits wonderfully also to the hetbst decoration.
Have fun!
Children 0