Lid mouse

AdventurerKatzi
Rating5.04.8 thousand times & (3) DifficultyIntermediate

A mouse is quickly crafted out of the lid of a screw glass. This small craft action is an inspiration for playing. If you need another animal, you can simply convert this craft. Check it out!

Media Education for Kindergarten and Hort

Kind bastelt eine Rassel mit dem Navi
The Adventure Navi, the app for DIY projects, enables media education for the youngest.

Relief in everyday life, targeted promotion of individual children, independent learning and - without any pre-knowledge already usable by the youngest!
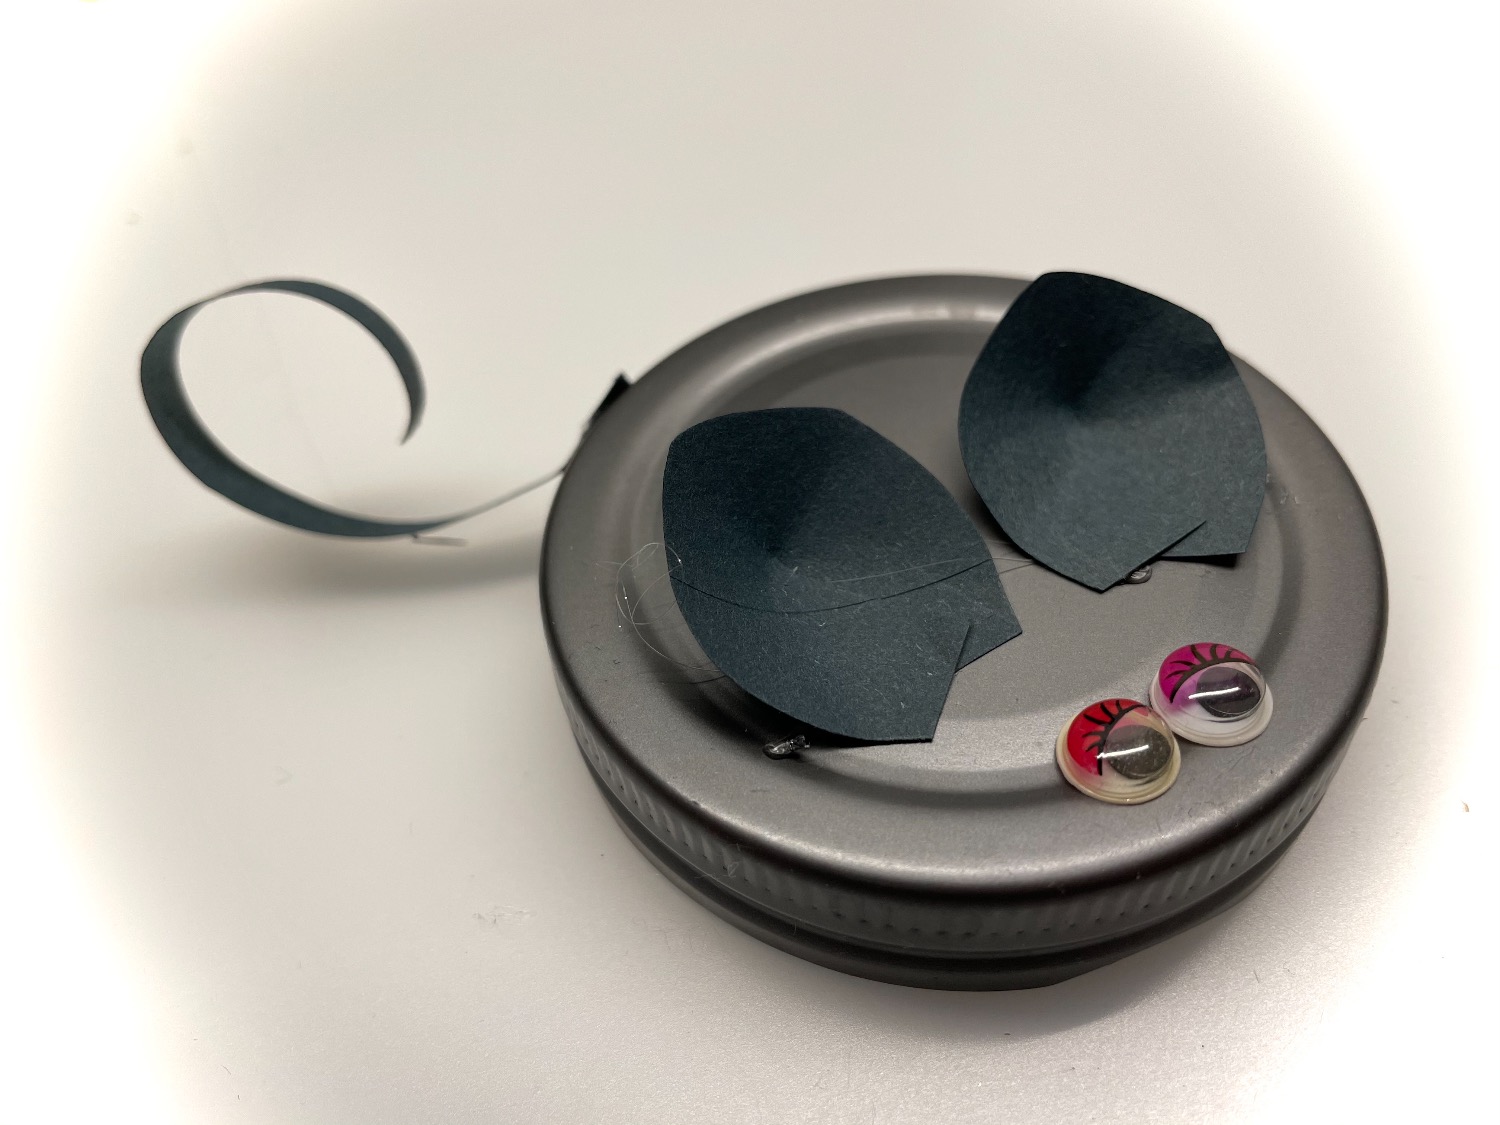


Titelbild zur Bastel- und DIY-Idee für Kinder '(598) Deckel-Maus'
Material for1 Child
Prep Time5 min.Adv. Time20 min.Total Time25 min.
 1 grey screw glass coveror white
 2 Wax eyes
 Grey clay paper residues
 Pen
 Adhesive penor hot glue
 Builder's pad
All links marked with a shopping cart lead to Amazon - here we have selected products that we would order ourselves and in part also ordered. In a qualified purchase via the advertising link, we as Amazon partner receive a commission, for you there are no costs. You thus support our cost- and advertising banner-free, educational offer.
1

Put out your craft pad and find a monochrome lid of a screw glass.
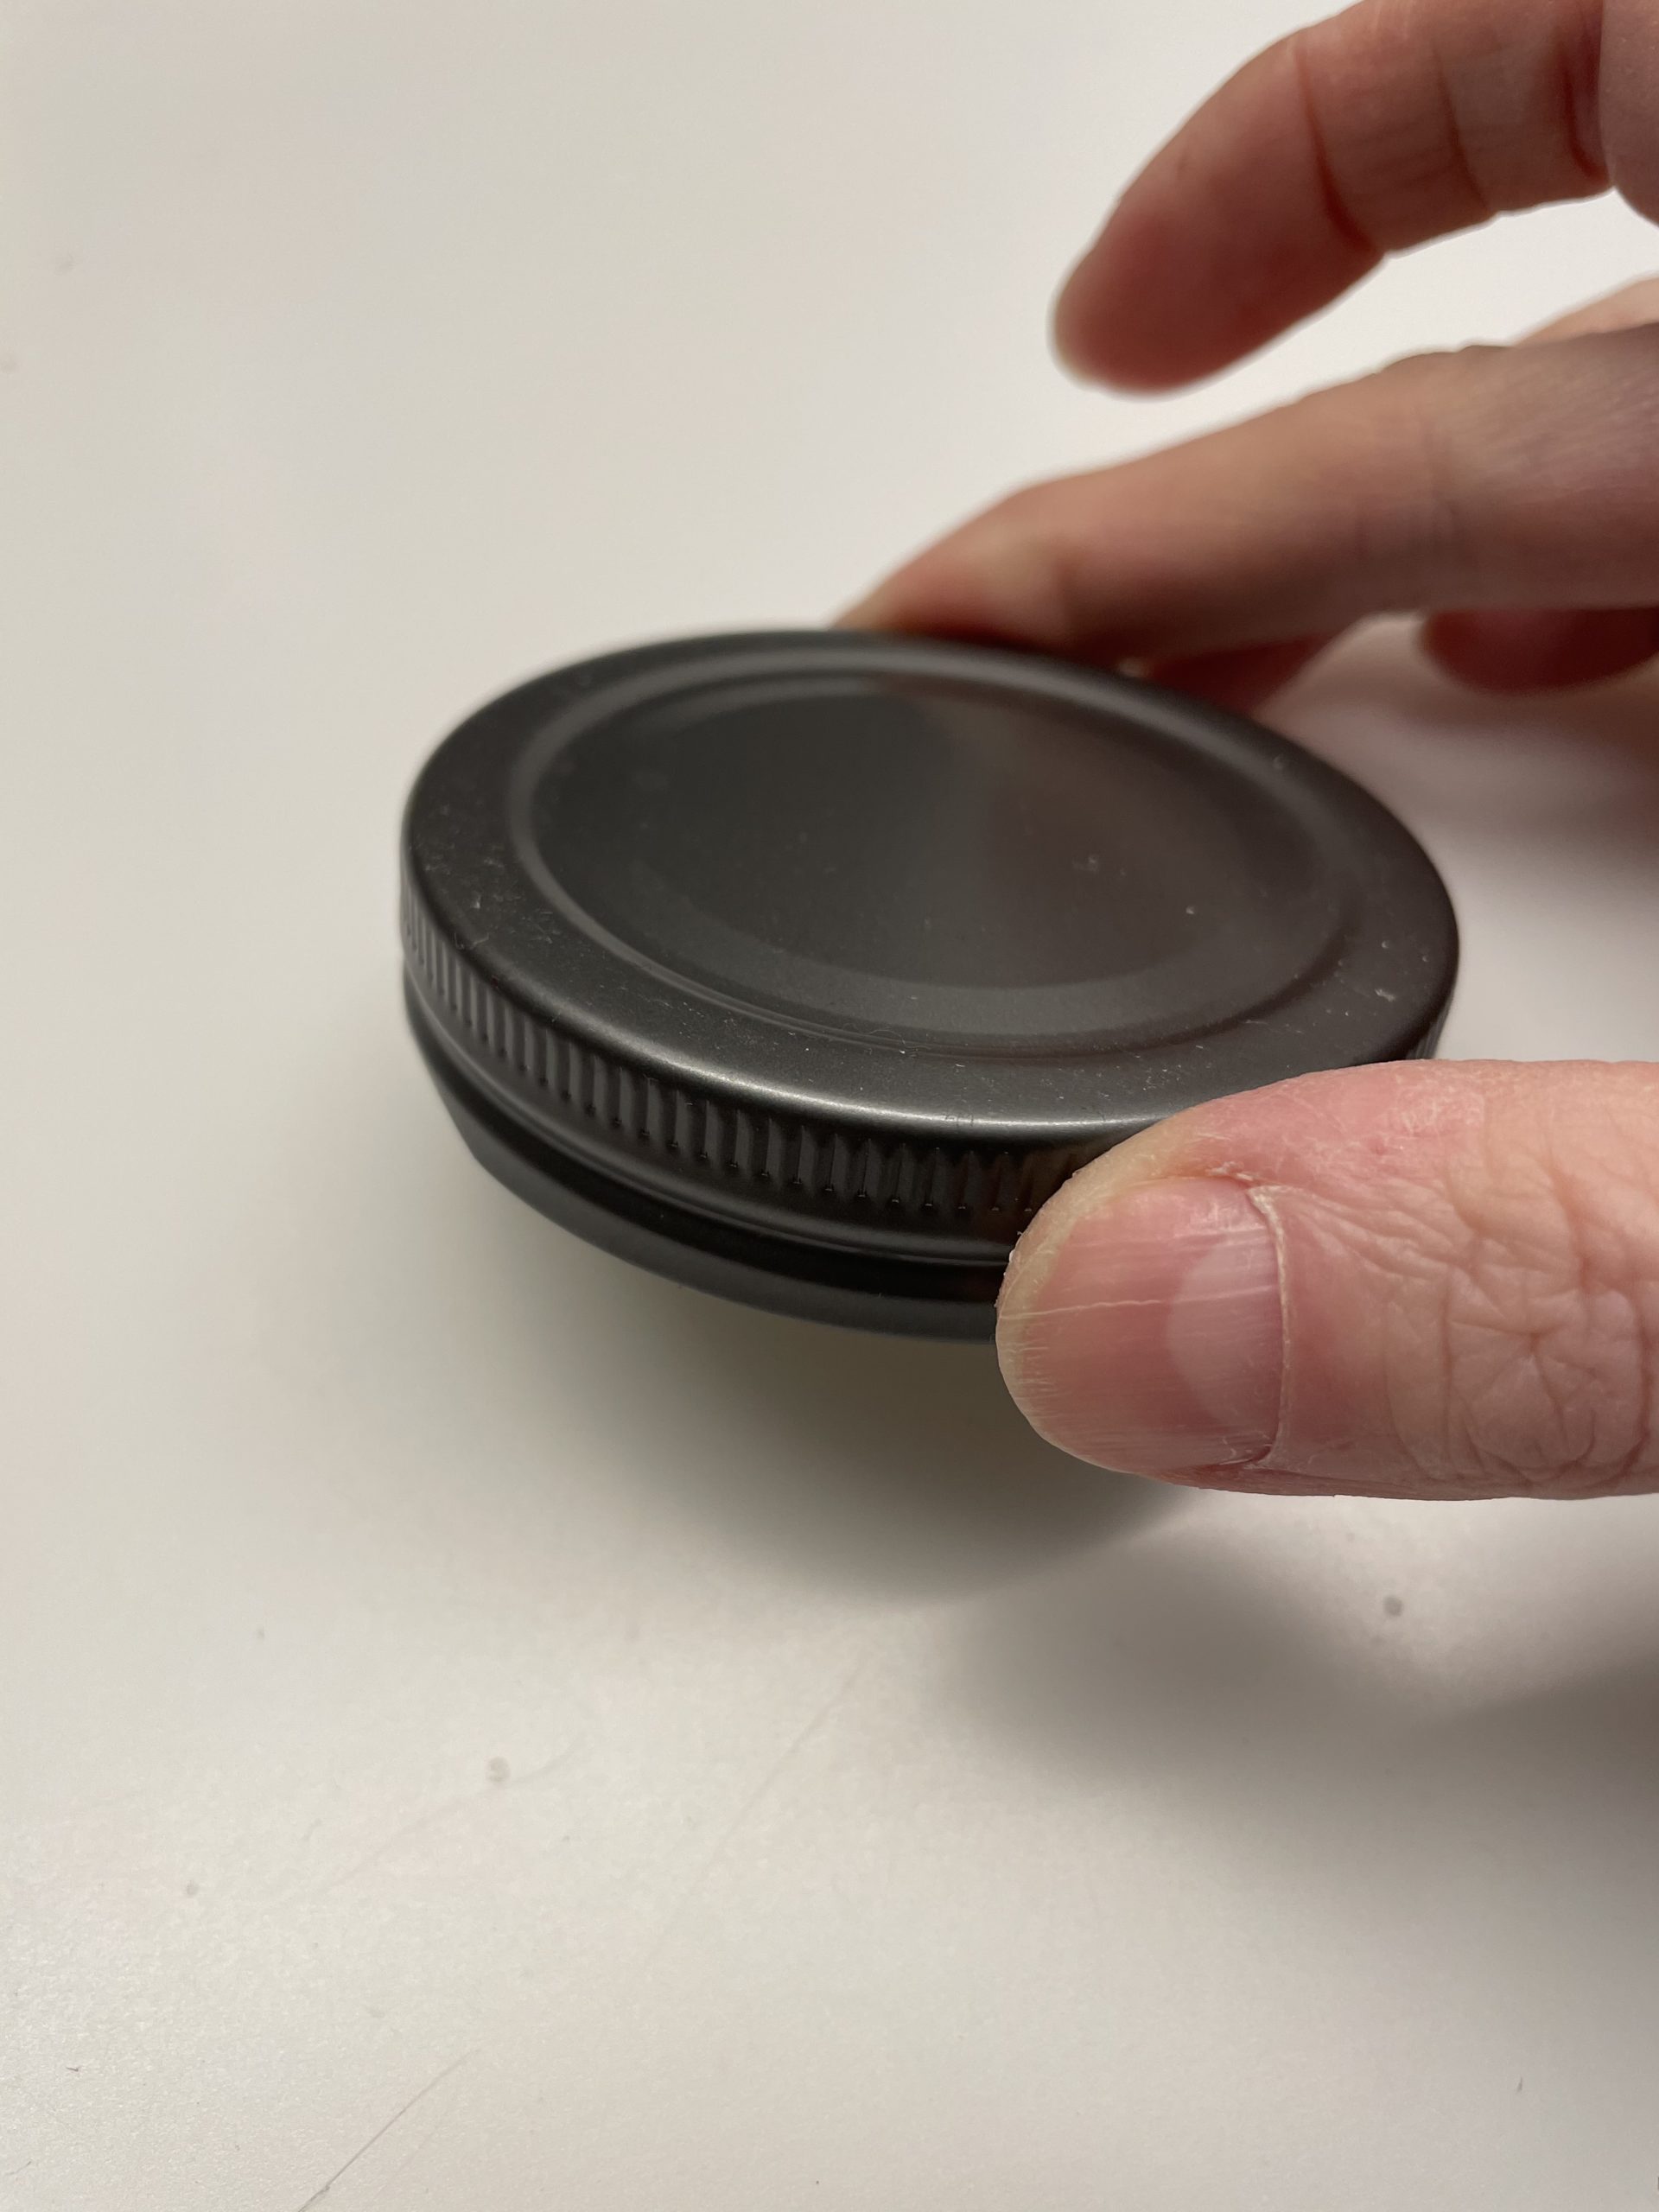
Bild zum Schritt 1 für das Bastel- und DIY-Abenteuer für Kinder: 'Legt eure Bastelunterlage aus und sucht euch einen einfarbigen Deckel...'

2

Now you paint two little ears on the clay paper and cut them out.
Cut the ears straight at the bottom and round at the top. Then cut in the middle of the bottom each ear up to about half.
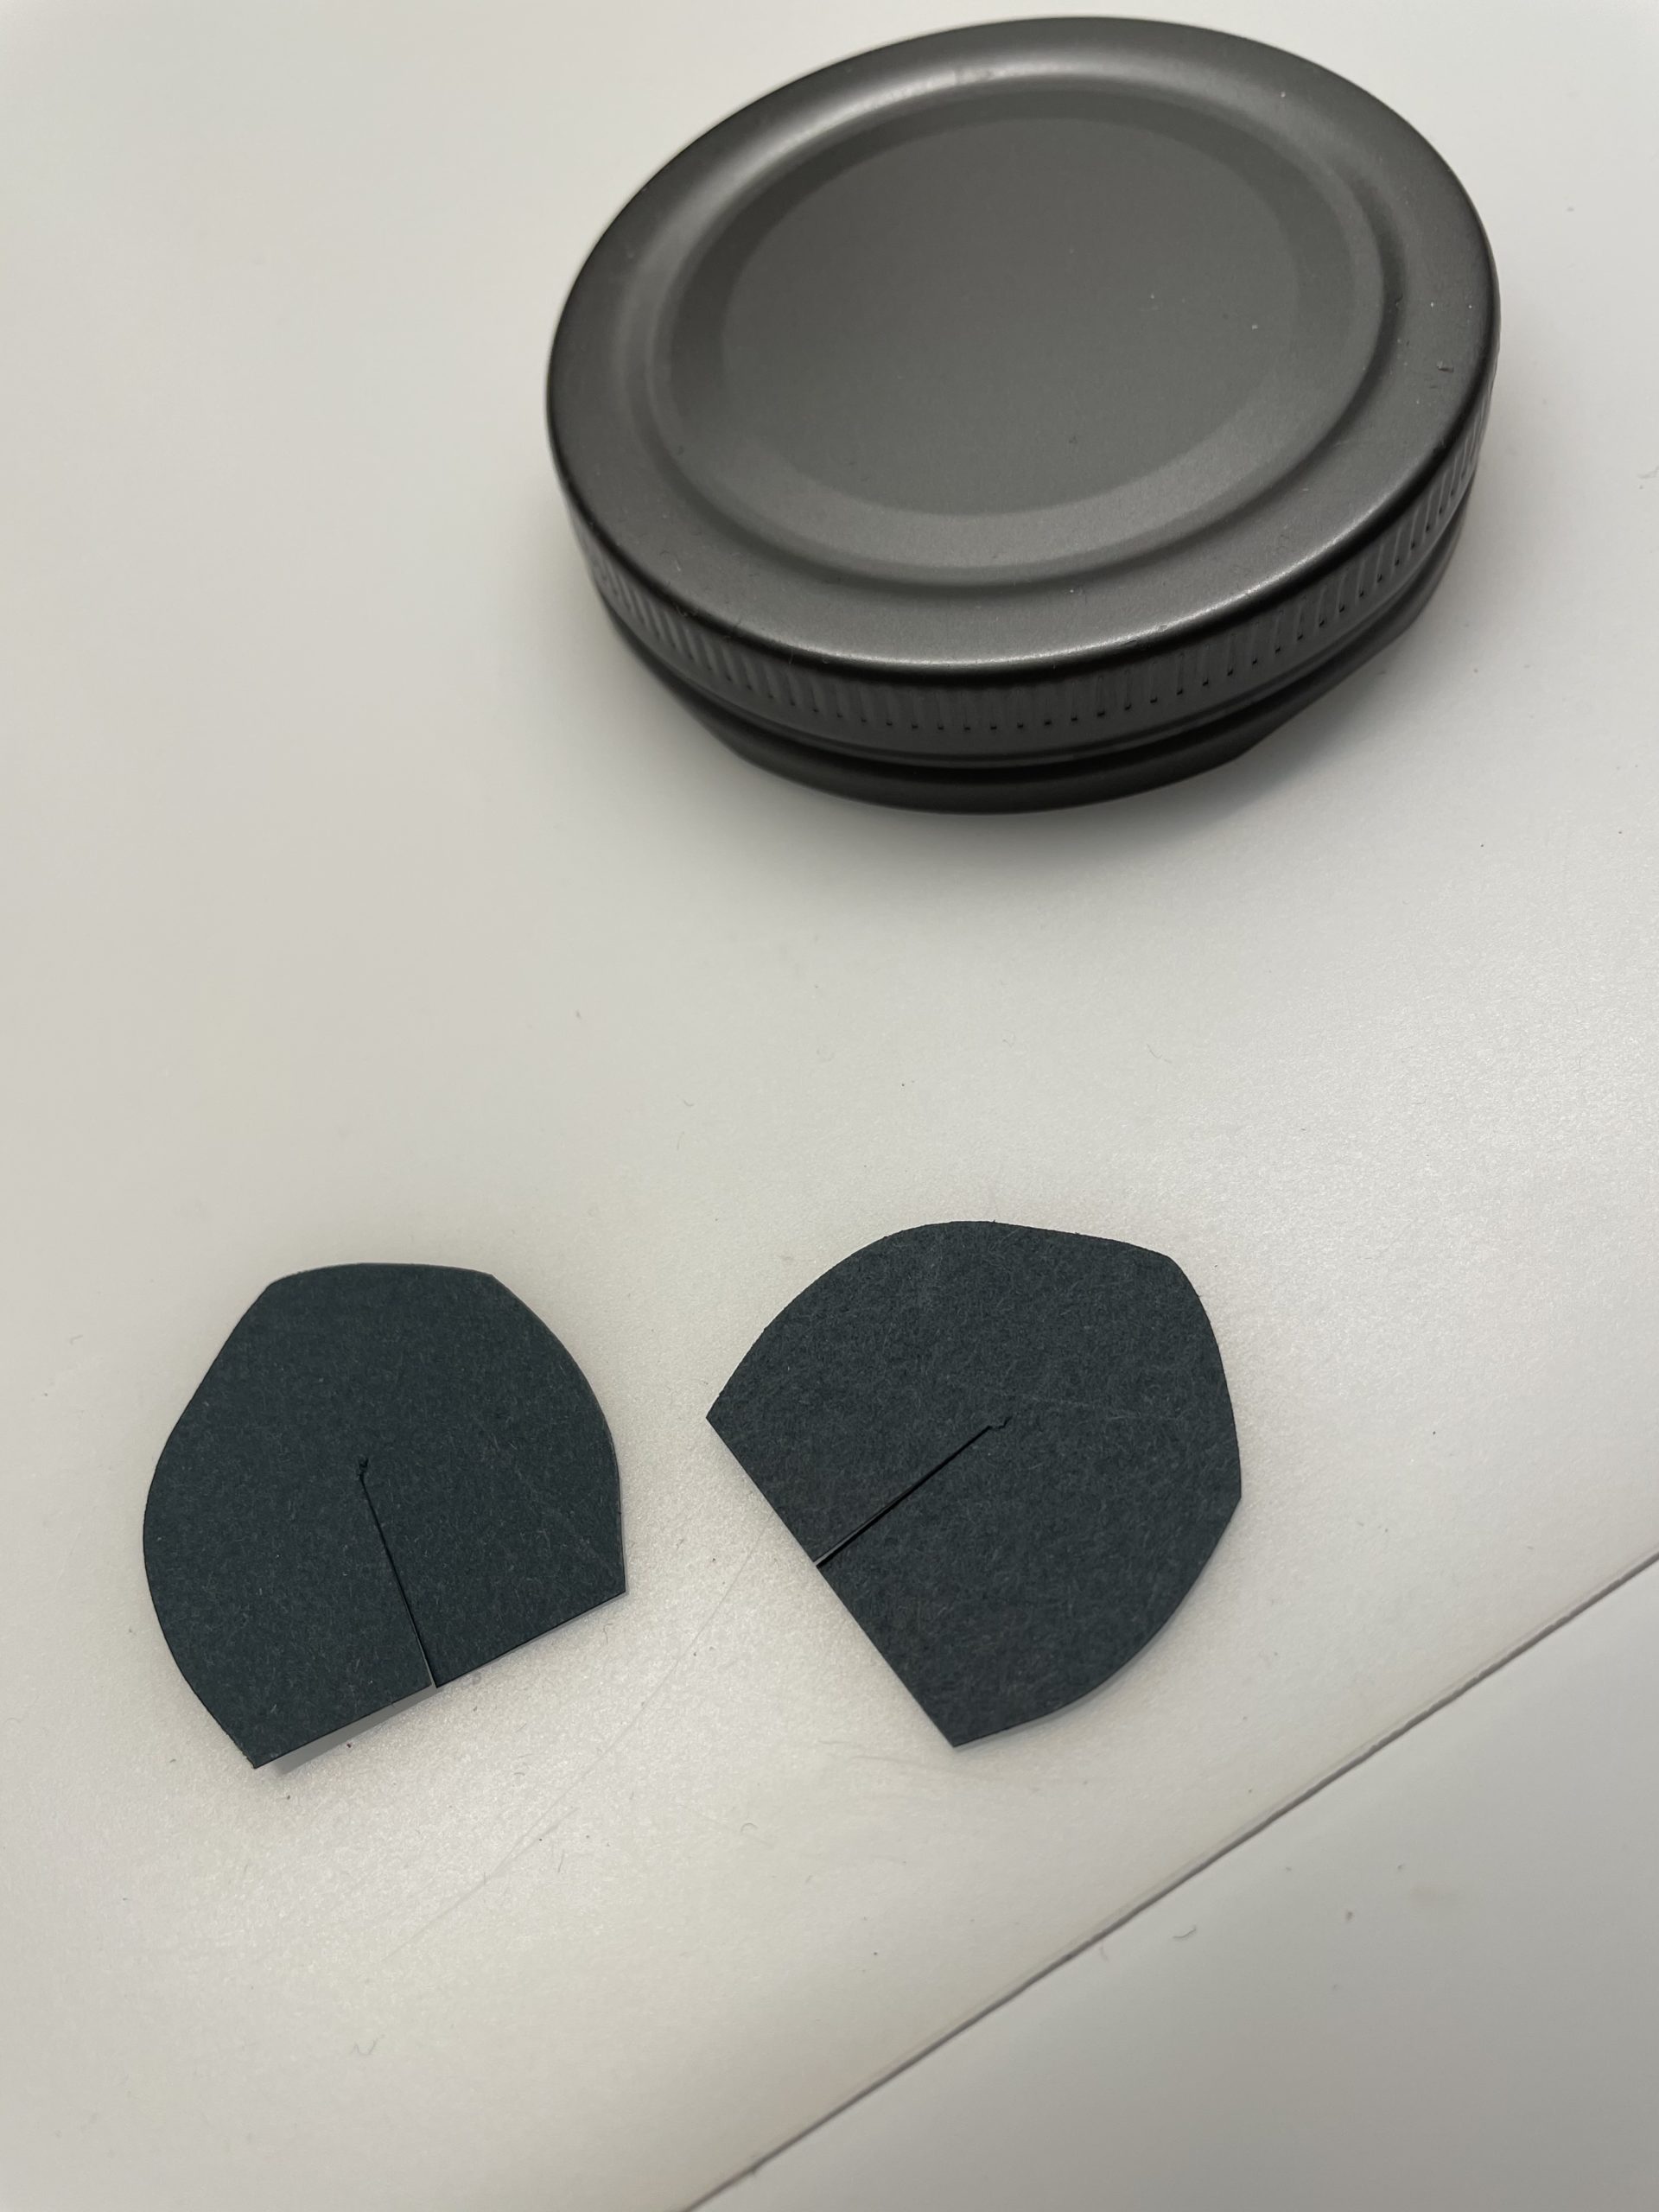
Bild zum Schritt 2 für das Bastel- und DIY-Abenteuer für Kinder: 'Jetzt malt ihr euch zwei kleine Ohren auf das Tonpapier...'

3

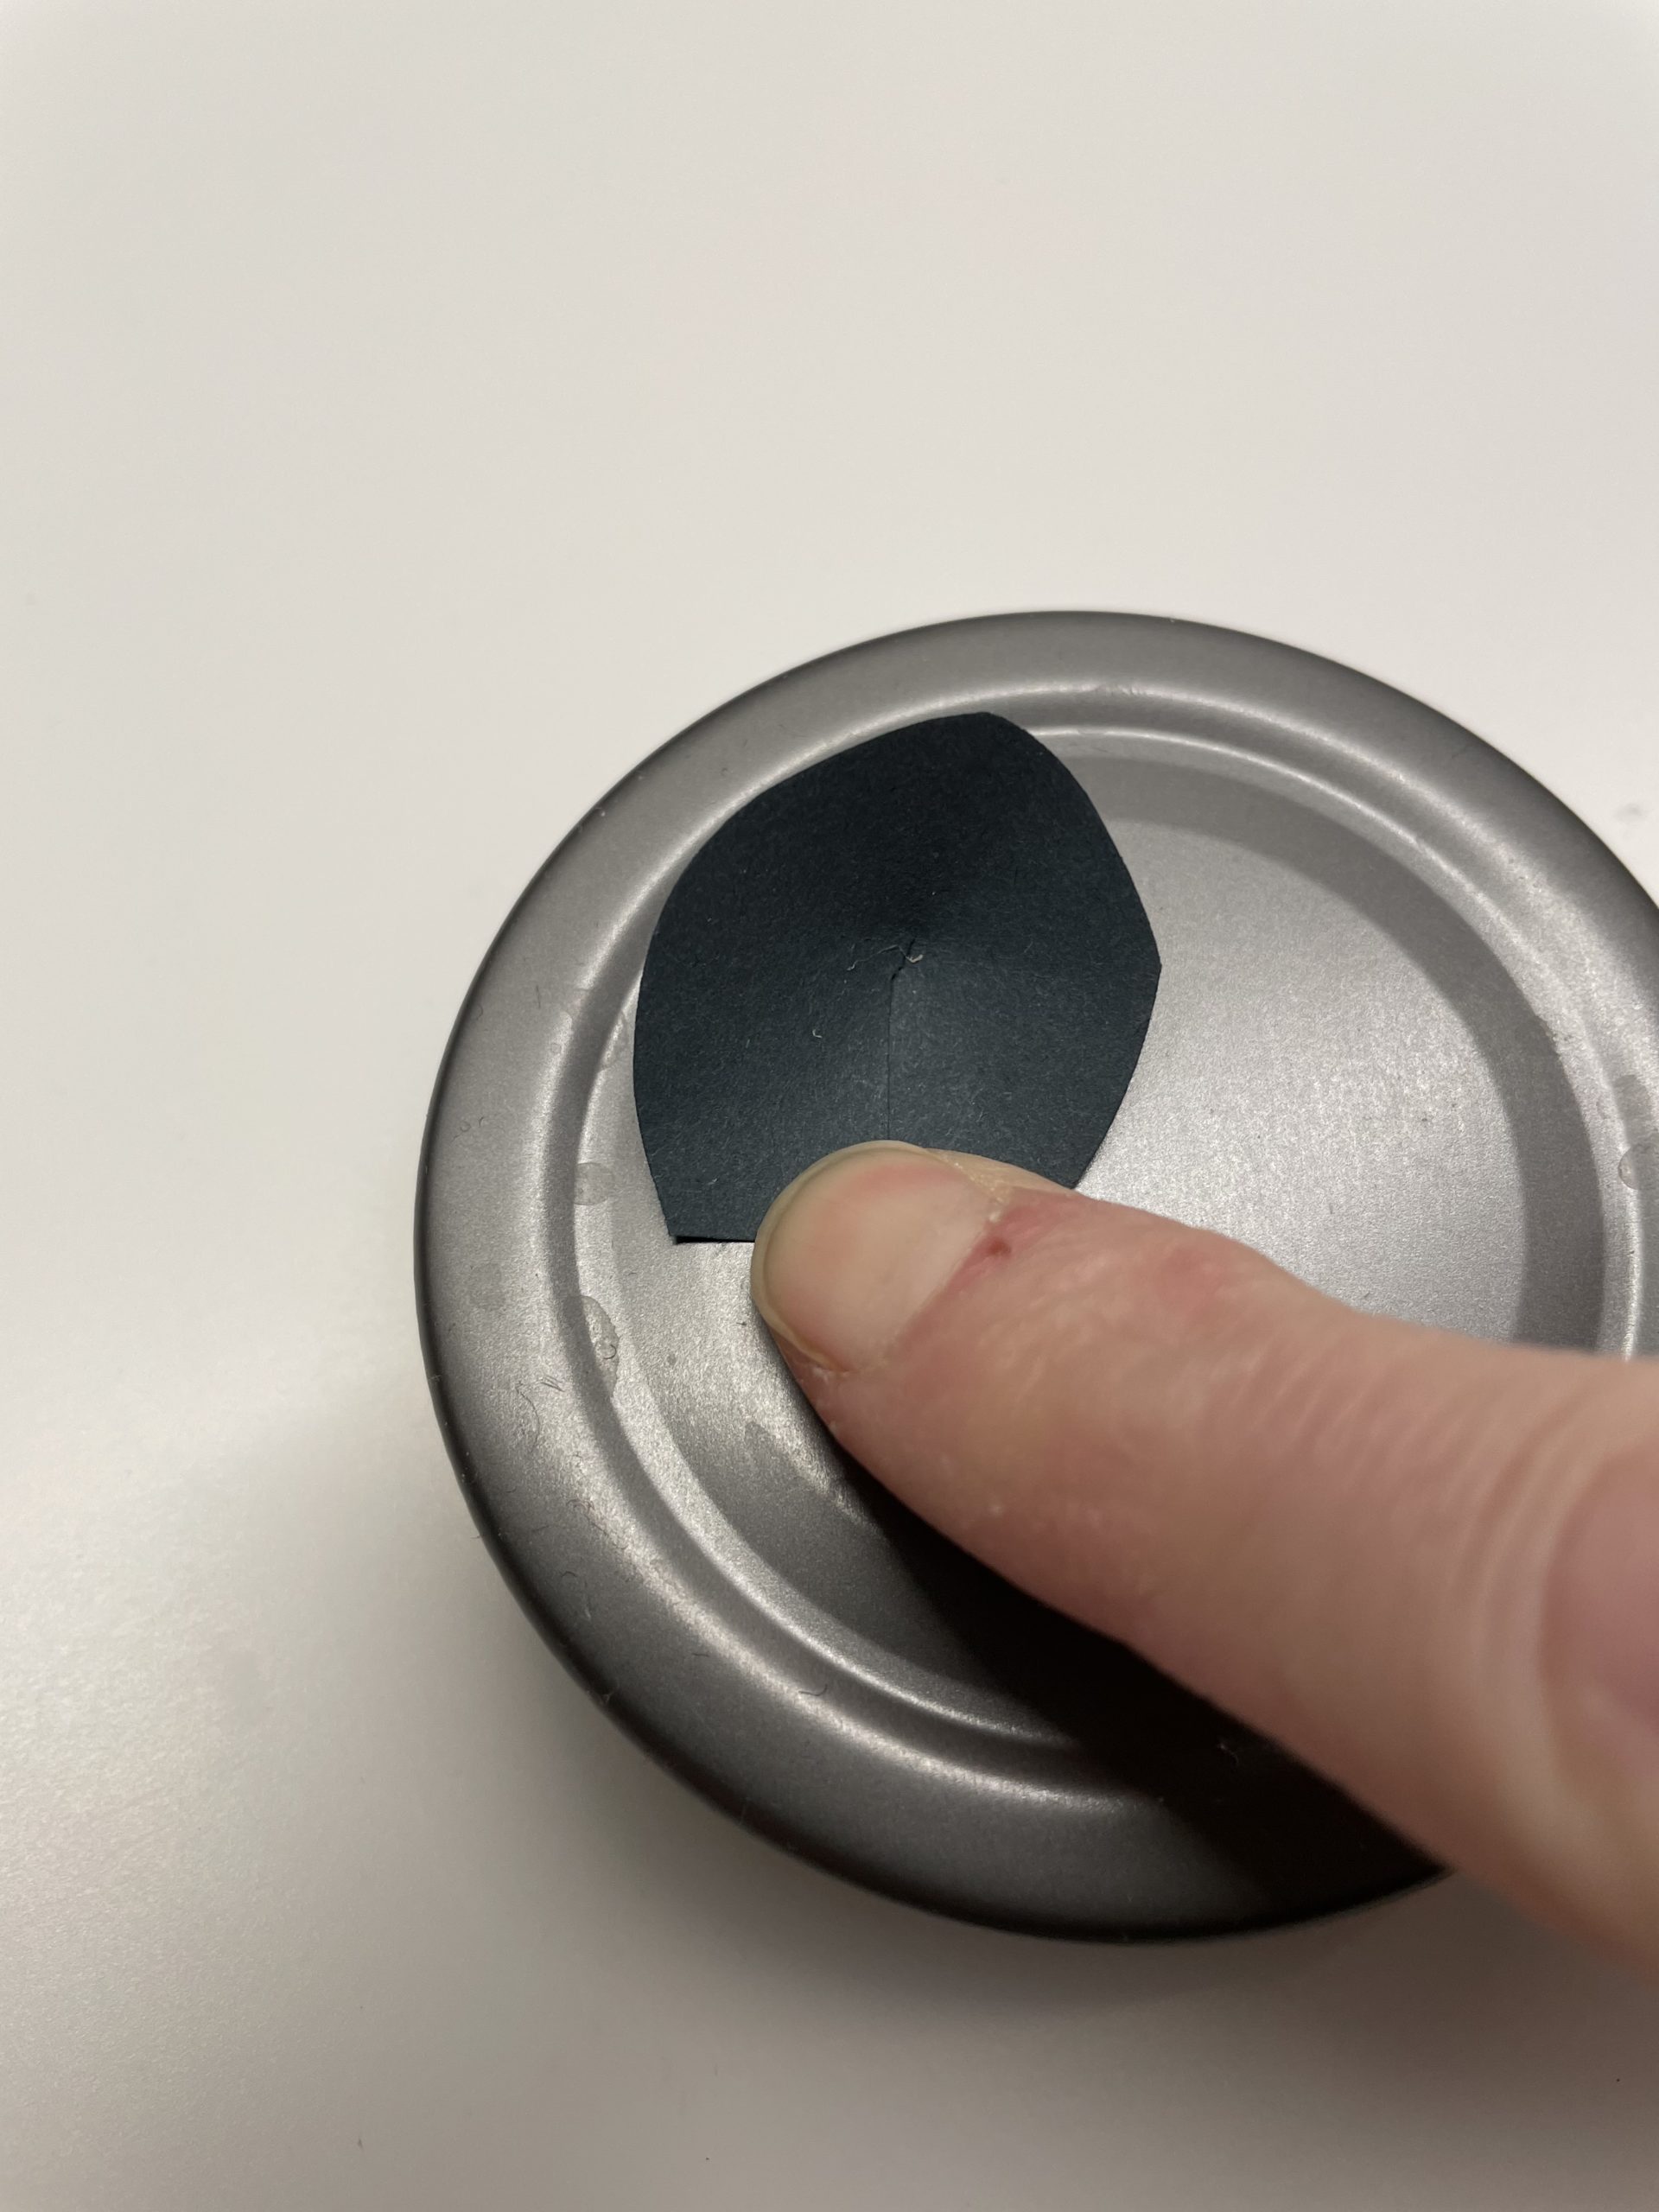
Now glues the cut-in places slightly above each other. Thus the ears become plastic.

Bild zum Schritt 3 für das Bastel- und DIY-Abenteuer für Kinder: 'Klebt nun die eingeschnittenen Stellen leicht übereinander. So werden die...'

4

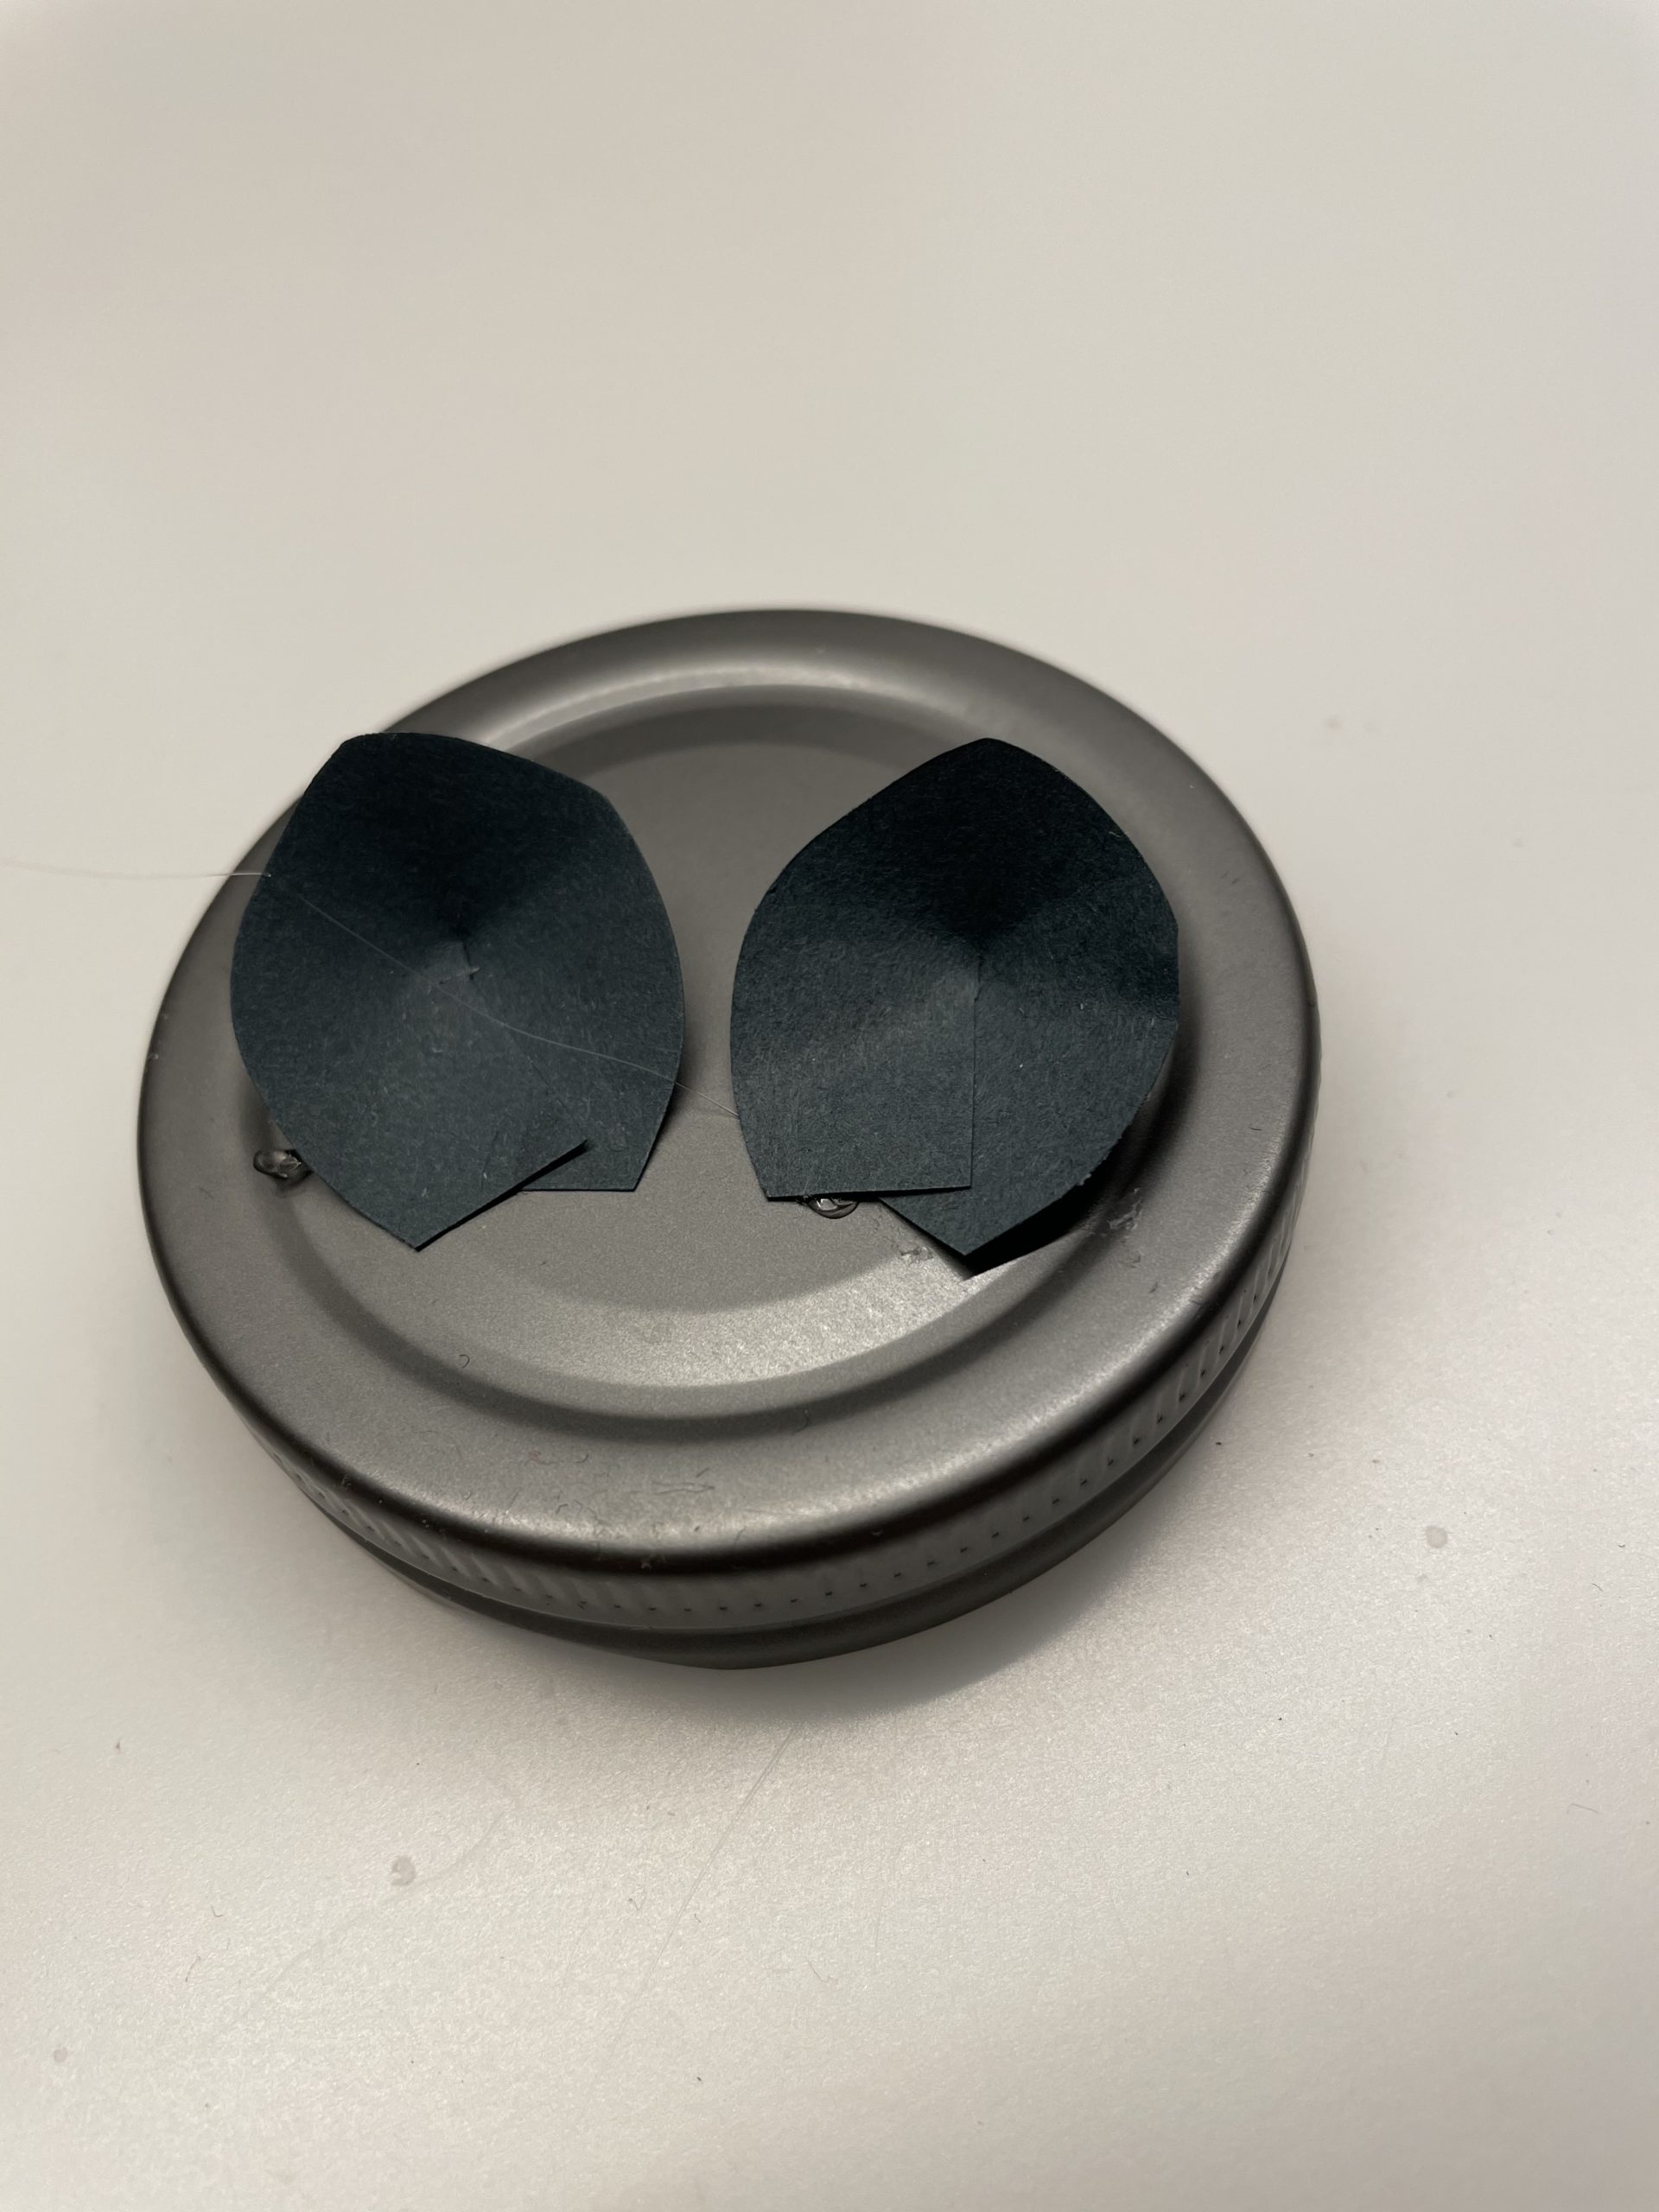
Now put her ears on the lid.

Bild zum Schritt 4 für das Bastel- und DIY-Abenteuer für Kinder: 'Jetzt klebt ihr die Ohren auf den Deckel.'

5

2. Bild zum Schritt 4 für das Bastel- und DIY-Abenteuer für Kinder: 'Jetzt klebt ihr die Ohren auf den Deckel.'

6

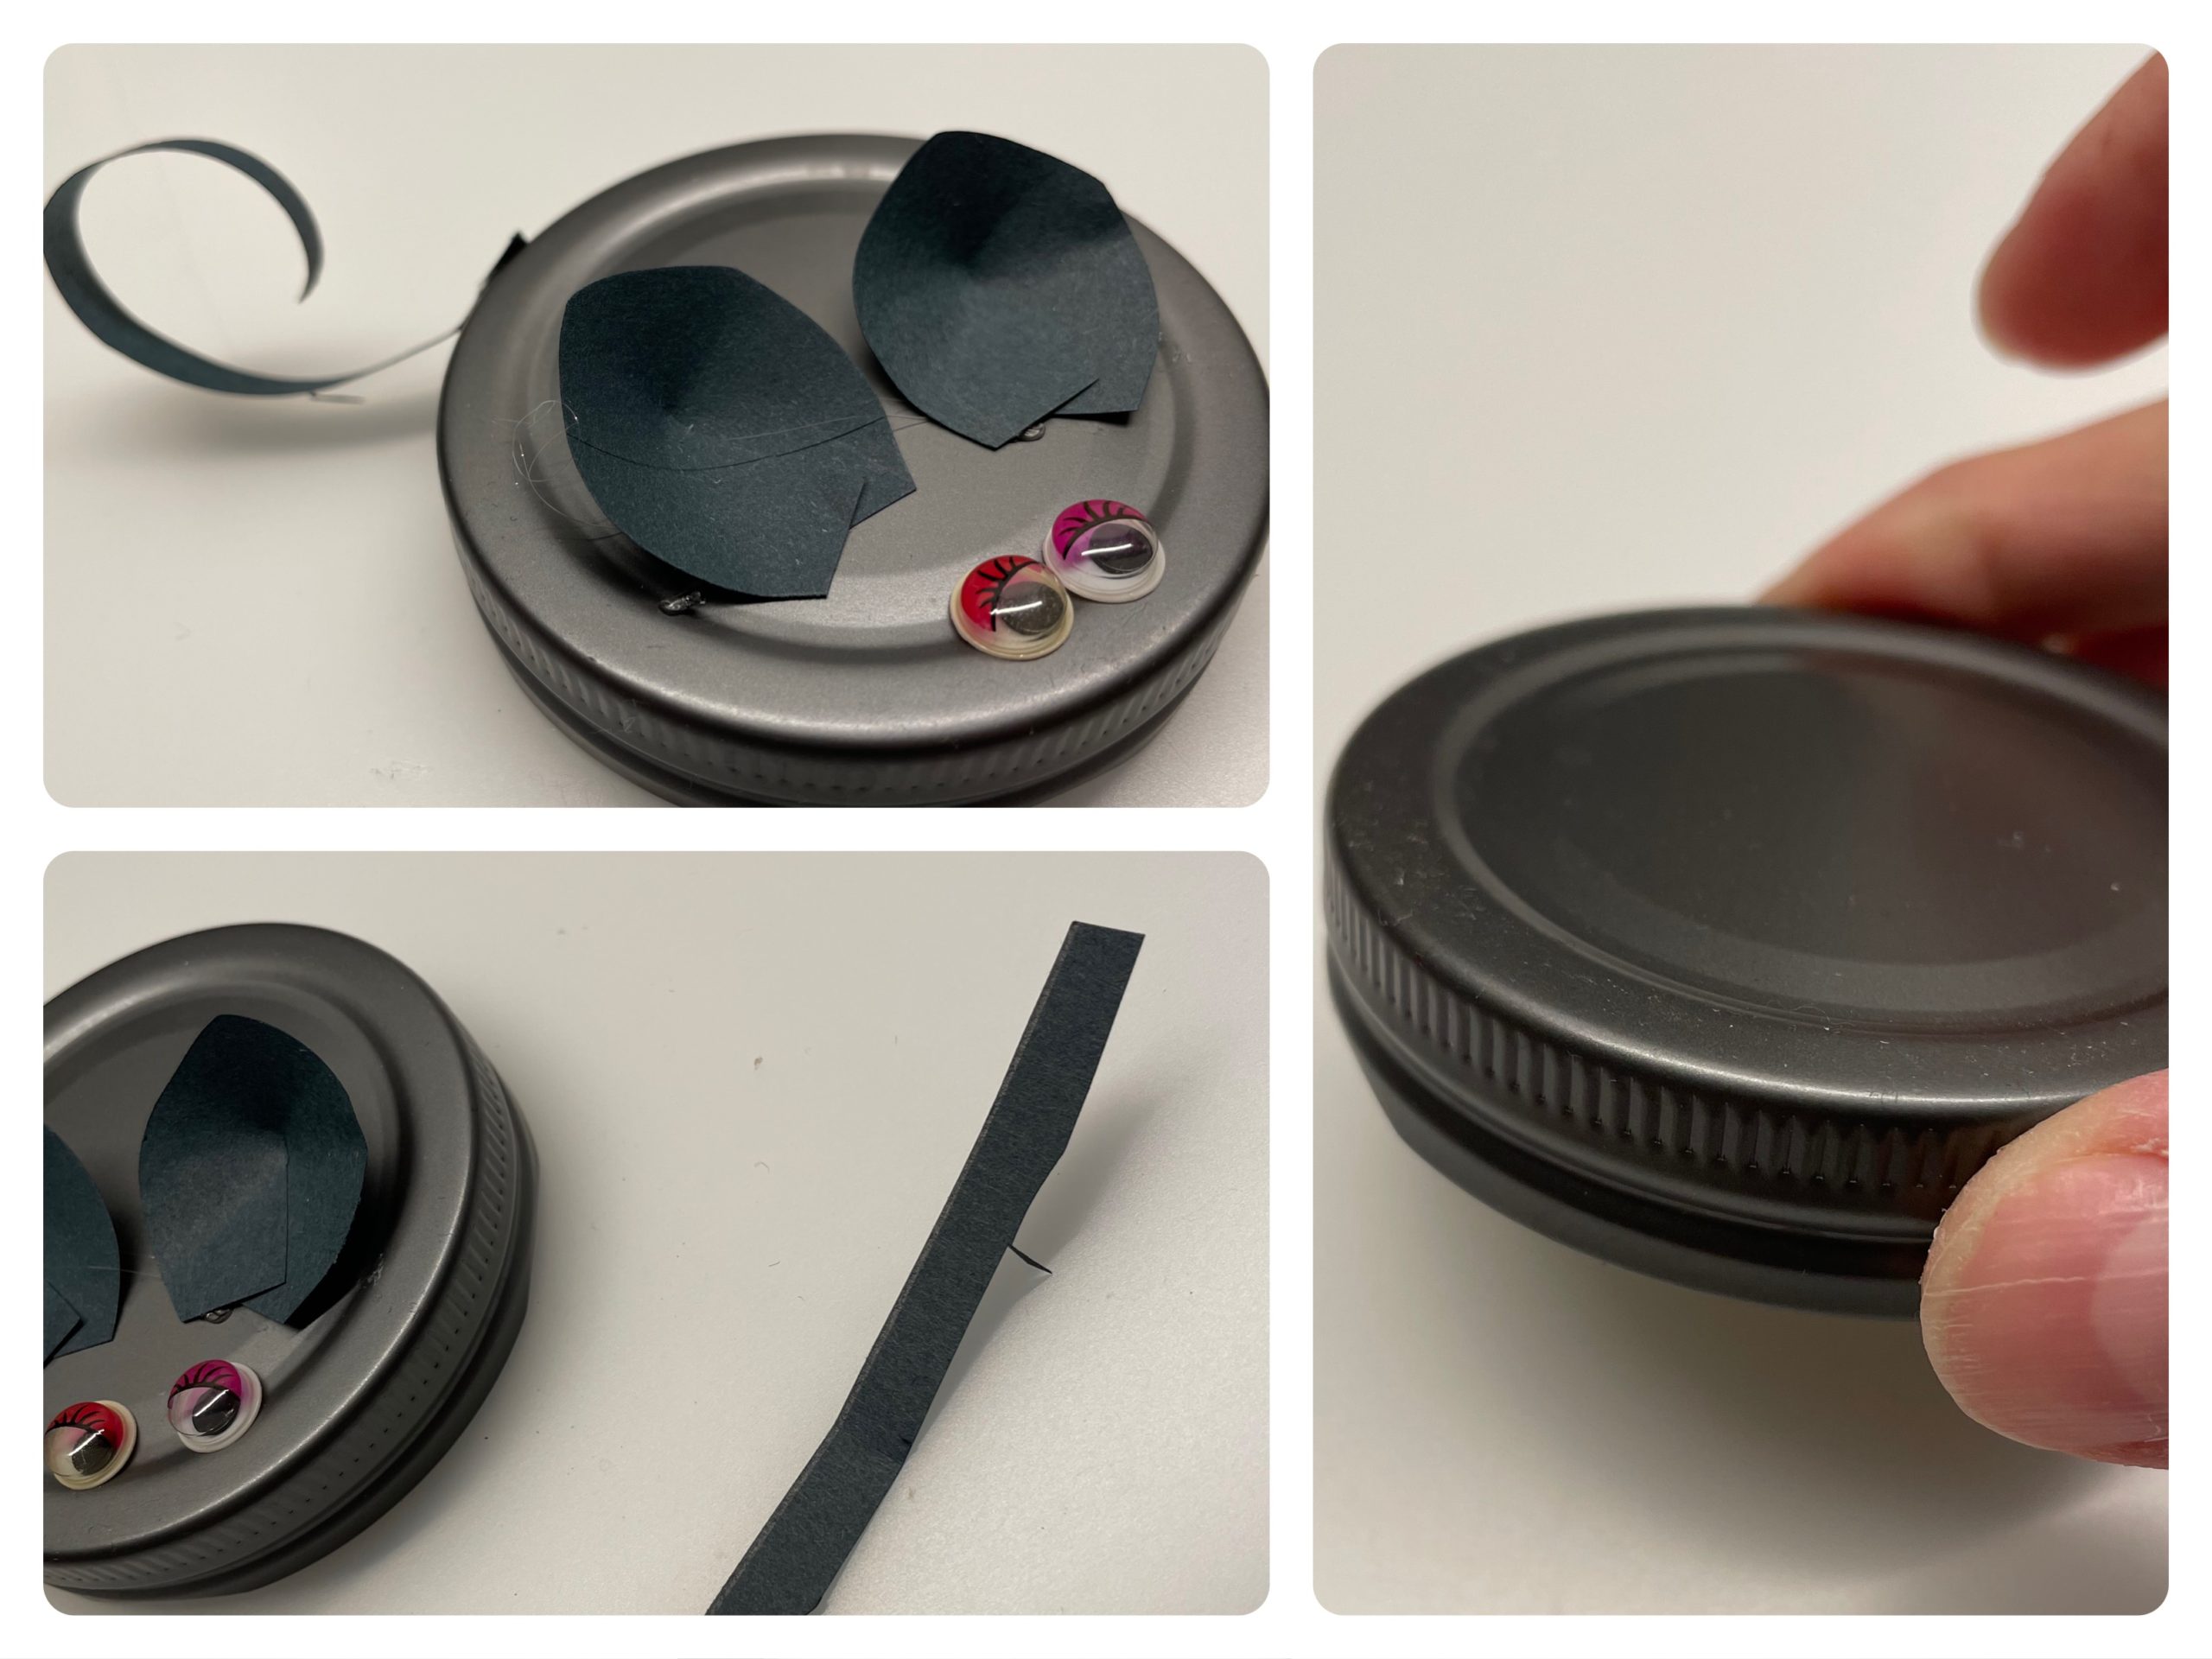
Then stick the wobble eyes on the lid.

Bild zum Schritt 6 für das Bastel- und DIY-Abenteuer für Kinder: 'Anschließend klebt ihr die Wackelaugen auf den Deckel.'

7

Now cut off a thin strip of clay paper. (length about 10-12cm).

Bild zum Schritt 7 für das Bastel- und DIY-Abenteuer für Kinder: 'Nun schneidet ihr euch einen dünnen Streifen Tonpapier ab. (Länge...'

8

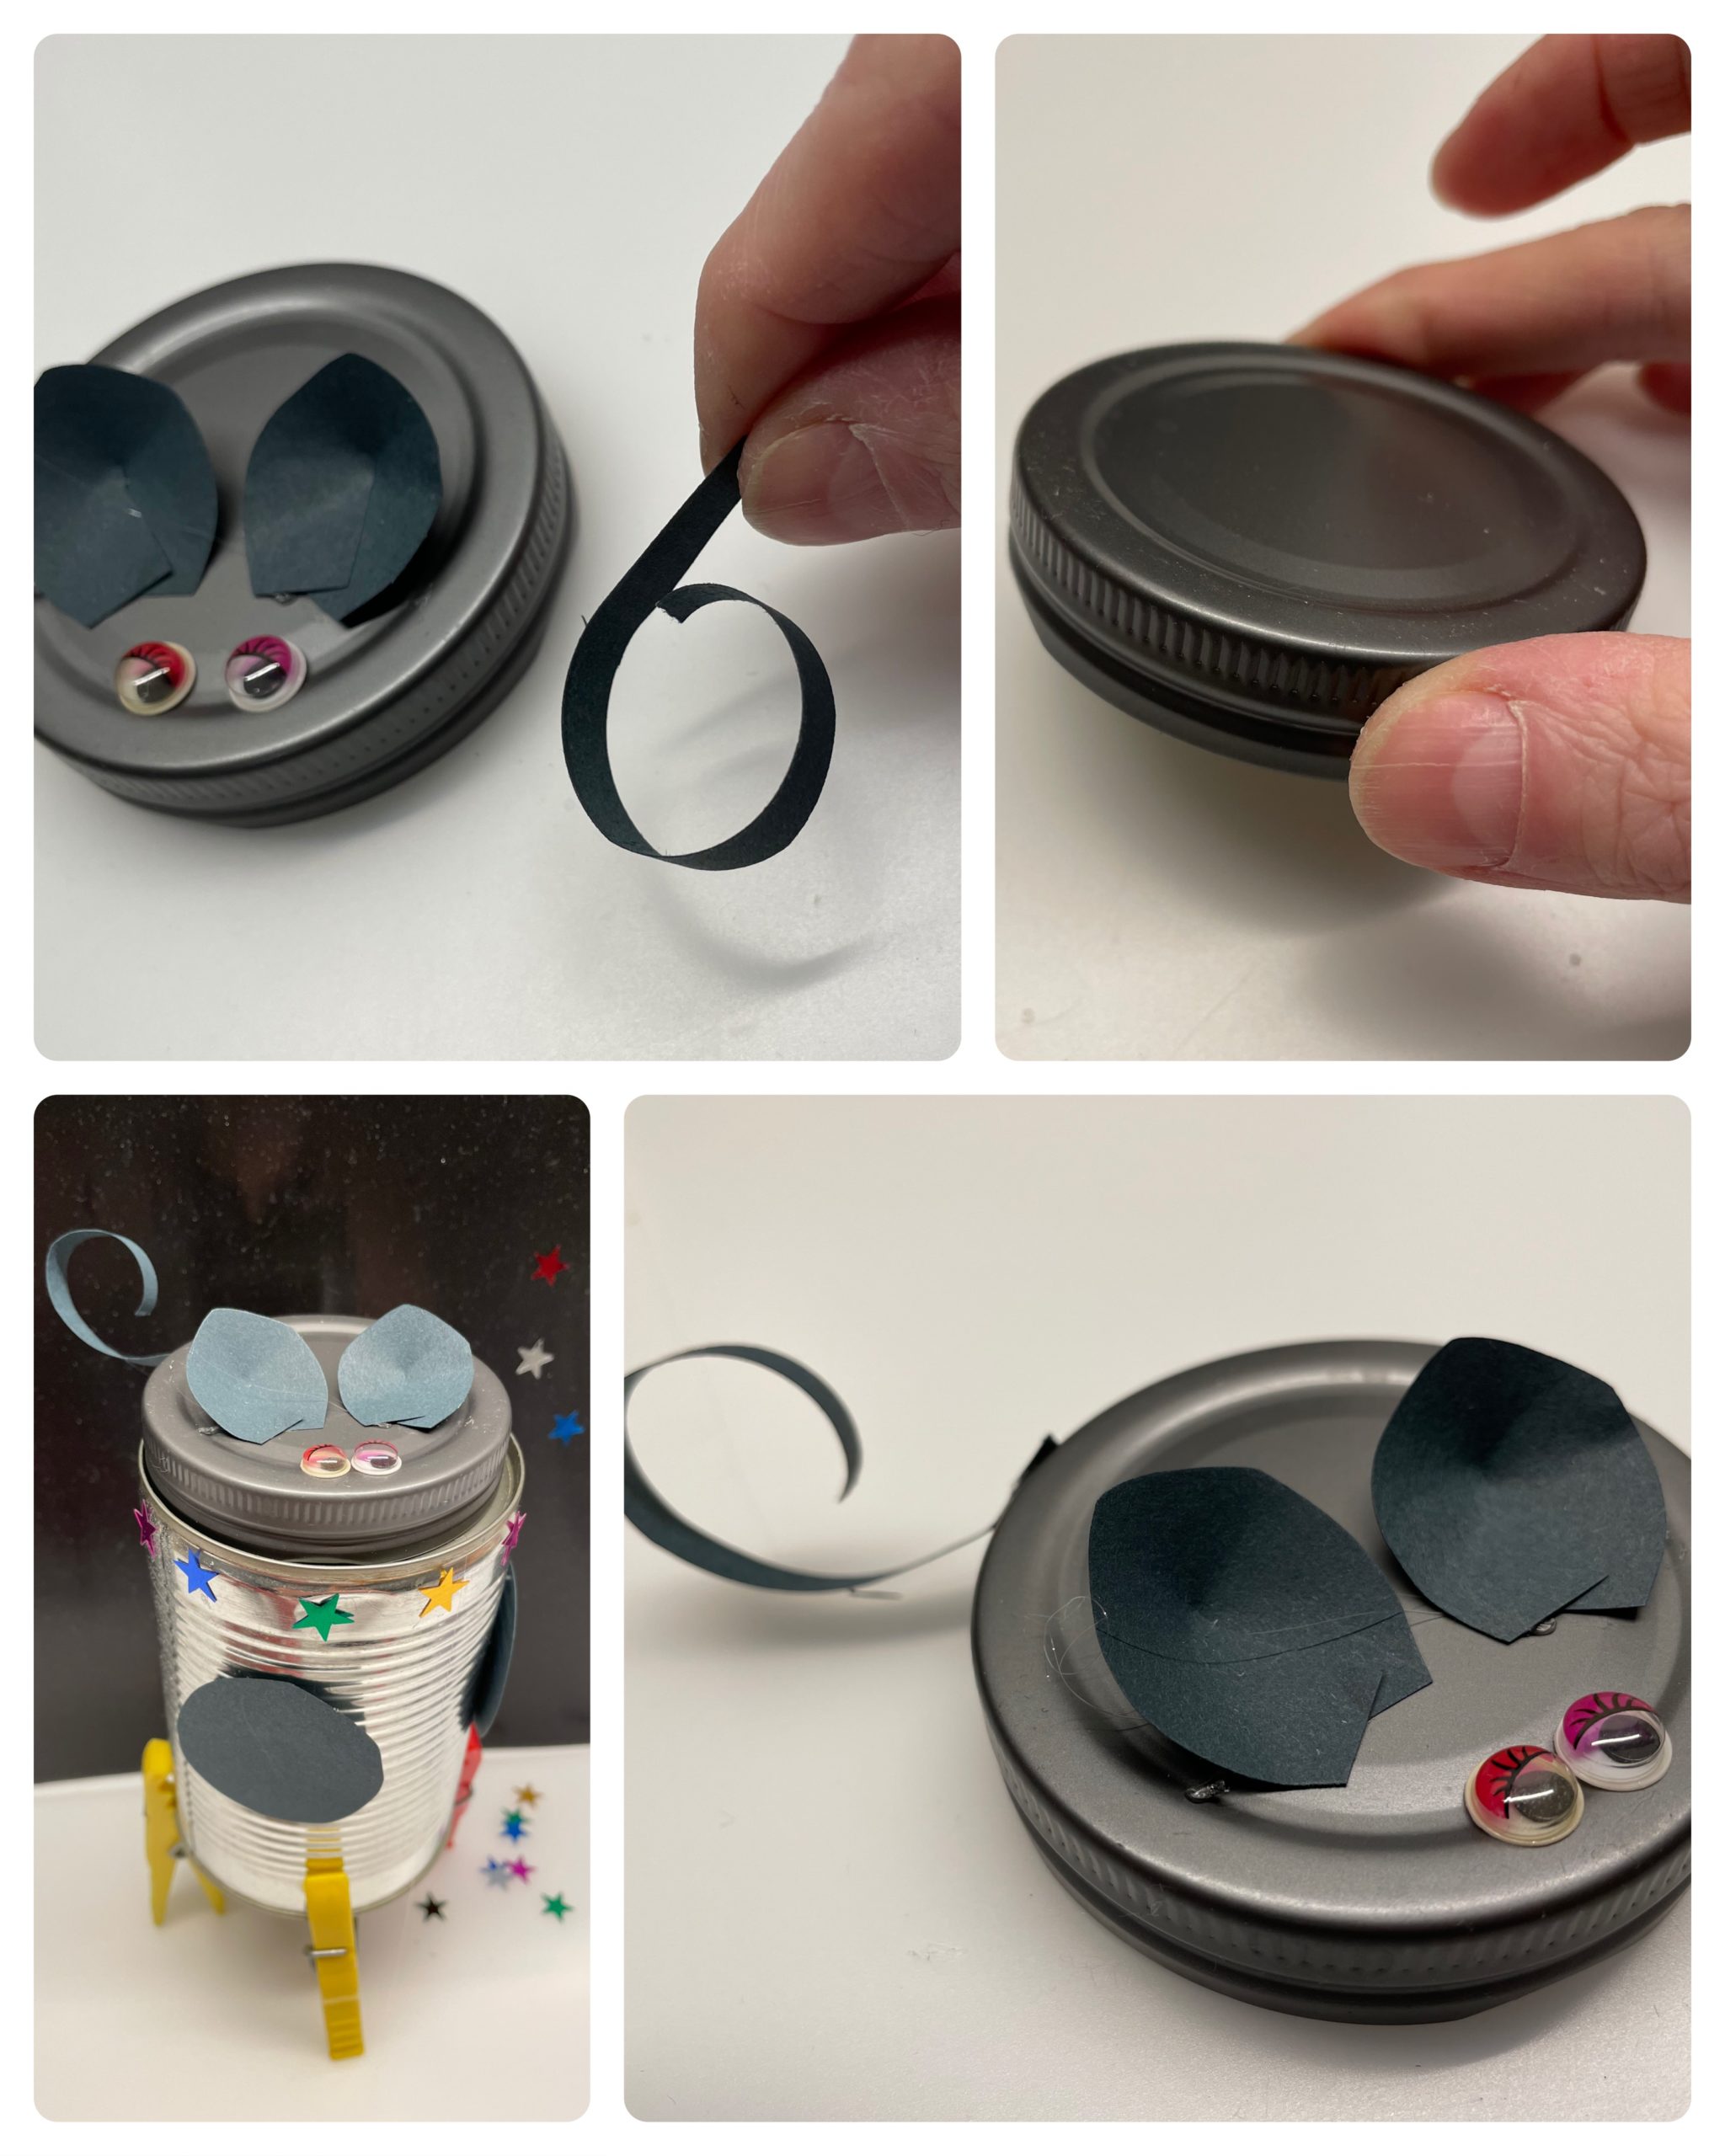
You can still ring the paper strip by pulling the paper over the edge of your scissors.
Attention: Let an adult help you! Risk of injury!

Bild zum Schritt 8 für das Bastel- und DIY-Abenteuer für Kinder: 'Ihr könnt den Papierstreifen noch ringeln, indem ihr das Papier...'

9

Stick your tail to the back of your lid.

Bild zum Schritt 9 für das Bastel- und DIY-Abenteuer für Kinder: 'Klebt danach den Schwanz an die Hinterseite eures Deckels.'

10

Who likes can add moustache or a nose.

Bild zum Schritt 10 für das Bastel- und DIY-Abenteuer für Kinder: 'Wer mag kann noch Schnurrbart oder eine Nase ergänzen.'

11

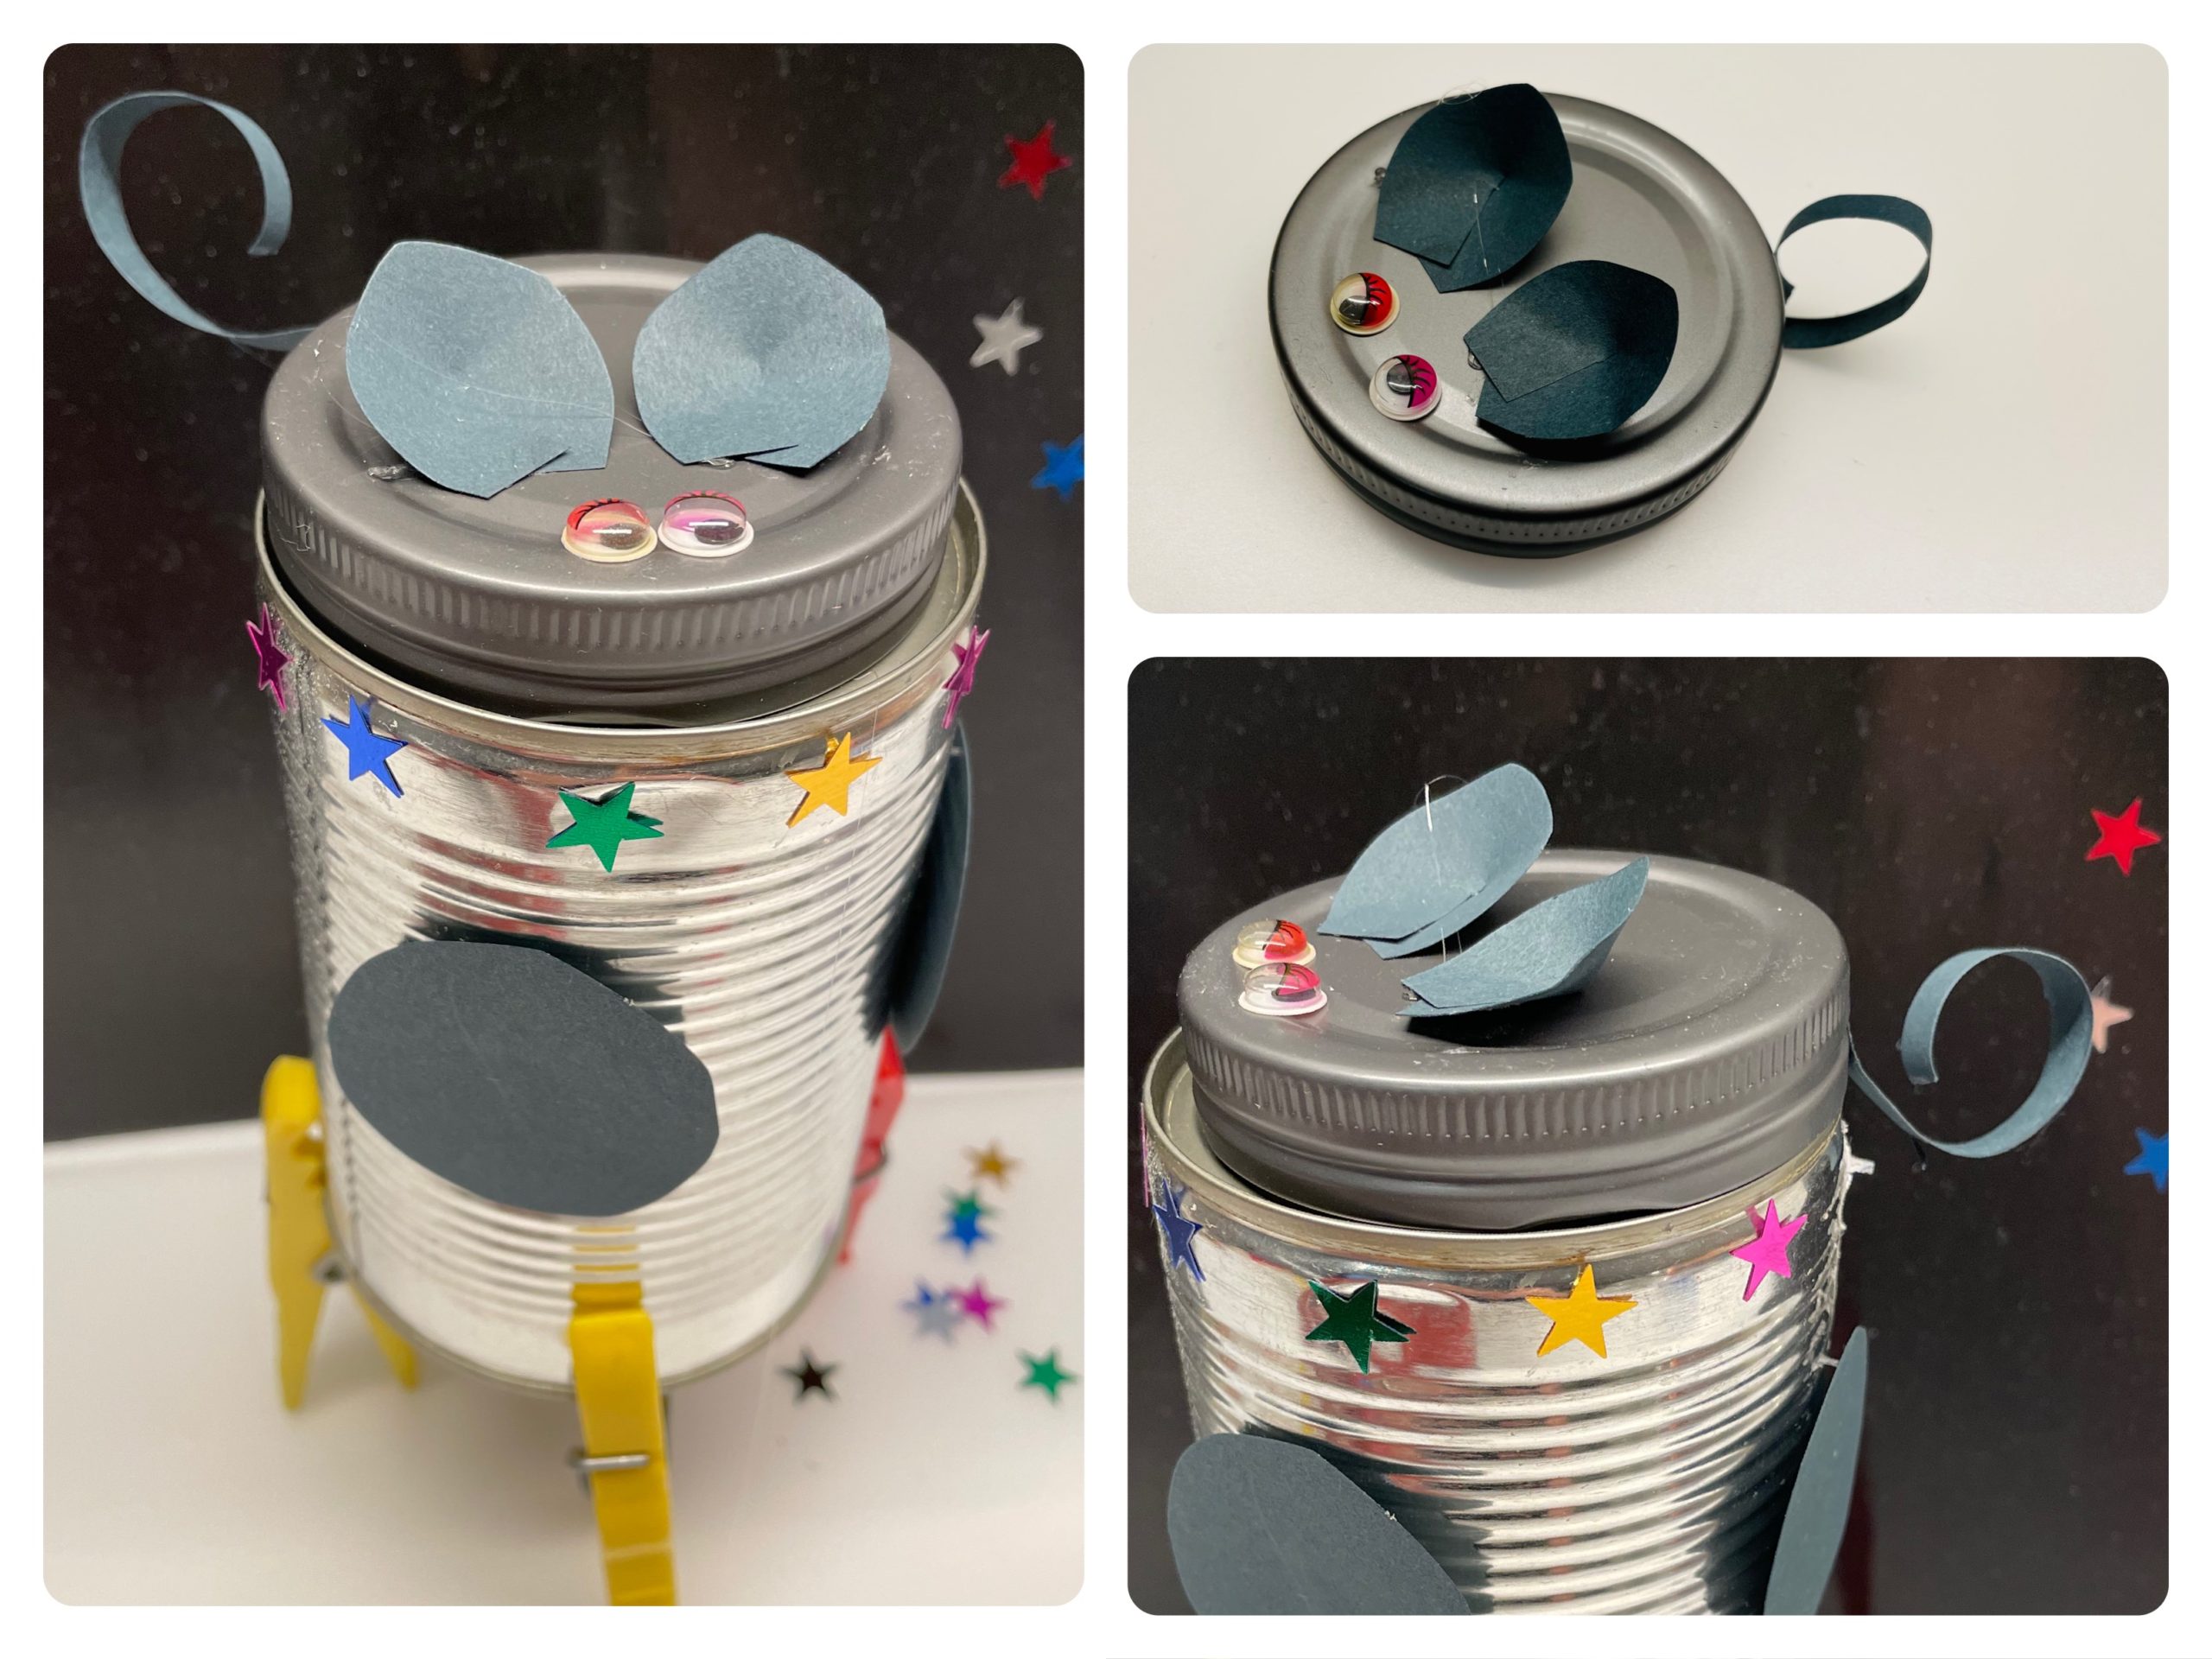
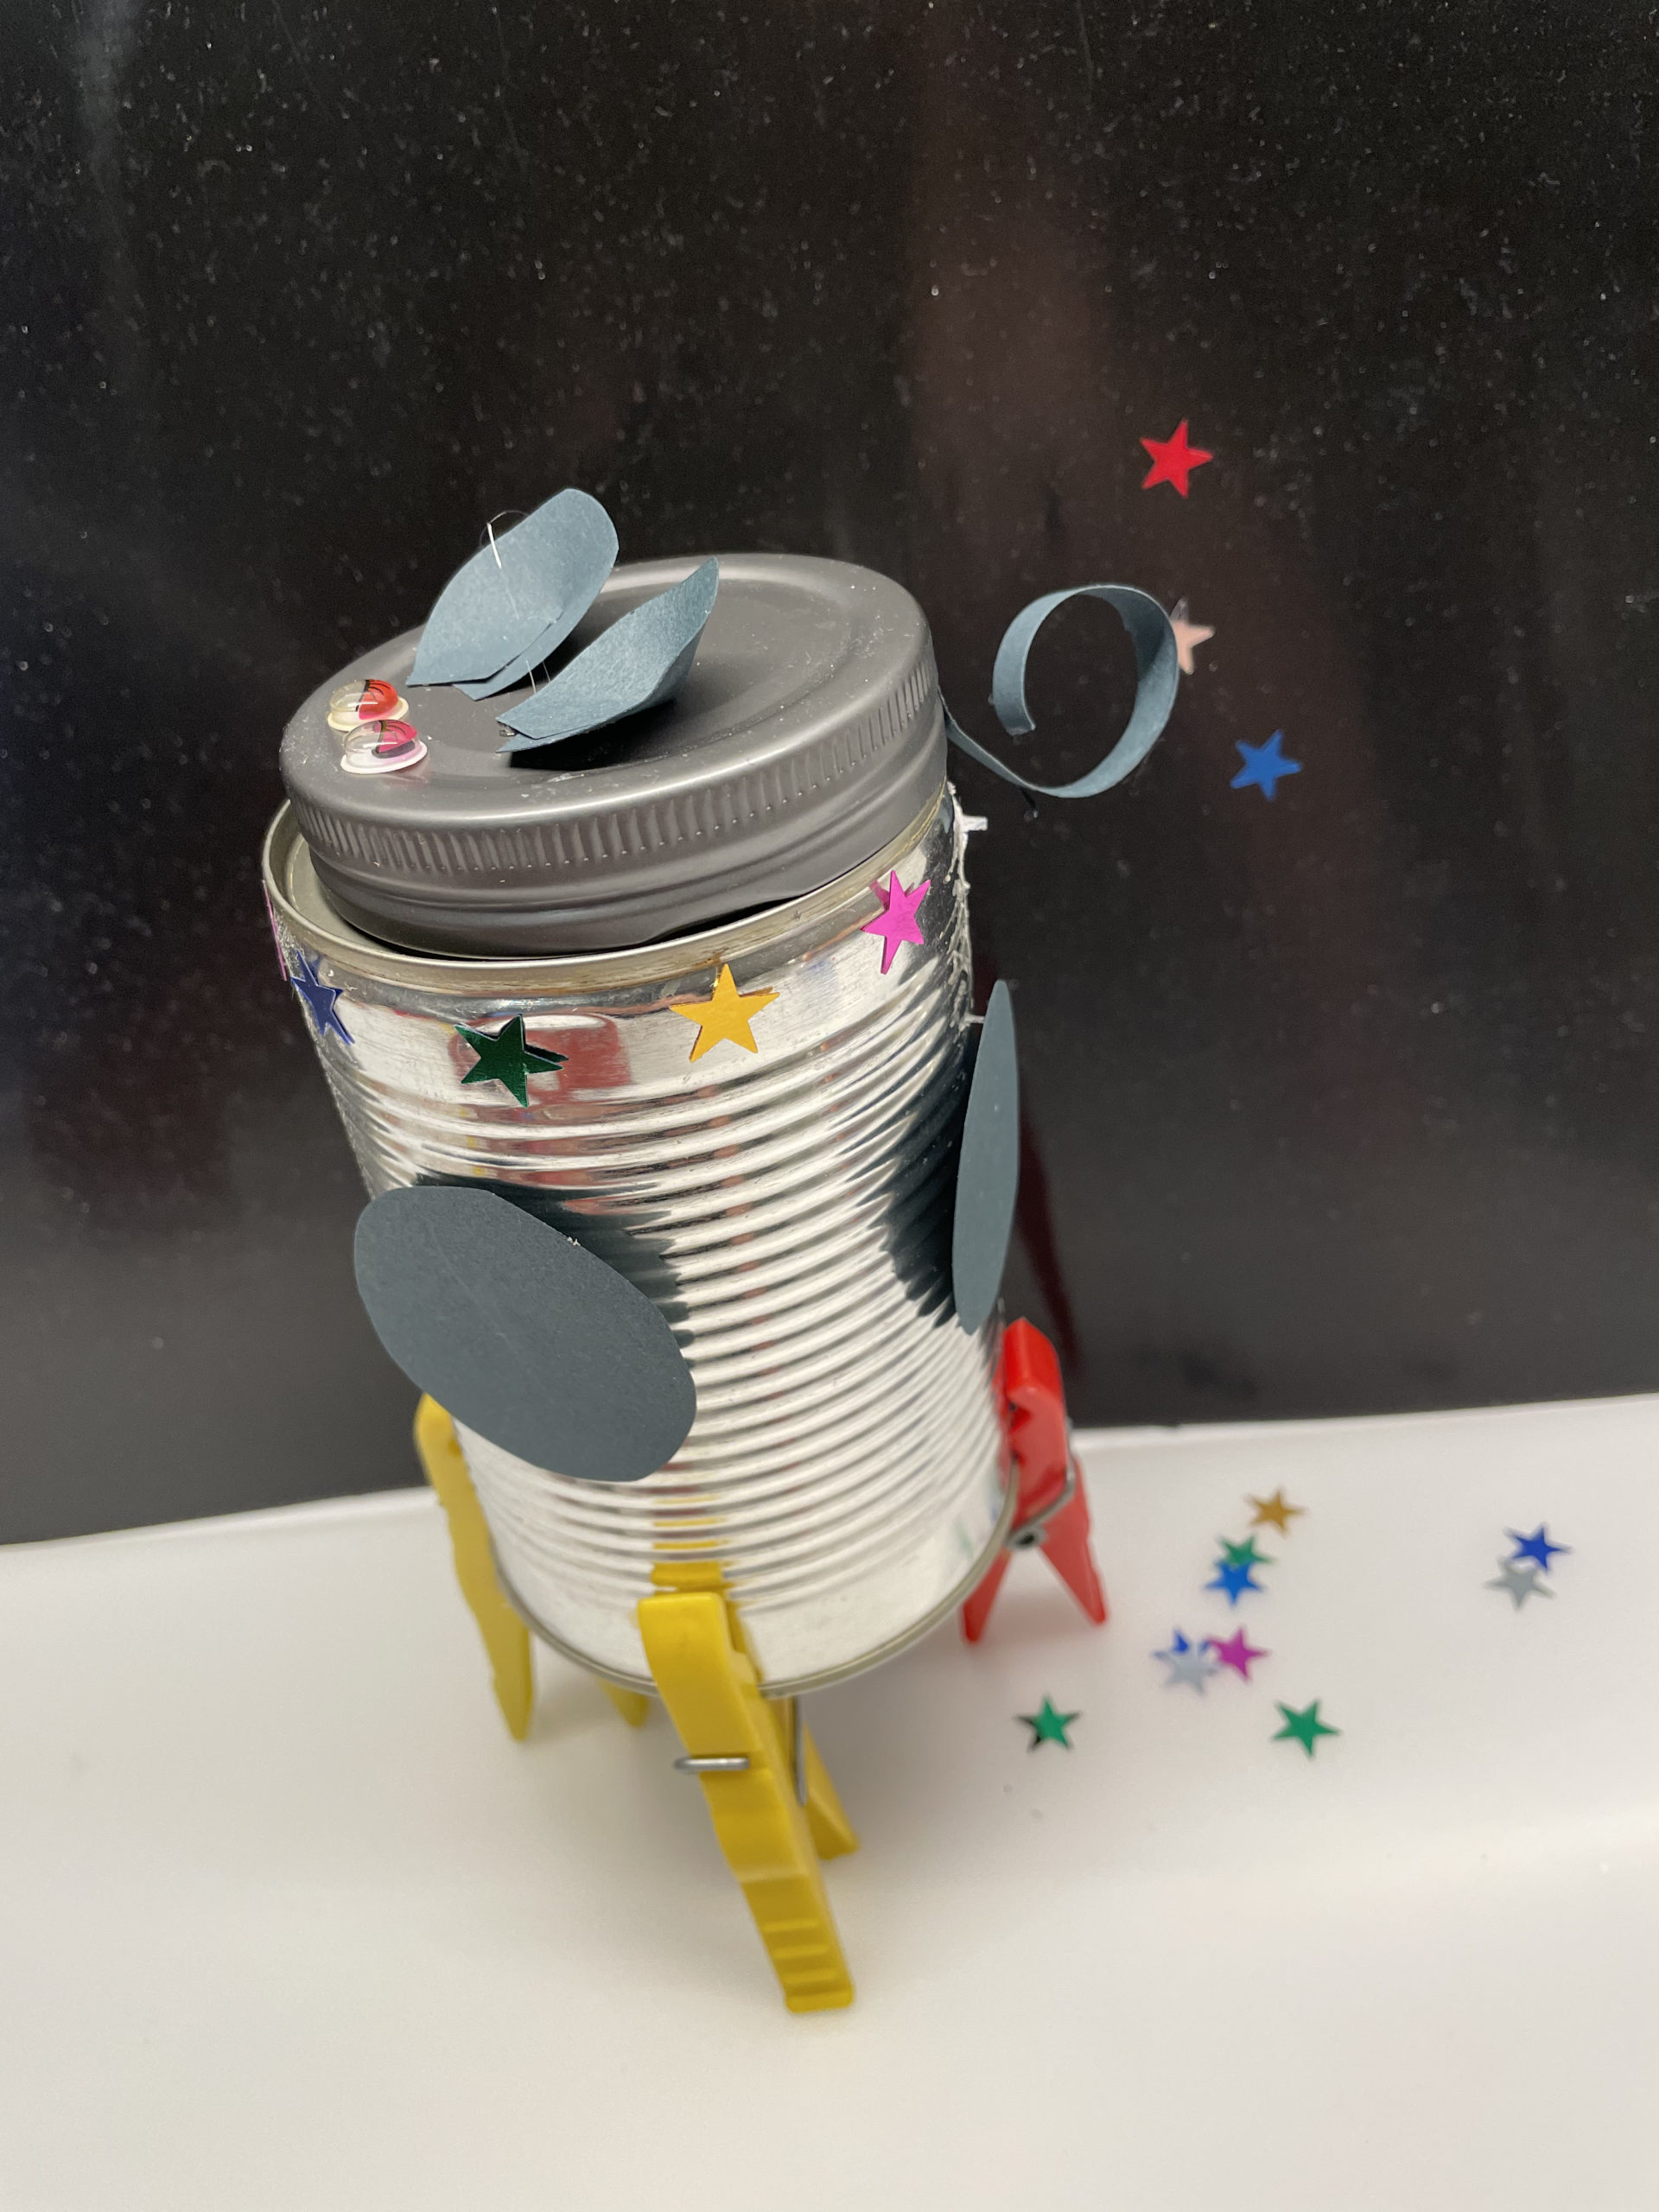
I will leave my mouse as a simple craft work, because my mouse wants now on a Tin can rocket To fly to the moon?

Bild zum Schritt 11 für das Bastel- und DIY-Abenteuer für Kinder: 'Ich werden meine Maus als einfache Bastelarbeit so lassen, denn...'

12

Have fun doing crafts!

13

1. Bild zum Schritt 12 für das Bastel- und DIY-Abenteuer für Kinder: 'Viel Spaß beim Basteln!'

14

2. Bild zum Schritt 13 für das Bastel- und DIY-Abenteuer für Kinder: 'Viel Spaß beim Basteln!'

15

3. Bild zum Schritt 14 für das Bastel- und DIY-Abenteuer für Kinder: 'Viel Spaß beim Basteln!'

Materials

 1 grey screw glass coveror white
 2 Wax eyes
 Grey clay paper residues
 Pen
 Adhesive penor hot glue
 Builder's pad
All links marked with a shopping cart lead to Amazon - here we have selected products that we would order ourselves and in part also ordered. In a qualified purchase via the advertising link, we as Amazon partner receive a commission, for you there are no costs. You thus support our cost- and advertising banner-free, educational offer.

Directions

1

Put out your craft pad and find a monochrome lid of a screw glass.

Bild zum Schritt 1 für das Bastel- und DIY-Abenteuer für Kinder: 'Legt eure Bastelunterlage aus und sucht euch einen einfarbigen Deckel...'

2

Now you paint two little ears on the clay paper and cut them out.
Cut the ears straight at the bottom and round at the top. Then cut in the middle of the bottom each ear up to about half.

Bild zum Schritt 2 für das Bastel- und DIY-Abenteuer für Kinder: 'Jetzt malt ihr euch zwei kleine Ohren auf das Tonpapier...'

3

Now glues the cut-in places slightly above each other. Thus the ears become plastic.
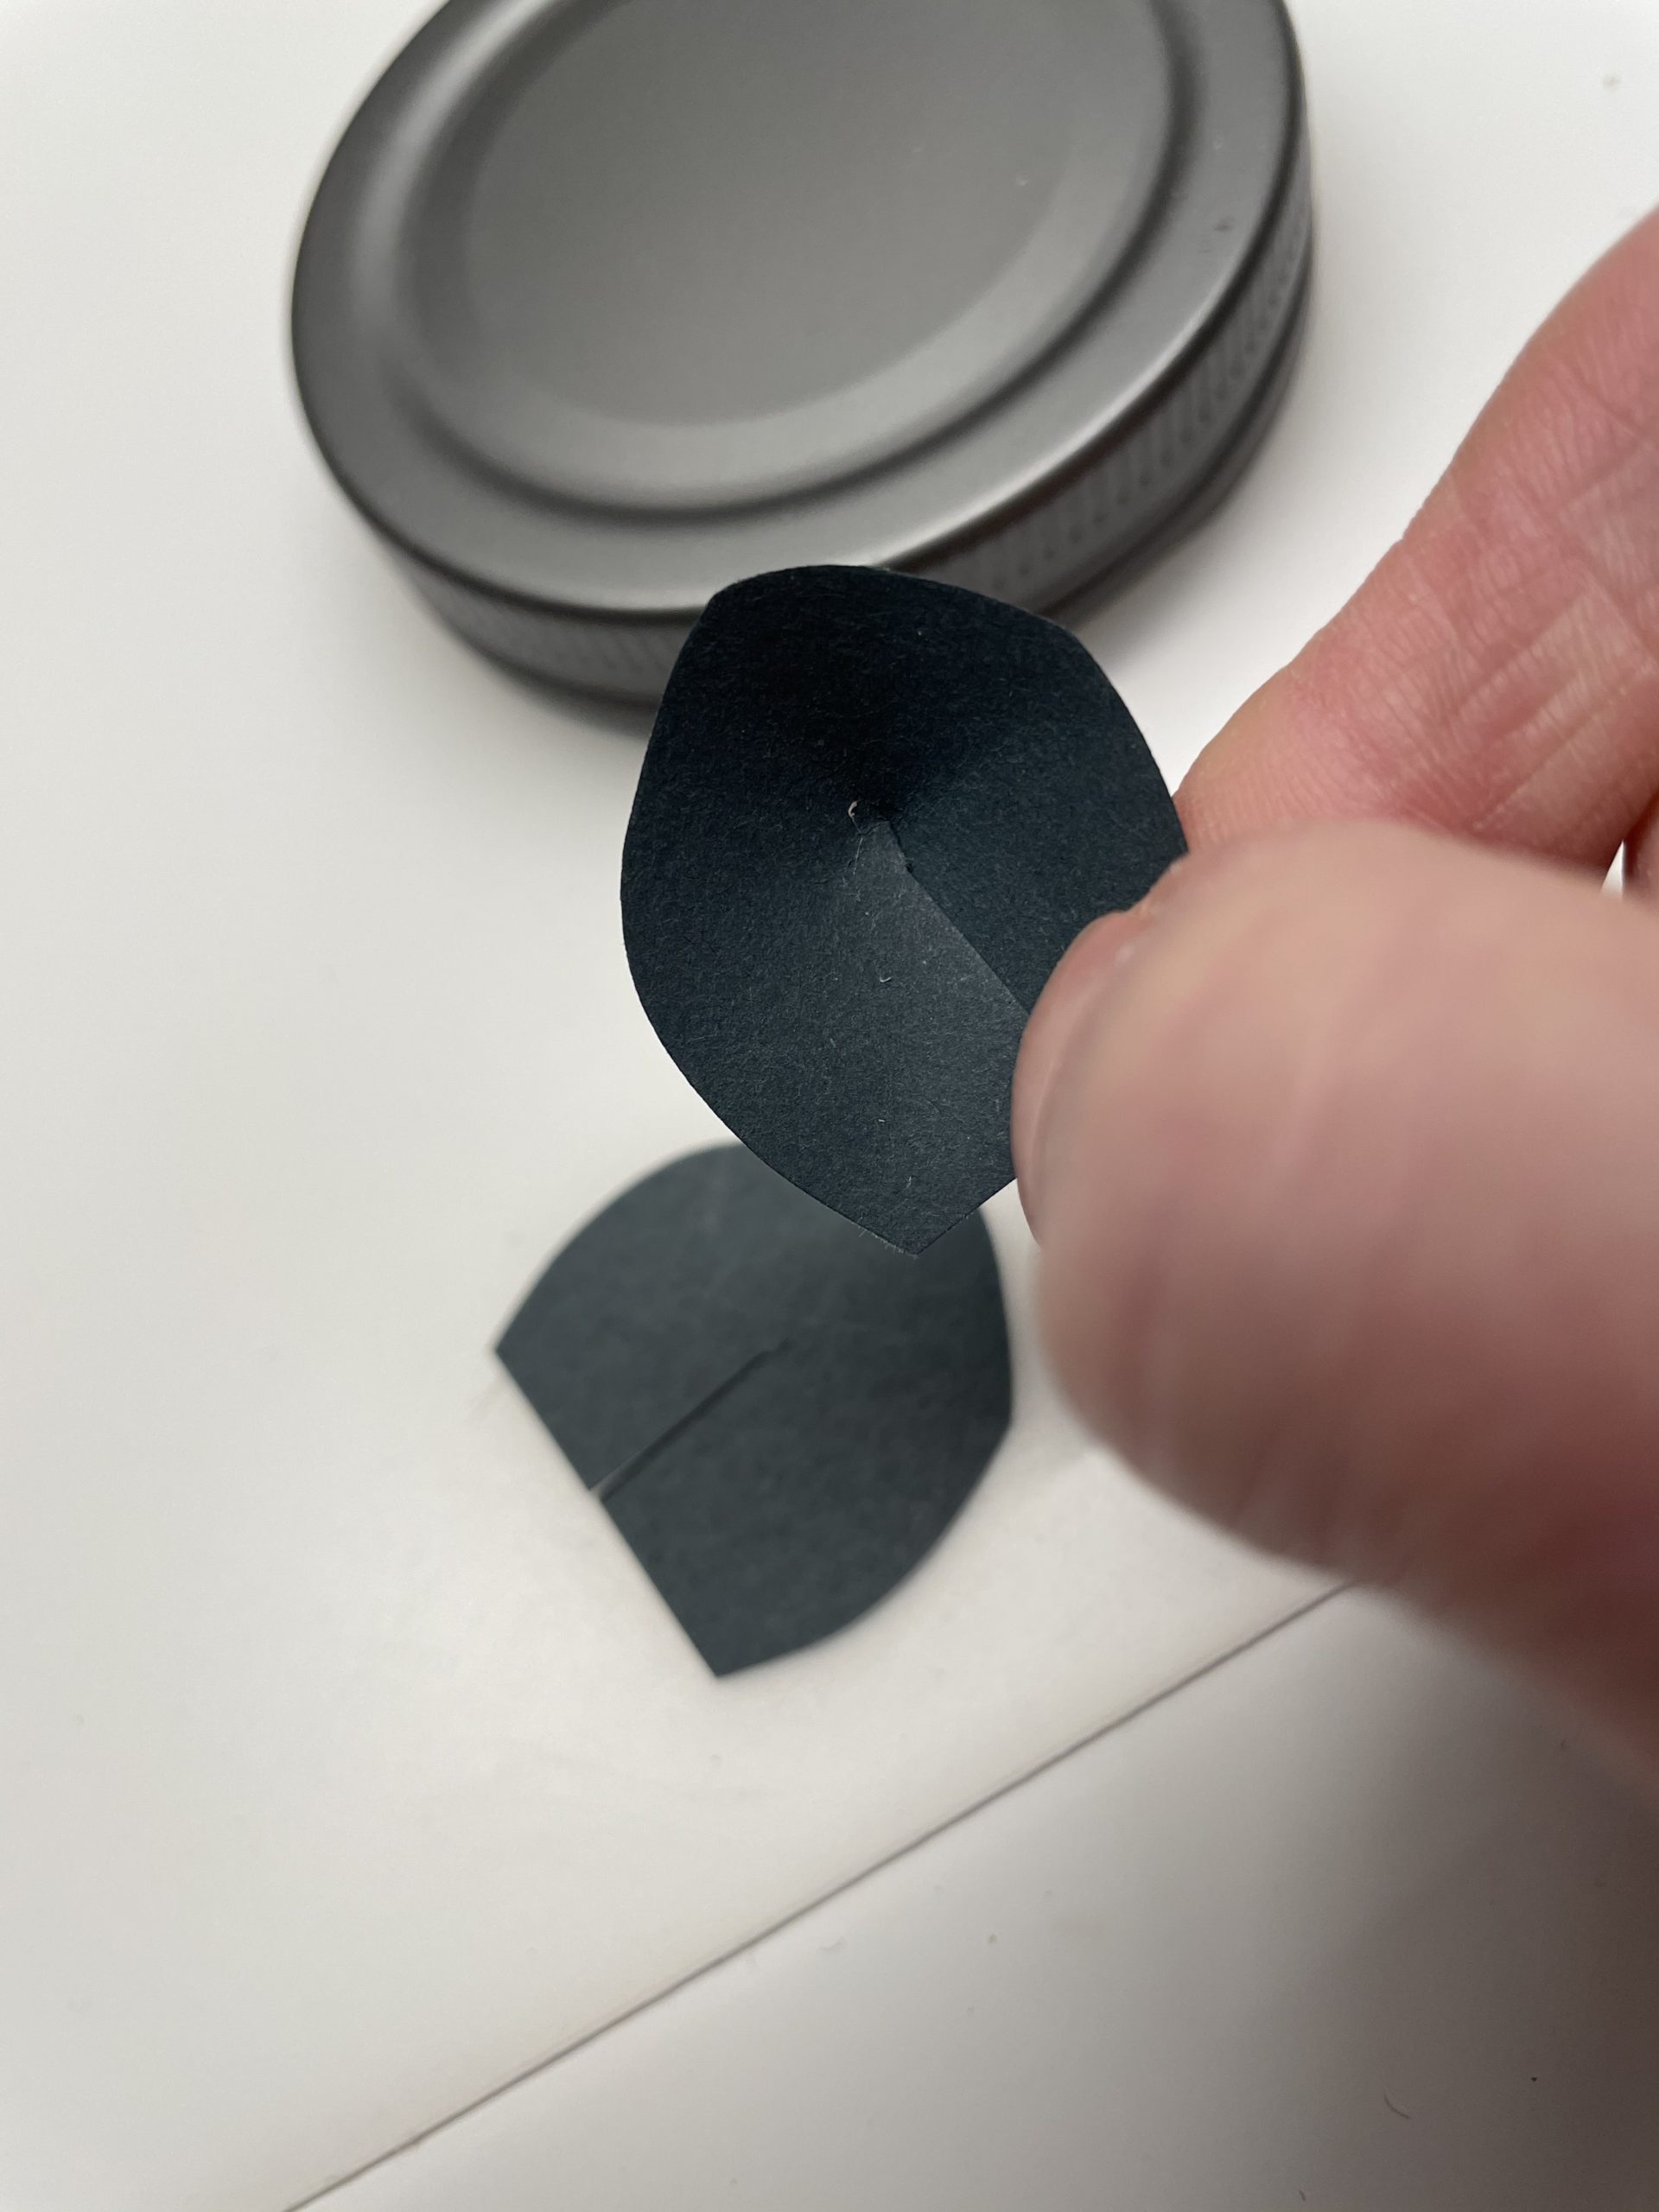
Bild zum Schritt 3 für das Bastel- und DIY-Abenteuer für Kinder: 'Klebt nun die eingeschnittenen Stellen leicht übereinander. So werden die...'

4

Now put her ears on the lid.

Bild zum Schritt 4 für das Bastel- und DIY-Abenteuer für Kinder: 'Jetzt klebt ihr die Ohren auf den Deckel.'

5

2. Bild zum Schritt 4 für das Bastel- und DIY-Abenteuer für Kinder: 'Jetzt klebt ihr die Ohren auf den Deckel.'

6

Then stick the wobble eyes on the lid.
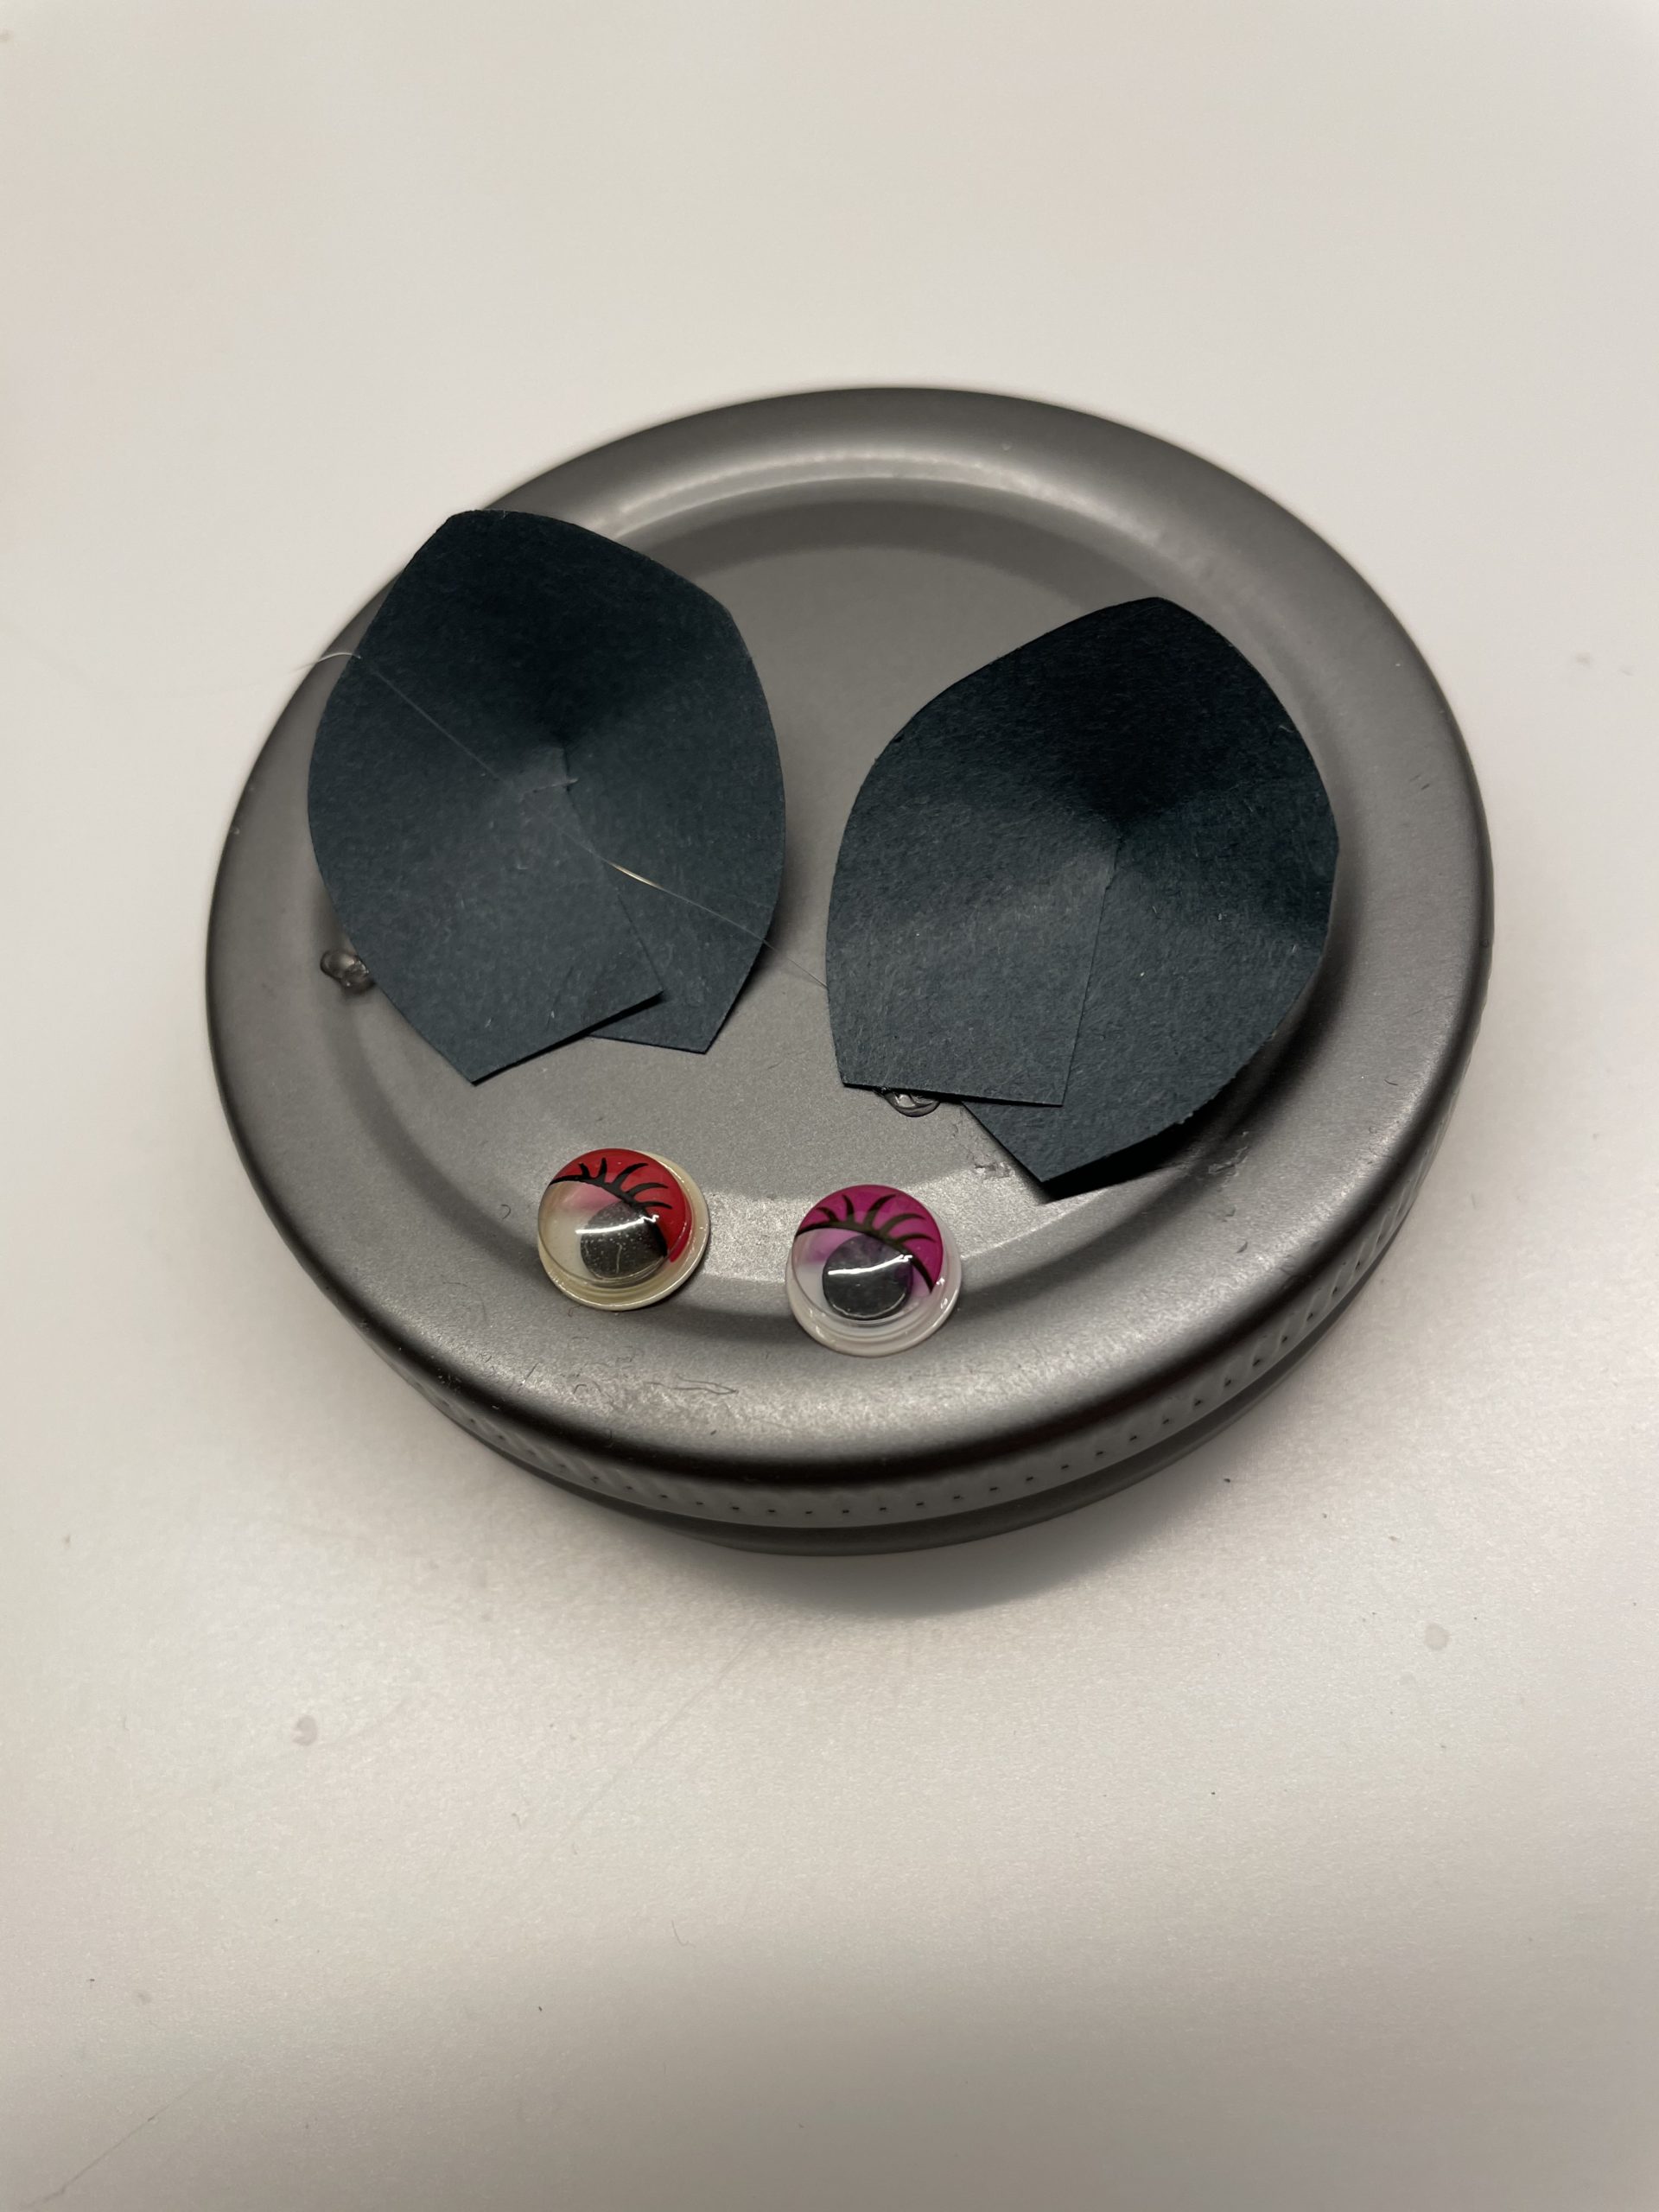
Bild zum Schritt 6 für das Bastel- und DIY-Abenteuer für Kinder: 'Anschließend klebt ihr die Wackelaugen auf den Deckel.'

7

Now cut off a thin strip of clay paper. (length about 10-12cm).
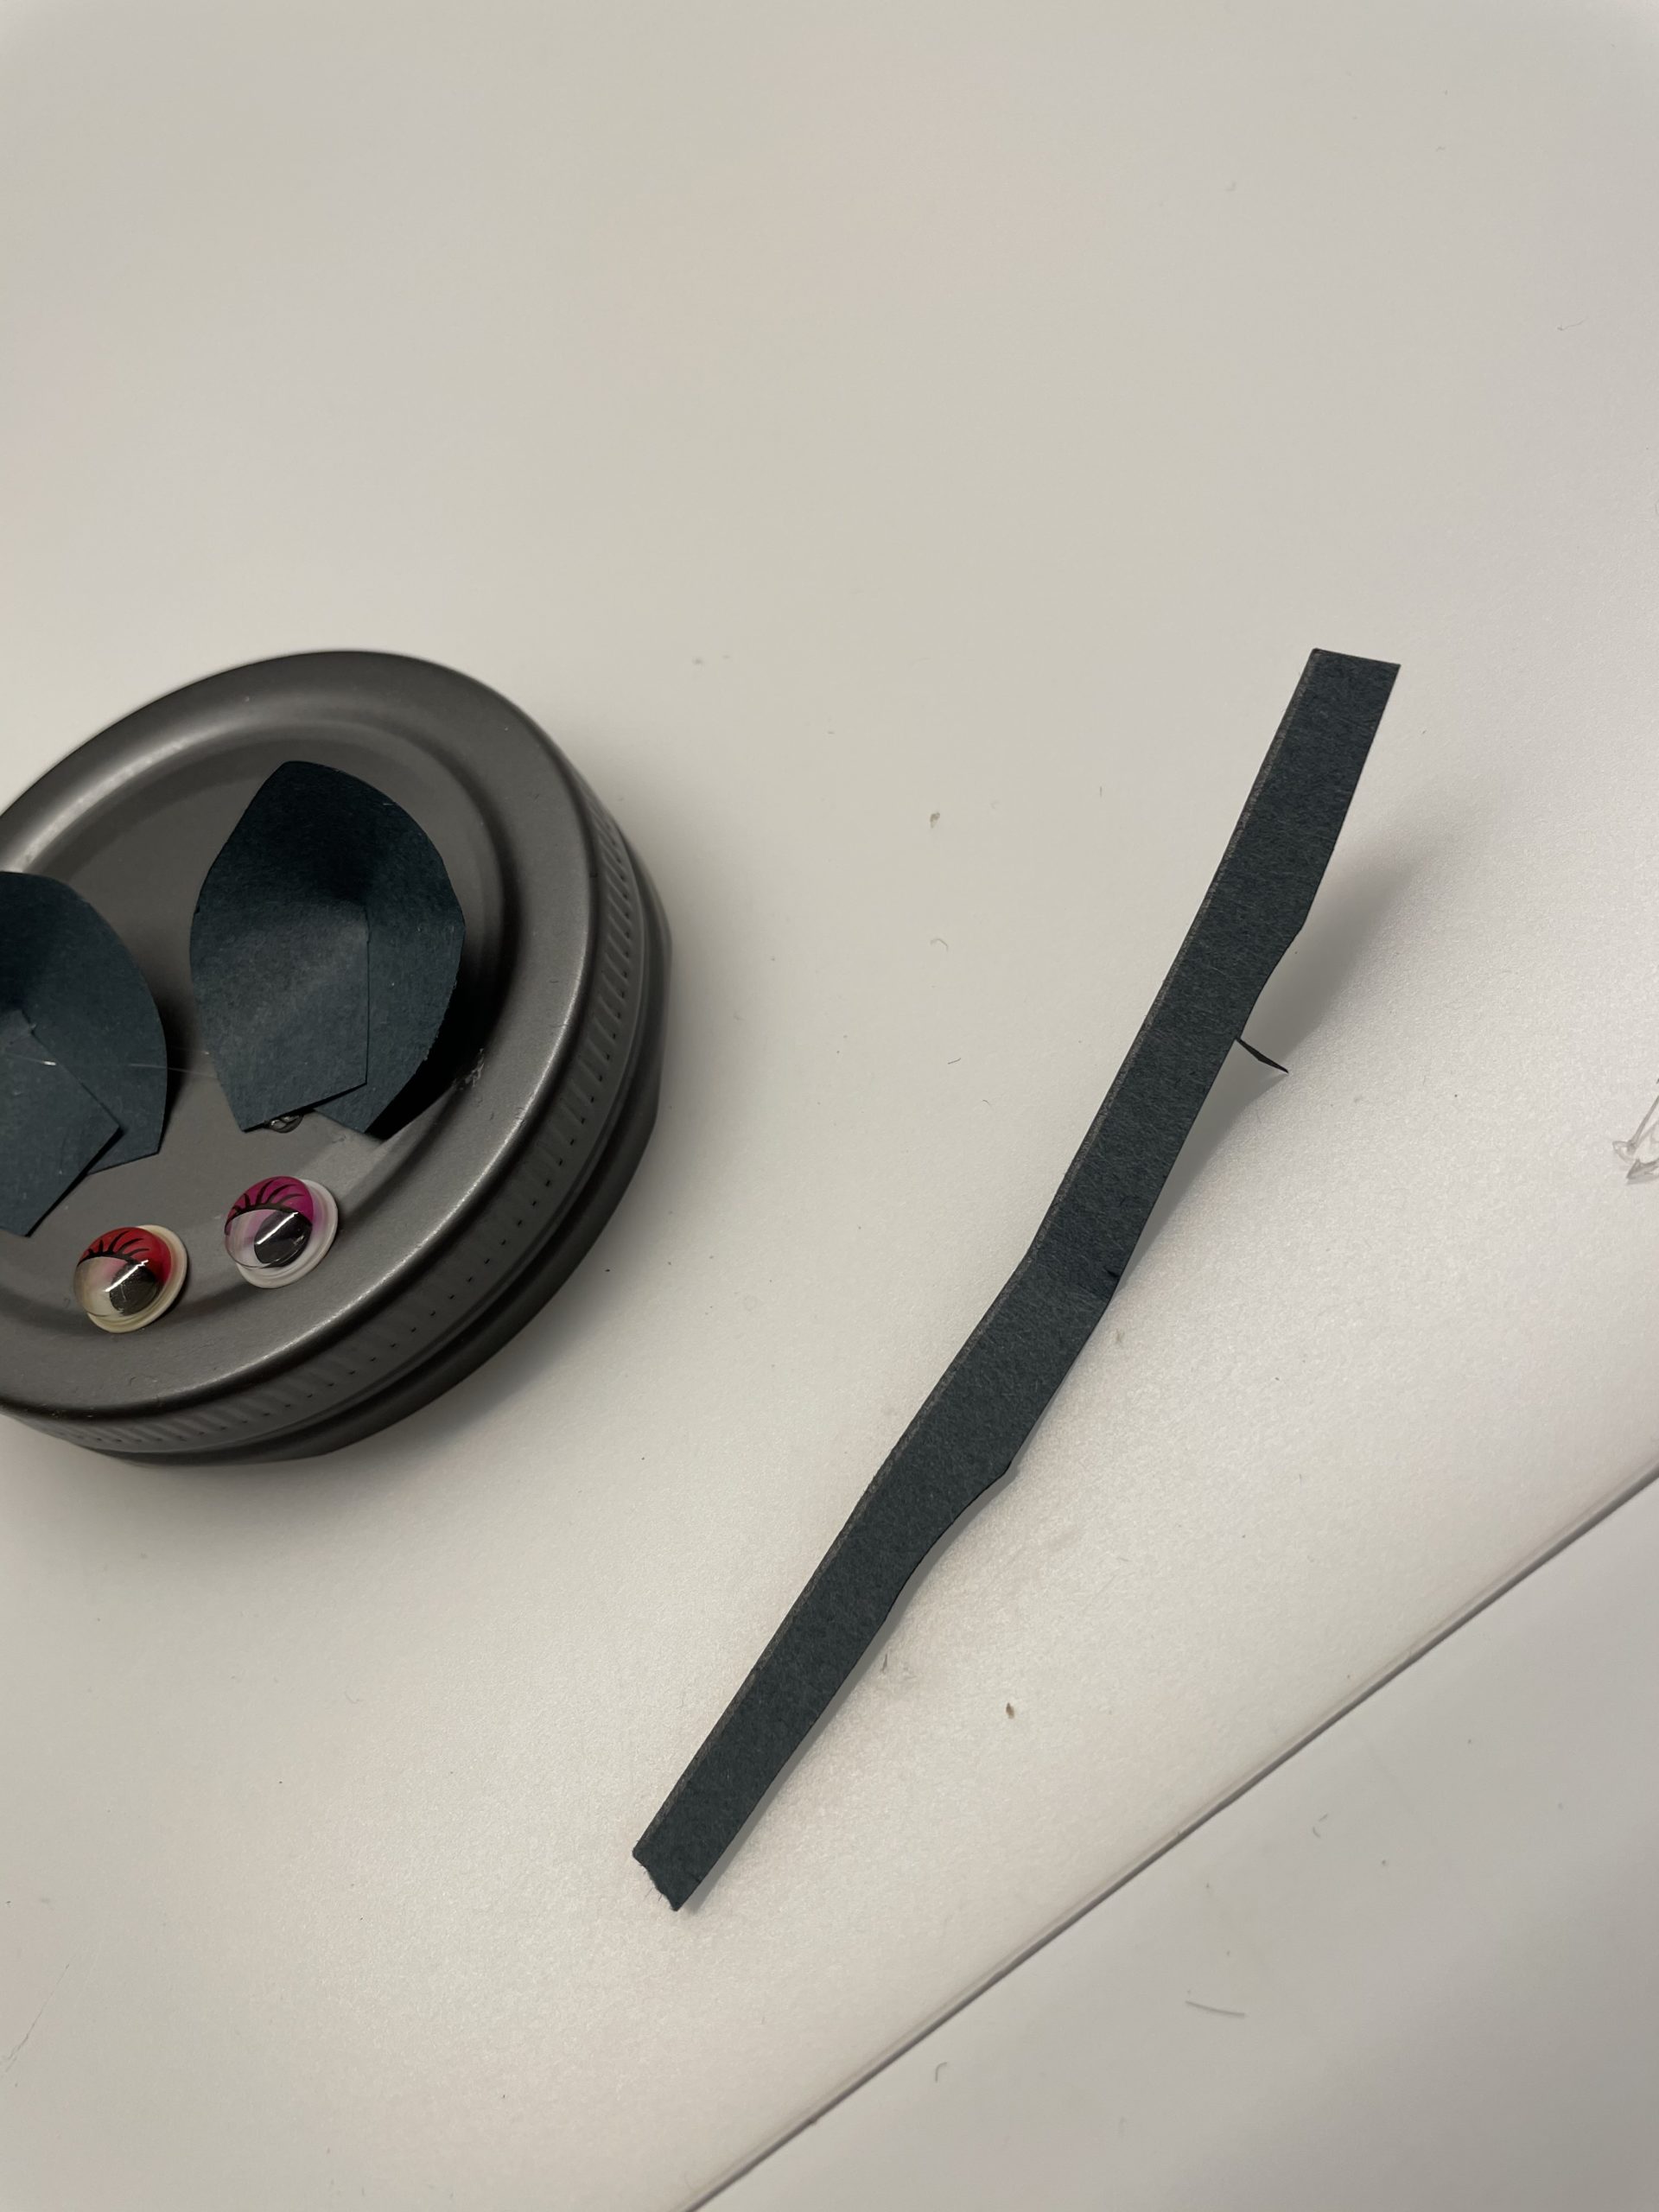
Bild zum Schritt 7 für das Bastel- und DIY-Abenteuer für Kinder: 'Nun schneidet ihr euch einen dünnen Streifen Tonpapier ab. (Länge...'

8

You can still ring the paper strip by pulling the paper over the edge of your scissors.
Attention: Let an adult help you! Risk of injury!
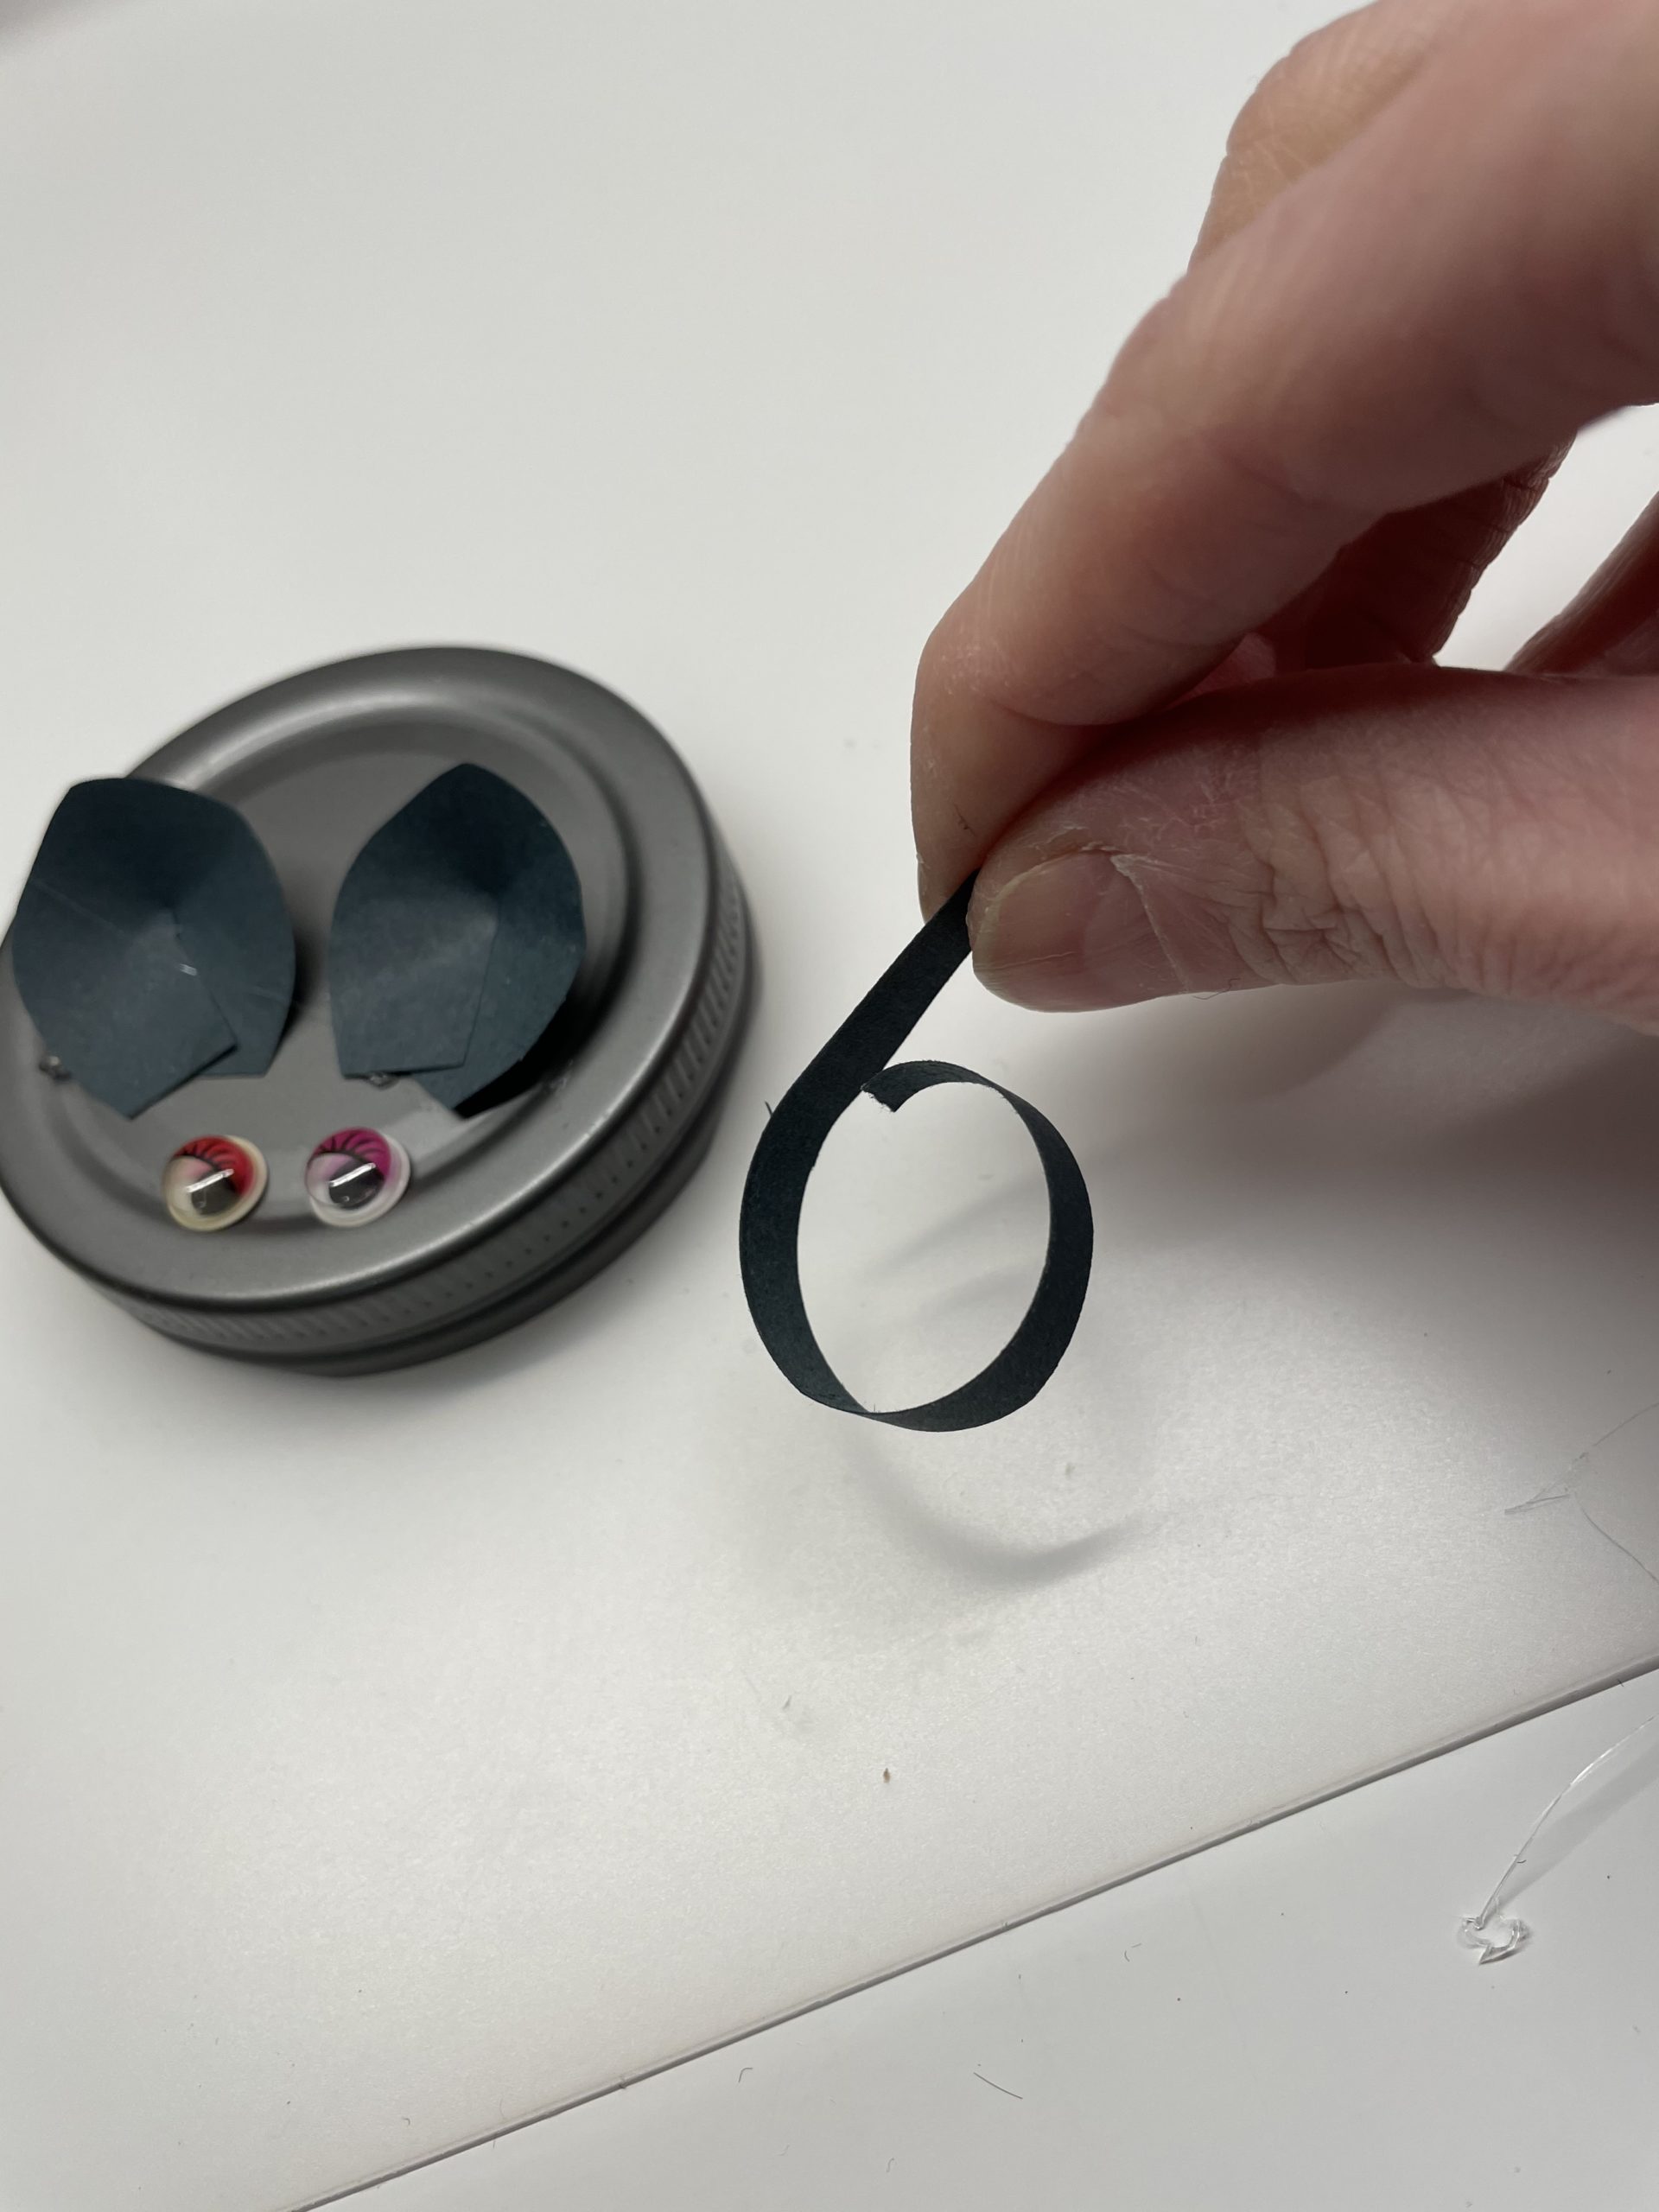
Bild zum Schritt 8 für das Bastel- und DIY-Abenteuer für Kinder: 'Ihr könnt den Papierstreifen noch ringeln, indem ihr das Papier...'

9

Stick your tail to the back of your lid.
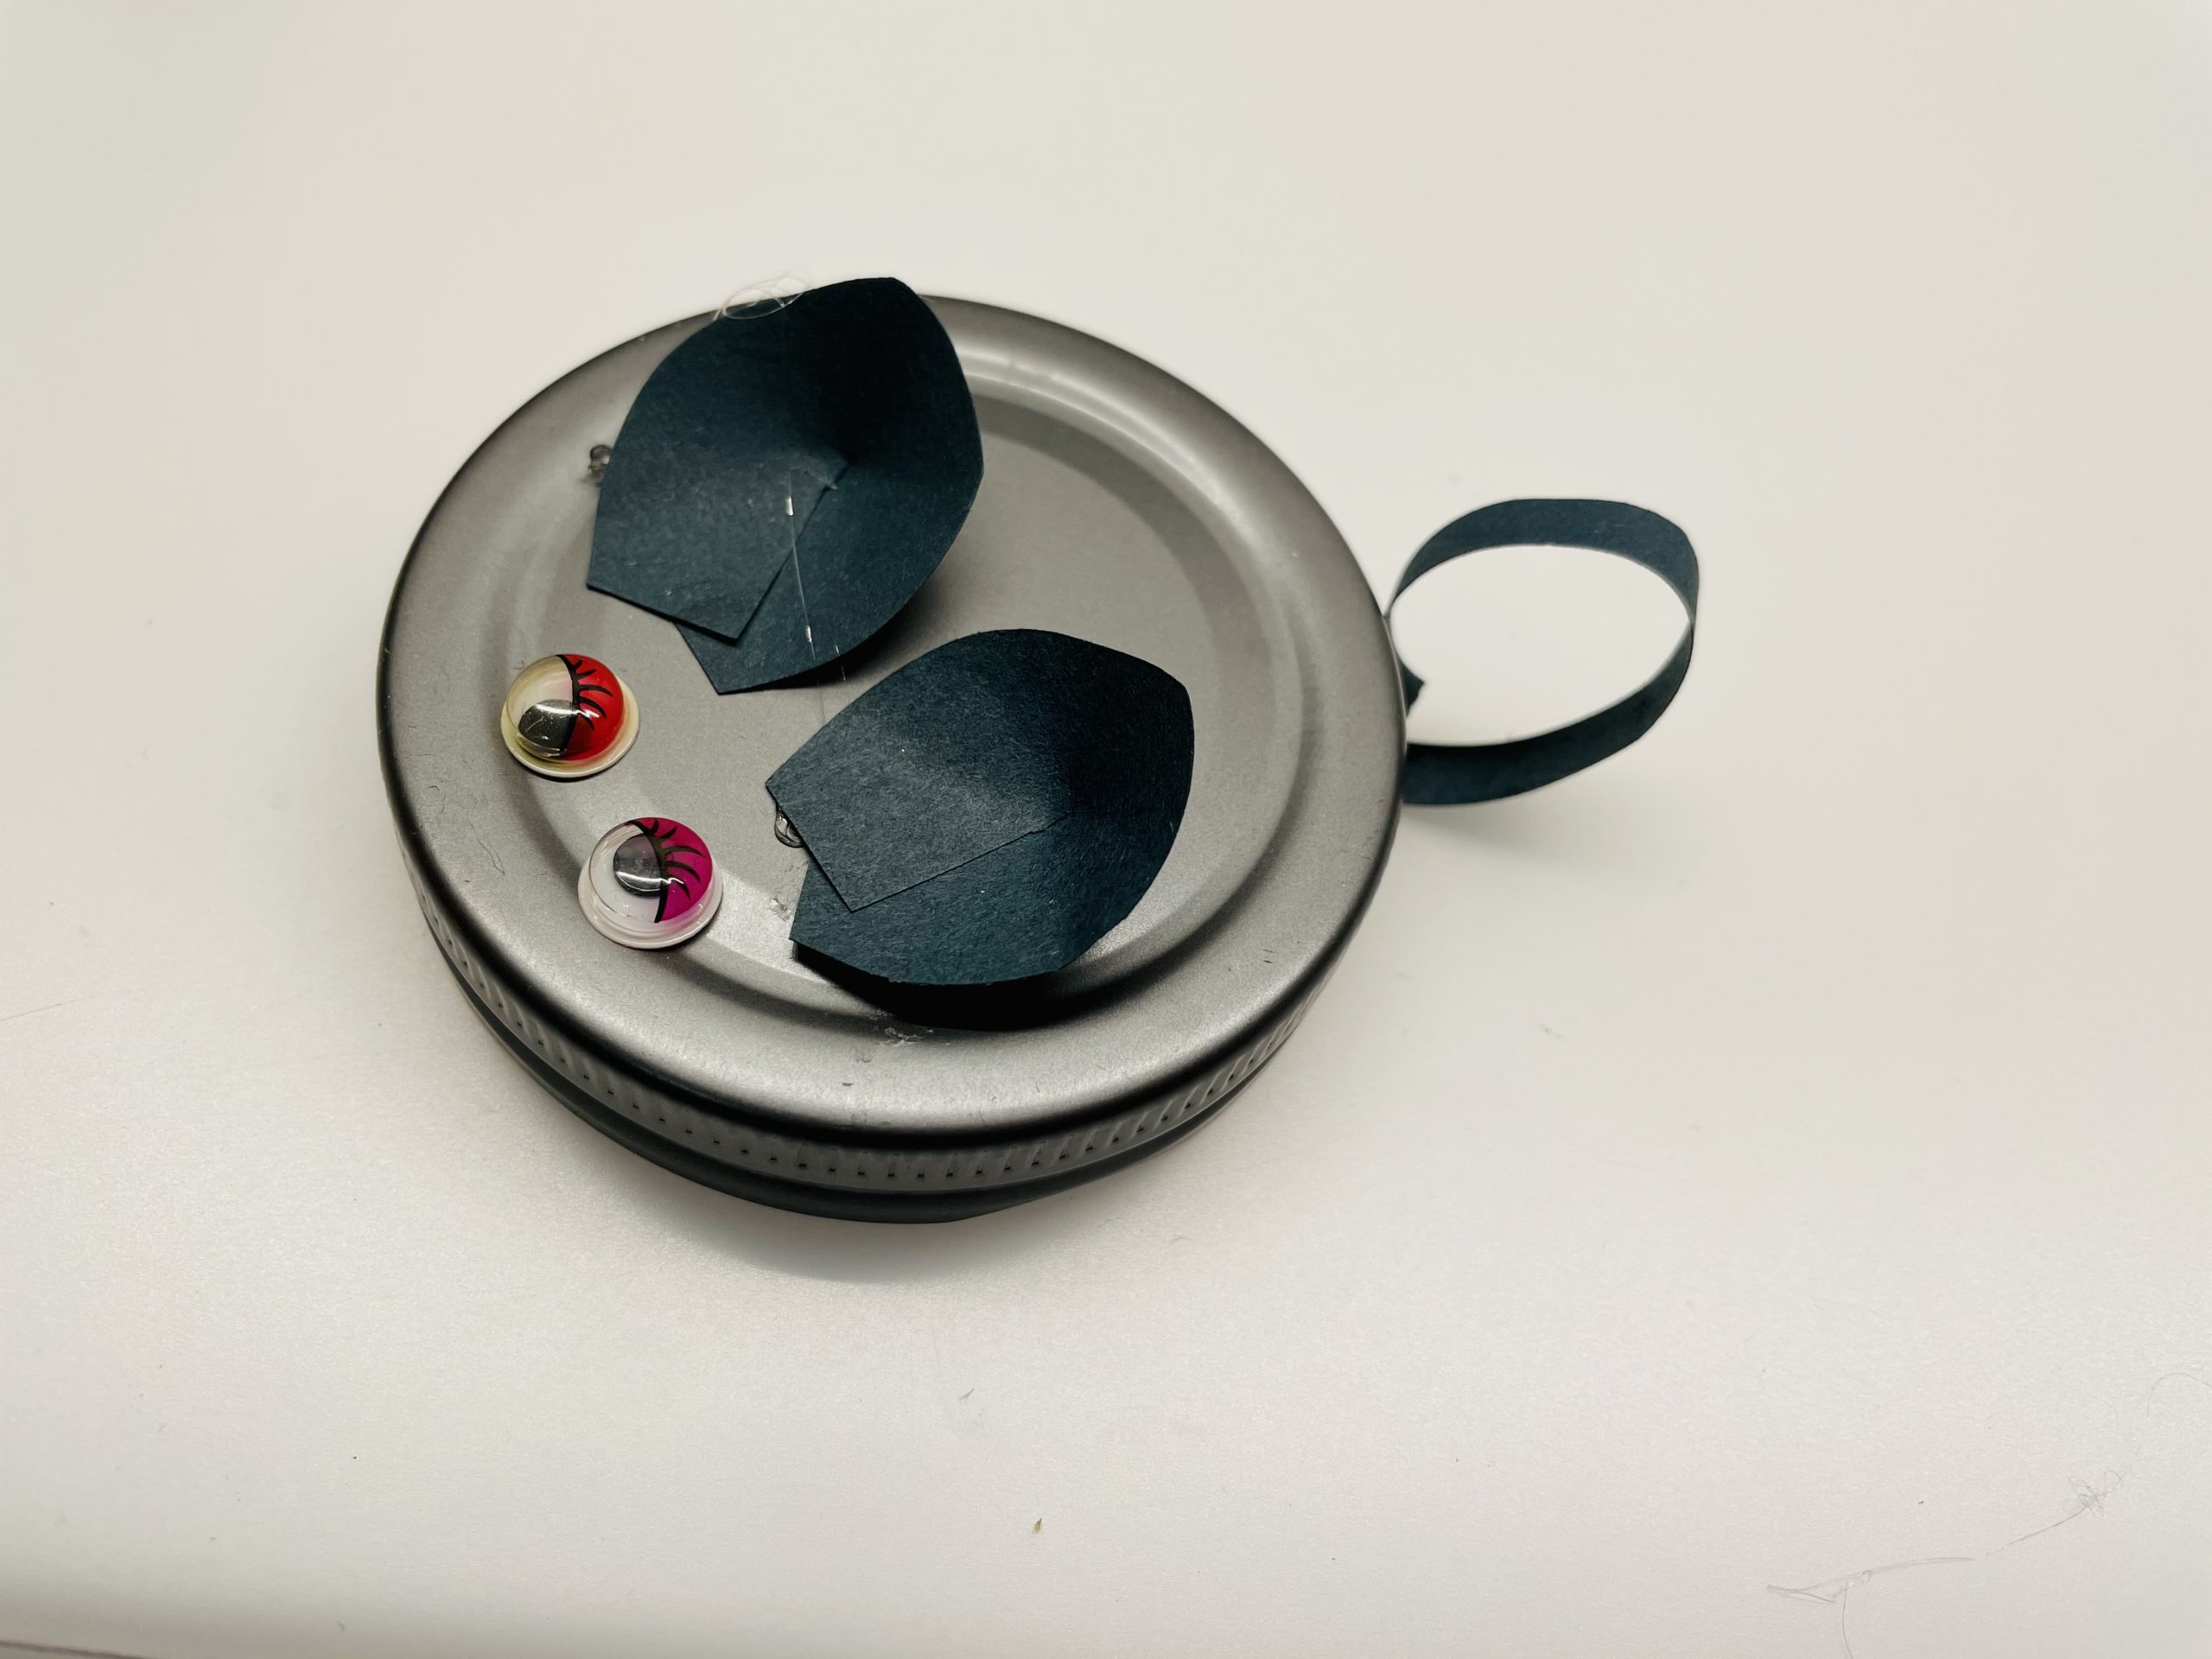
Bild zum Schritt 9 für das Bastel- und DIY-Abenteuer für Kinder: 'Klebt danach den Schwanz an die Hinterseite eures Deckels.'

10

Who likes can add moustache or a nose.
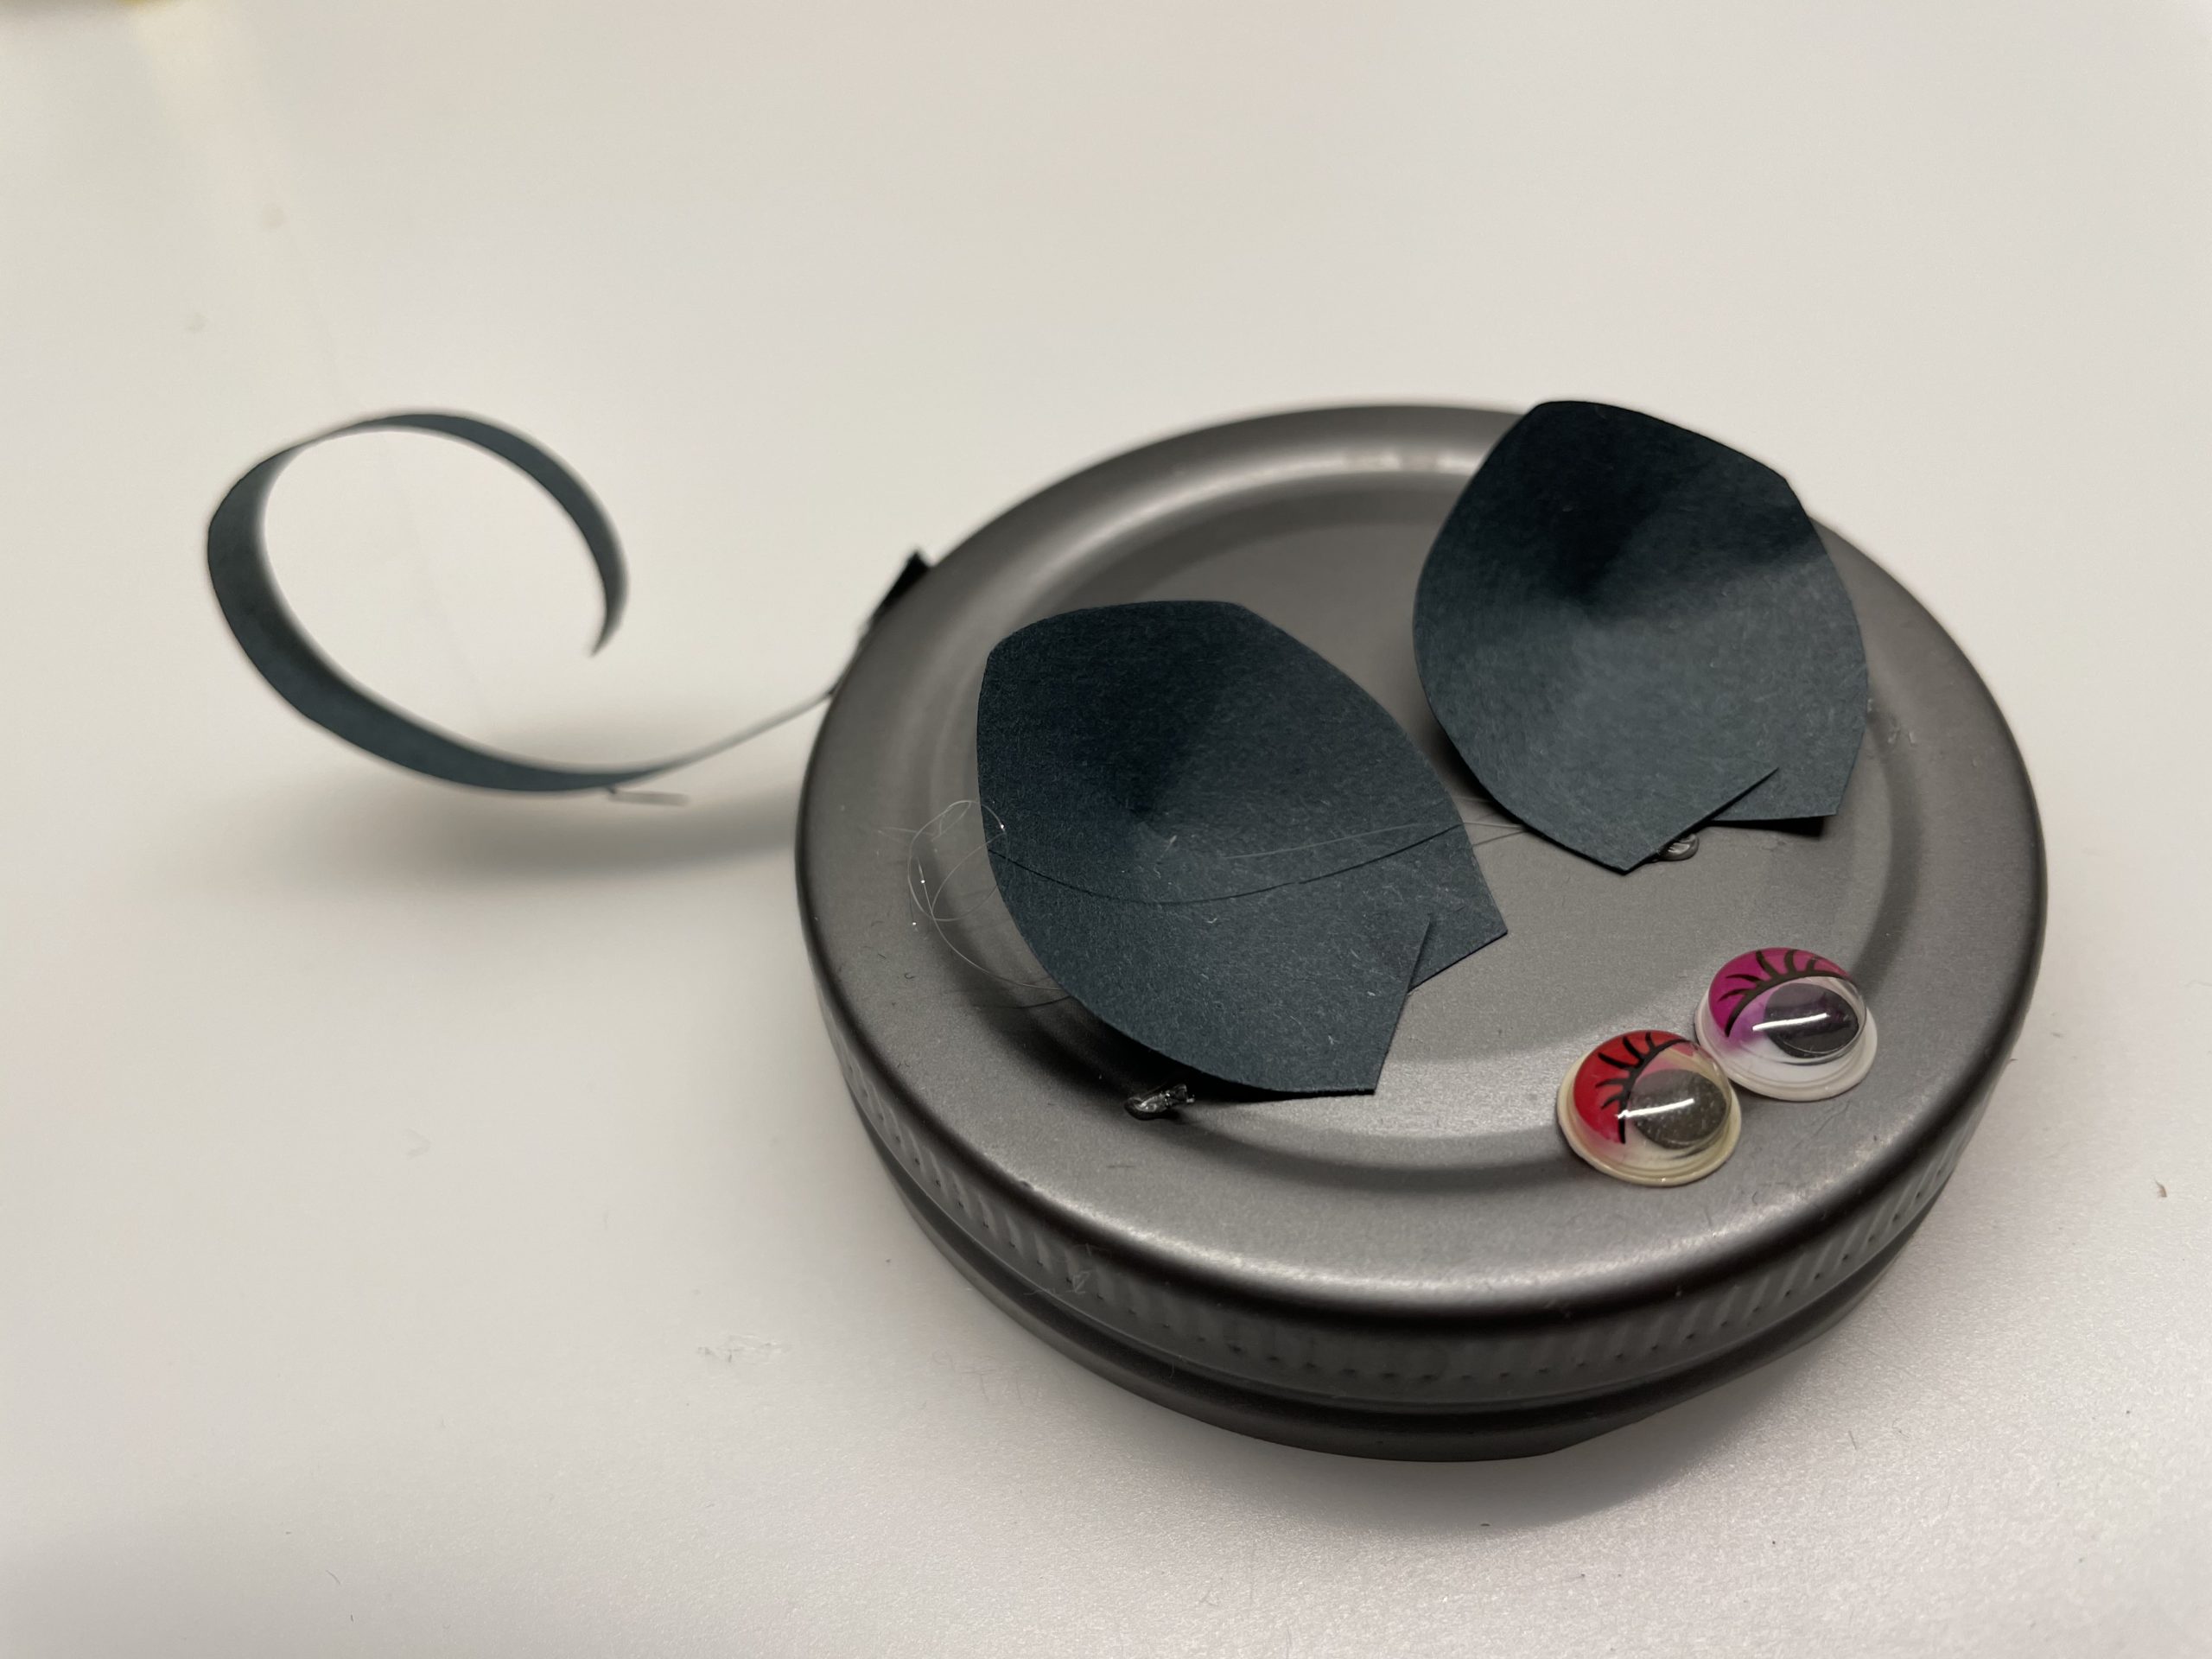
Bild zum Schritt 10 für das Bastel- und DIY-Abenteuer für Kinder: 'Wer mag kann noch Schnurrbart oder eine Nase ergänzen.'

11

I will leave my mouse as a simple craft work, because my mouse wants now on a Tin can rocket To fly to the moon?

Bild zum Schritt 11 für das Bastel- und DIY-Abenteuer für Kinder: 'Ich werden meine Maus als einfache Bastelarbeit so lassen, denn...'

12

Have fun doing crafts!

13

1. Bild zum Schritt 12 für das Bastel- und DIY-Abenteuer für Kinder: 'Viel Spaß beim Basteln!'

14

2. Bild zum Schritt 13 für das Bastel- und DIY-Abenteuer für Kinder: 'Viel Spaß beim Basteln!'

15

3. Bild zum Schritt 14 für das Bastel- und DIY-Abenteuer für Kinder: 'Viel Spaß beim Basteln!'

Lid mouse

Follow us on Facebook , Instagram and Pinterest
Don't miss any more adventures: Our bottle mail

Leave a Reply

Your email address will not be published.

The maximum upload file size: 5 MB. You can upload: image, document. Drop file here