Print Options:

Yogurt cup flowers

Material for1 ChildPrep Time5 min.Adv. Time20 min.Total Time25 min.

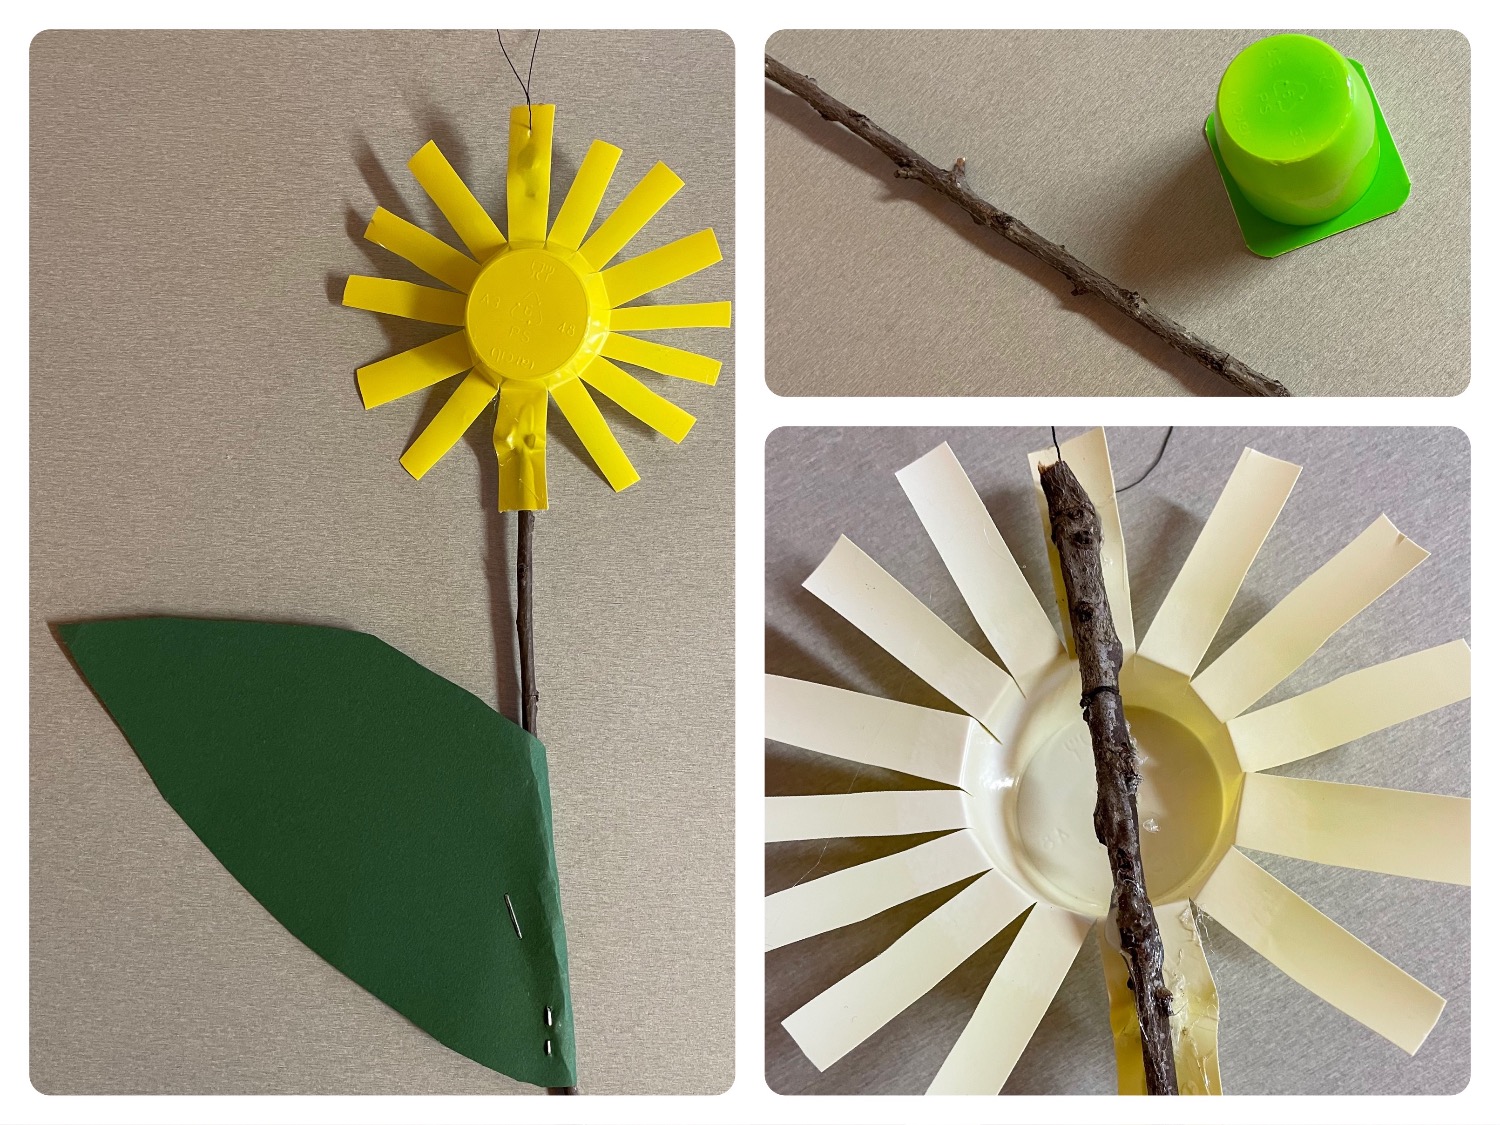
This flower is a small craft from an empty yoghurt cup. Together with a thin branch and green clay paper, it becomes a flower. The yoghurt cup becomes a flower, which is glued to the top of a branch. A sheet of clay paper is attached to the bottom of the branch. The flower is ready. Have fun!

Titelbild zur Bastel- und DIY-Idee für Kinder '(800) Joghurtbecher-Blumen'

 1 Yogurt cups Coloured monochrome
 1 Ast approx. 20 cm long
 1 Clay paper greenca. 10cm x 15cm
In addition, you need:
 1 Scissors
 1 Pen
 1 Document
 1 Hot glue gun
 1 Peas/peas/peas/peas/peas/peas/peas/peas/peas/peas/peas/peas/peas/peas/peas/peas/peas/peas/peas/peas/peas/peas/peas/peas/peas/peas/peas/peas/peas/peas/peas/peas/peas/peas/peas/peas/peas/peas/peas/peas/peas/peas/peas/peas/peas/peas/peas/peas/peas/peas/peas/peas/peas/peas/peas/peas/peas/peas/peas/peas/peas/peas/peas/peas/peas/peas
 1 Tacker or glue
 1 Thread
 1 Needle
All links marked with a shopping cart lead to Amazon - here we have selected products that we would order ourselves and in part also ordered. In a qualified purchase via the advertising link, we as Amazon partner receive a commission, for you there are no costs. You thus support our cost- and advertising banner-free, educational offer.
1

Get all the materials ready first.

2

A branch serves as a flower stalk.
From the yoghurt cup the flower arises.
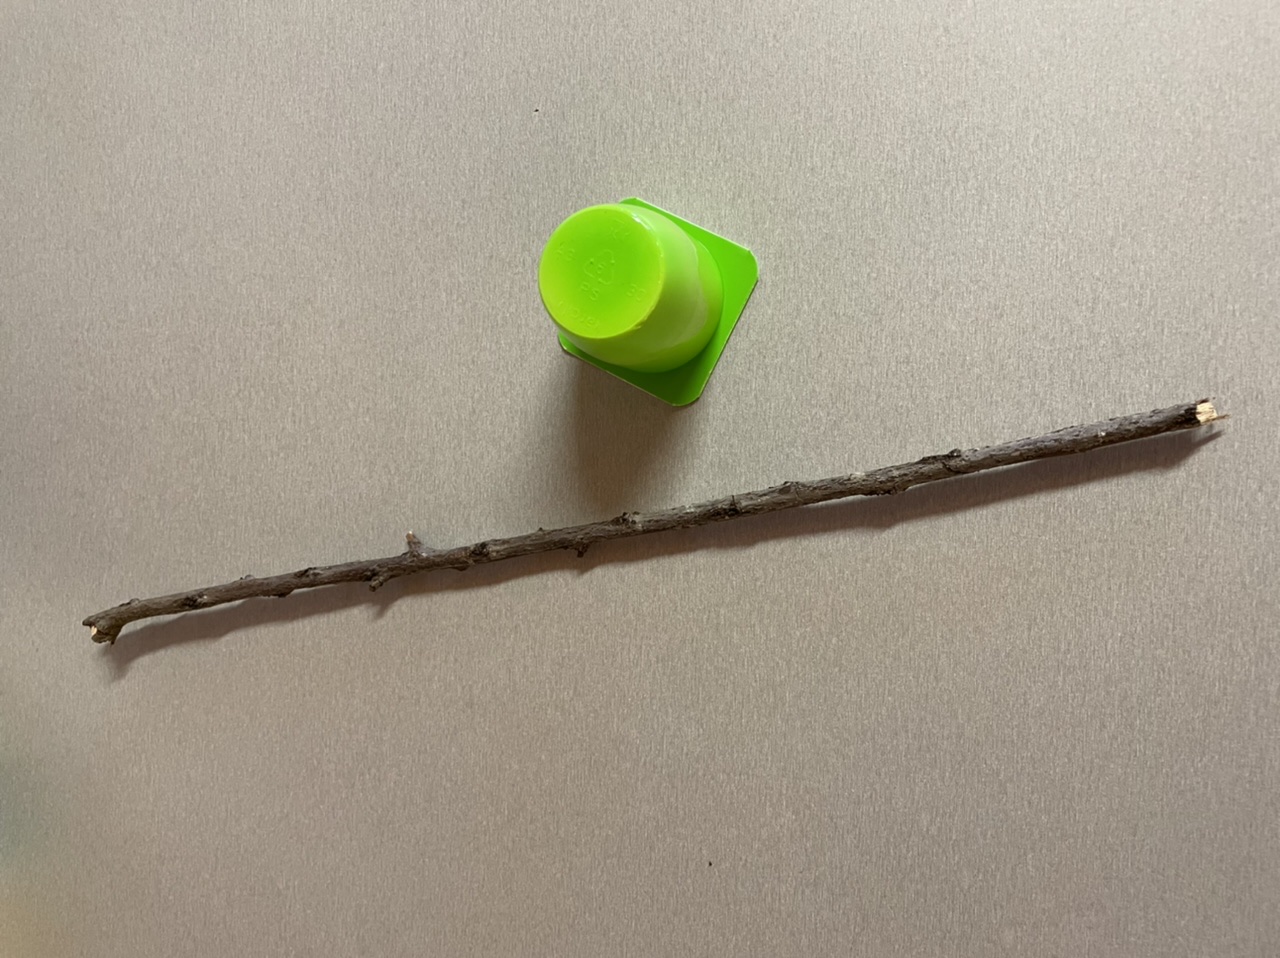
Bild zum Schritt 2 für das Bastel- und DIY-Abenteuer für Kinder: 'Ein Ast dient als Blumenstiel.   Aus dem ...'

3

First cut off the top of the yoghurt cup.
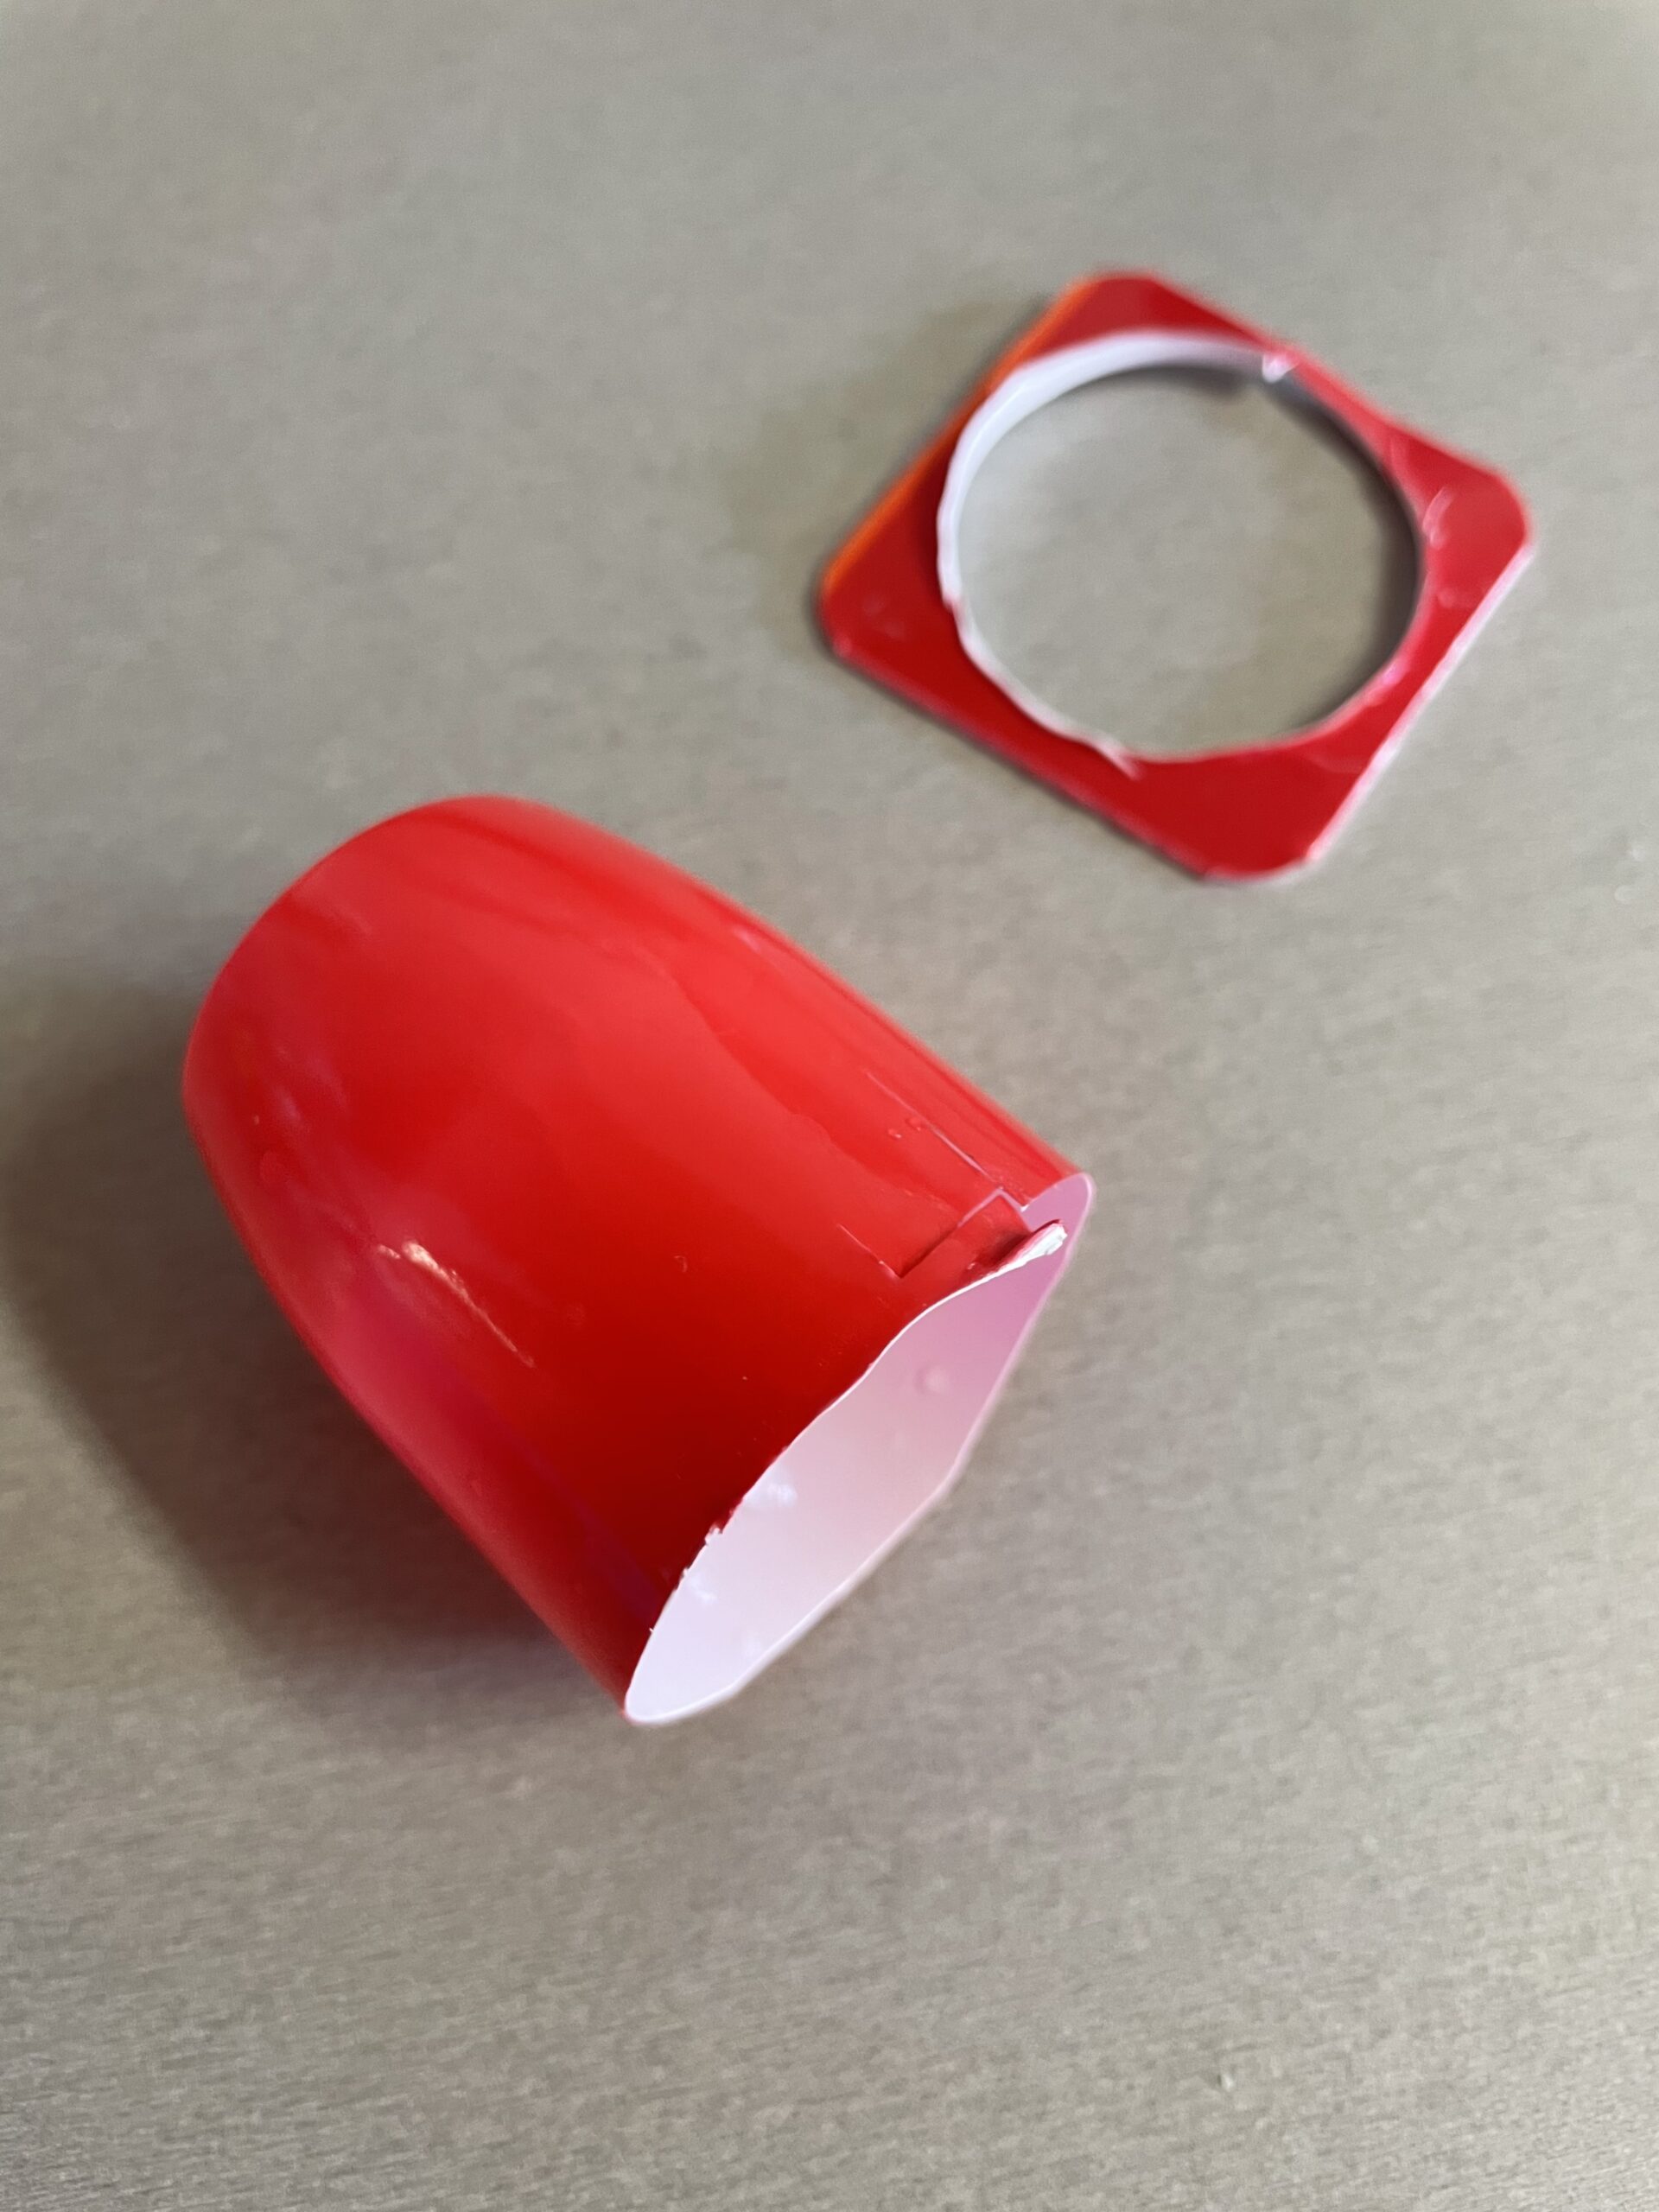
Bild zum Schritt 3 für das Bastel- und DIY-Abenteuer für Kinder: 'Schneidet zuerst den oberen Rand des Joghurtbechers ab.'

4

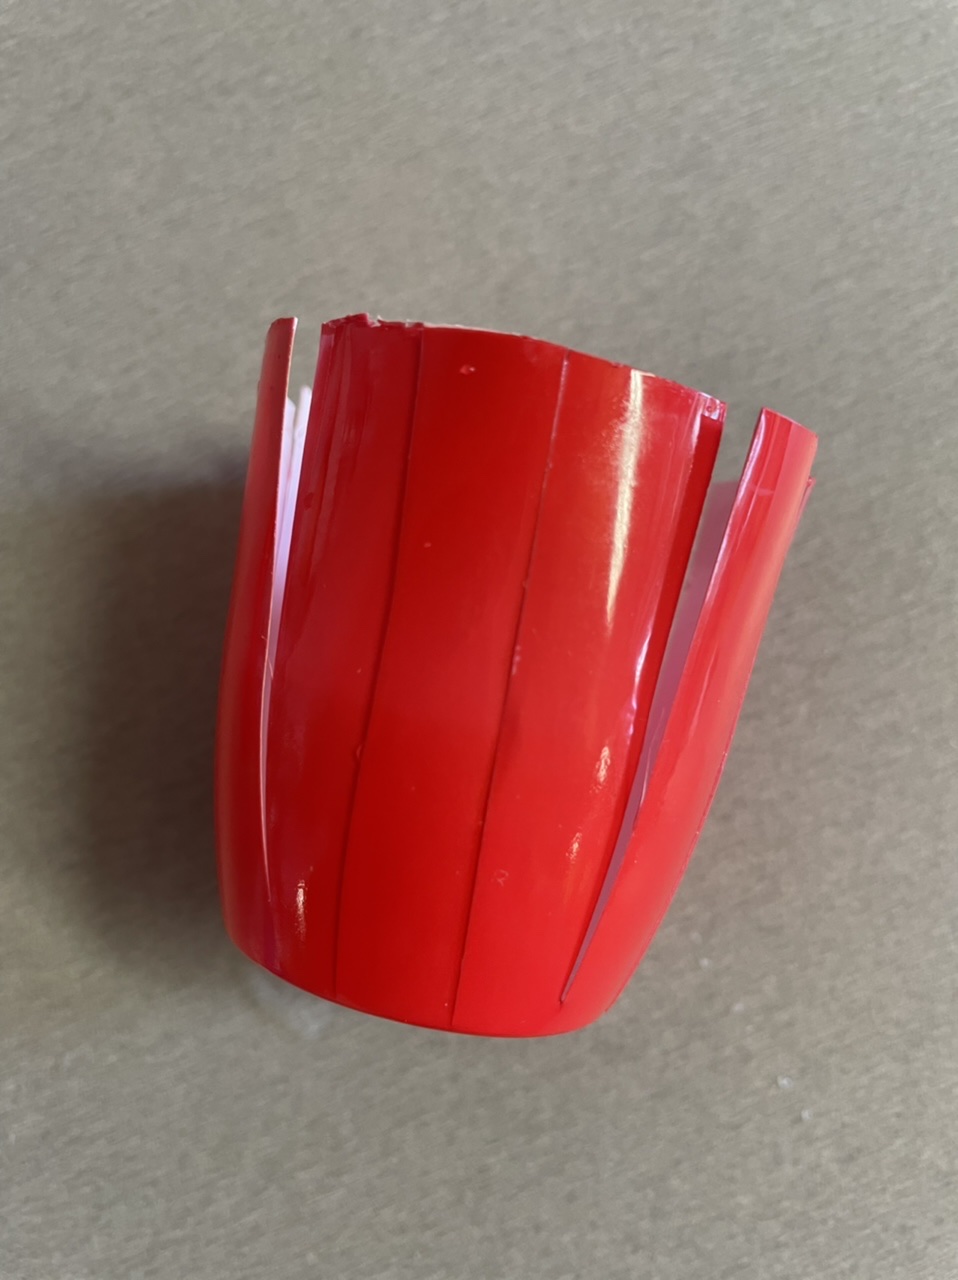
Then cut the cup from top to bottom with the scissors into thin strips. Cuts all the way down to the bottom of the cup.
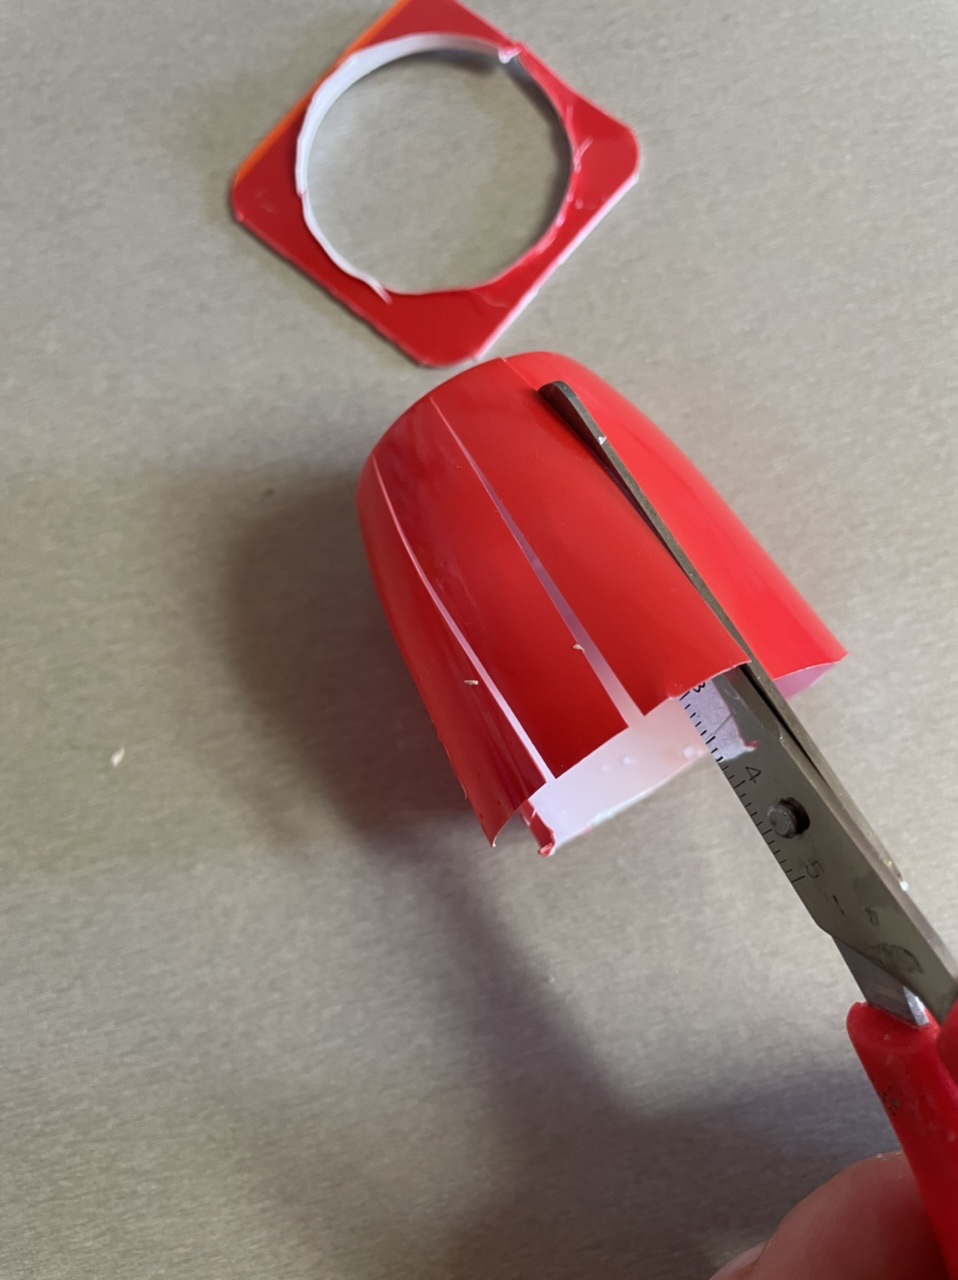
Bild zum Schritt 4 für das Bastel- und DIY-Abenteuer für Kinder: 'Dann schneidet von oben nach unten mit der Schere den...'

5

Cut the whole cup all around.

Bild zum Schritt 5 für das Bastel- und DIY-Abenteuer für Kinder: 'Schneidet den ganzen Becher rundherum ein.'

6

Then you bend the individual strips outwards. This is how the flower develops.
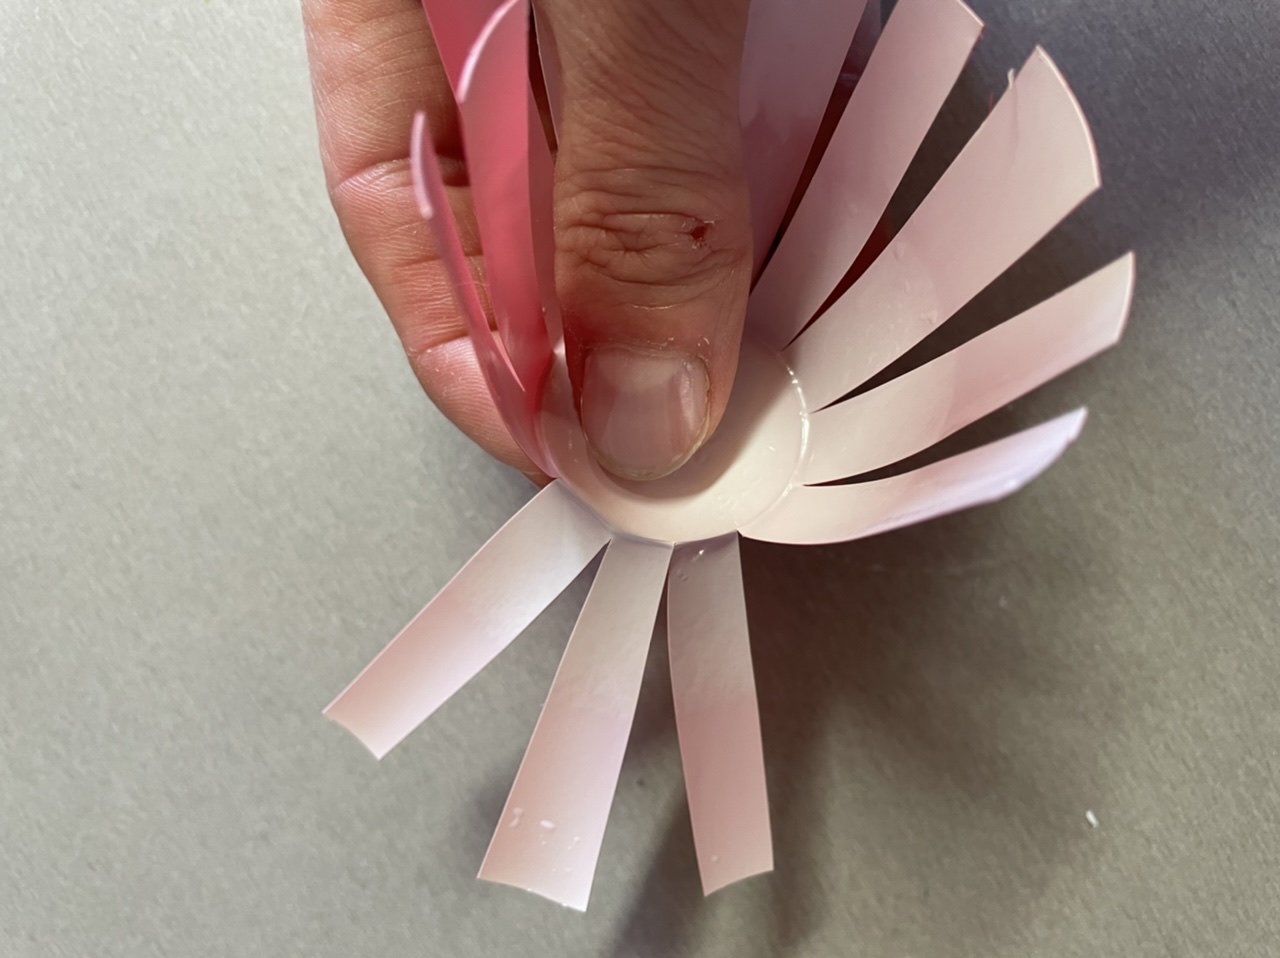
Bild zum Schritt 6 für das Bastel- und DIY-Abenteuer für Kinder: 'Dann biegt ihr die einzelnen Streifen nach außen. So entsteht...'

7

Then you stick the flower with the back to the branch. Use hot glue. Let an adult help you with this: Risk of injury!
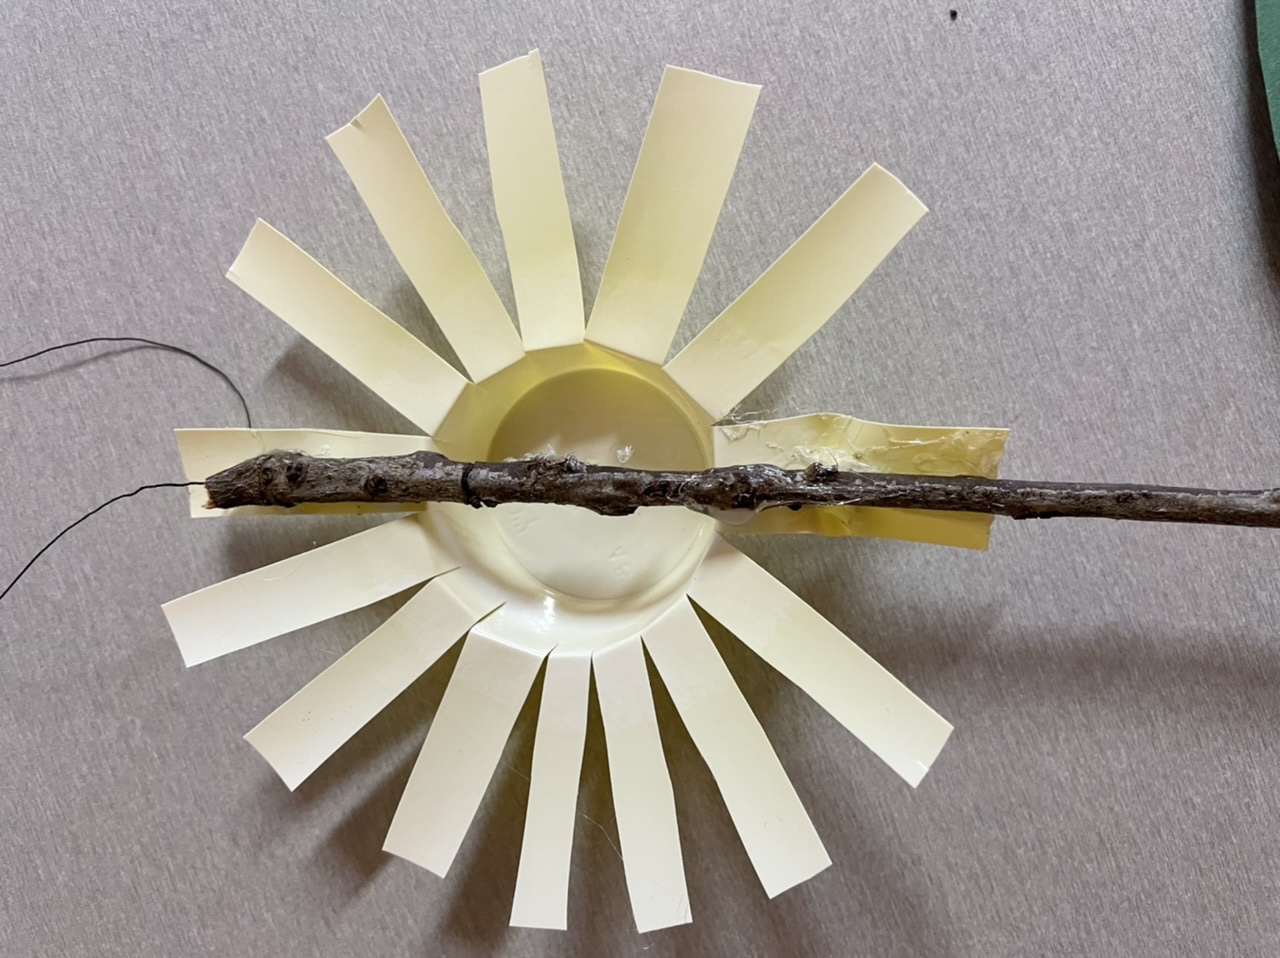
Bild zum Schritt 7 für das Bastel- und DIY-Abenteuer für Kinder: 'Anschließend klebt ihr die Blüte mit der Rückseite an den...'

8

Now you paint a leaf on the green paper and cut it out.

9

Attach the sheet with the glue, hot glue or stapler in the lower part of the branch.
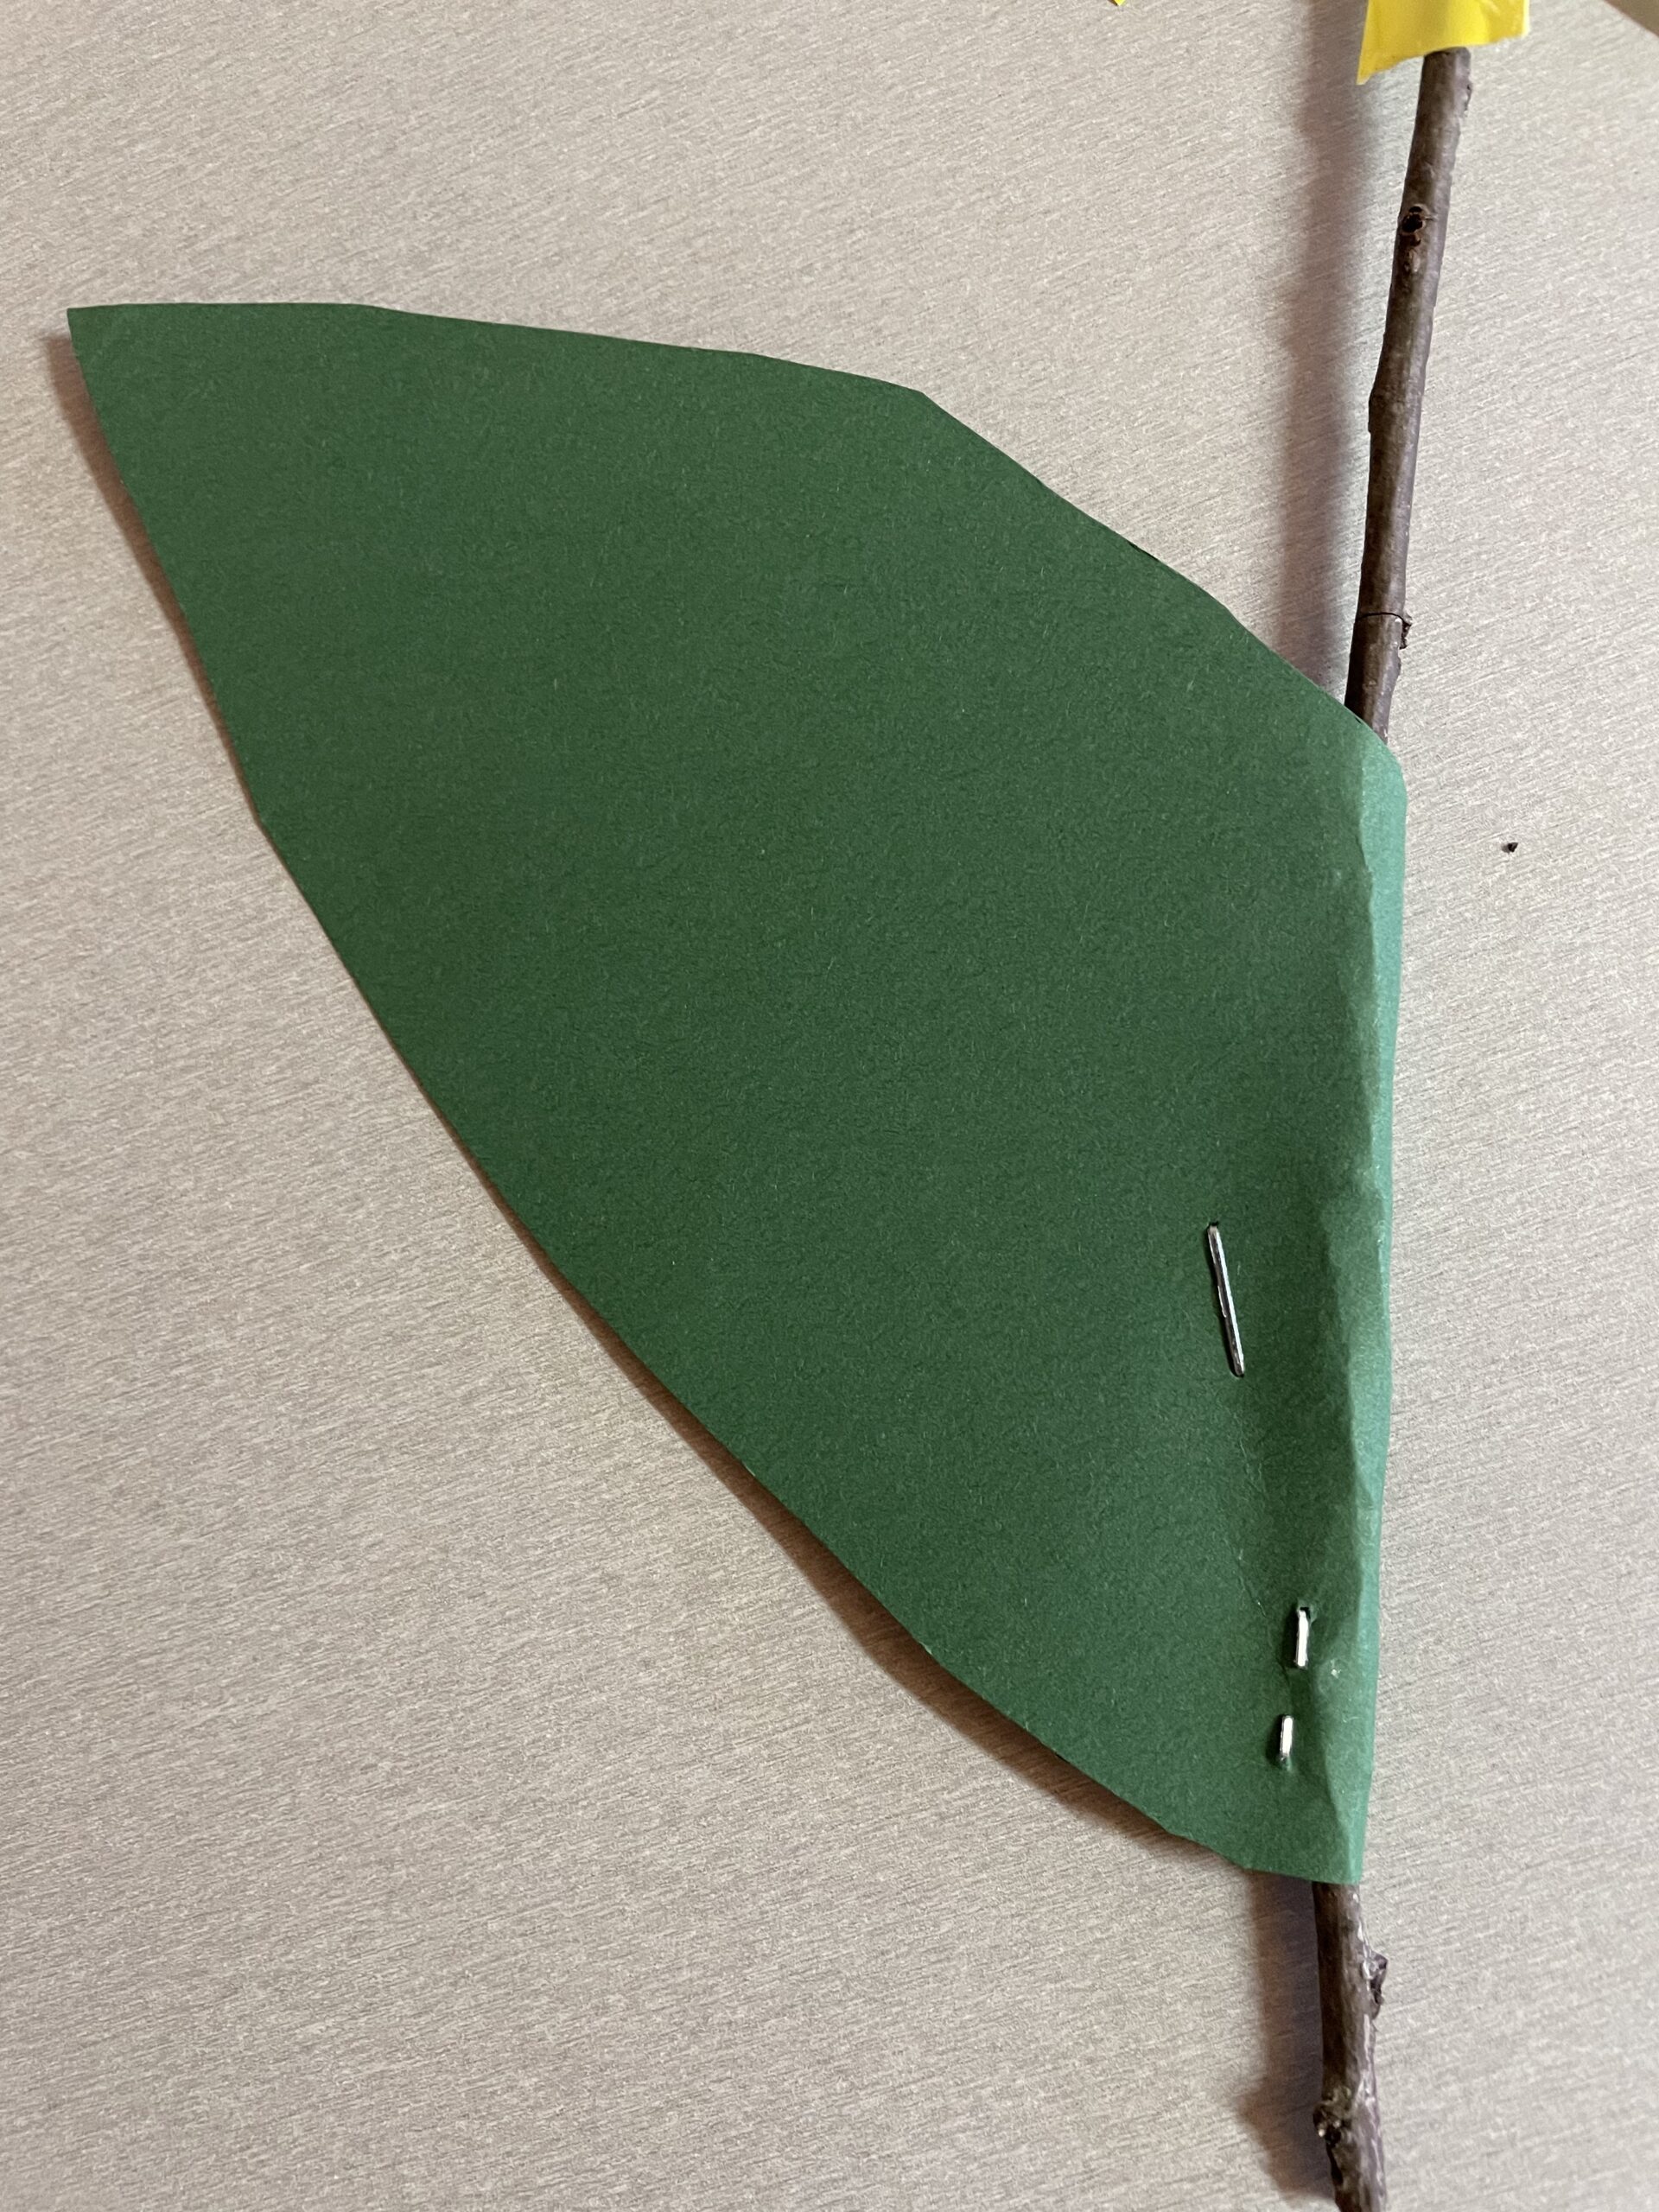
Bild zum Schritt 9 für das Bastel- und DIY-Abenteuer für Kinder: 'Befestigt das Blatt mit dem Kleber,  Heißkleber oder Tacker...'

10

Now you thread a thread through the flower at the upper edge of the flower and knot both ends. This creates a suspension.
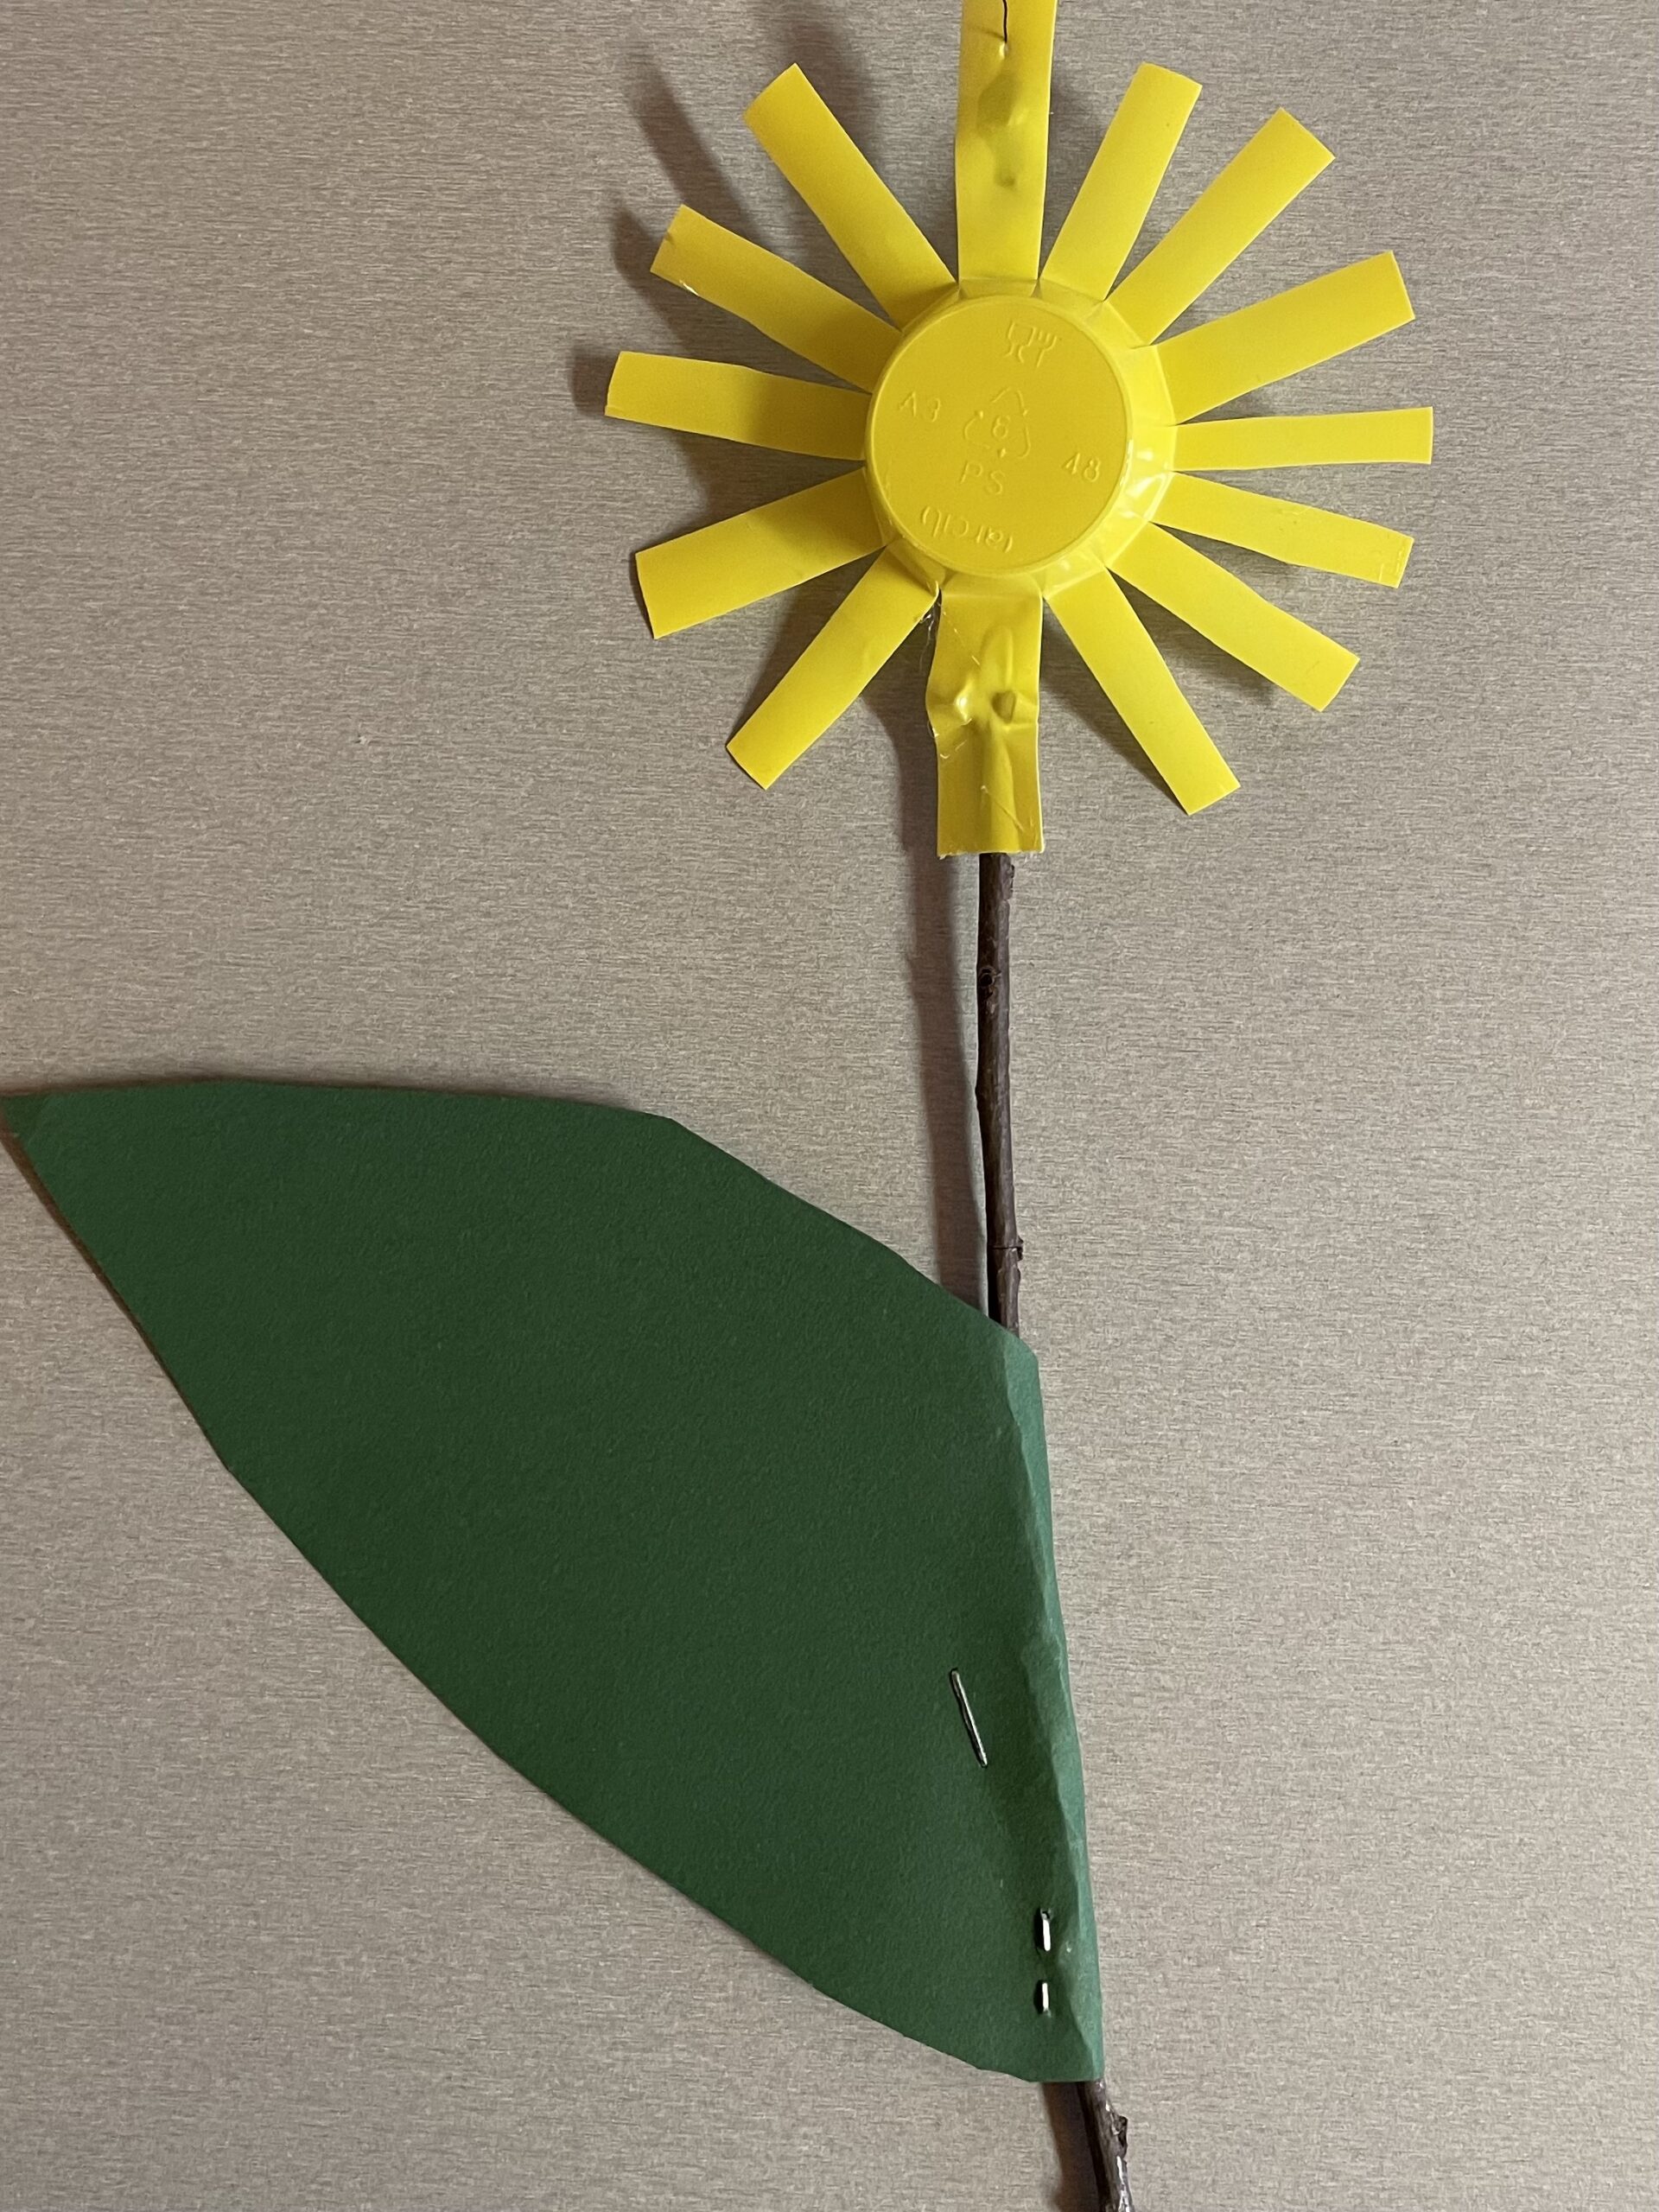
Bild zum Schritt 10 für das Bastel- und DIY-Abenteuer für Kinder: 'Nun fädelt ihr am oberen Blütenrand einen Faden durch die...'

11

You can make more flowers in this way.
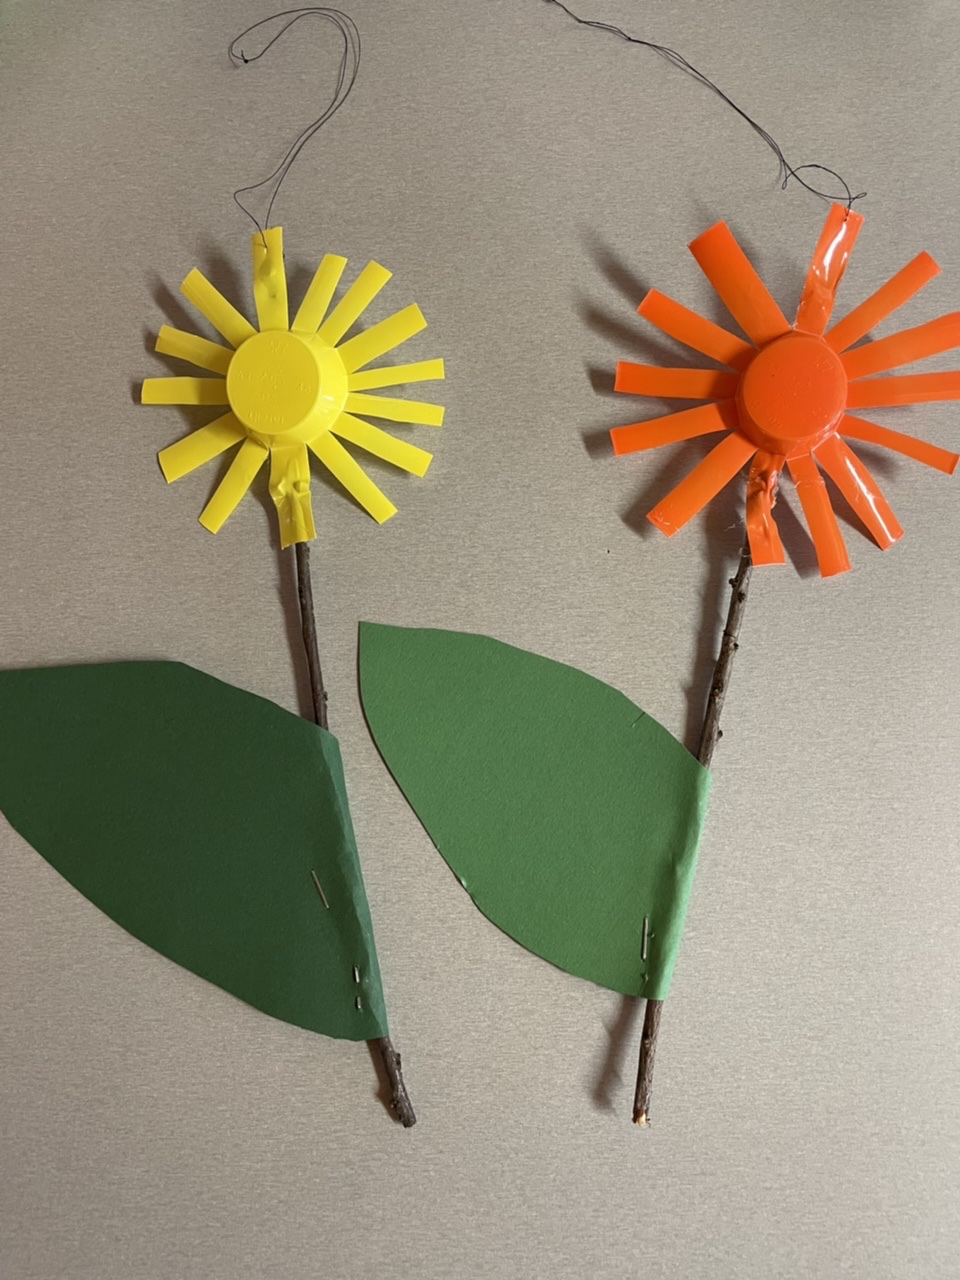
Bild zum Schritt 11 für das Bastel- und DIY-Abenteuer für Kinder: 'Ihr könnt auf diese Weise noch mehr Blumen basteln.'

12

You can hang the flower flowers even without a stalk and leaf. Then they are also suitable for outdoor use. The yoghurt cup flowers are water-insensitive and shine beautifully.
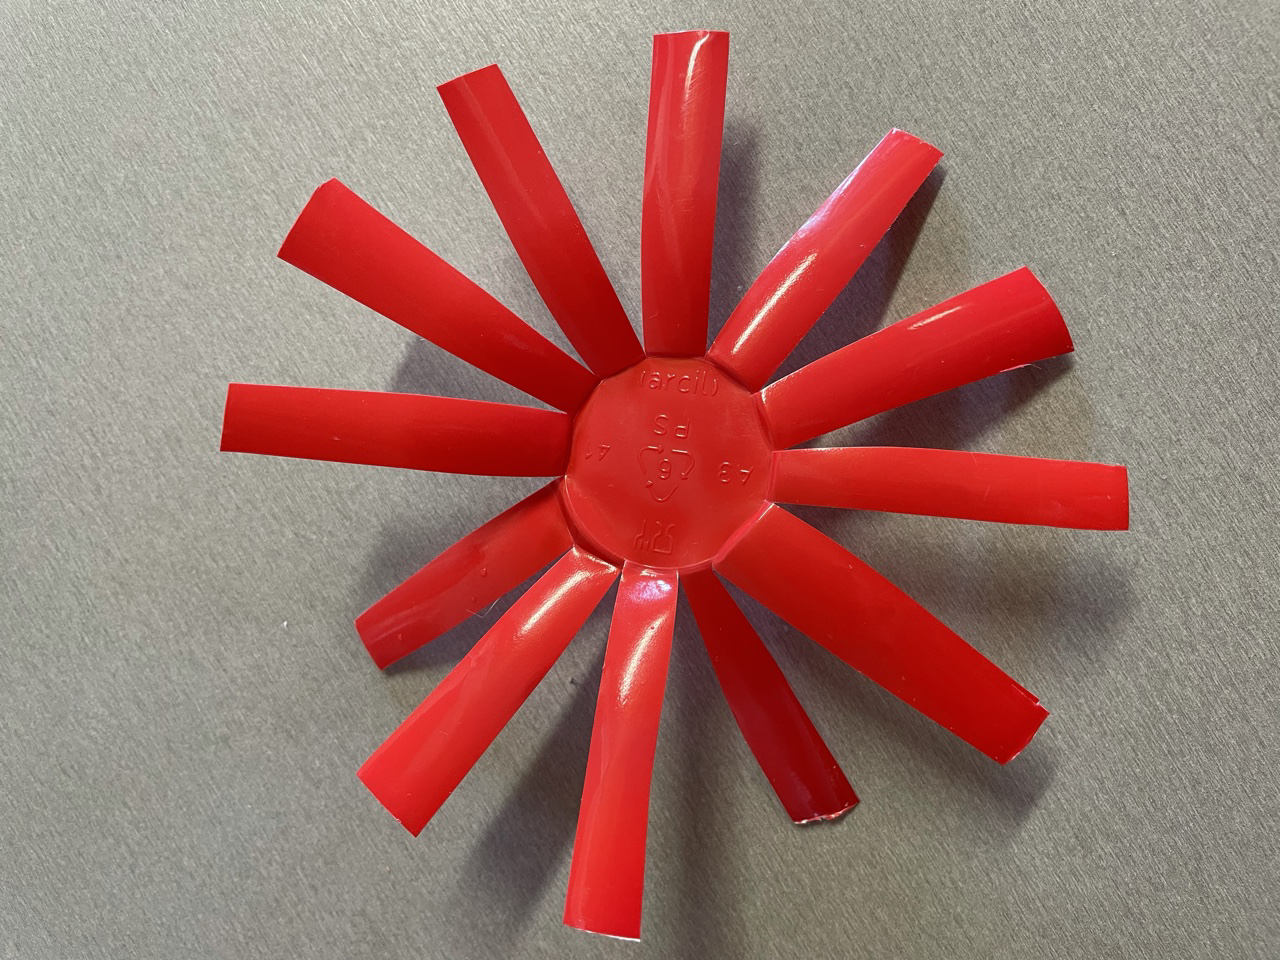
Bild zum Schritt 12 für das Bastel- und DIY-Abenteuer für Kinder: 'Ihr könnt die Blumen-Blüten auch ohne Stiel und Blatt aufhängen....'

13

Have fun doing crafts!