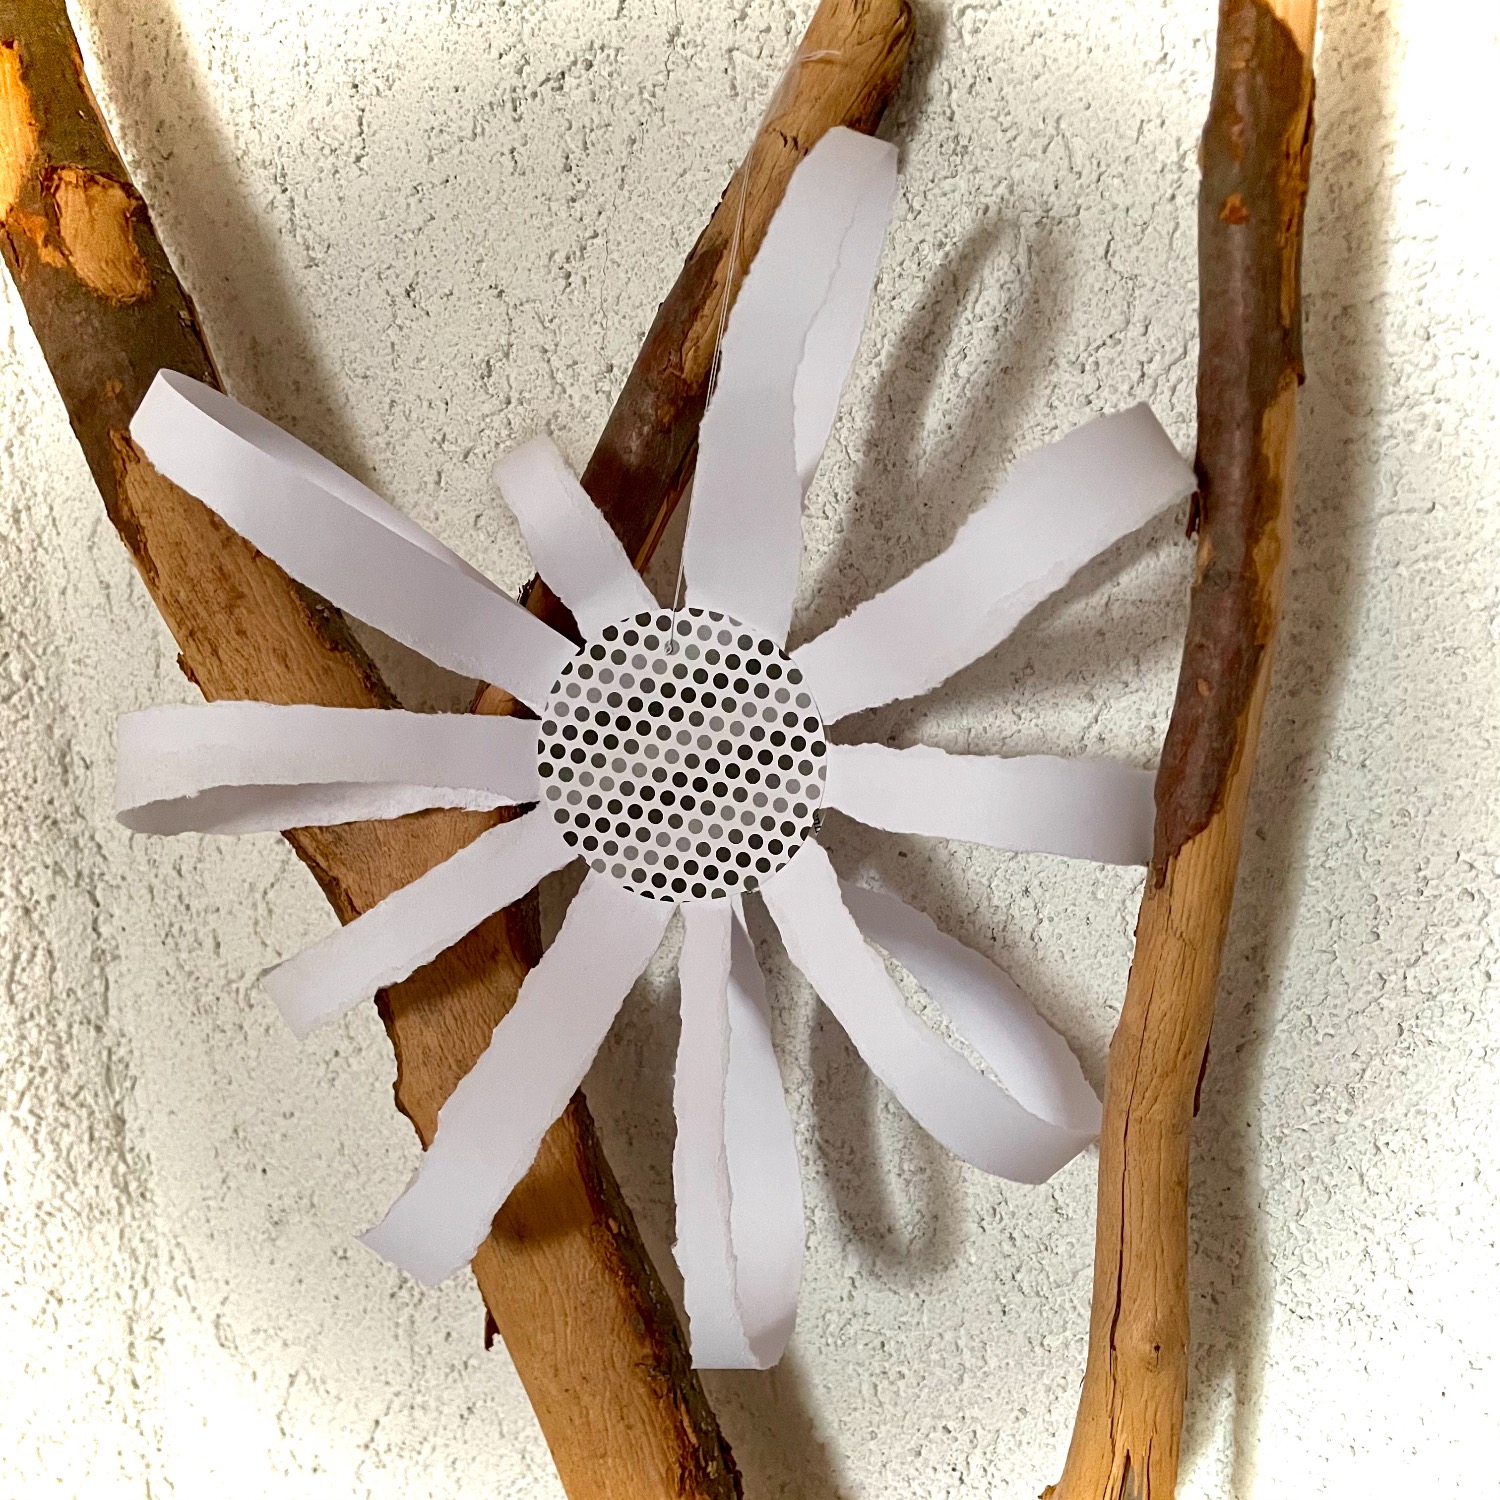
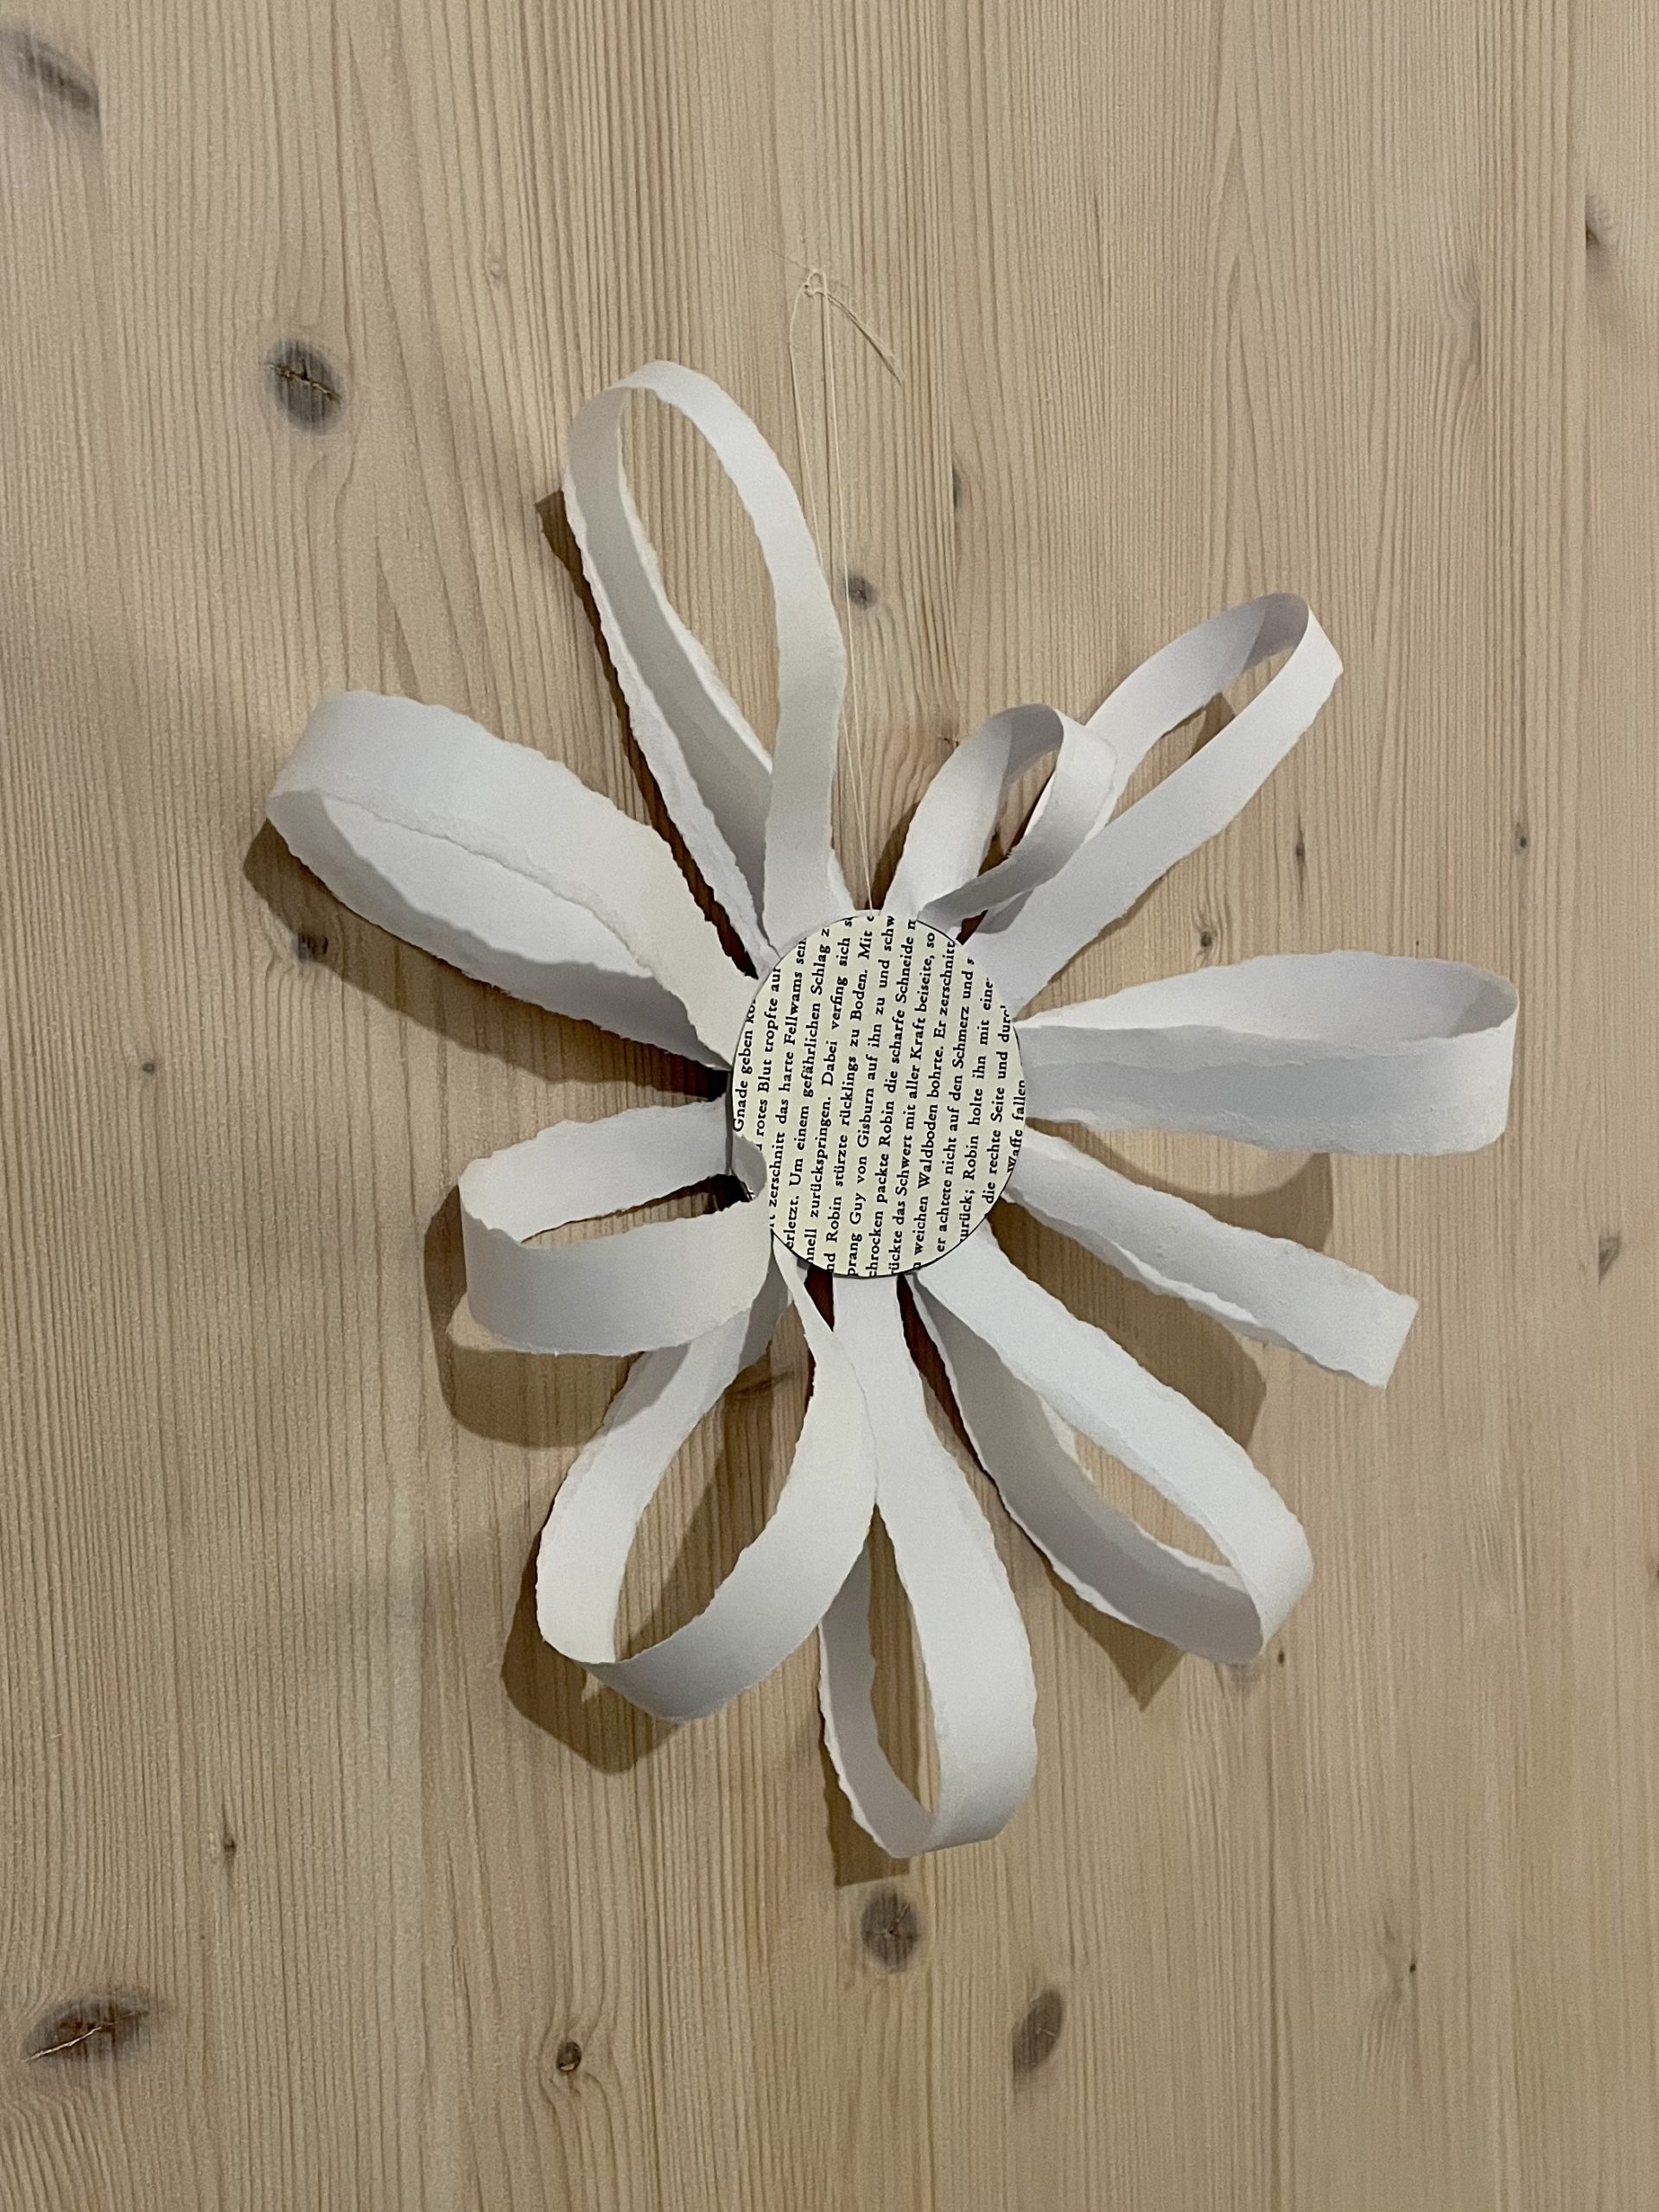
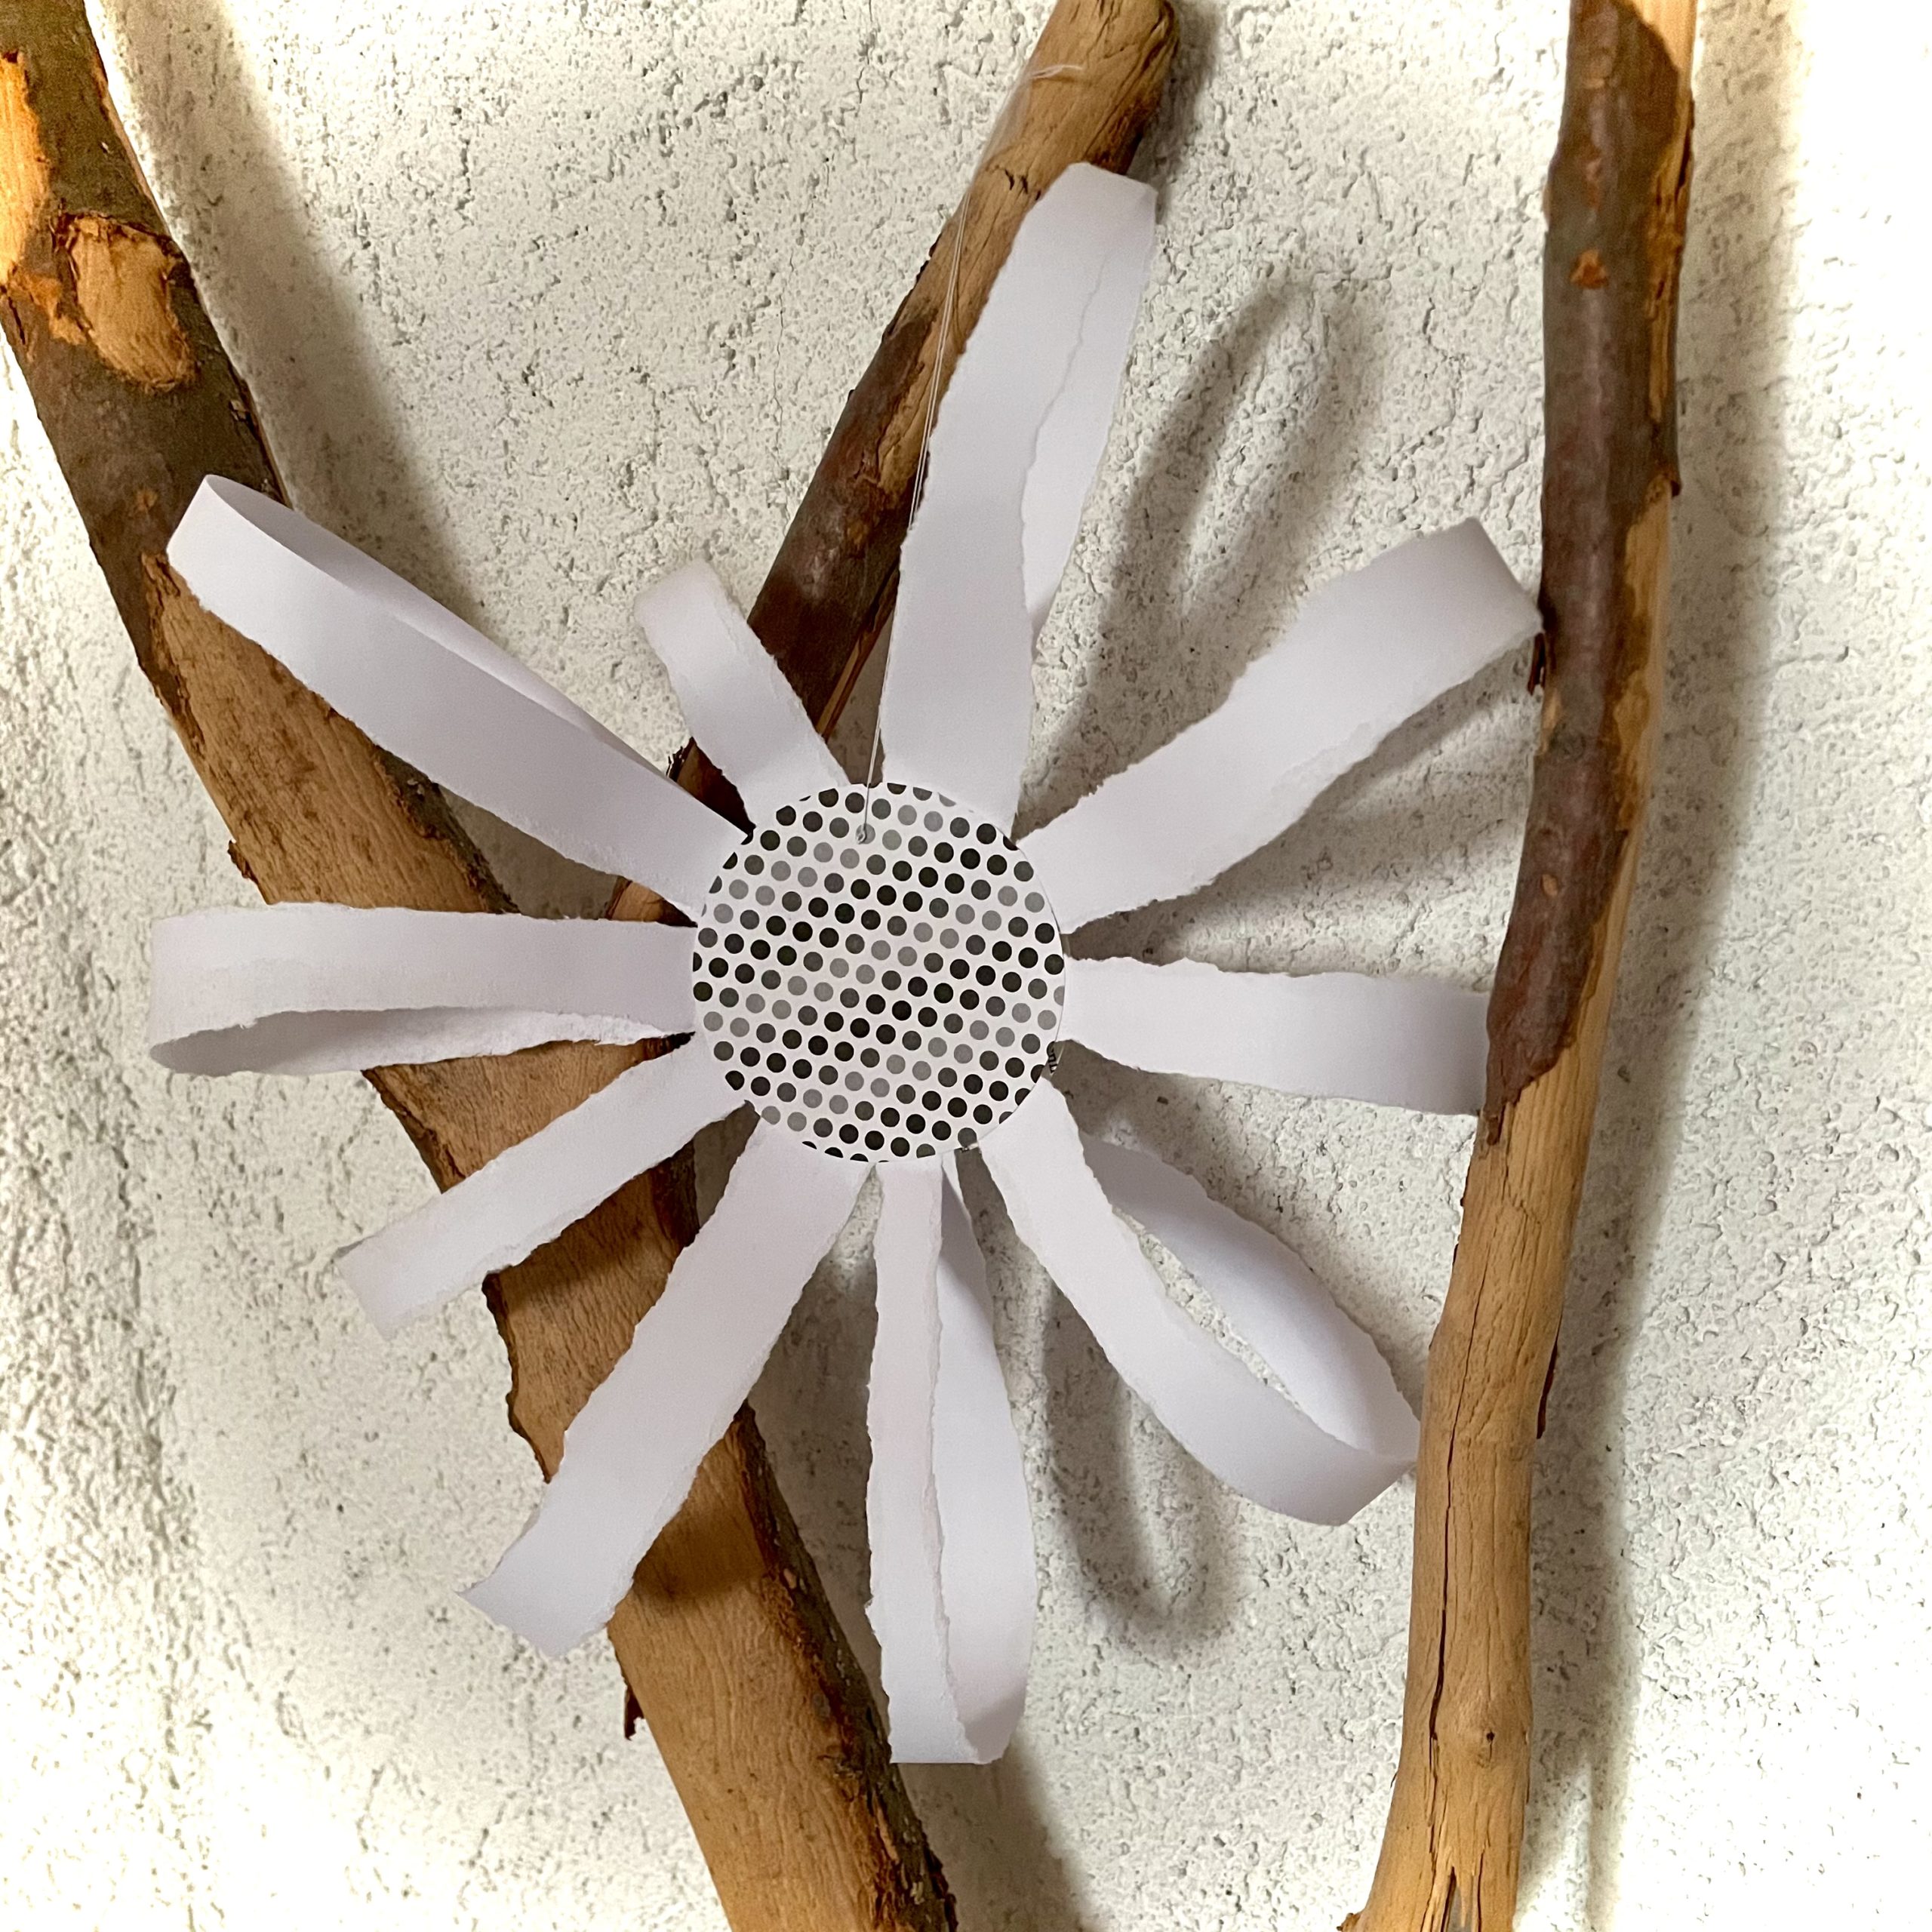
This noble flower is made of white toilet paper.Rise the white paper into thin strips and glue the ends of the strip together. This creates individual paper loops. These are glued around a cut-out circle of motif paper. This simple and very noble flower is finished, which looks particularly beautiful at the window or branch. The size can vary as much as your paper and its color.
Media Education for Kindergarten and Hort

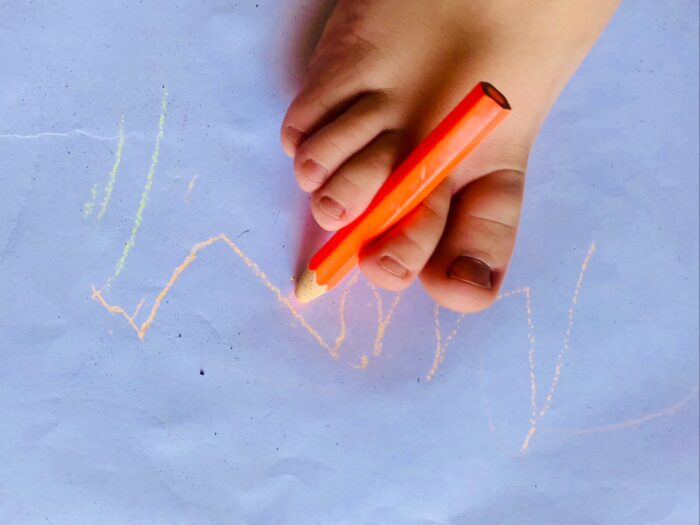
Relief in everyday life, targeted promotion of individual children, independent learning and - without any pre-knowledge already usable by the youngest!
First put out your craft file and find your materials together.
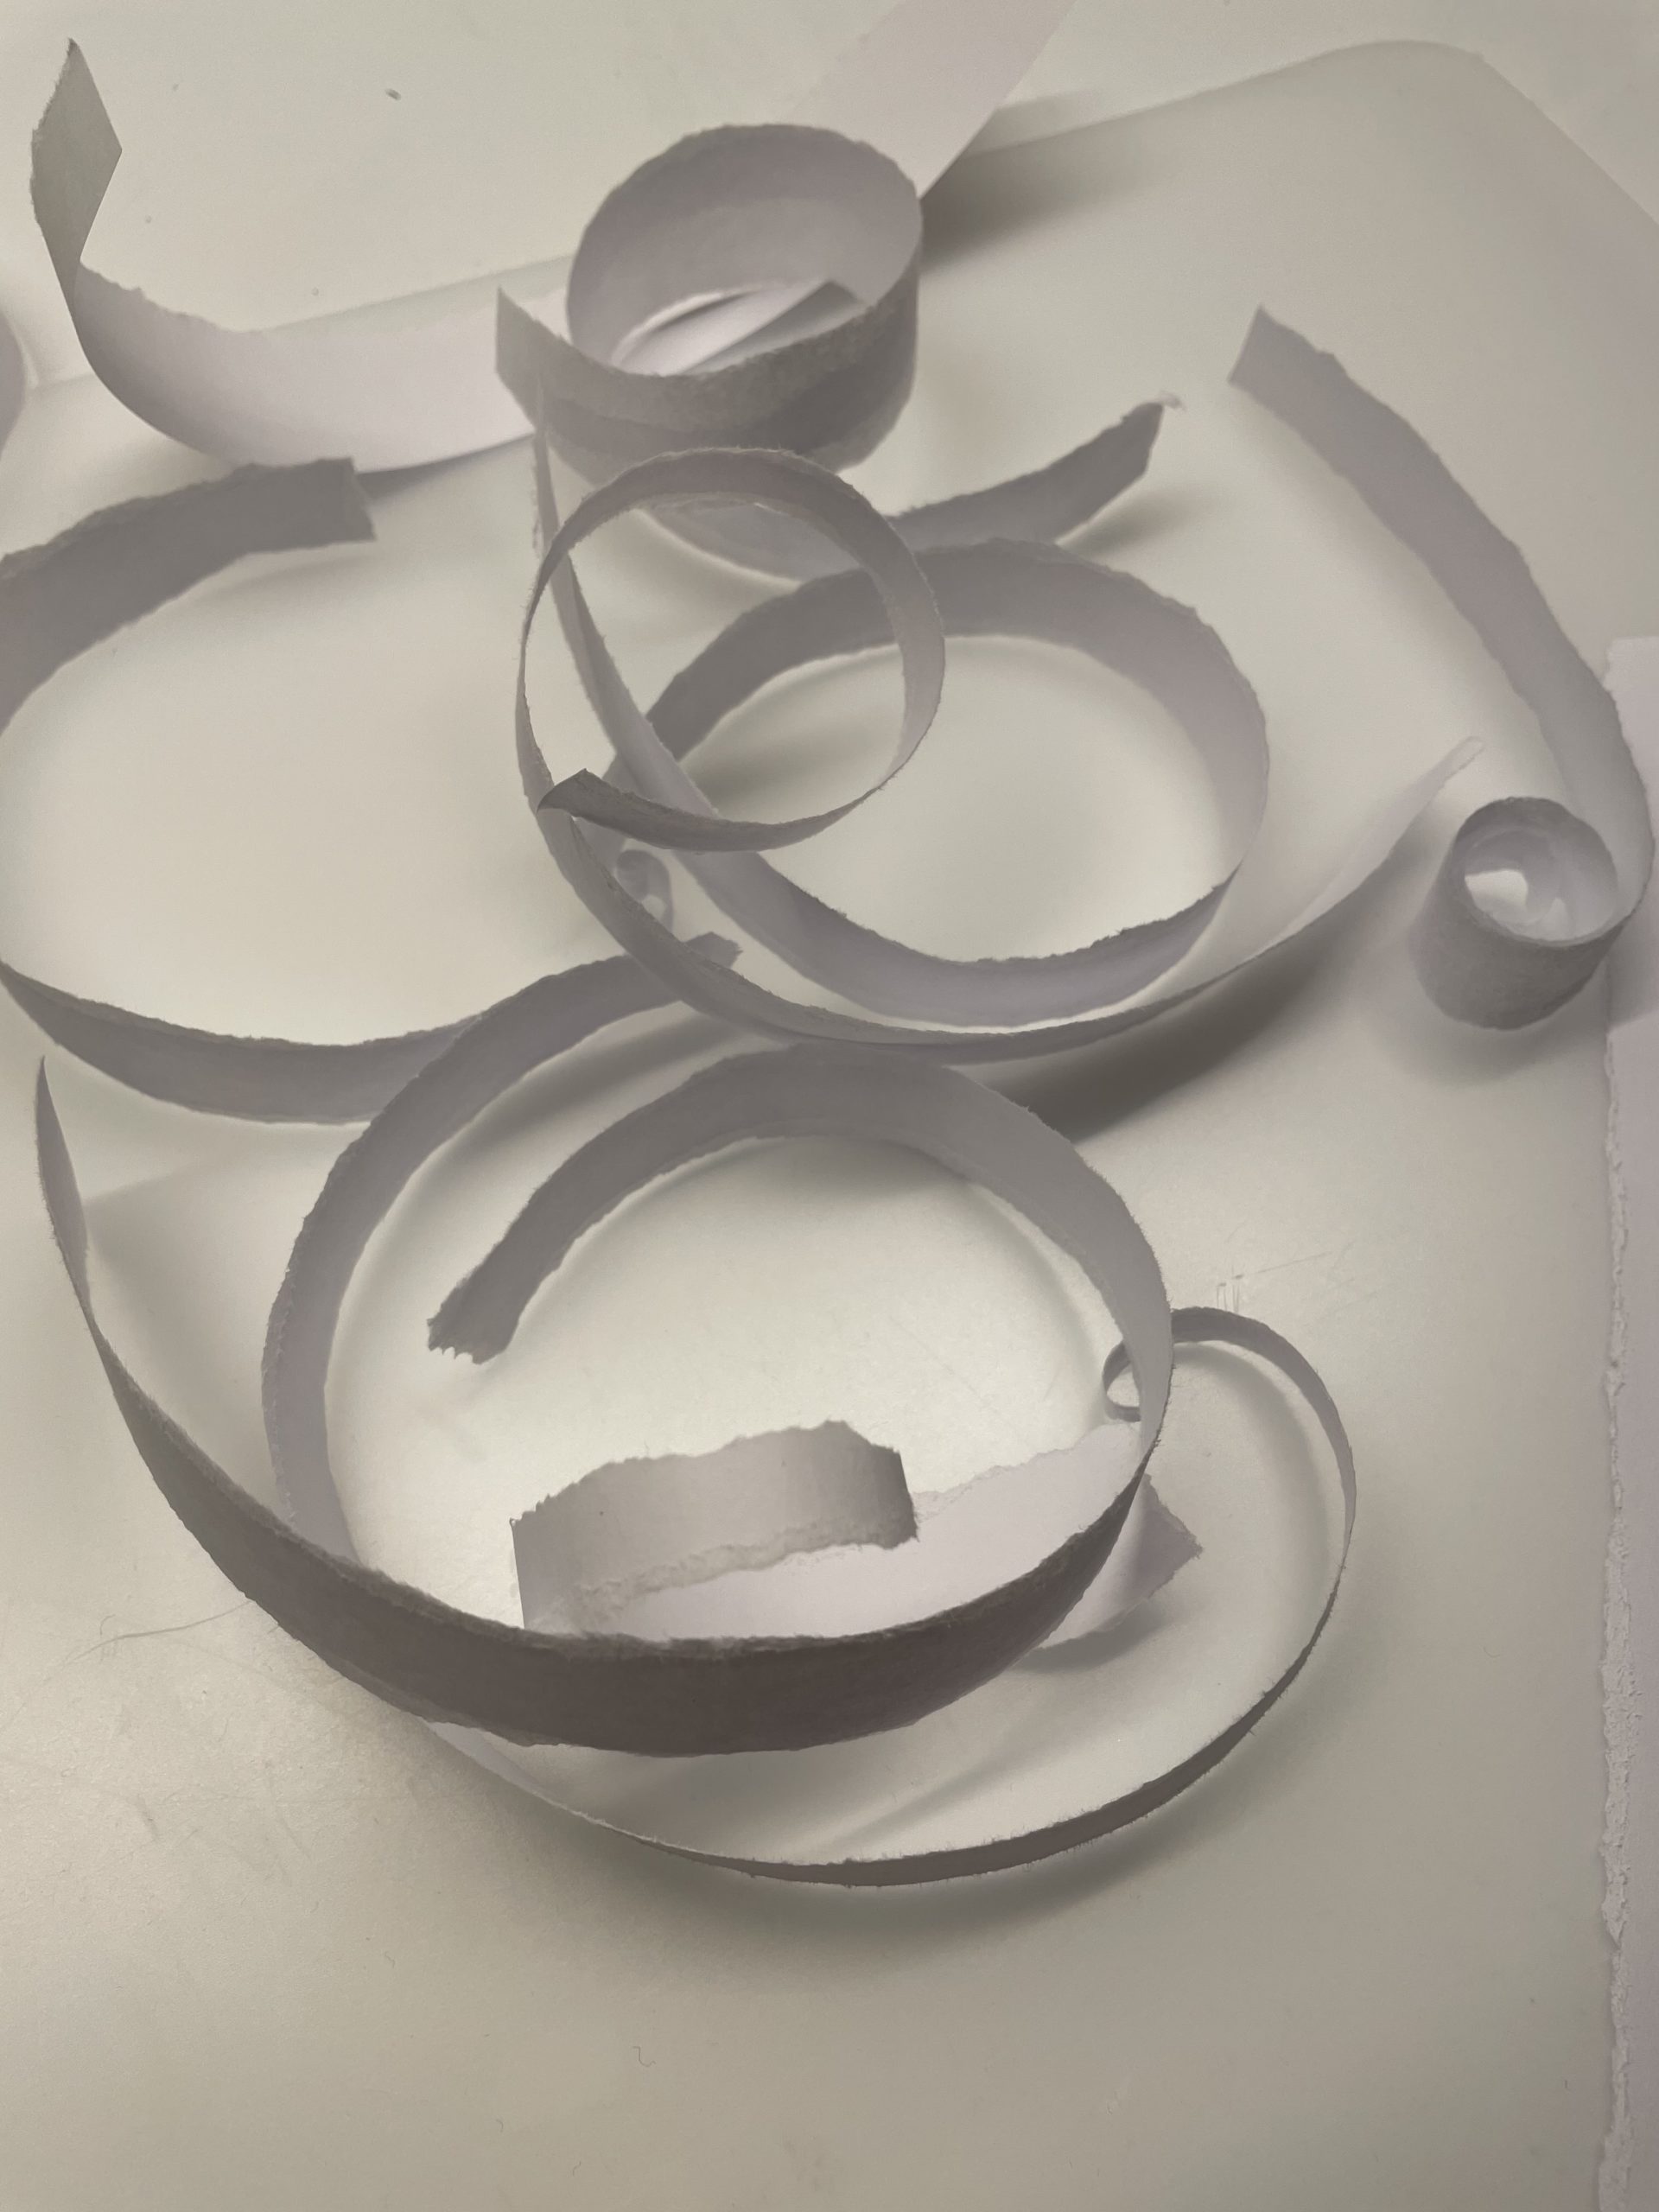
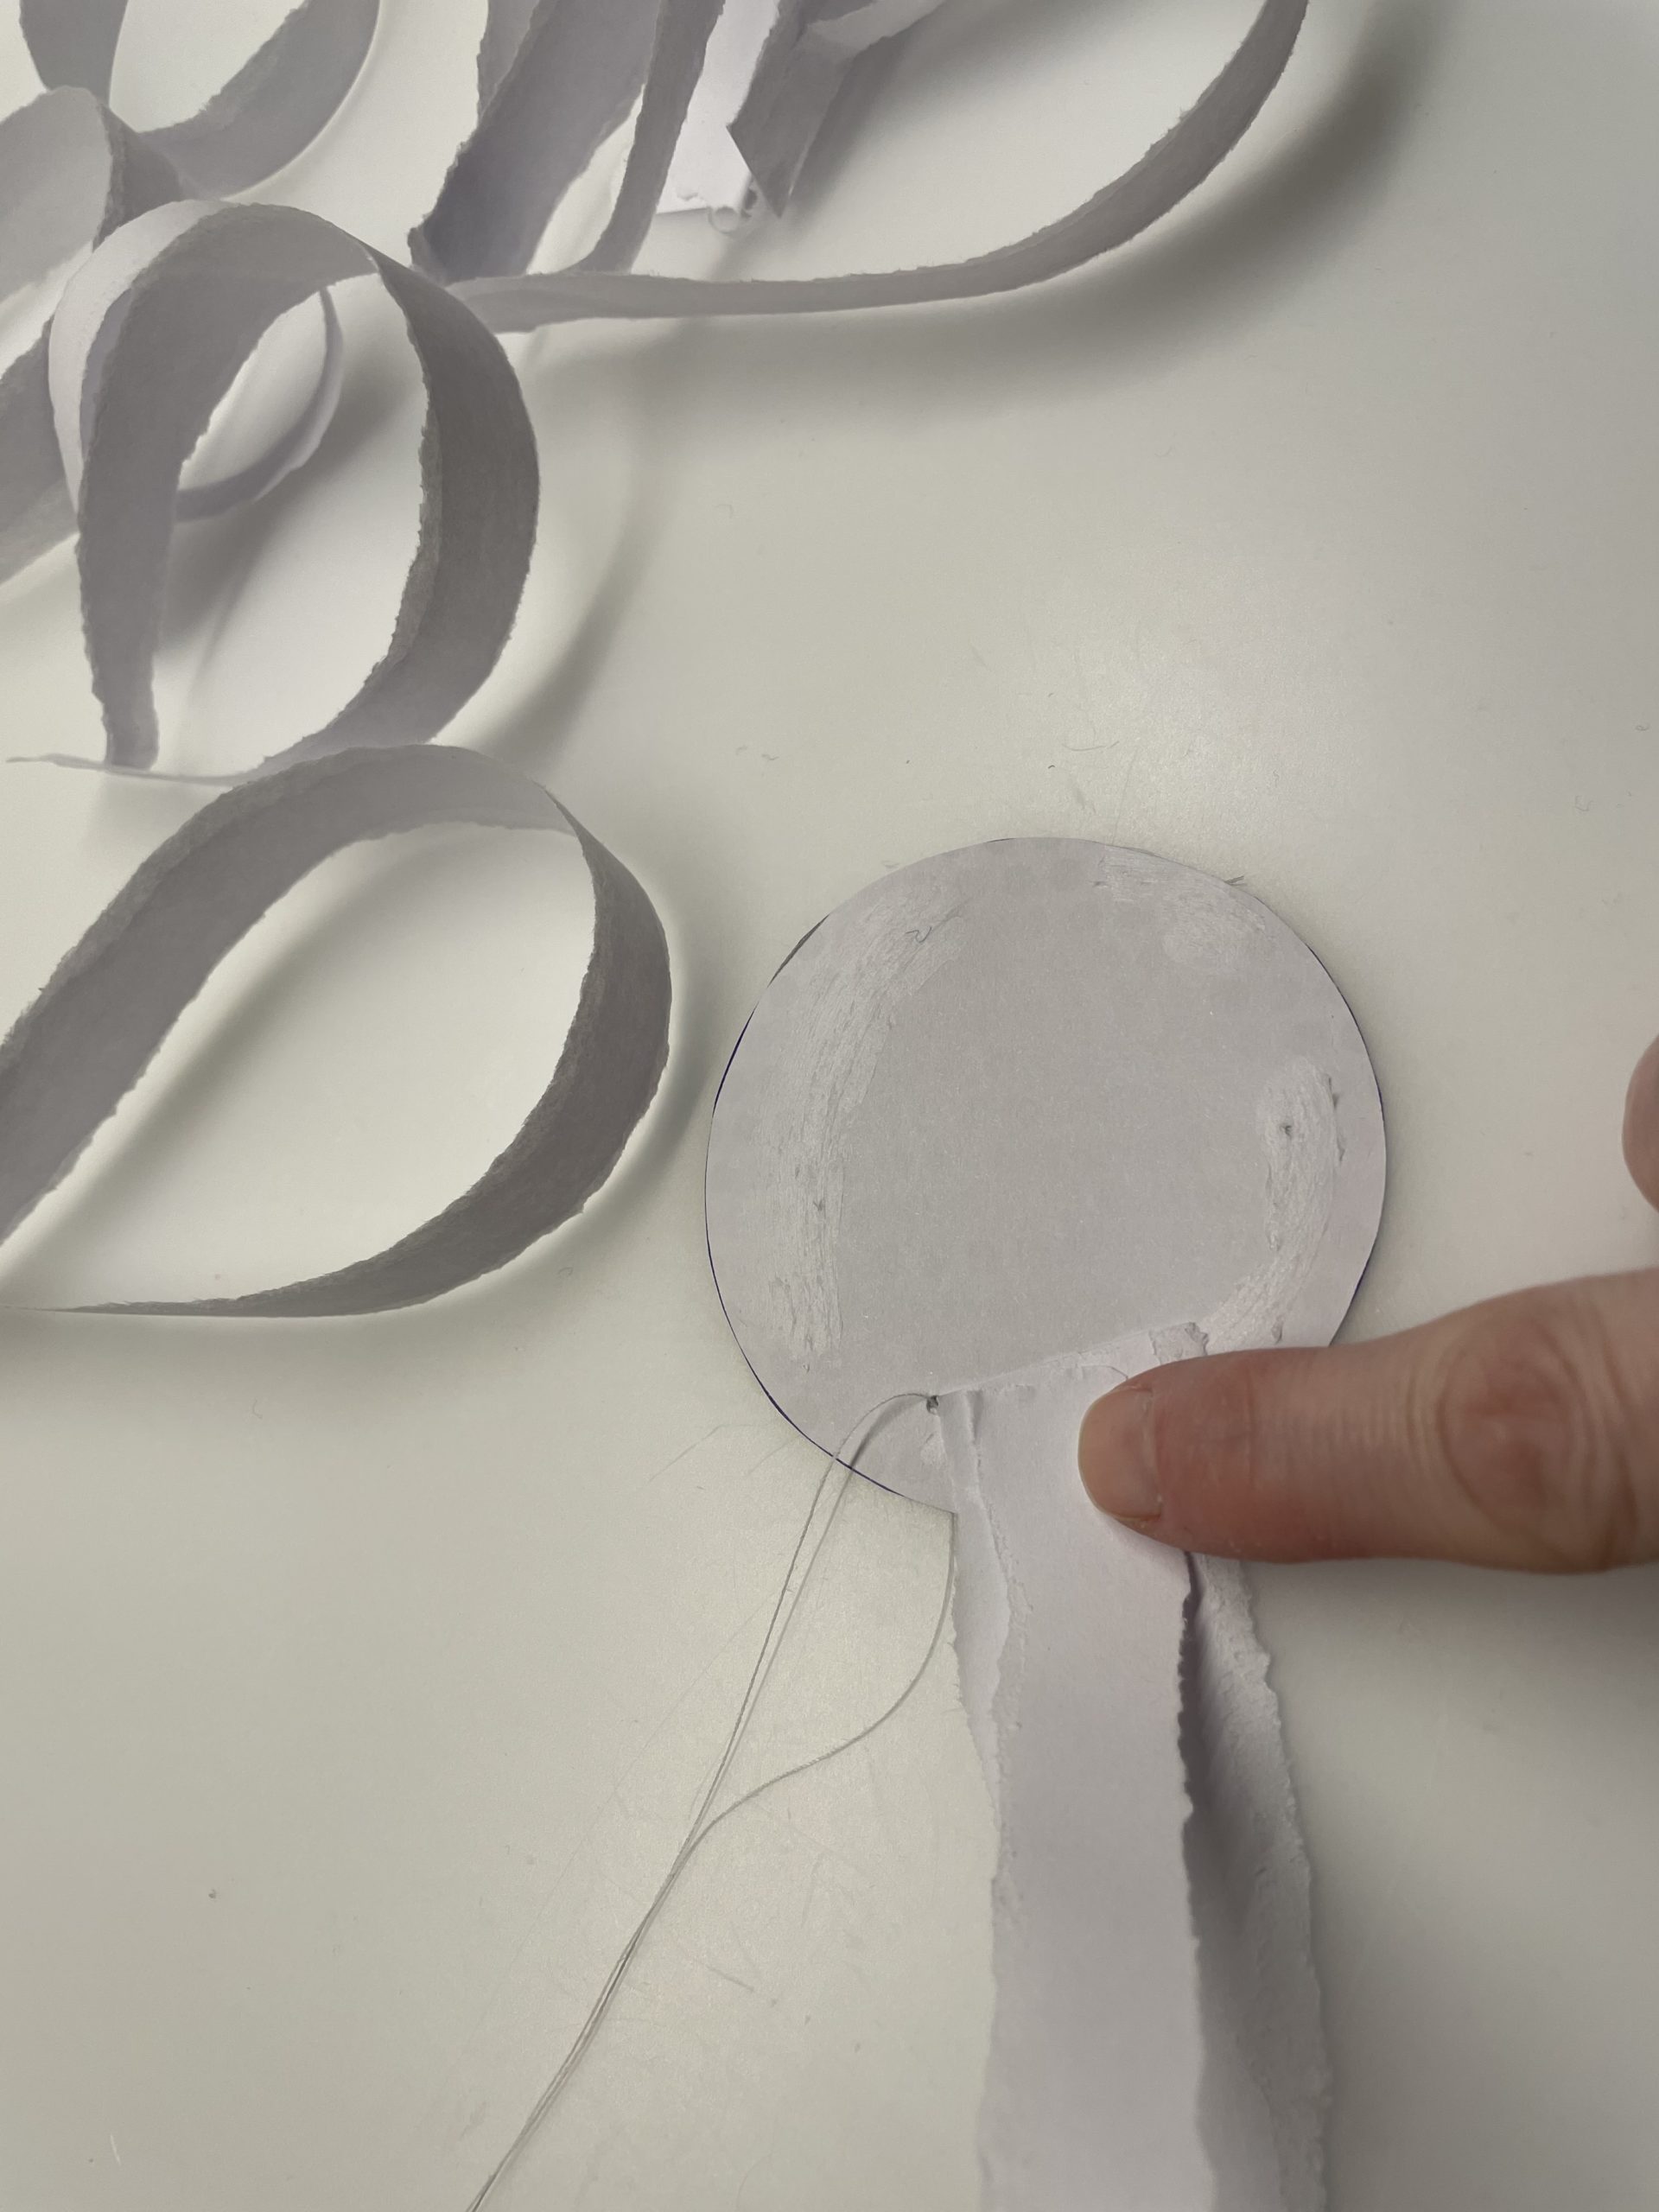
Then tears copy paper into thin strips (approx.1cm wide)
Tip: Paper can only be ripped well in one direction! Try out which direction can be ripped better!
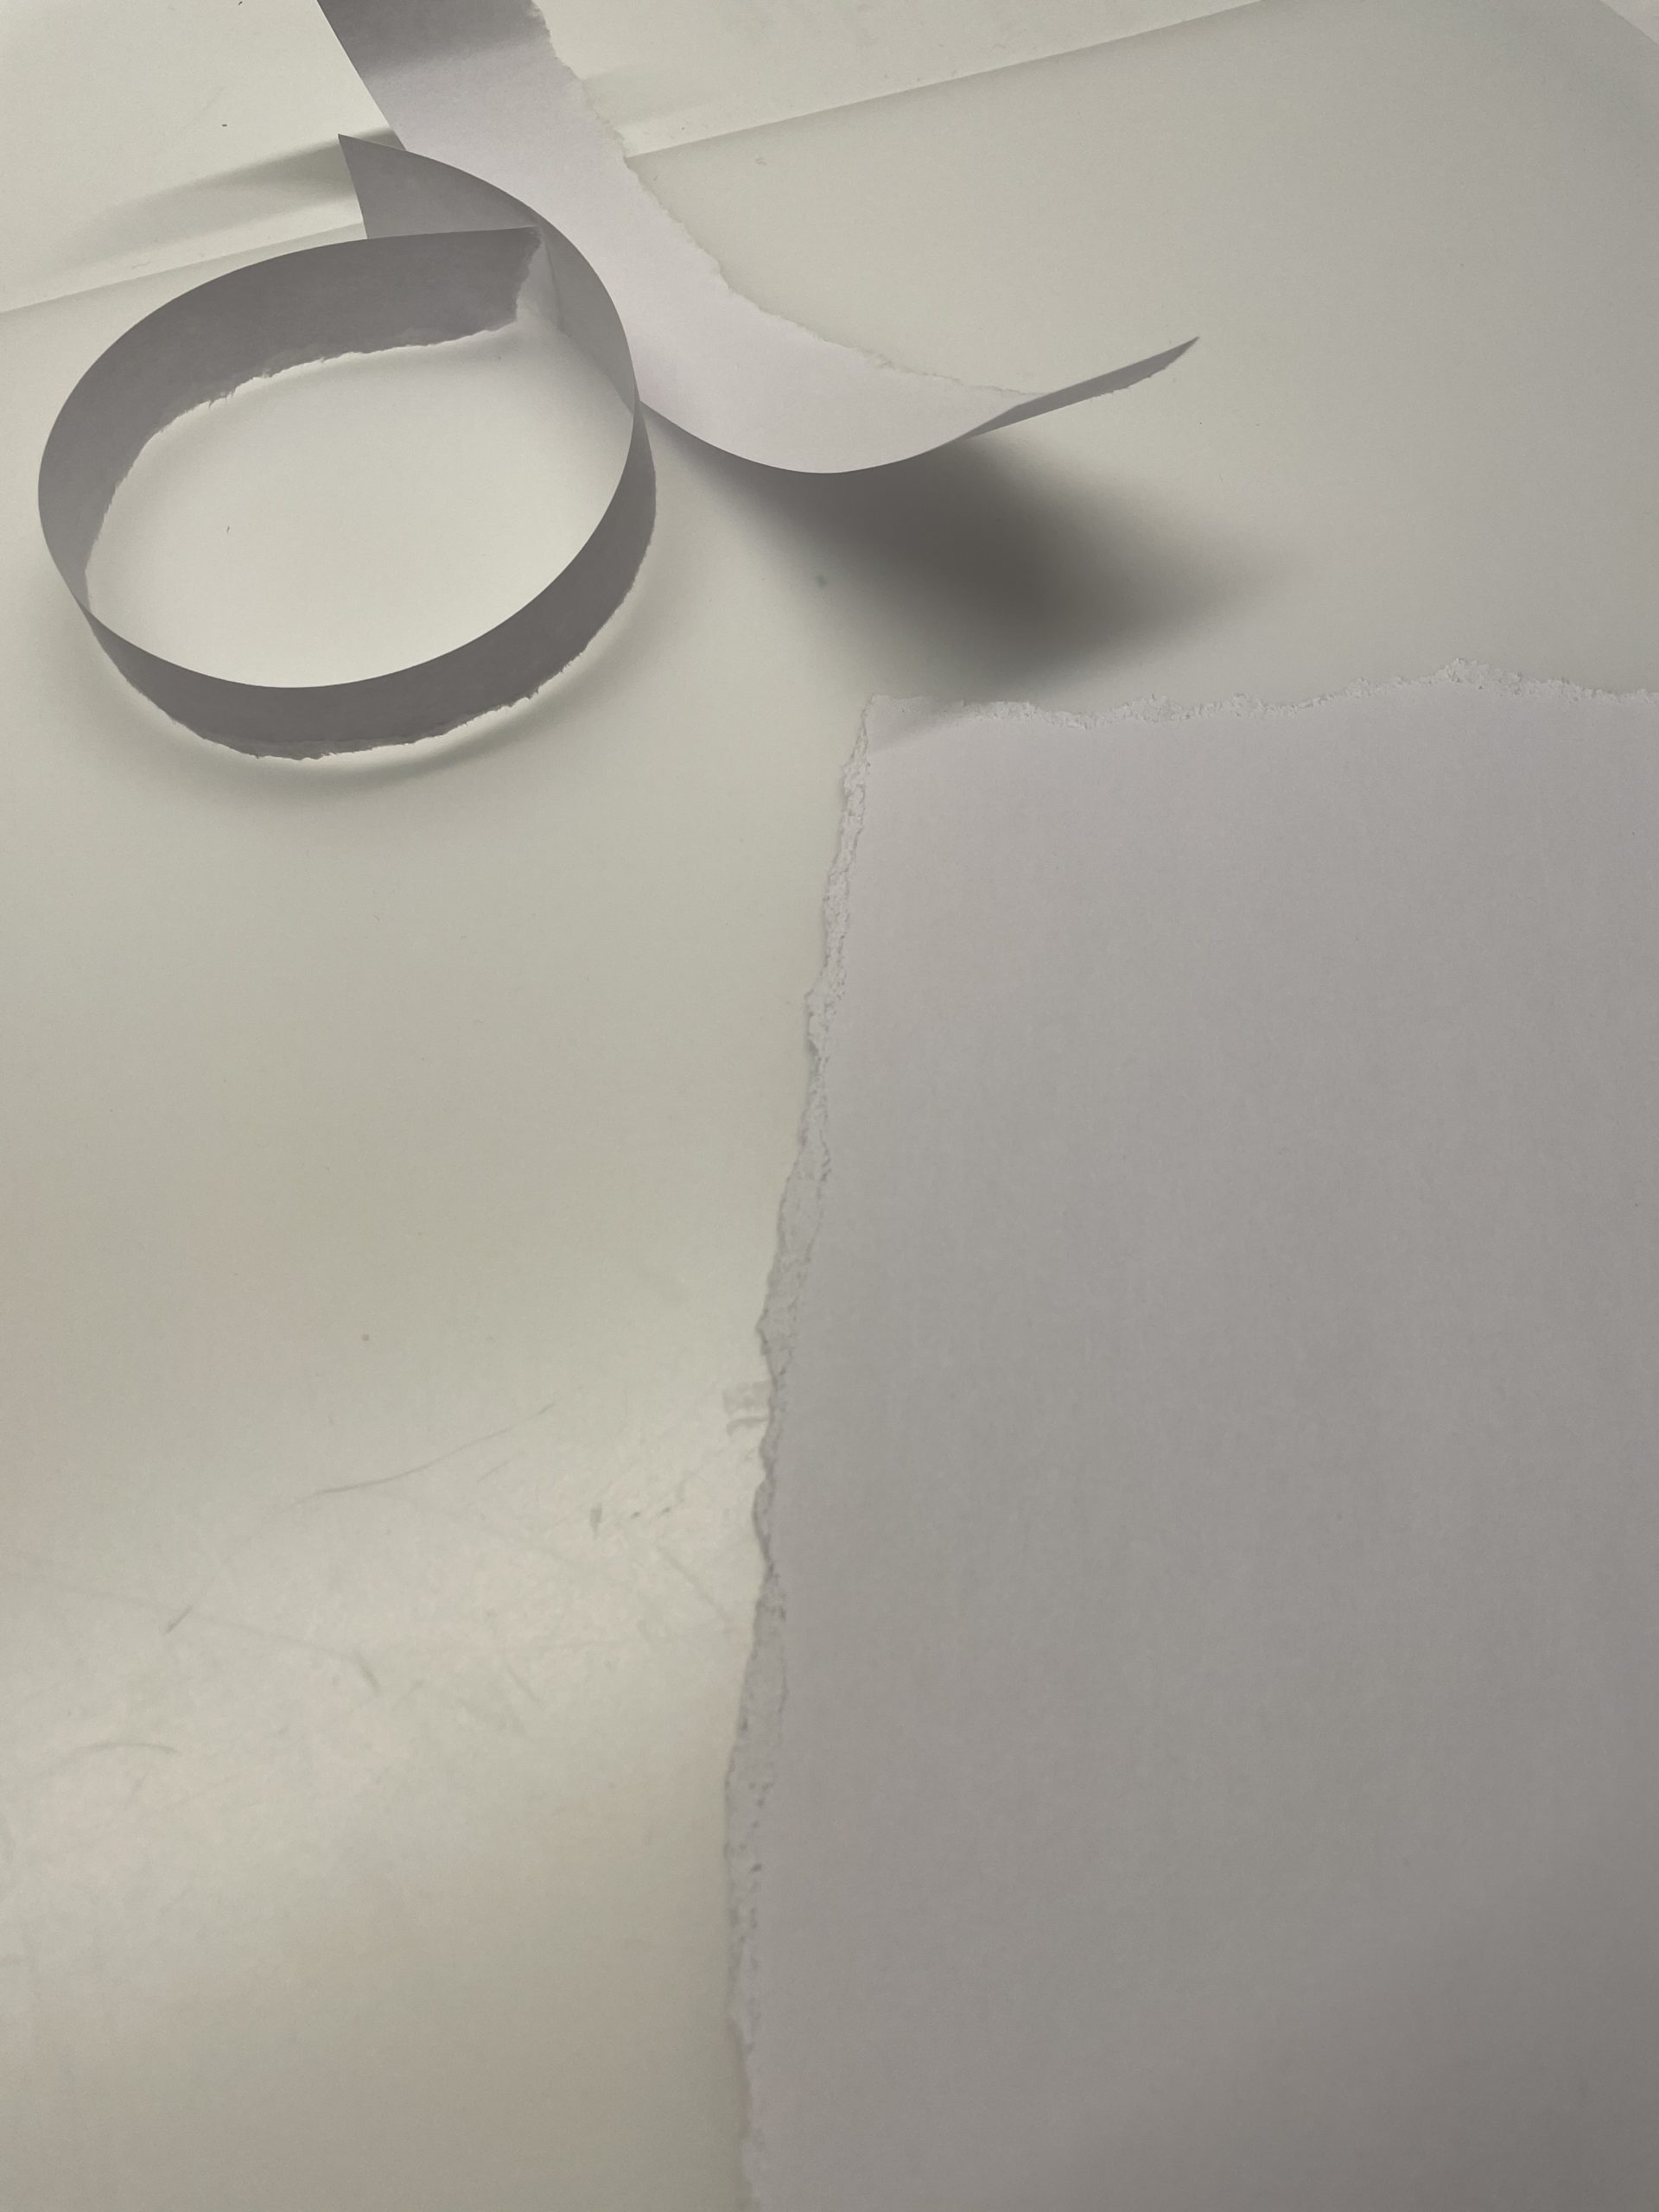
Pull off strip as long as possible.
All in all, you need 10-12 stripes.
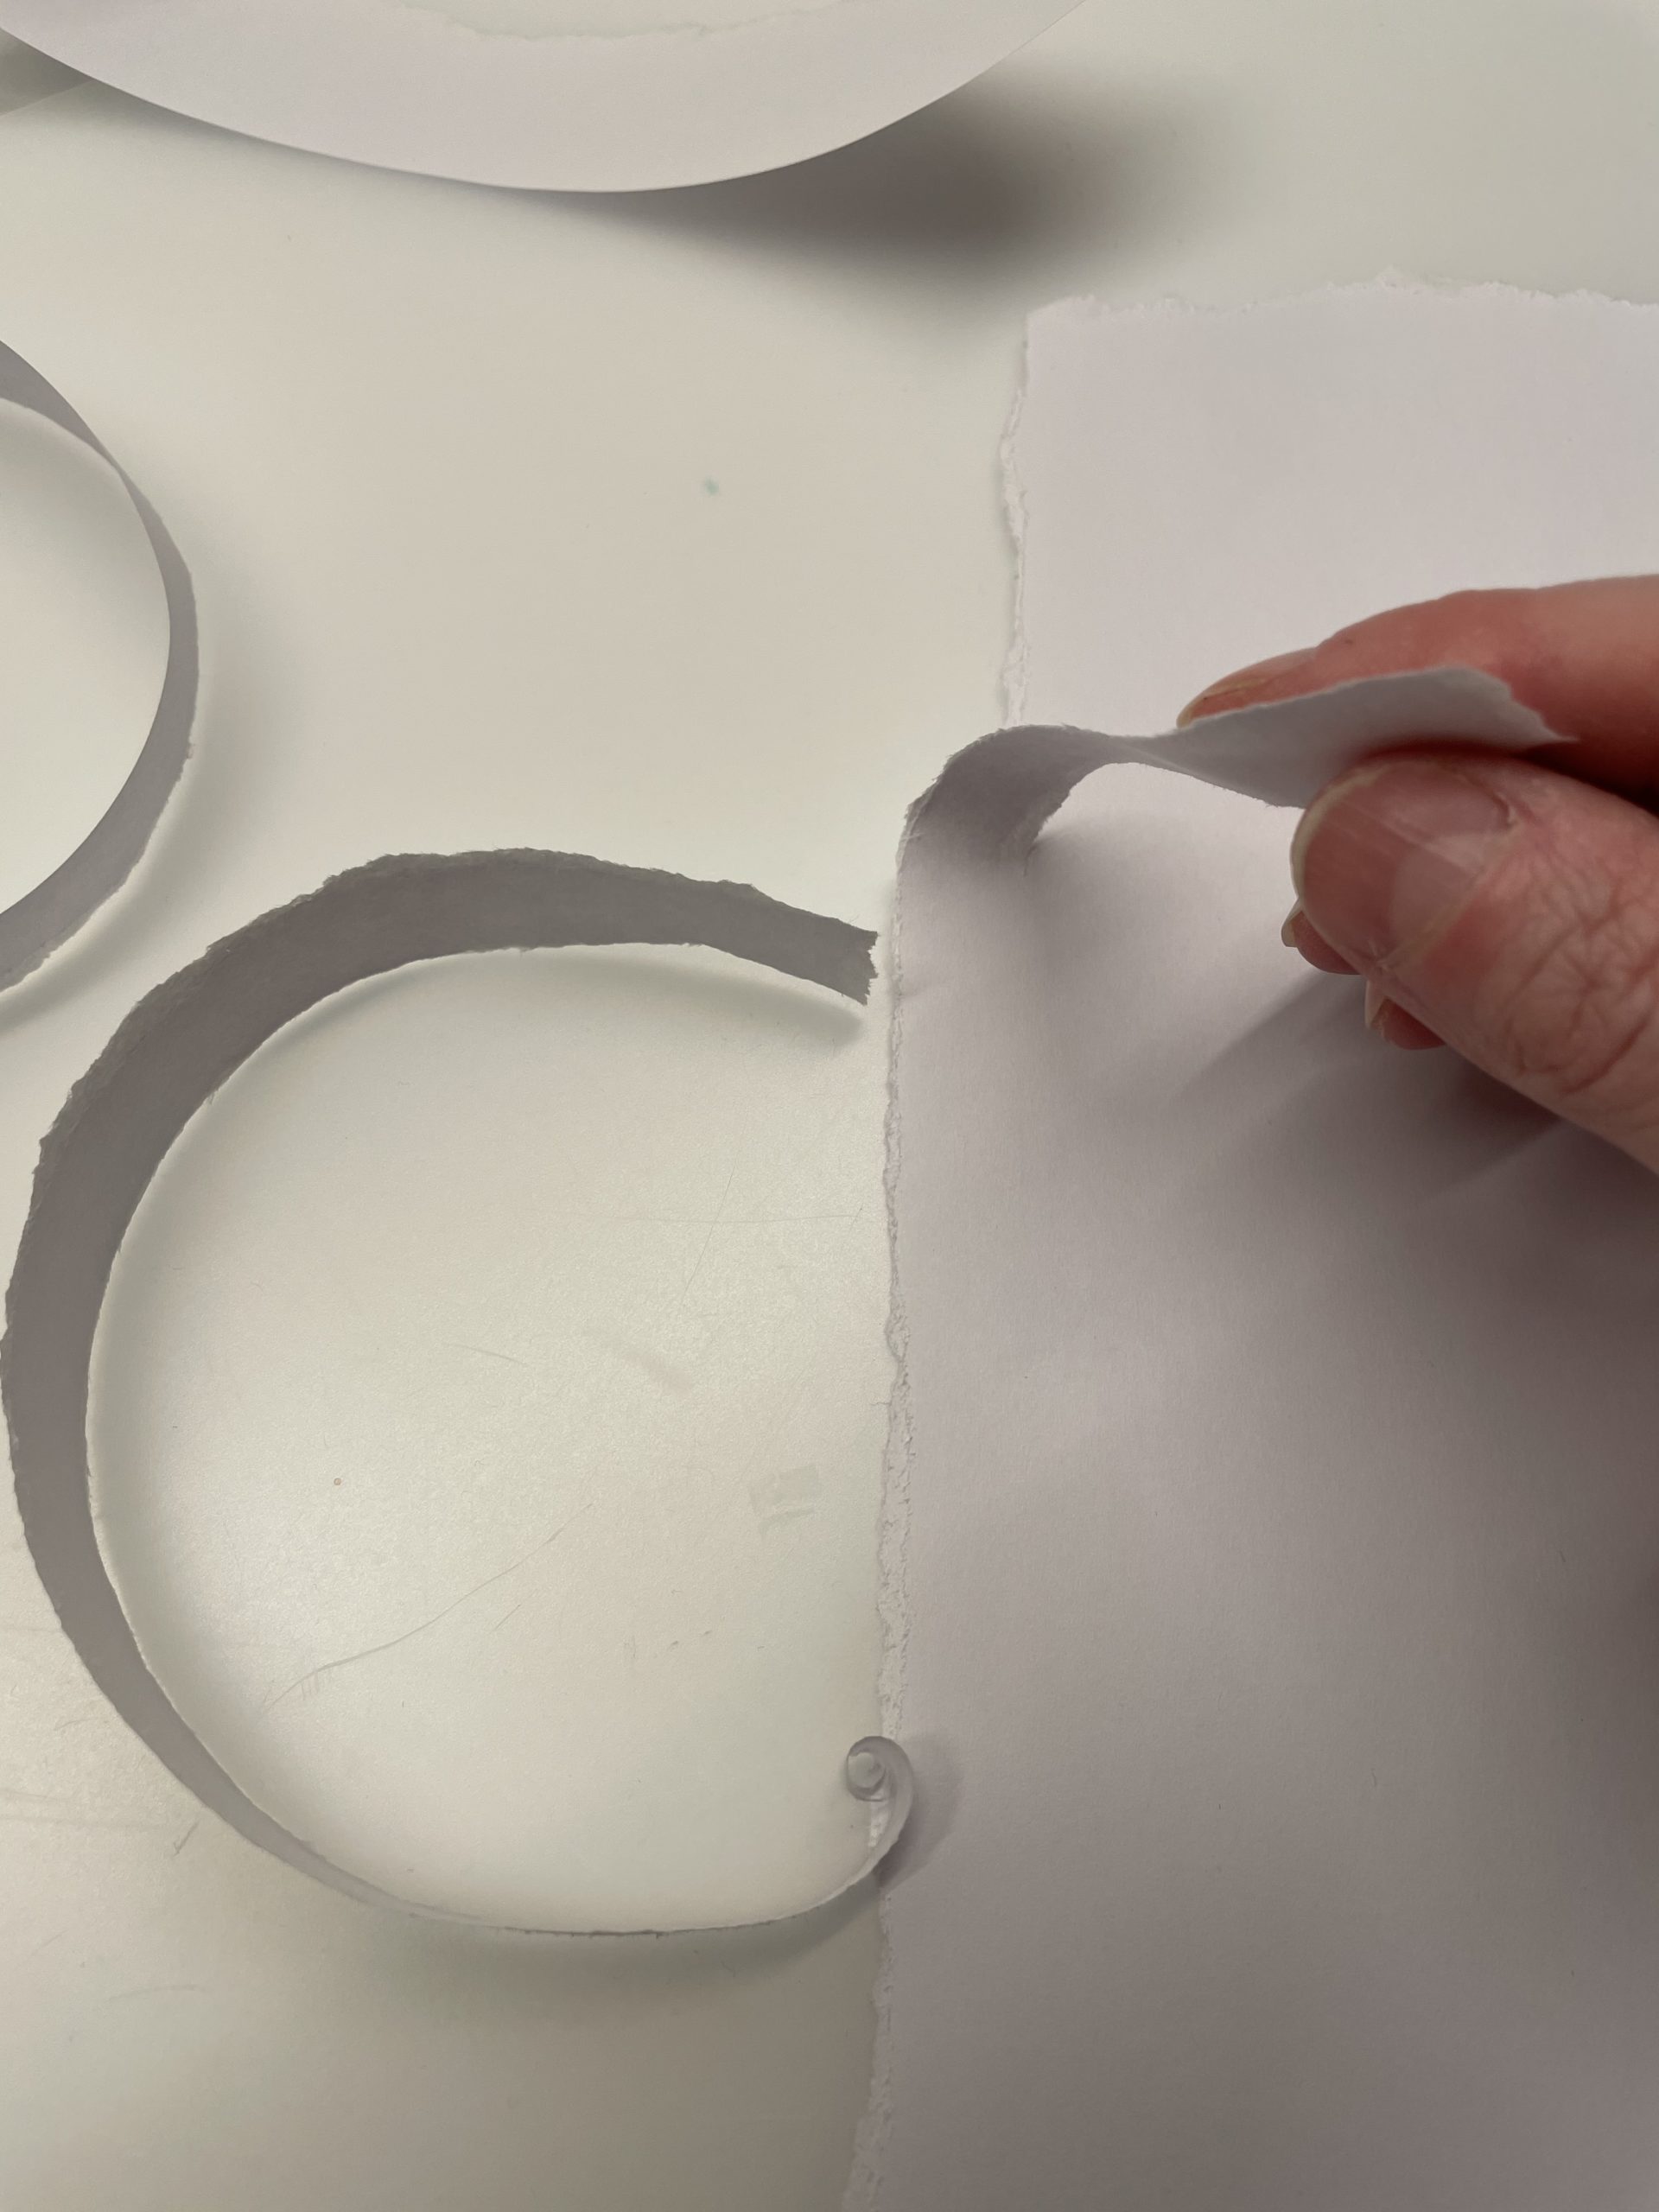
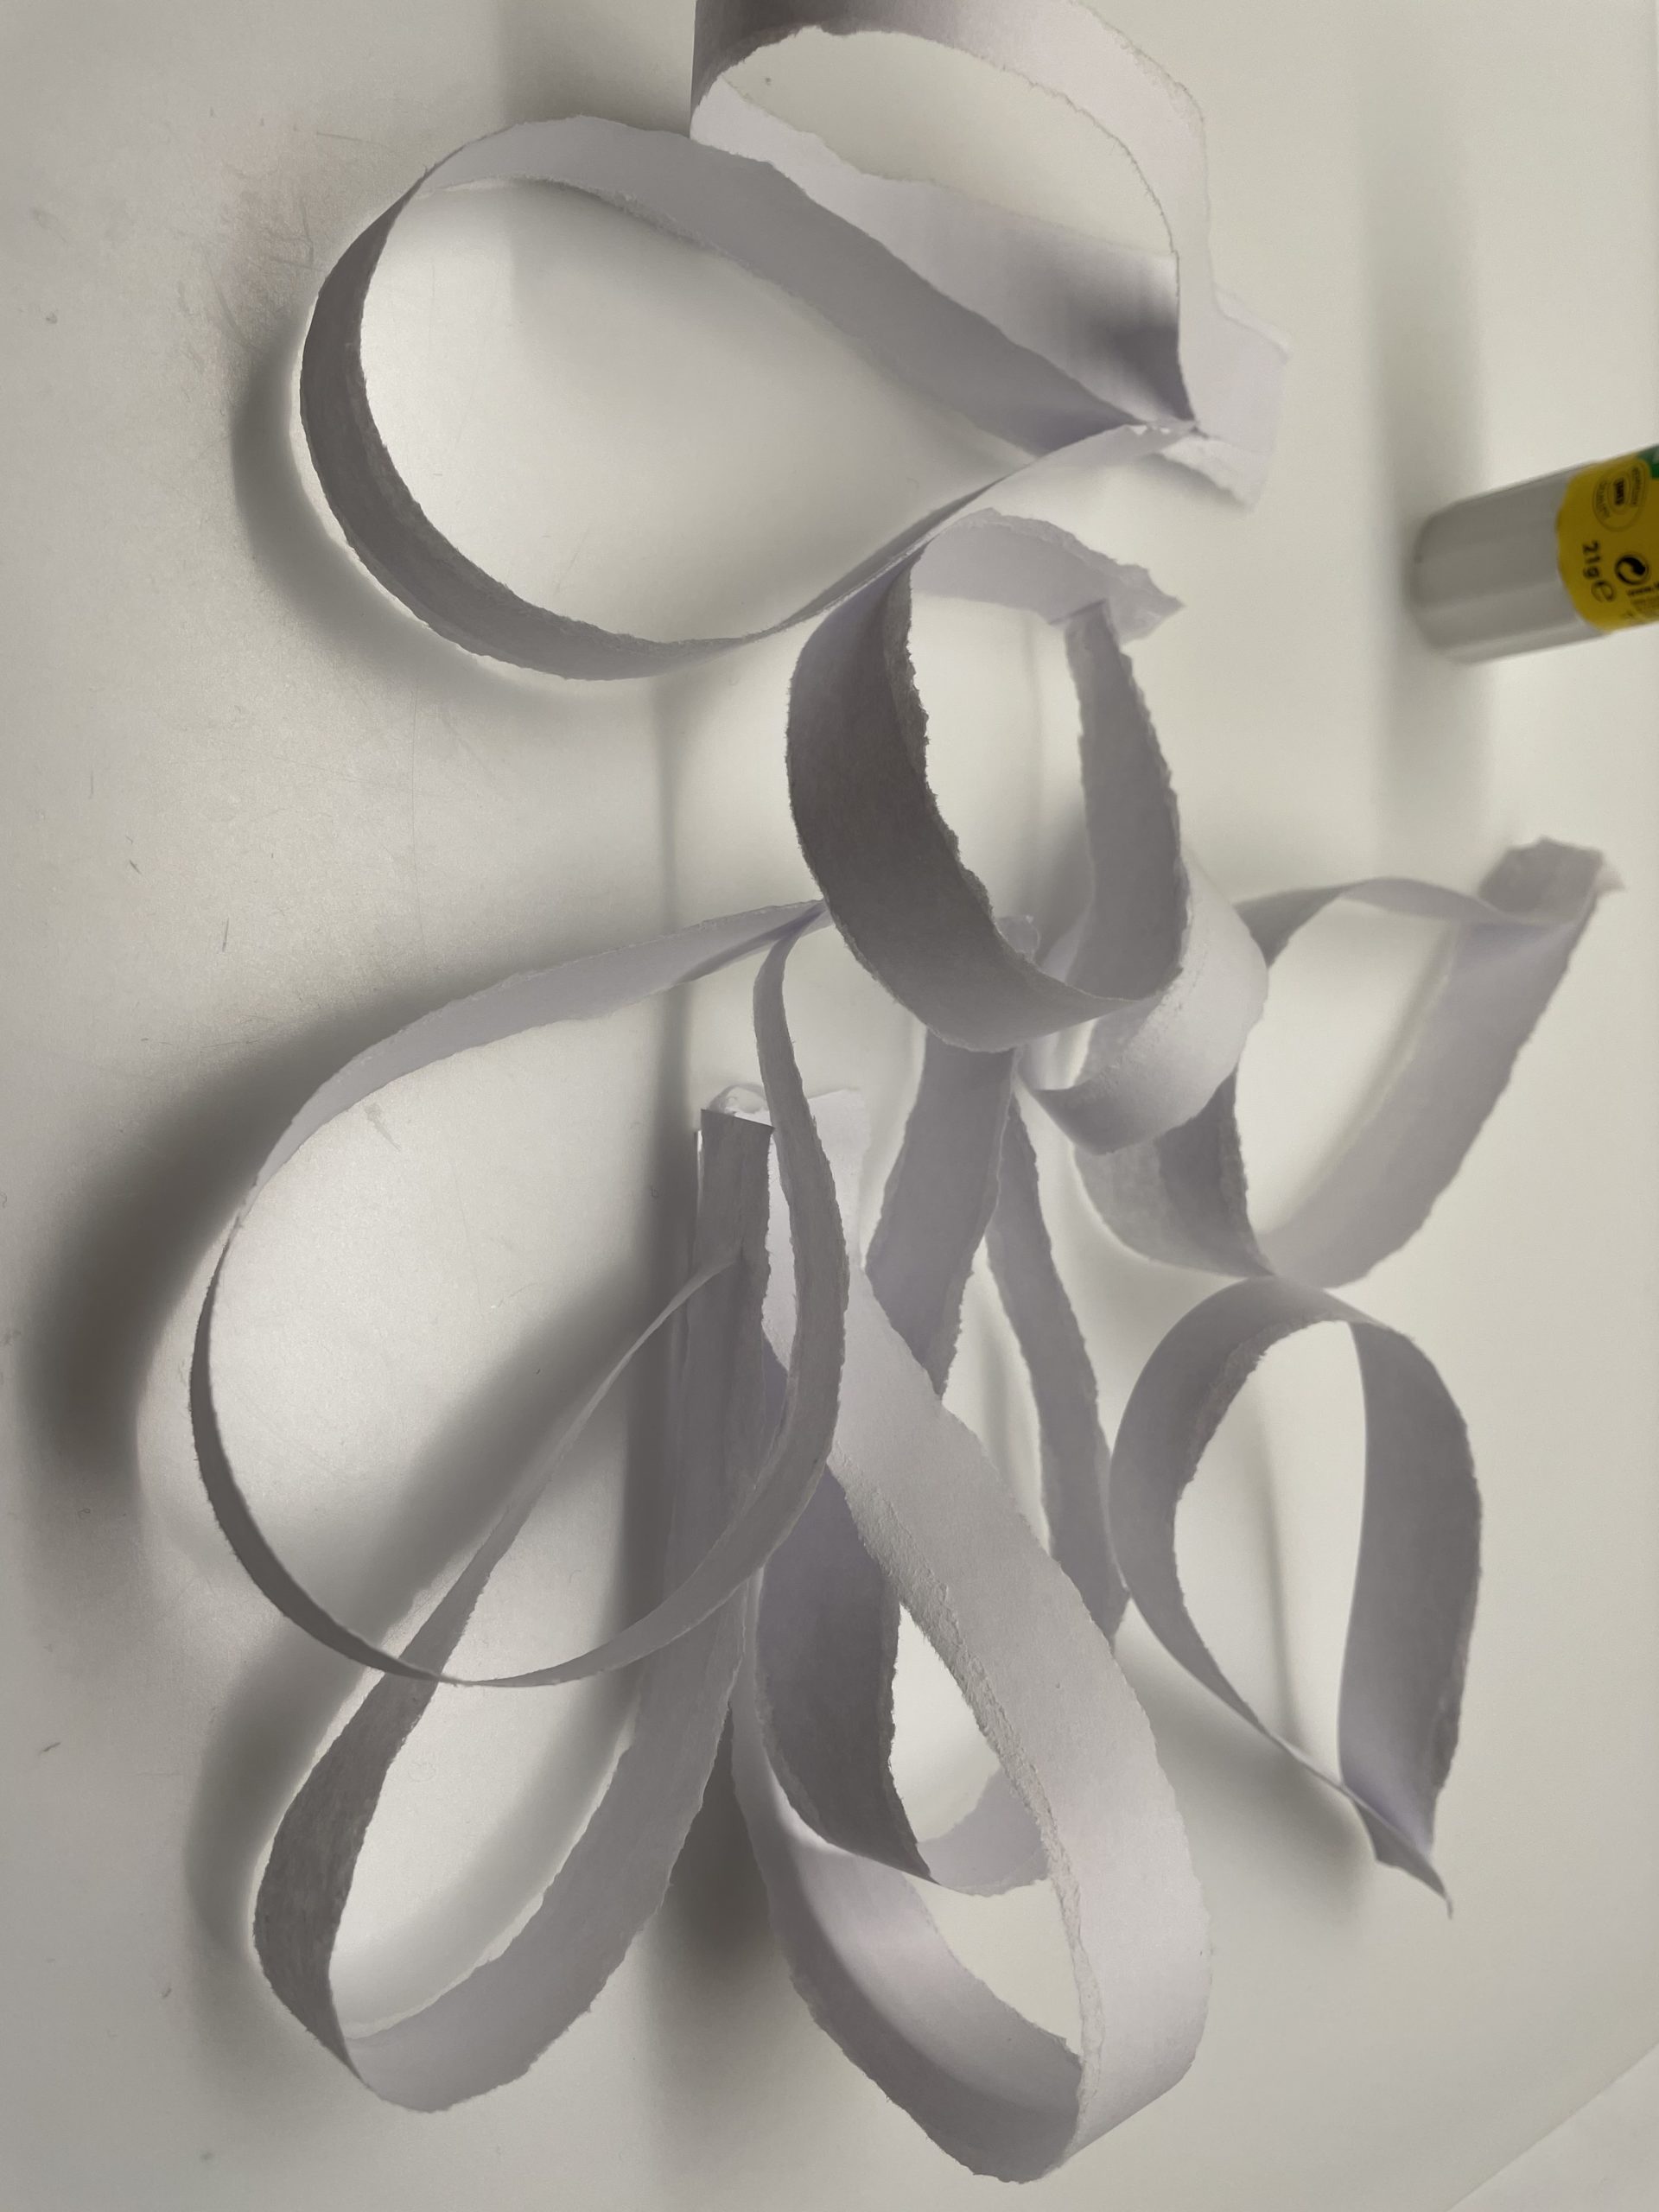
Now glue each strip together to form a loop. For this you put a glue point at one end of the strip and stick the other end on it.
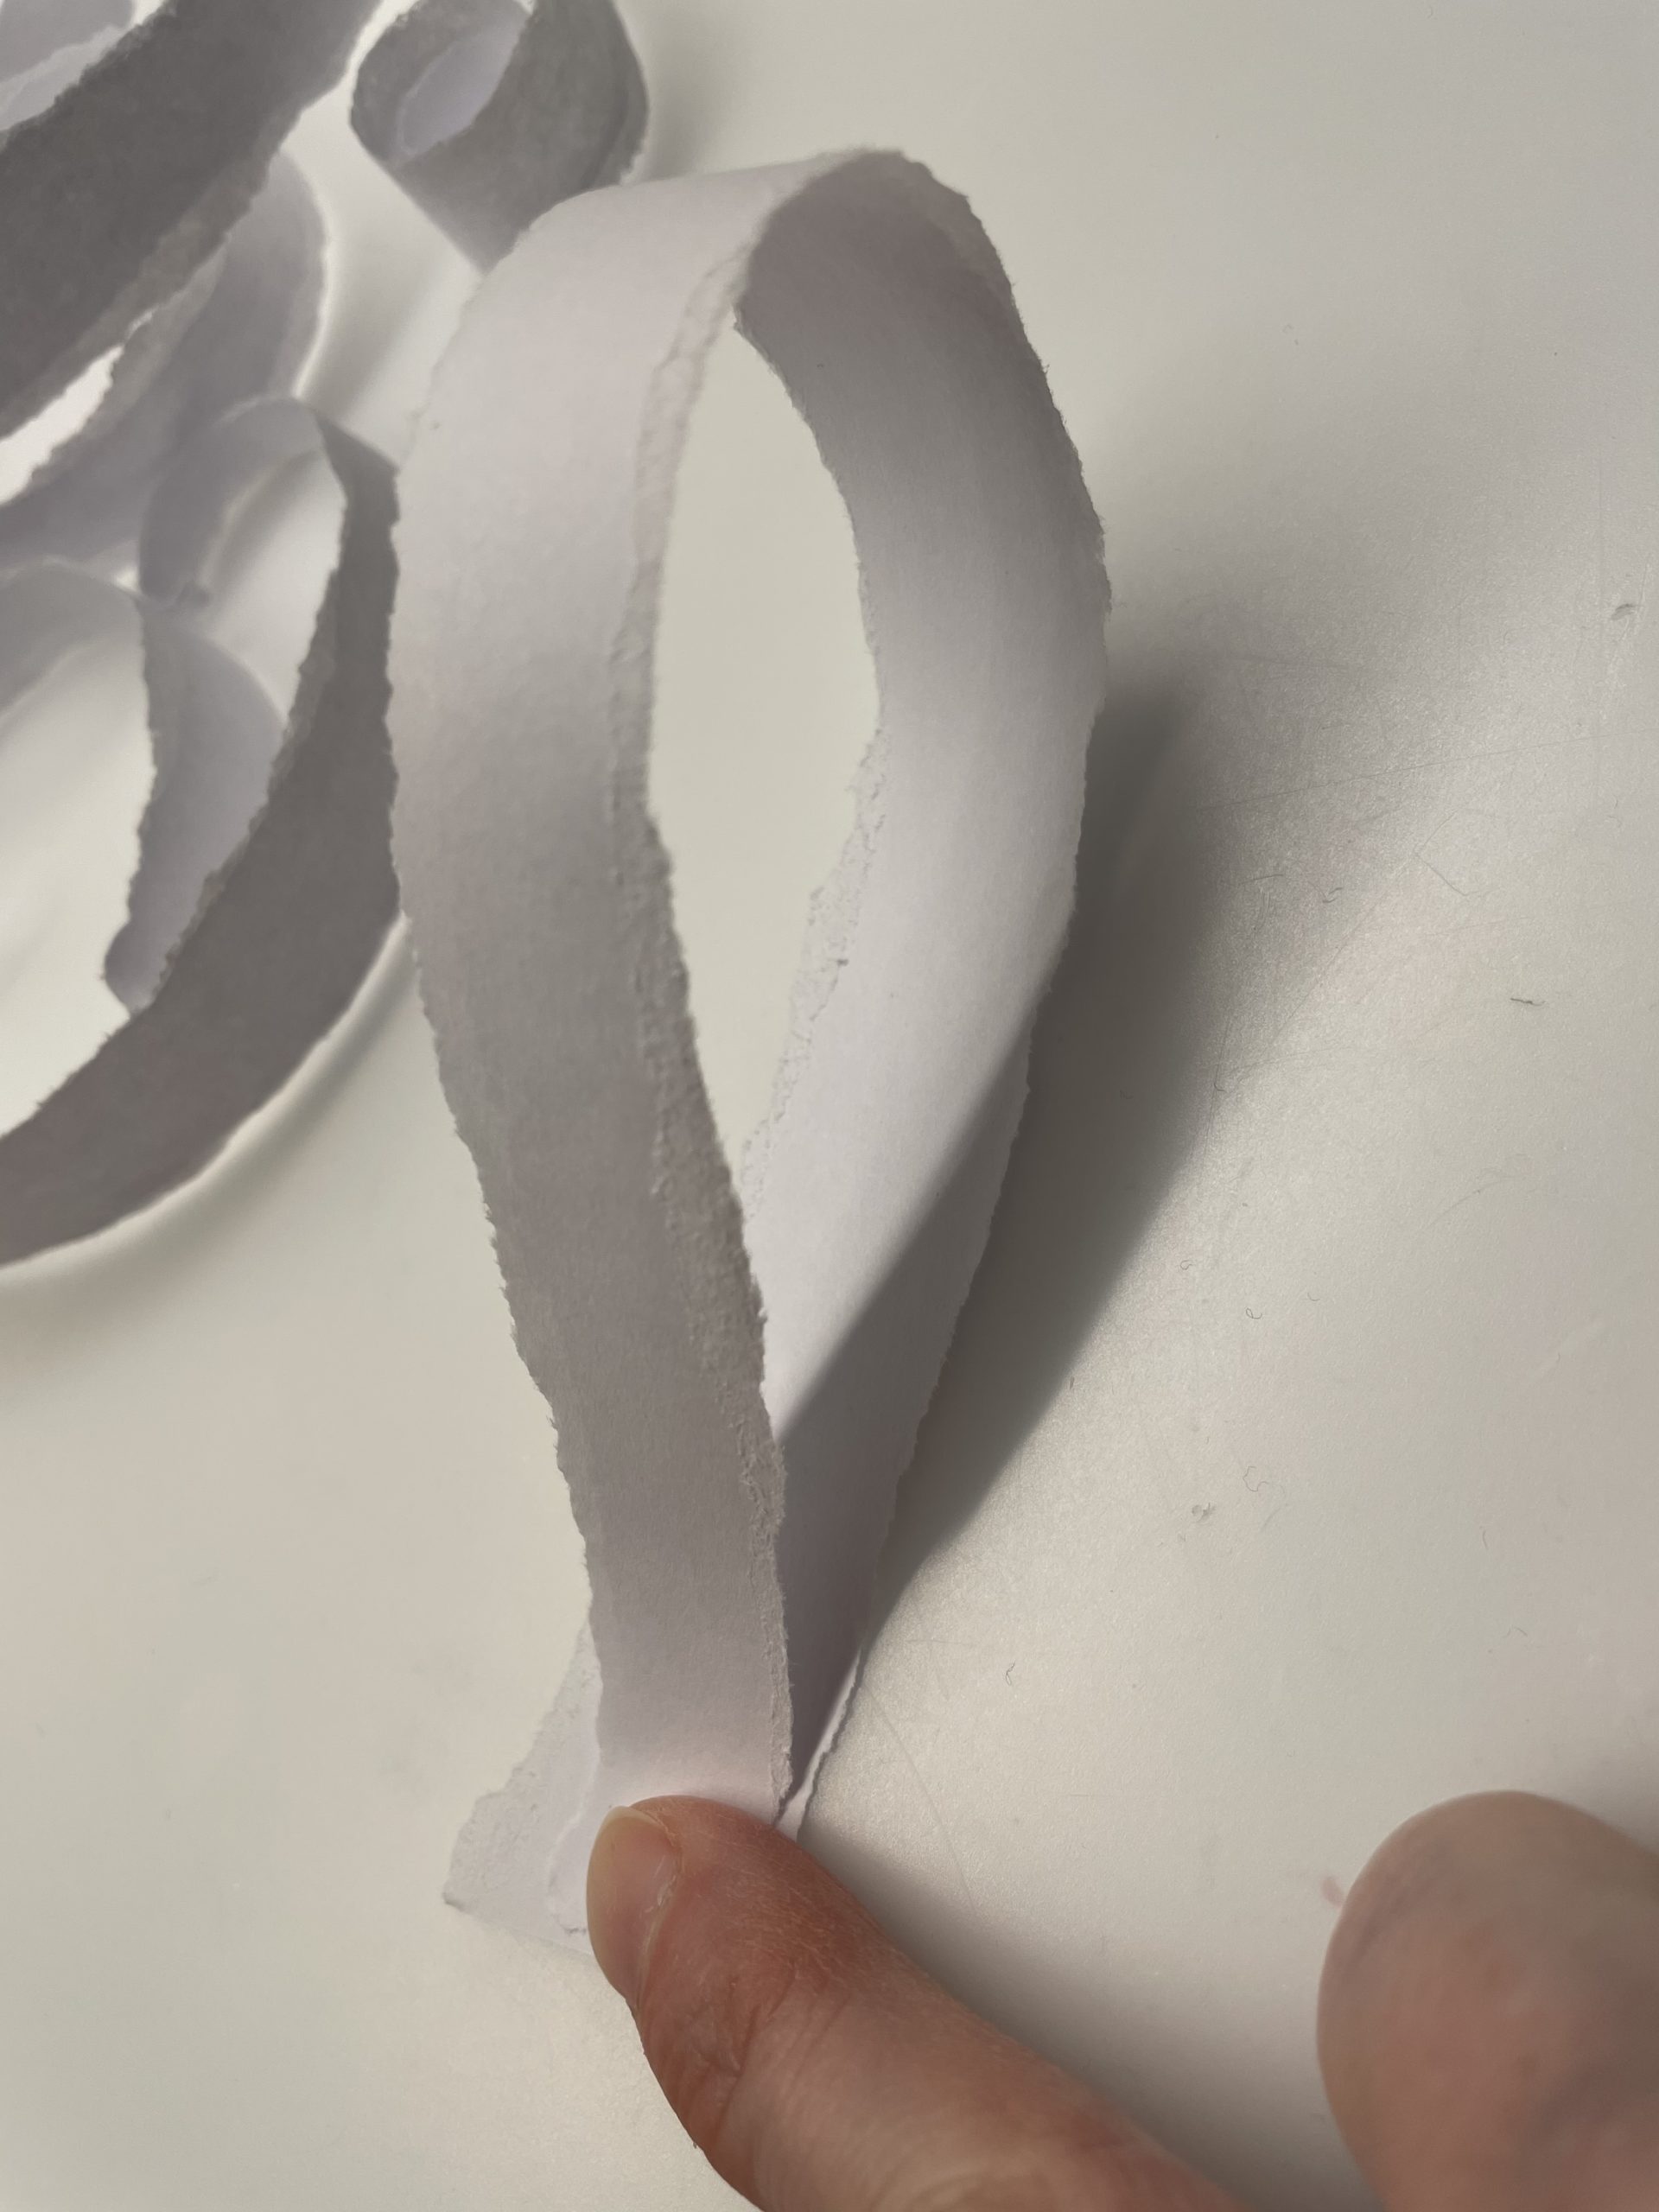
Now glues all the strips together to single loops.
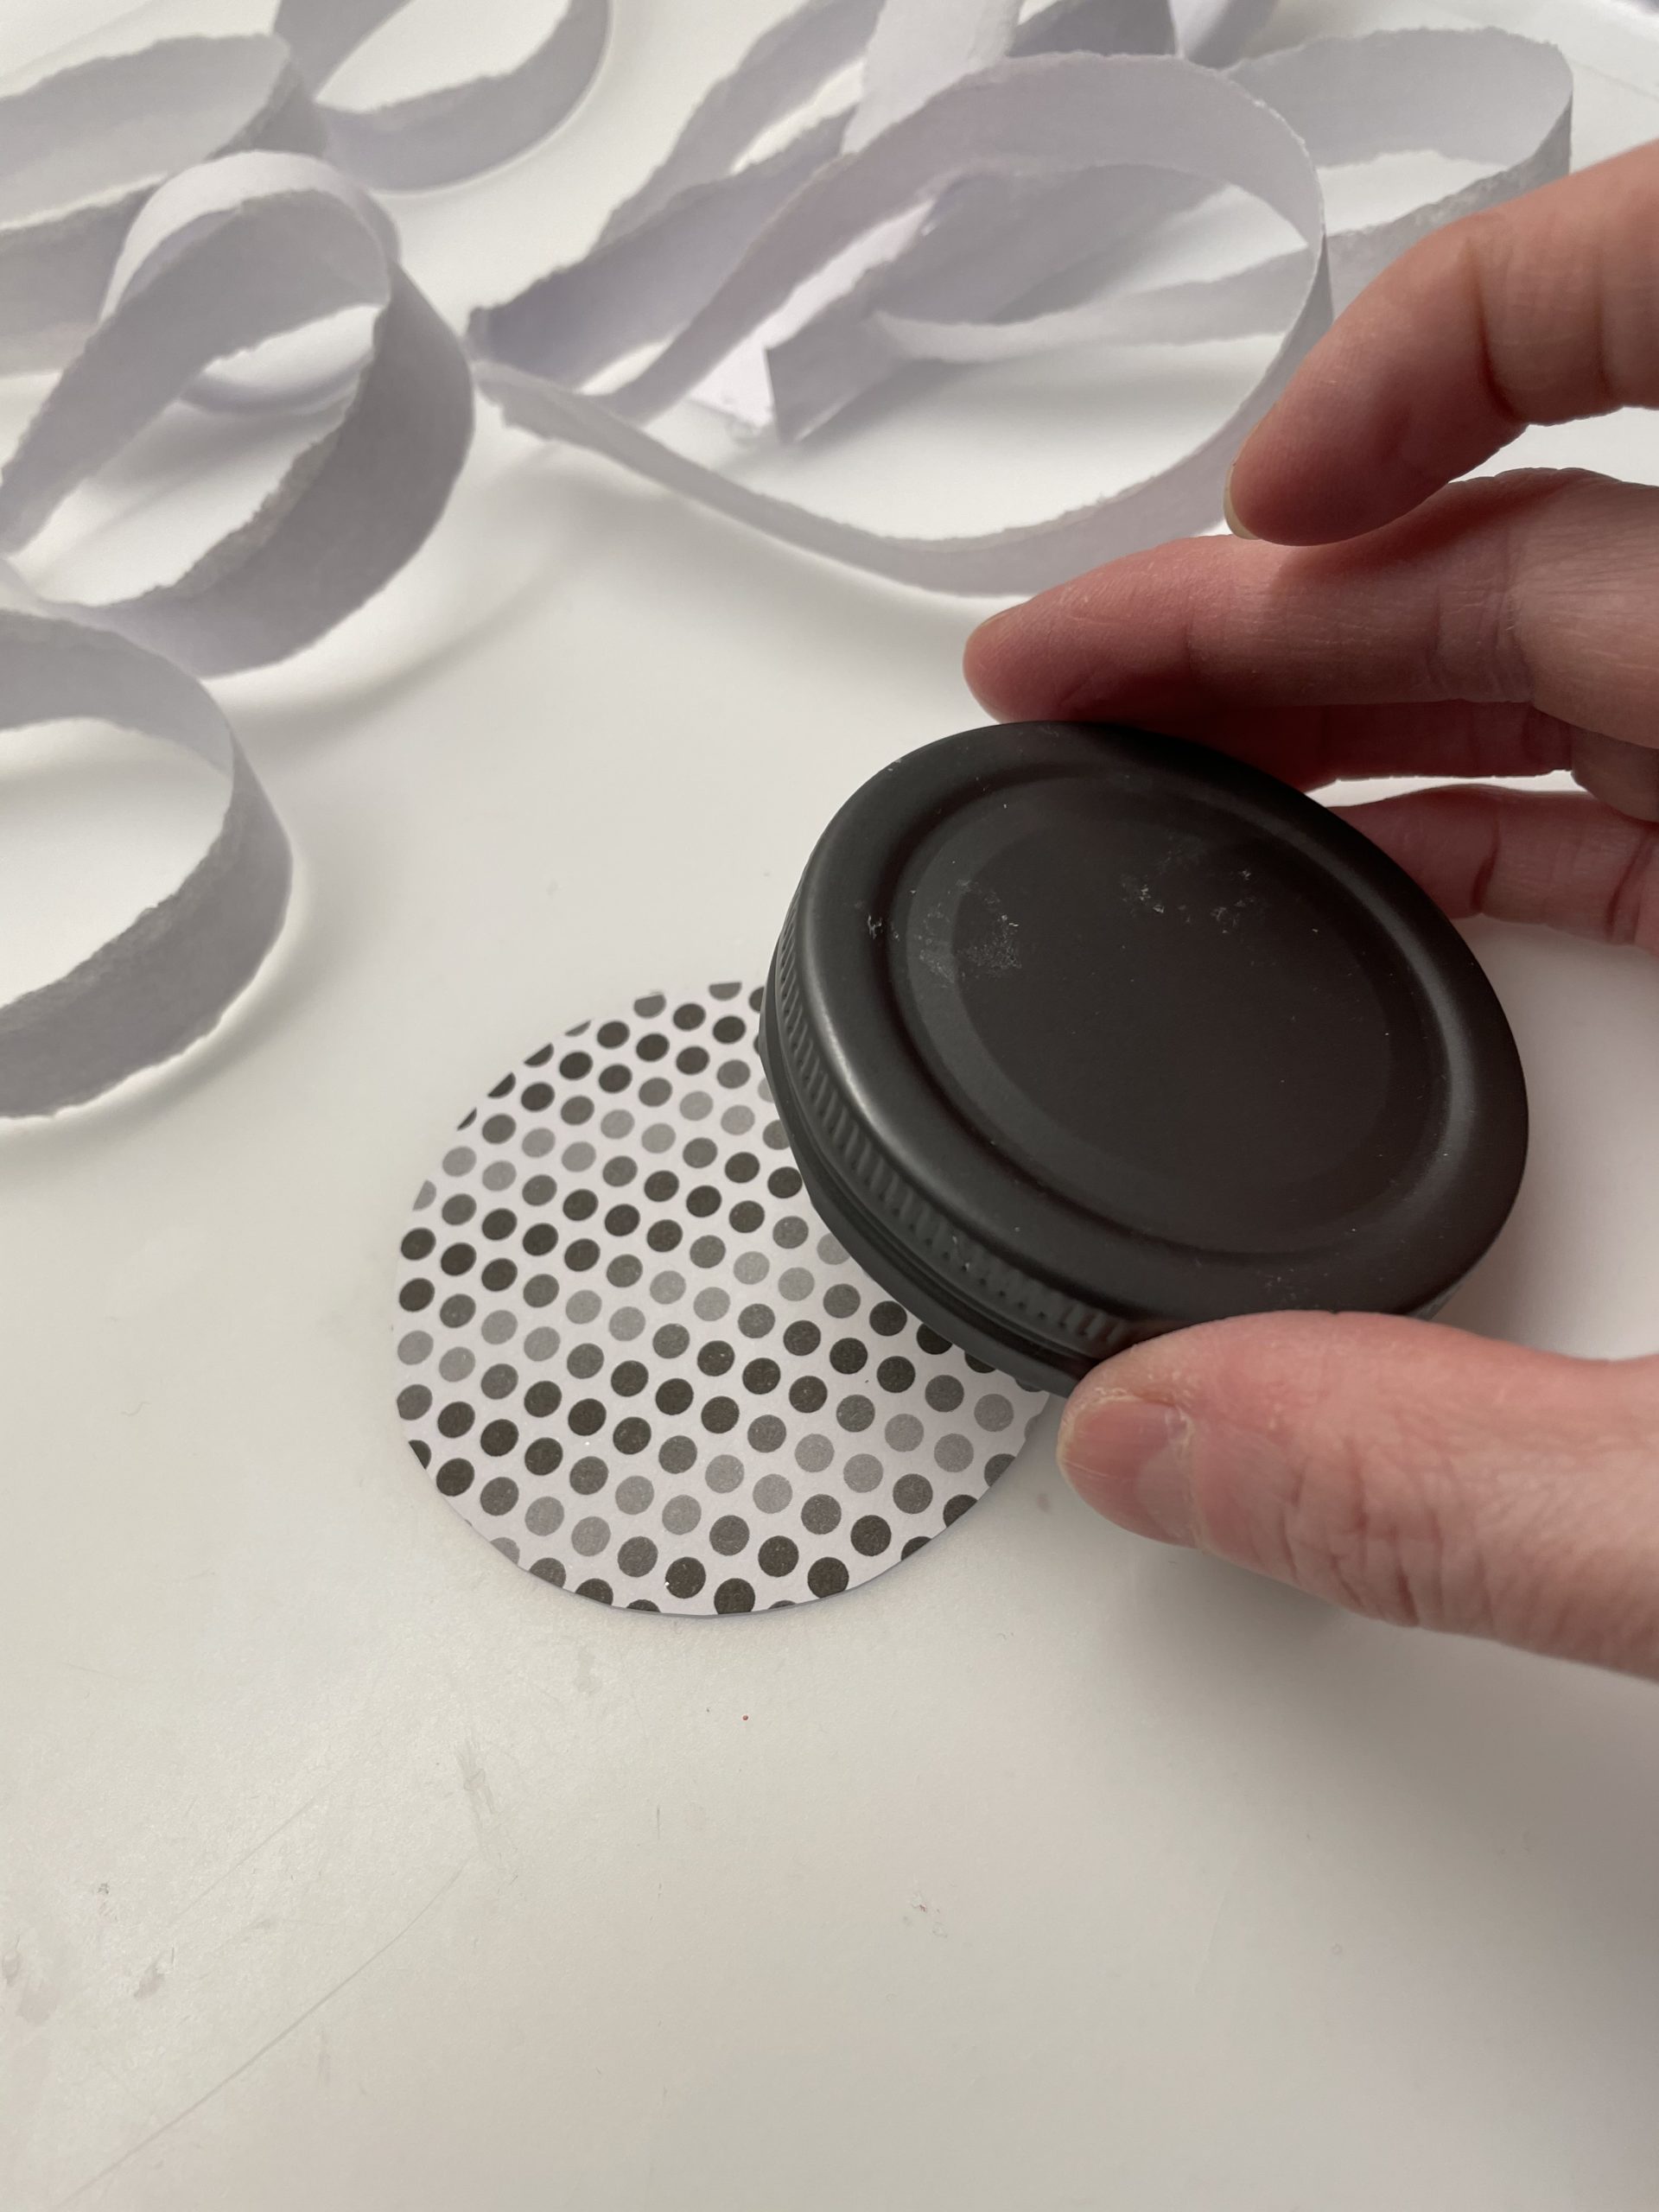
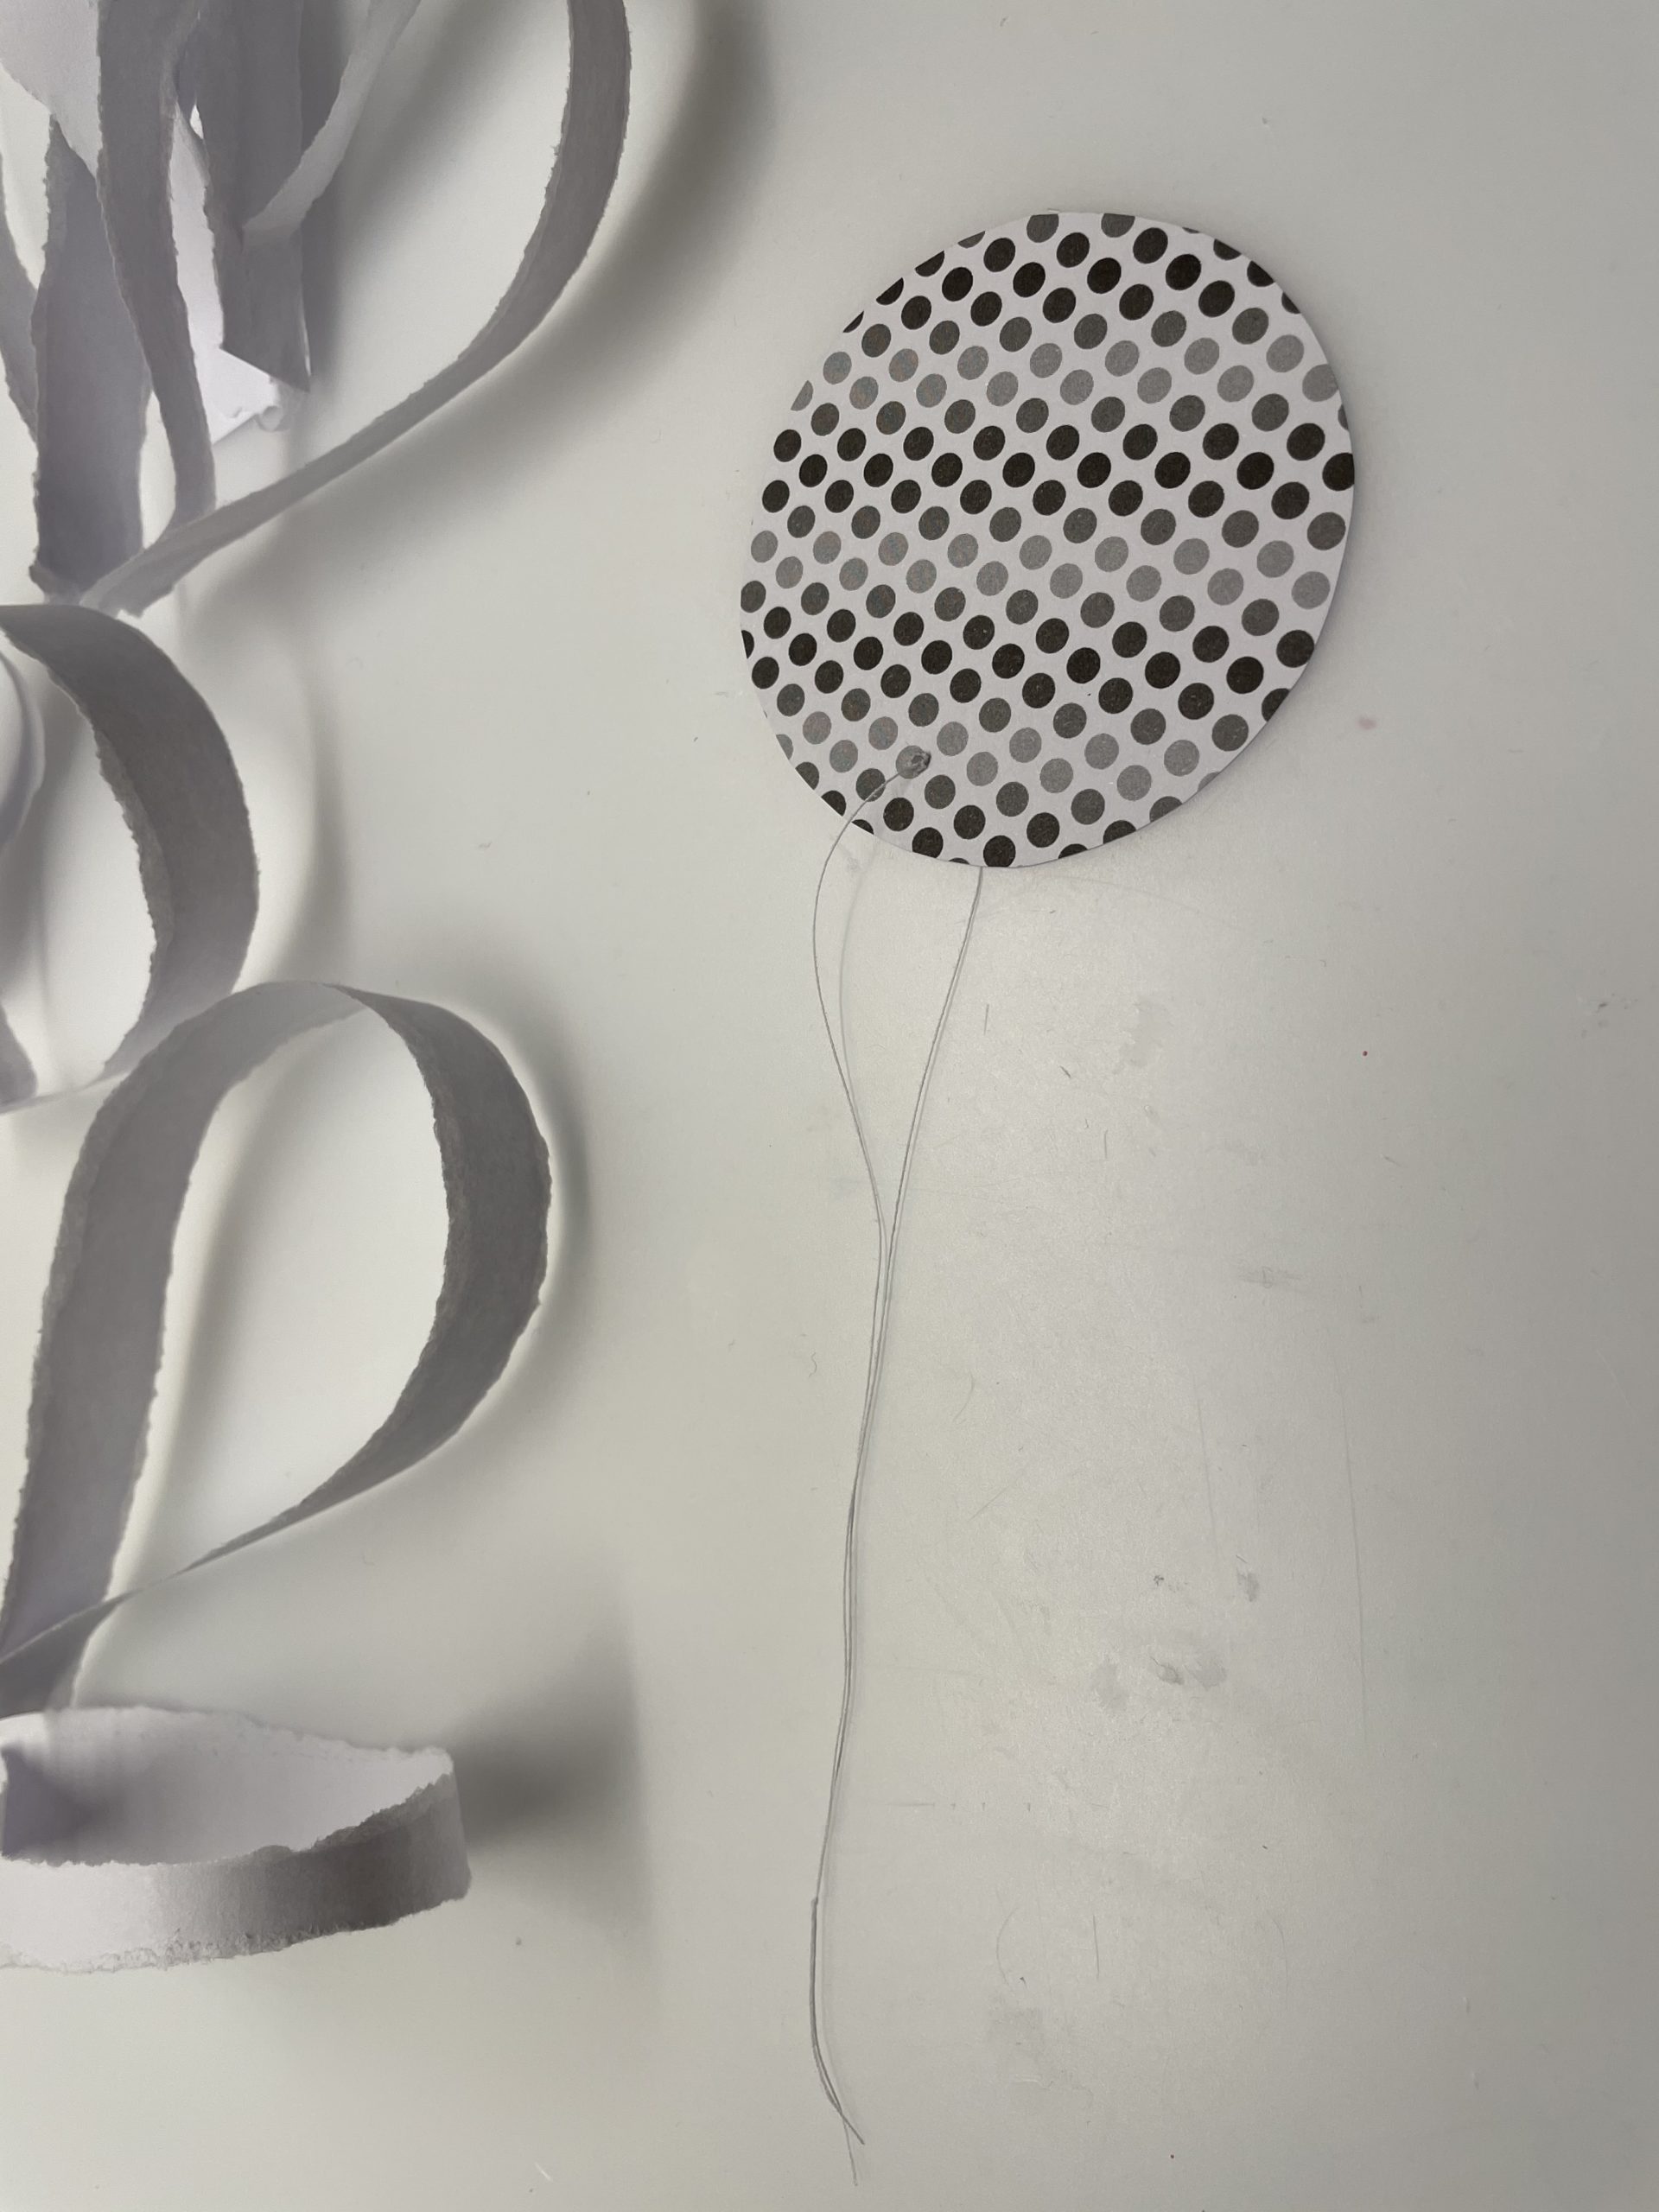
Now paint a circle on the motif paper and cut it out.
Tip: Use a screw glass lid as a template for the circle.
Then thread a thread through the needle and stash it through the edge of the circle. Then knot the thread. So you can hang the flower later.
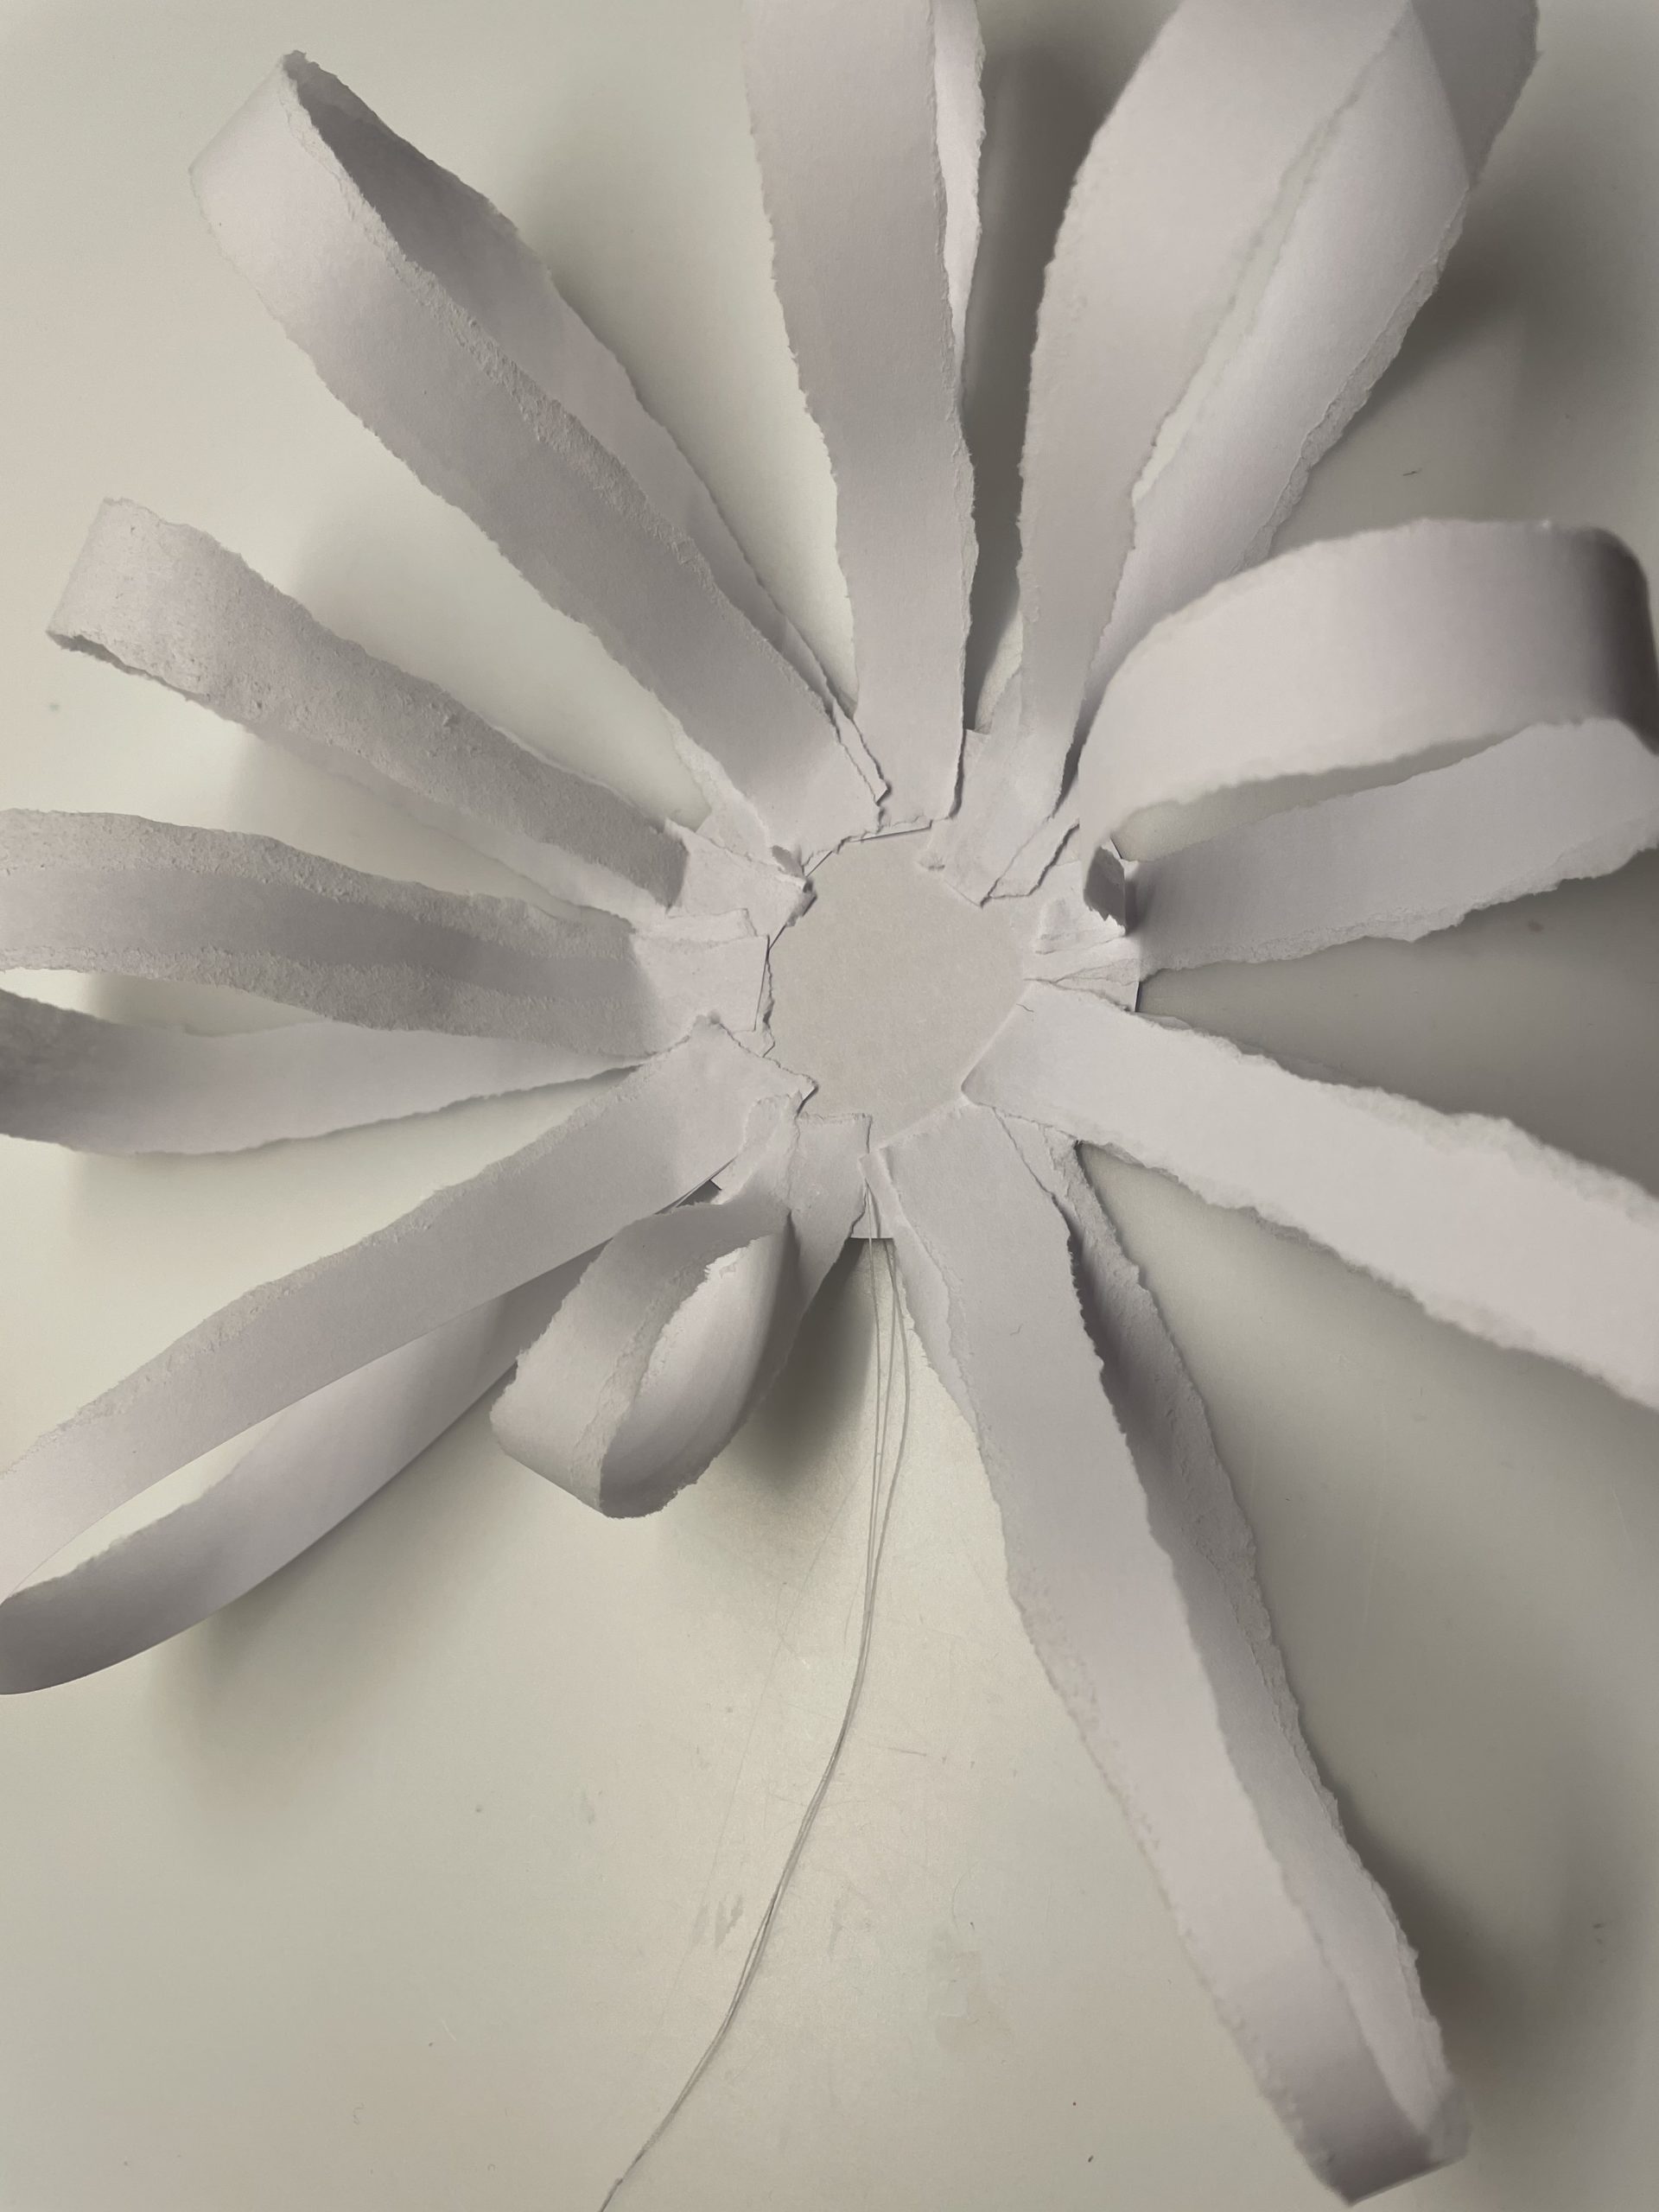
Now you brush the edge of the circle all around with glue. Then the individual loops stick around the circle. The curved open side shows outwards.
Start sticking on right next to the thread.
The individual loops do not necessarily all have to be the same length or size.
Sticks all loops on.
Then glues a second circle of motif paper onto the back.
Tip: Instead of motif paper, a book page is also suitable.

Your flower is ready.
Have fun with it!
Materials
Directions
First put out your craft file and find your materials together.
Then tears copy paper into thin strips (approx.1cm wide)
Tip: Paper can only be ripped well in one direction! Try out which direction can be ripped better!
Pull off strip as long as possible.
All in all, you need 10-12 stripes.
Now glue each strip together to form a loop. For this you put a glue point at one end of the strip and stick the other end on it.
Now glues all the strips together to single loops.
Now paint a circle on the motif paper and cut it out.
Tip: Use a screw glass lid as a template for the circle.
Then thread a thread through the needle and stash it through the edge of the circle. Then knot the thread. So you can hang the flower later.
Now you brush the edge of the circle all around with glue. Then the individual loops stick around the circle. The curved open side shows outwards.
Start sticking on right next to the thread.
The individual loops do not necessarily all have to be the same length or size.
Sticks all loops on.
Then glues a second circle of motif paper onto the back.
Tip: Instead of motif paper, a book page is also suitable.
Your flower is ready.
Have fun with it!
Follow us on Facebook , Instagram and Pinterest
Don't miss any more adventures: Our bottle mail