Print Options:

Apple – crafting butts (2 ideas)

Material for1 ChildPrep Time5 min.Adv. Time30 min.Total Time35 min.

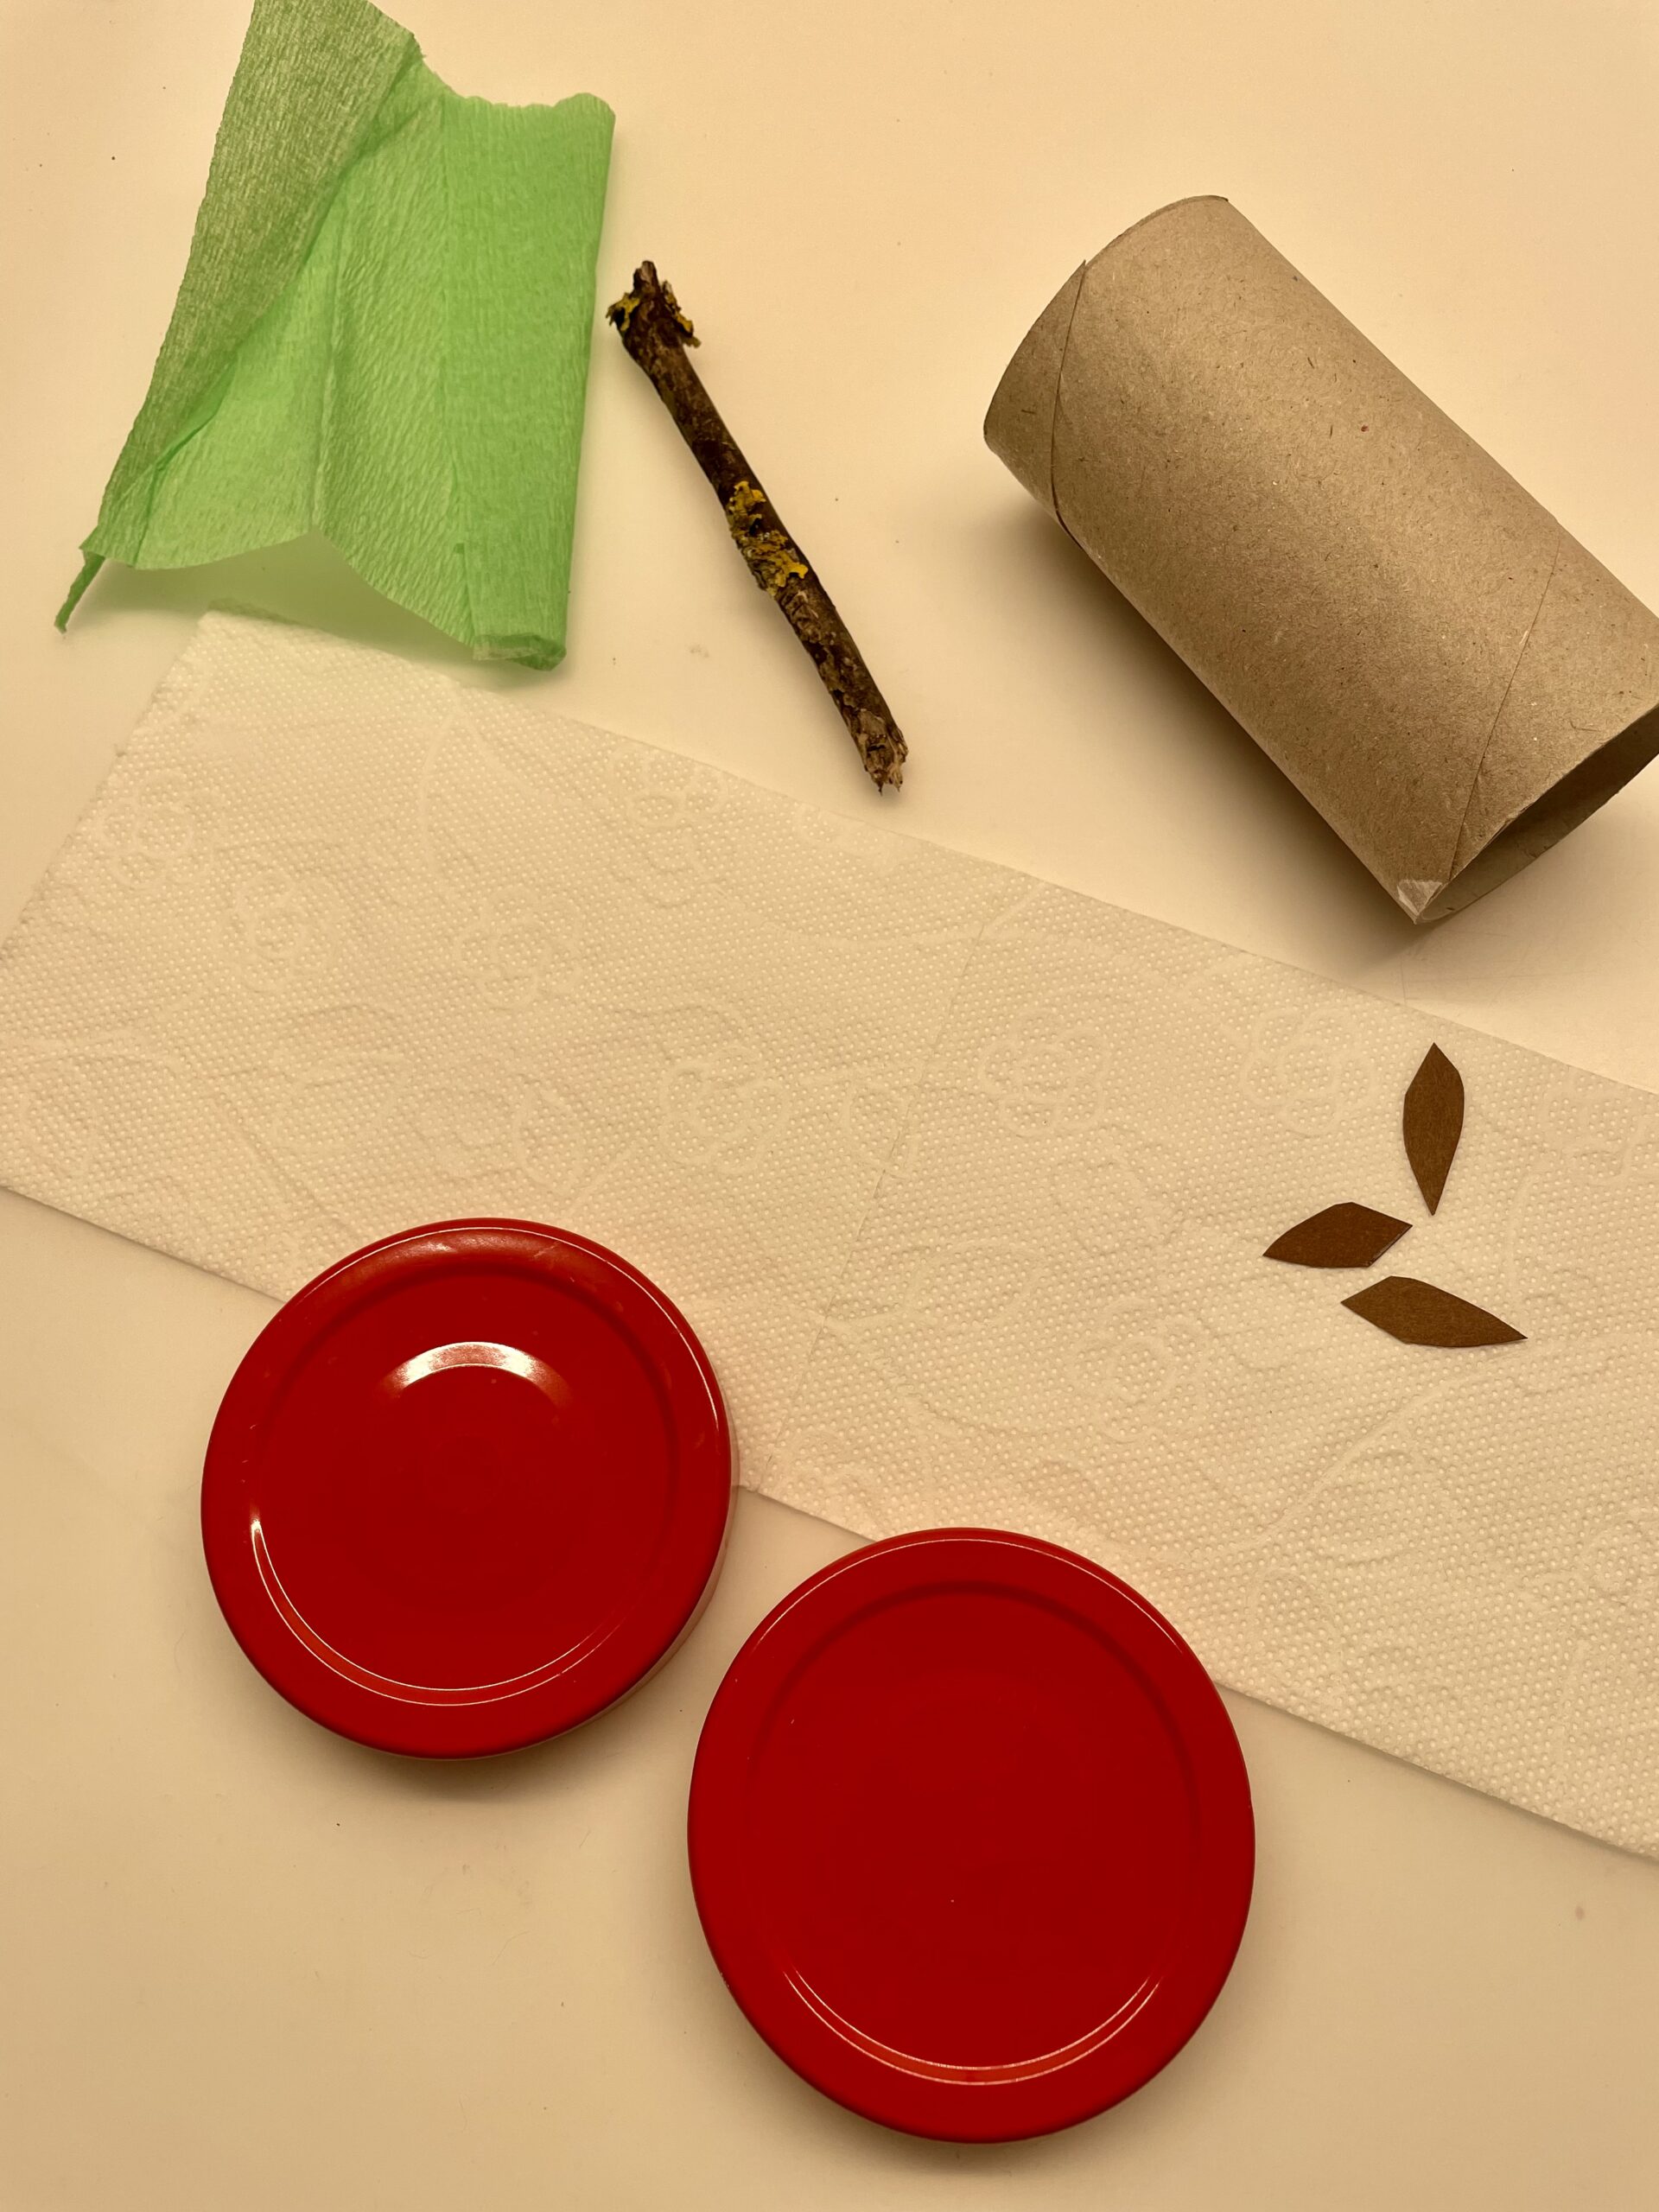
This apple has already been nibbled off. The rest is an apple butt. Here we have a fast craft action with recyclable materials. You need an empty toilet roll and 2 leaves white toilet paper, 2 screw glass lids and a small branch. For the first variant you need additionally brown and green clay paper and for the second variant 4-6 large brown cores and a leaf of an apple tree. Here you will find both variants with step by step instruction! Enjoy!

Titelbild zur Bastel- und DIY-Idee für Kinder '(857) Apfel – Butzen basteln (2 Ideen)'

 1 Rolled paper
 2 Leaves Toilet paper or kitchen crepe
 2 Screw-glass lid red
 4 Kernels brownor cores of clay paper
 1 6cm long branch
 1 Leaf of the apple treeor green crepe paper
 1 Scissors
 1 Possibly garden shears
 1 Adhesive pen
 Possibly hot glue gun
All links marked with a shopping cart lead to Amazon - here we have selected products that we would order ourselves and in part also ordered. In a qualified purchase via the advertising link, we as Amazon partner receive a commission, for you there are no costs. You thus support our cost- and advertising banner-free, educational offer.
Variant 1 with paper:
1

Get all the materials ready first.
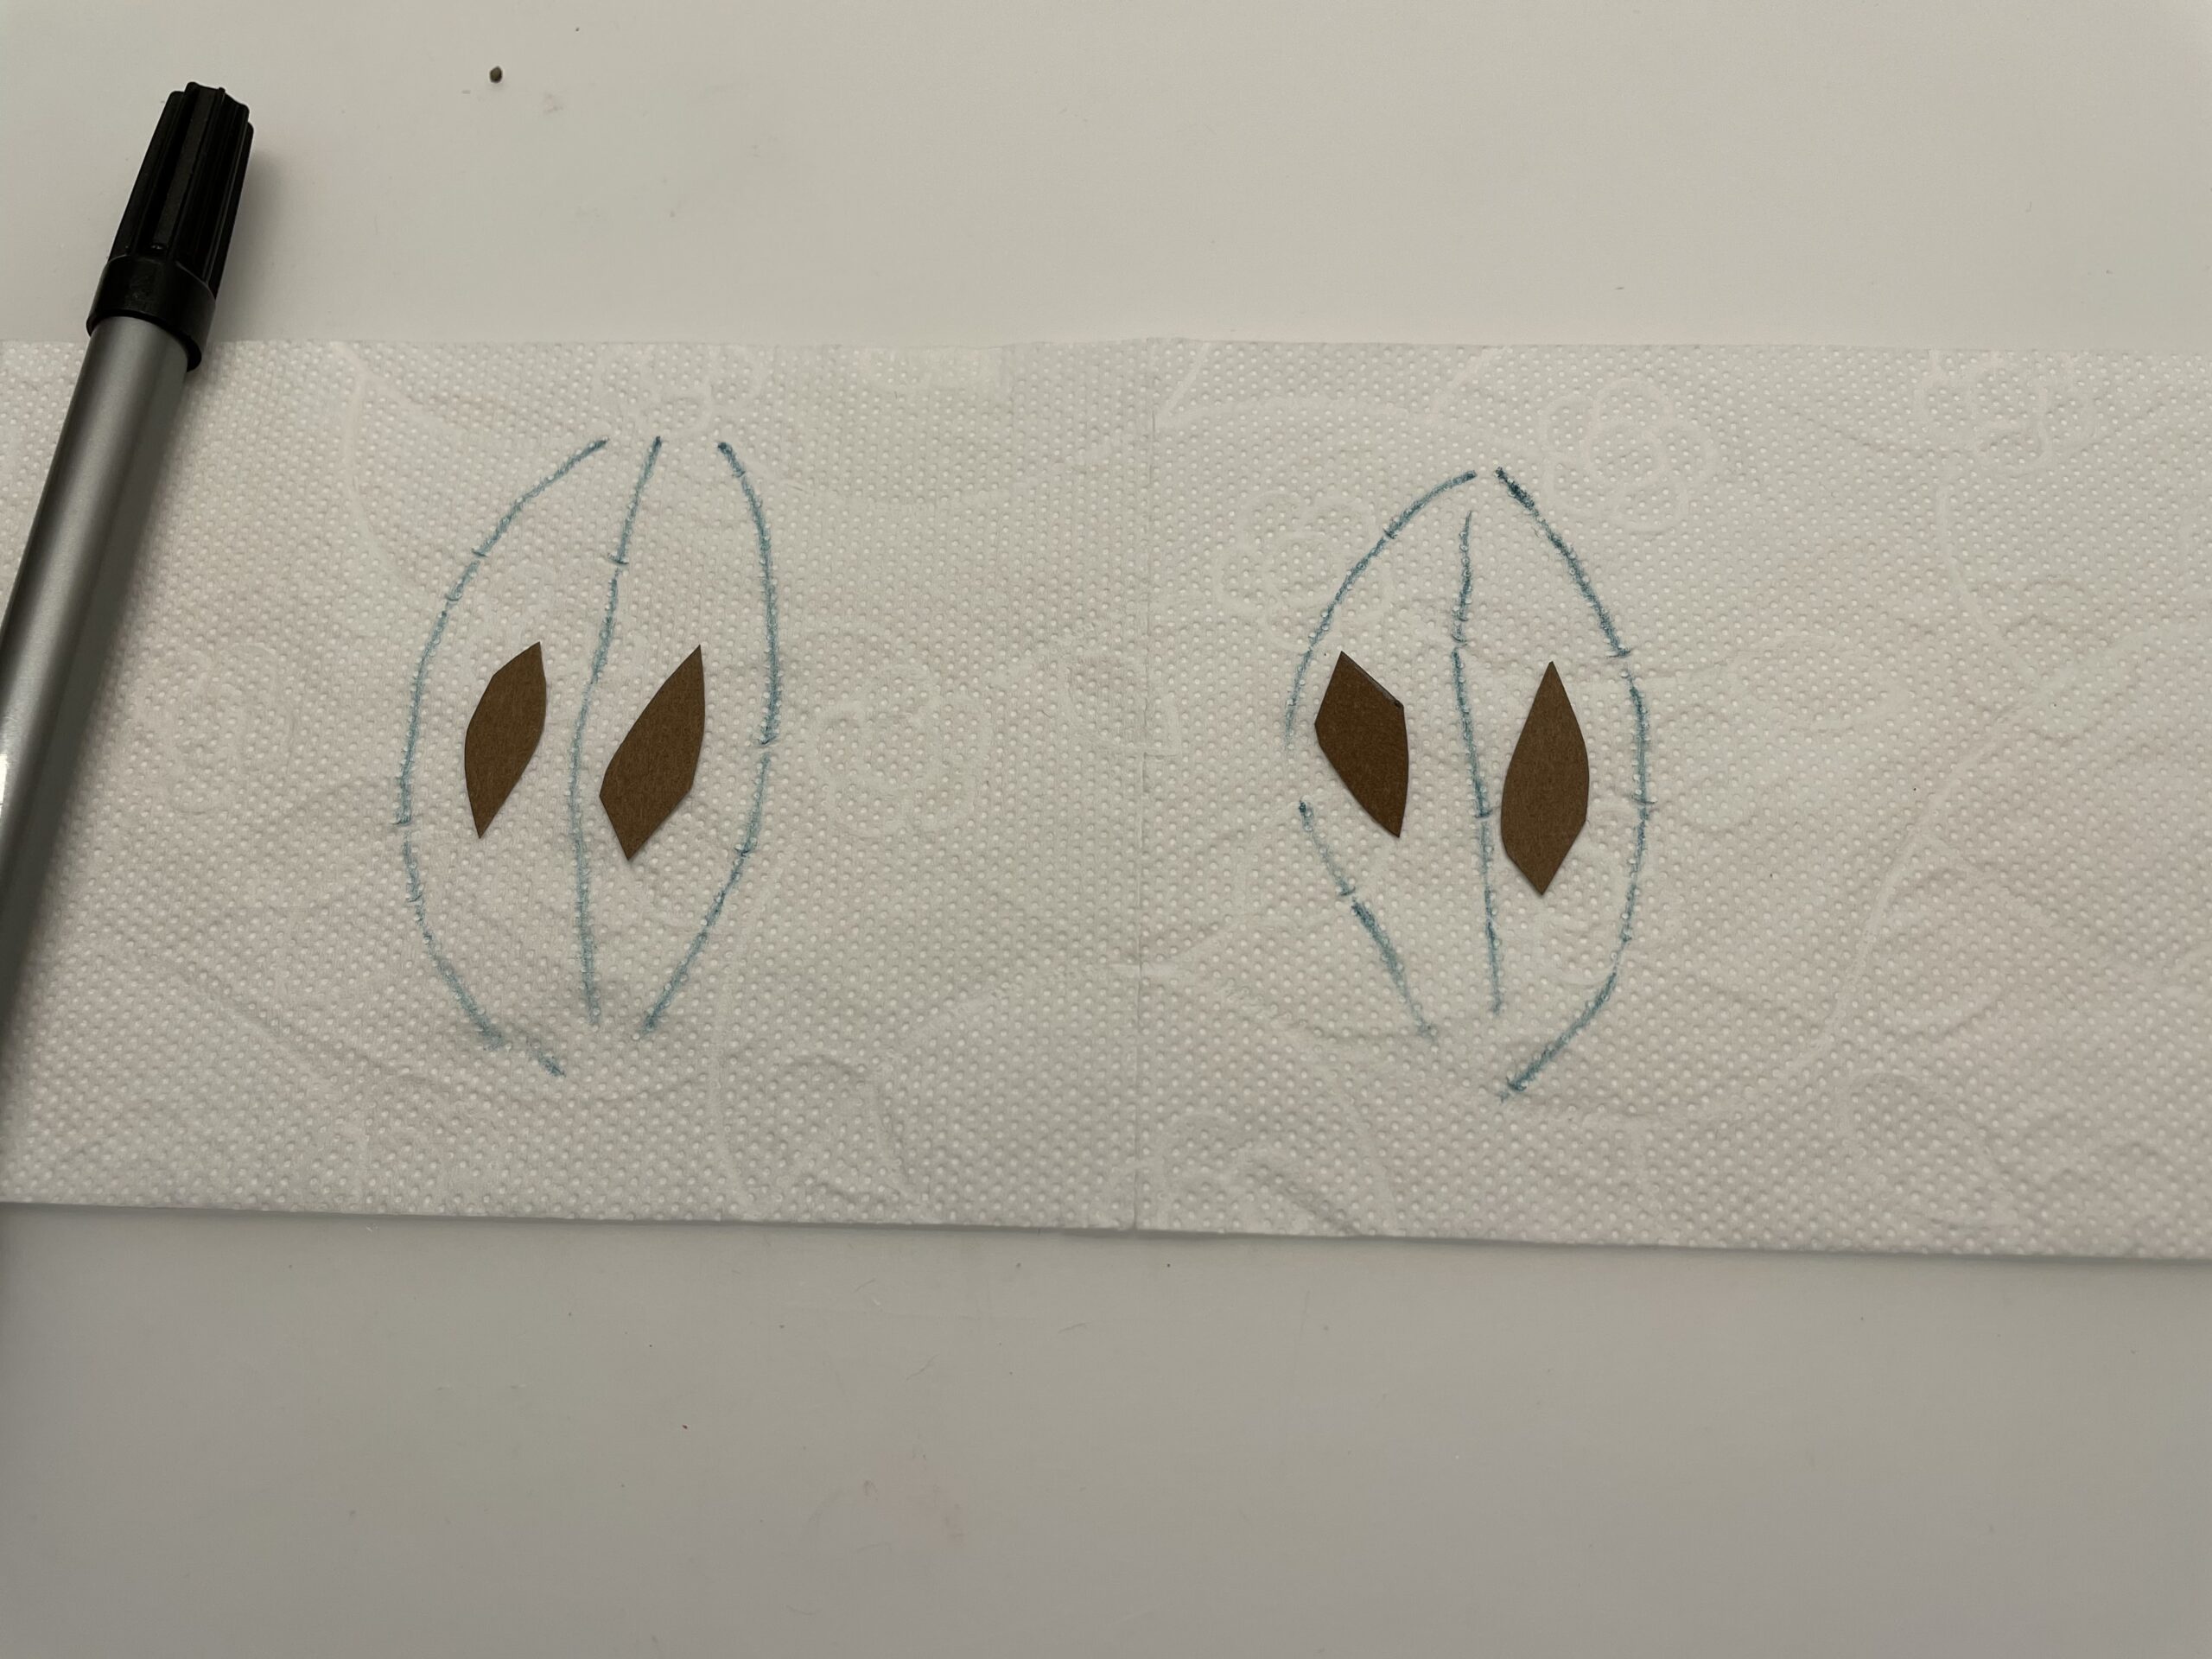
Then cut out seeds of clay paper.

Bild zum Schritt 2 für das Bastel- und DIY-Abenteuer für Kinder: 'Legt euch zuerst alle Materialien bereit.   Dann schneidet...'

2

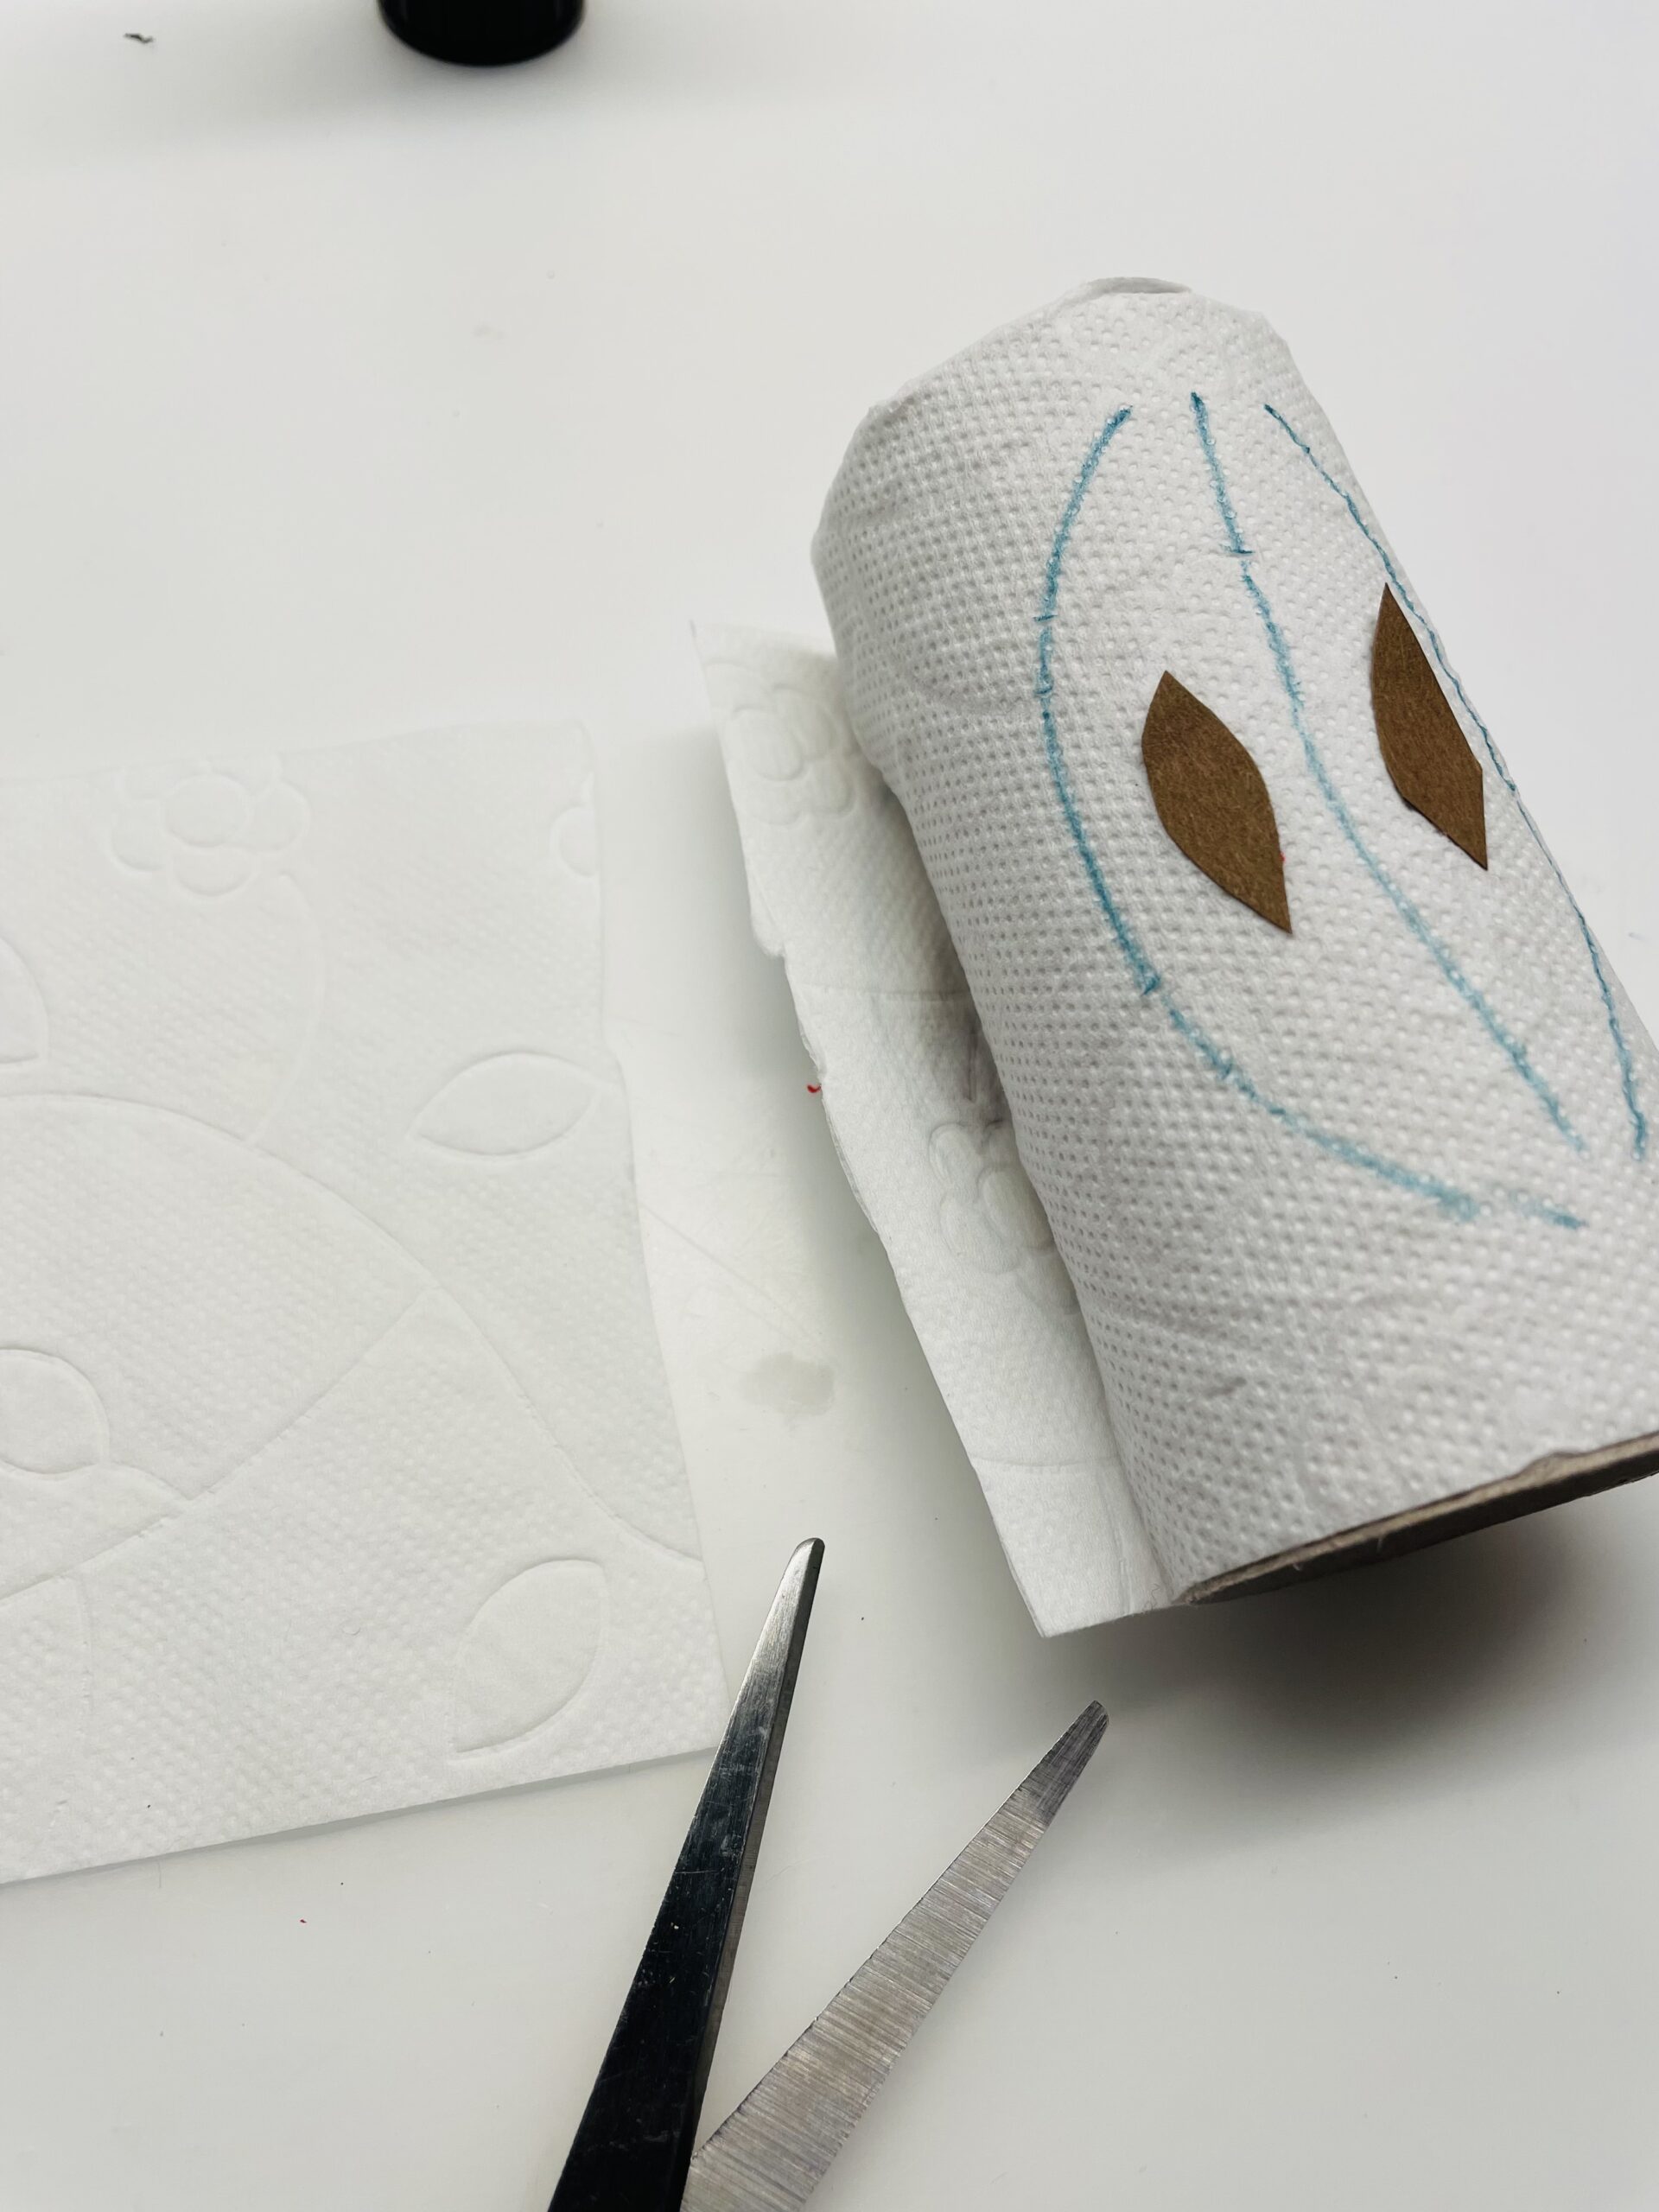
Then glue the seeds to the back of the toilet paper. Glues two seeds with a small distance next to each other.

Bild zum Schritt 3 für das Bastel- und DIY-Abenteuer für Kinder: 'Anschließend klebt ihr die Kerne auf die Rückseite des Toilettenpapieres....'

3

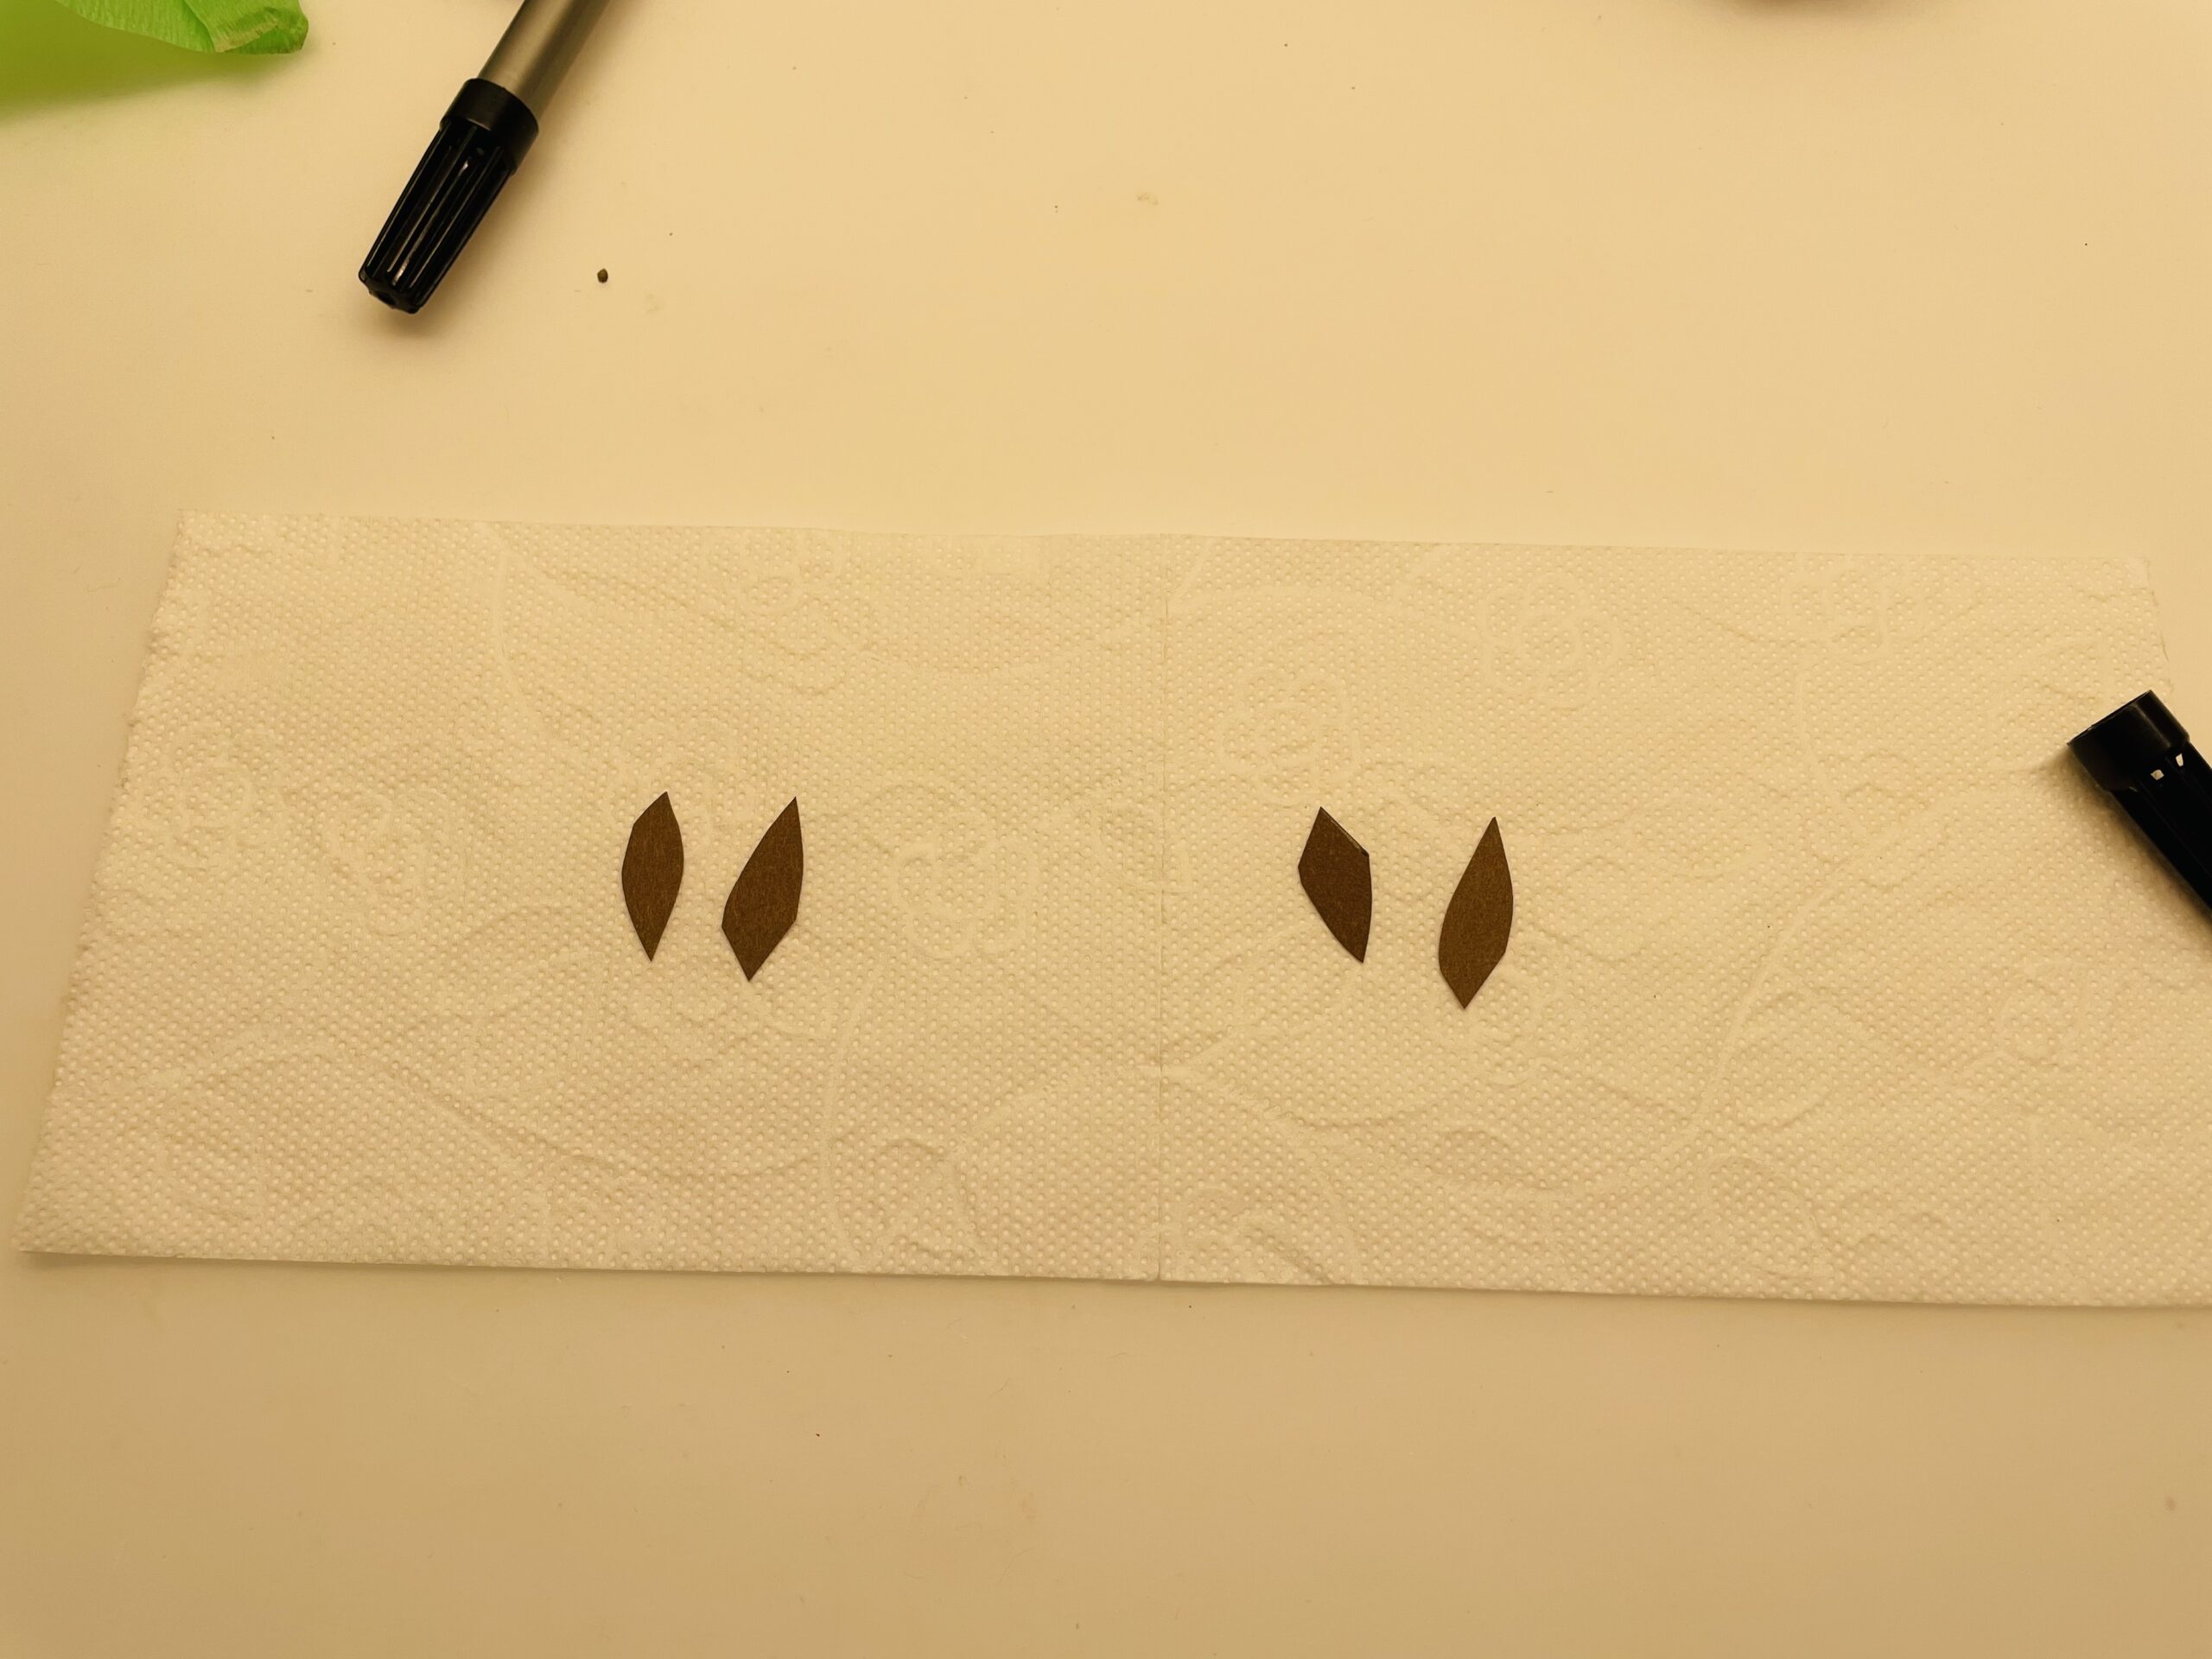
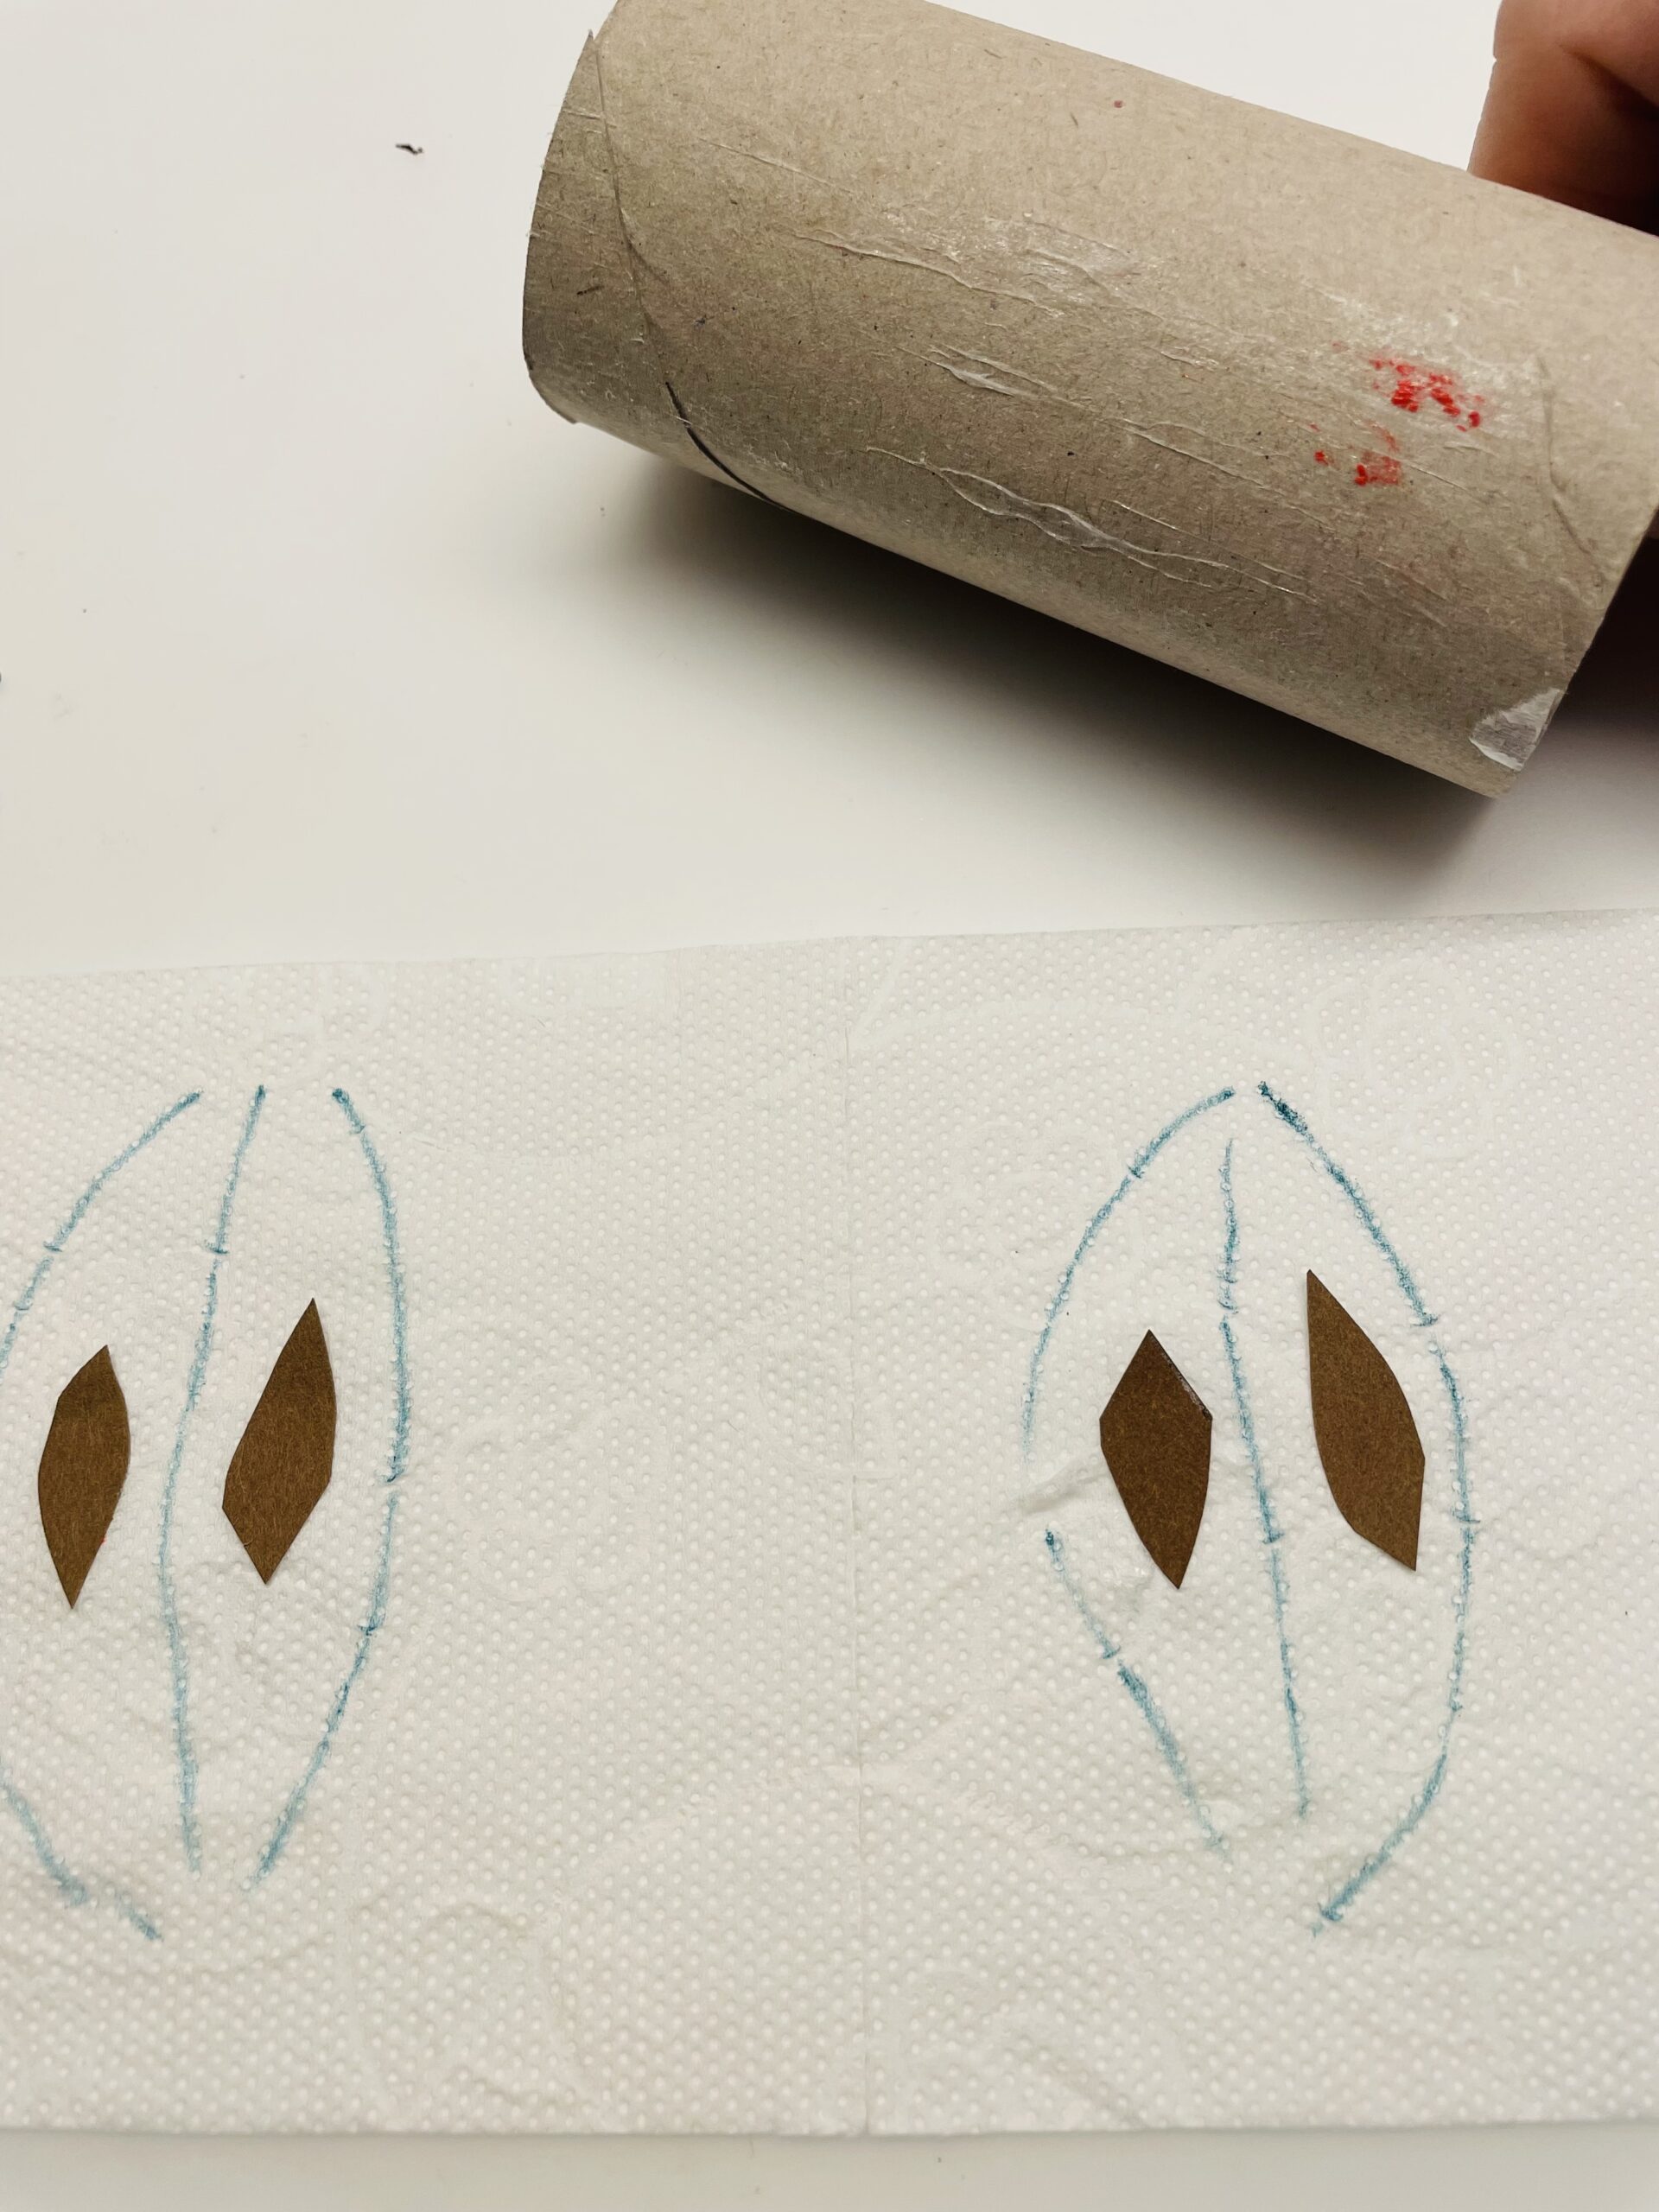
Then you paint a core case around each pair. The shape of the case resembles a leaf, with a line in the middle.

Bild zum Schritt 4 für das Bastel- und DIY-Abenteuer für Kinder: 'Danach malt ihr um jedes Paar ein Kerngehäuse. Die Form...'

4

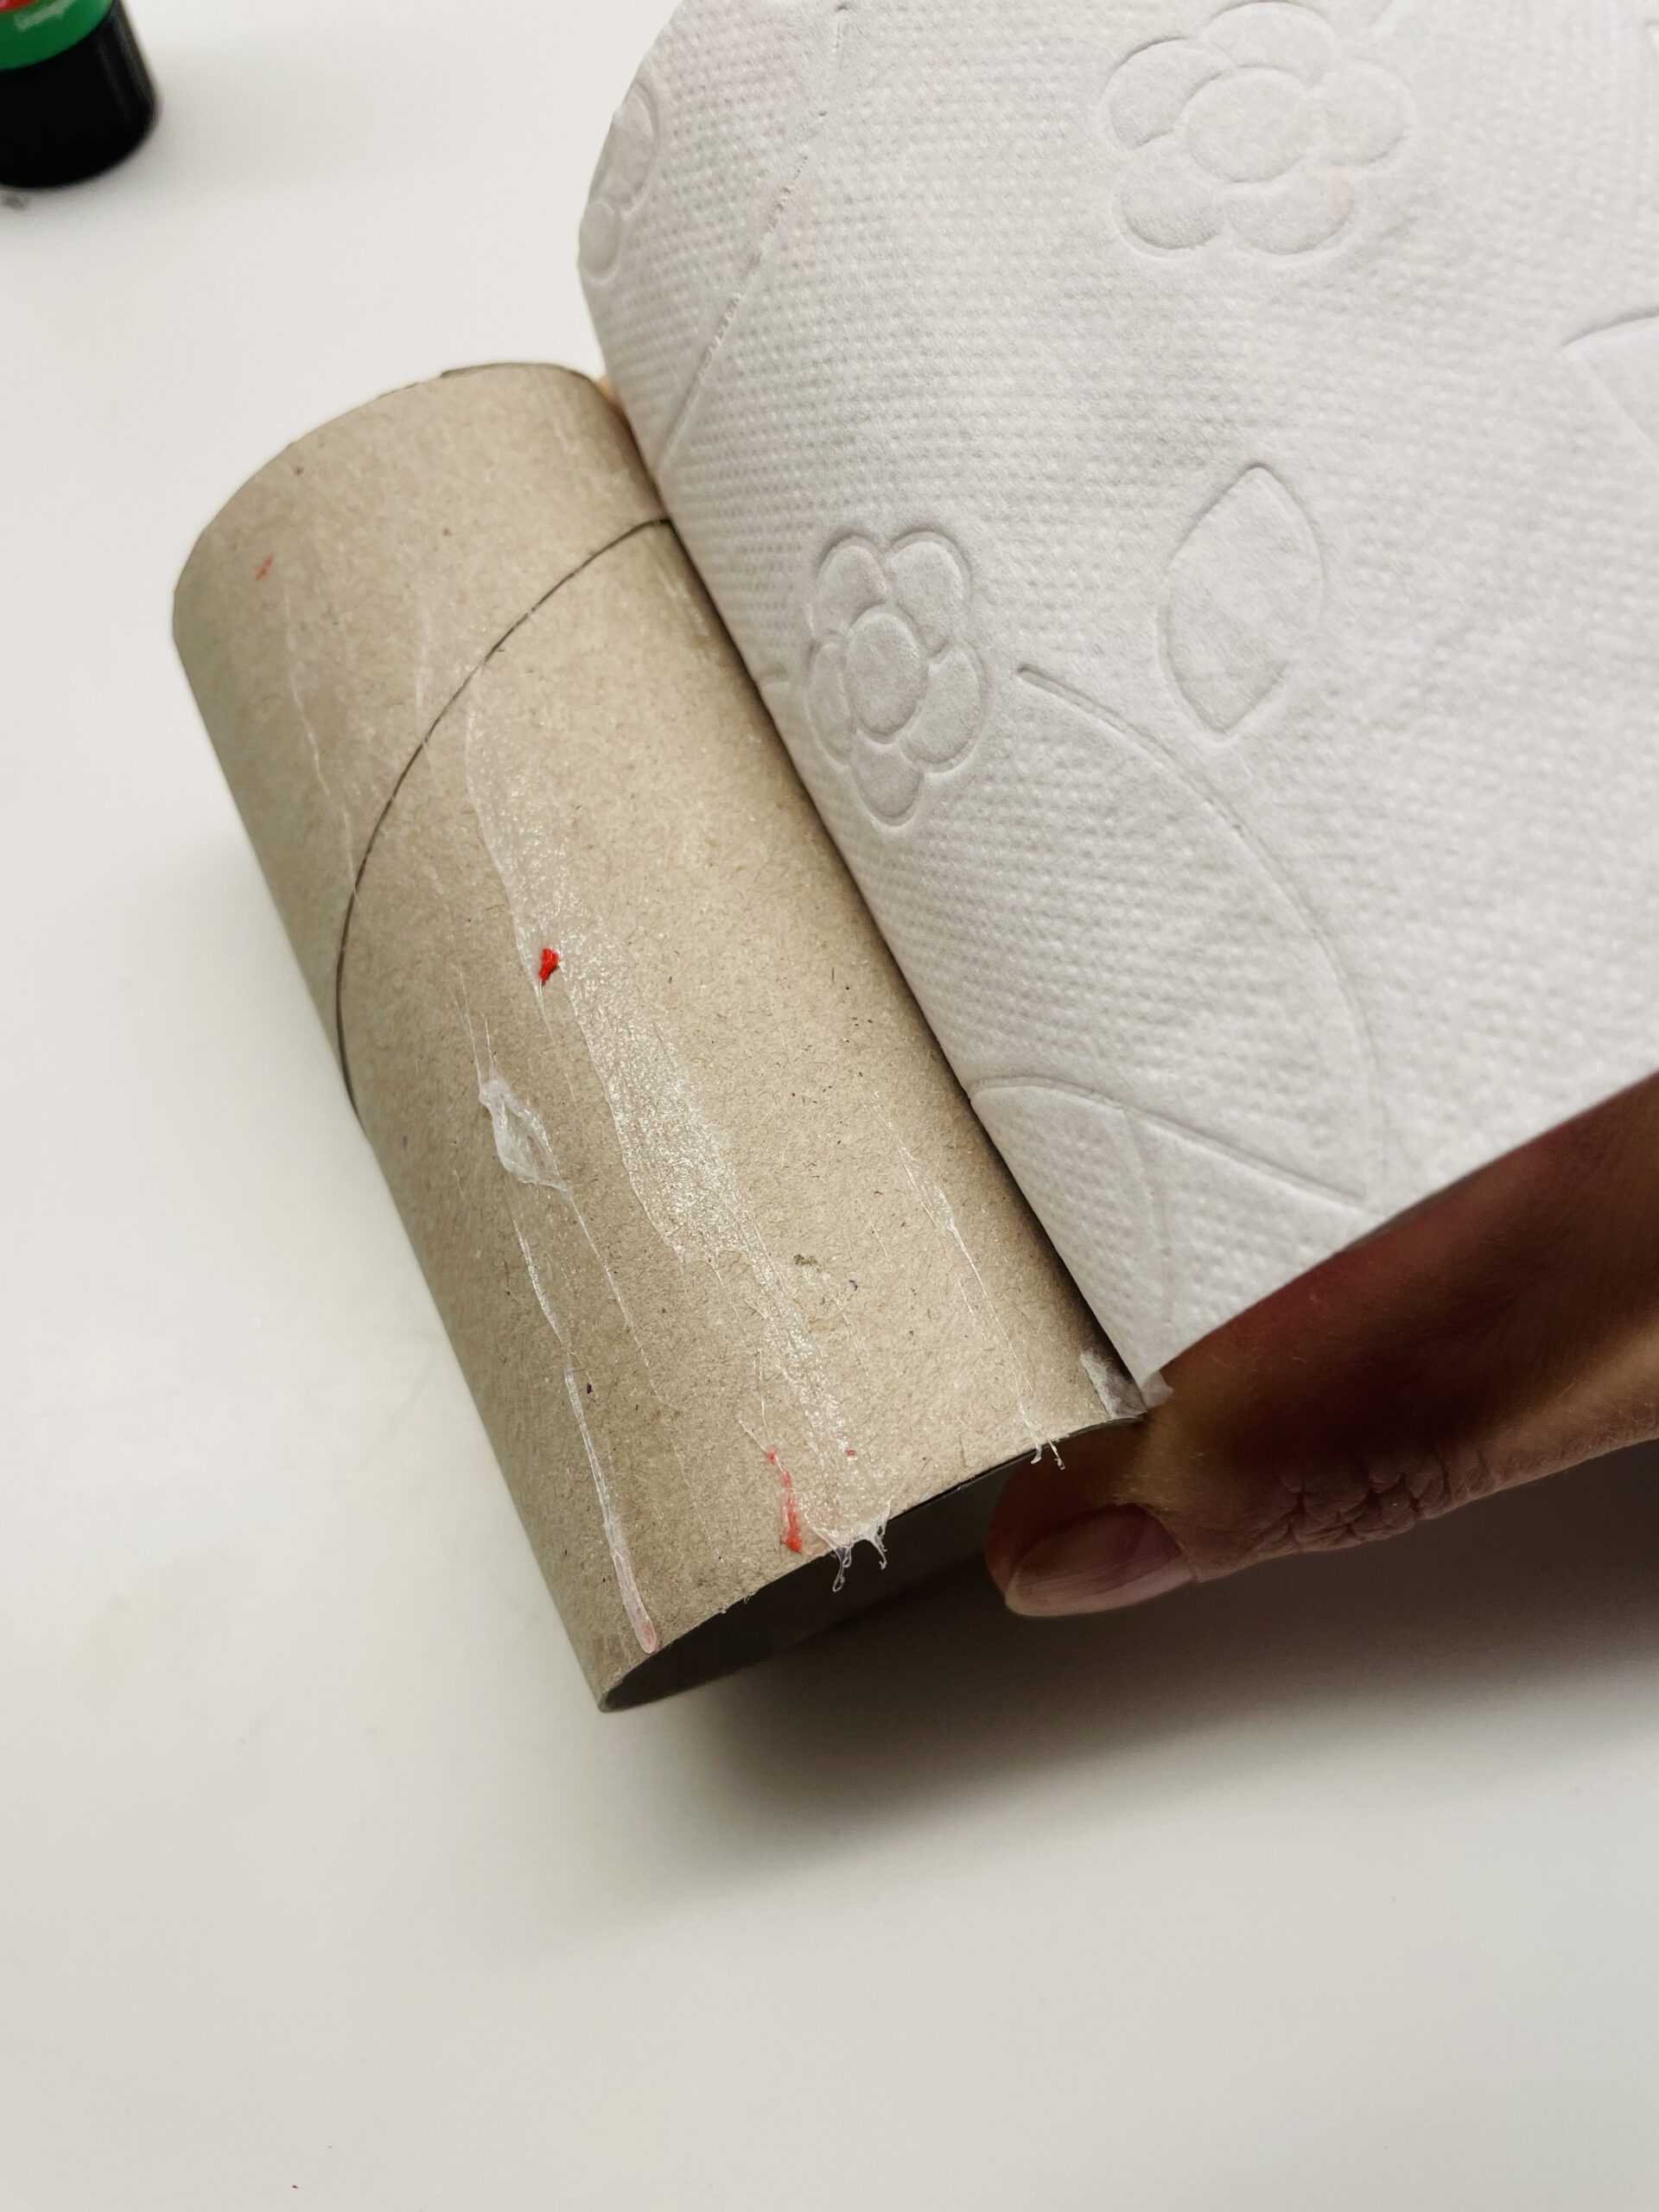
Now spreads the cardboard roll about 2cm wide with the glue pen.

Bild zum Schritt 5 für das Bastel- und DIY-Abenteuer für Kinder: 'Bestreicht die Papprolle nun ca. 2cm breit mit dem Klebestift.'

5

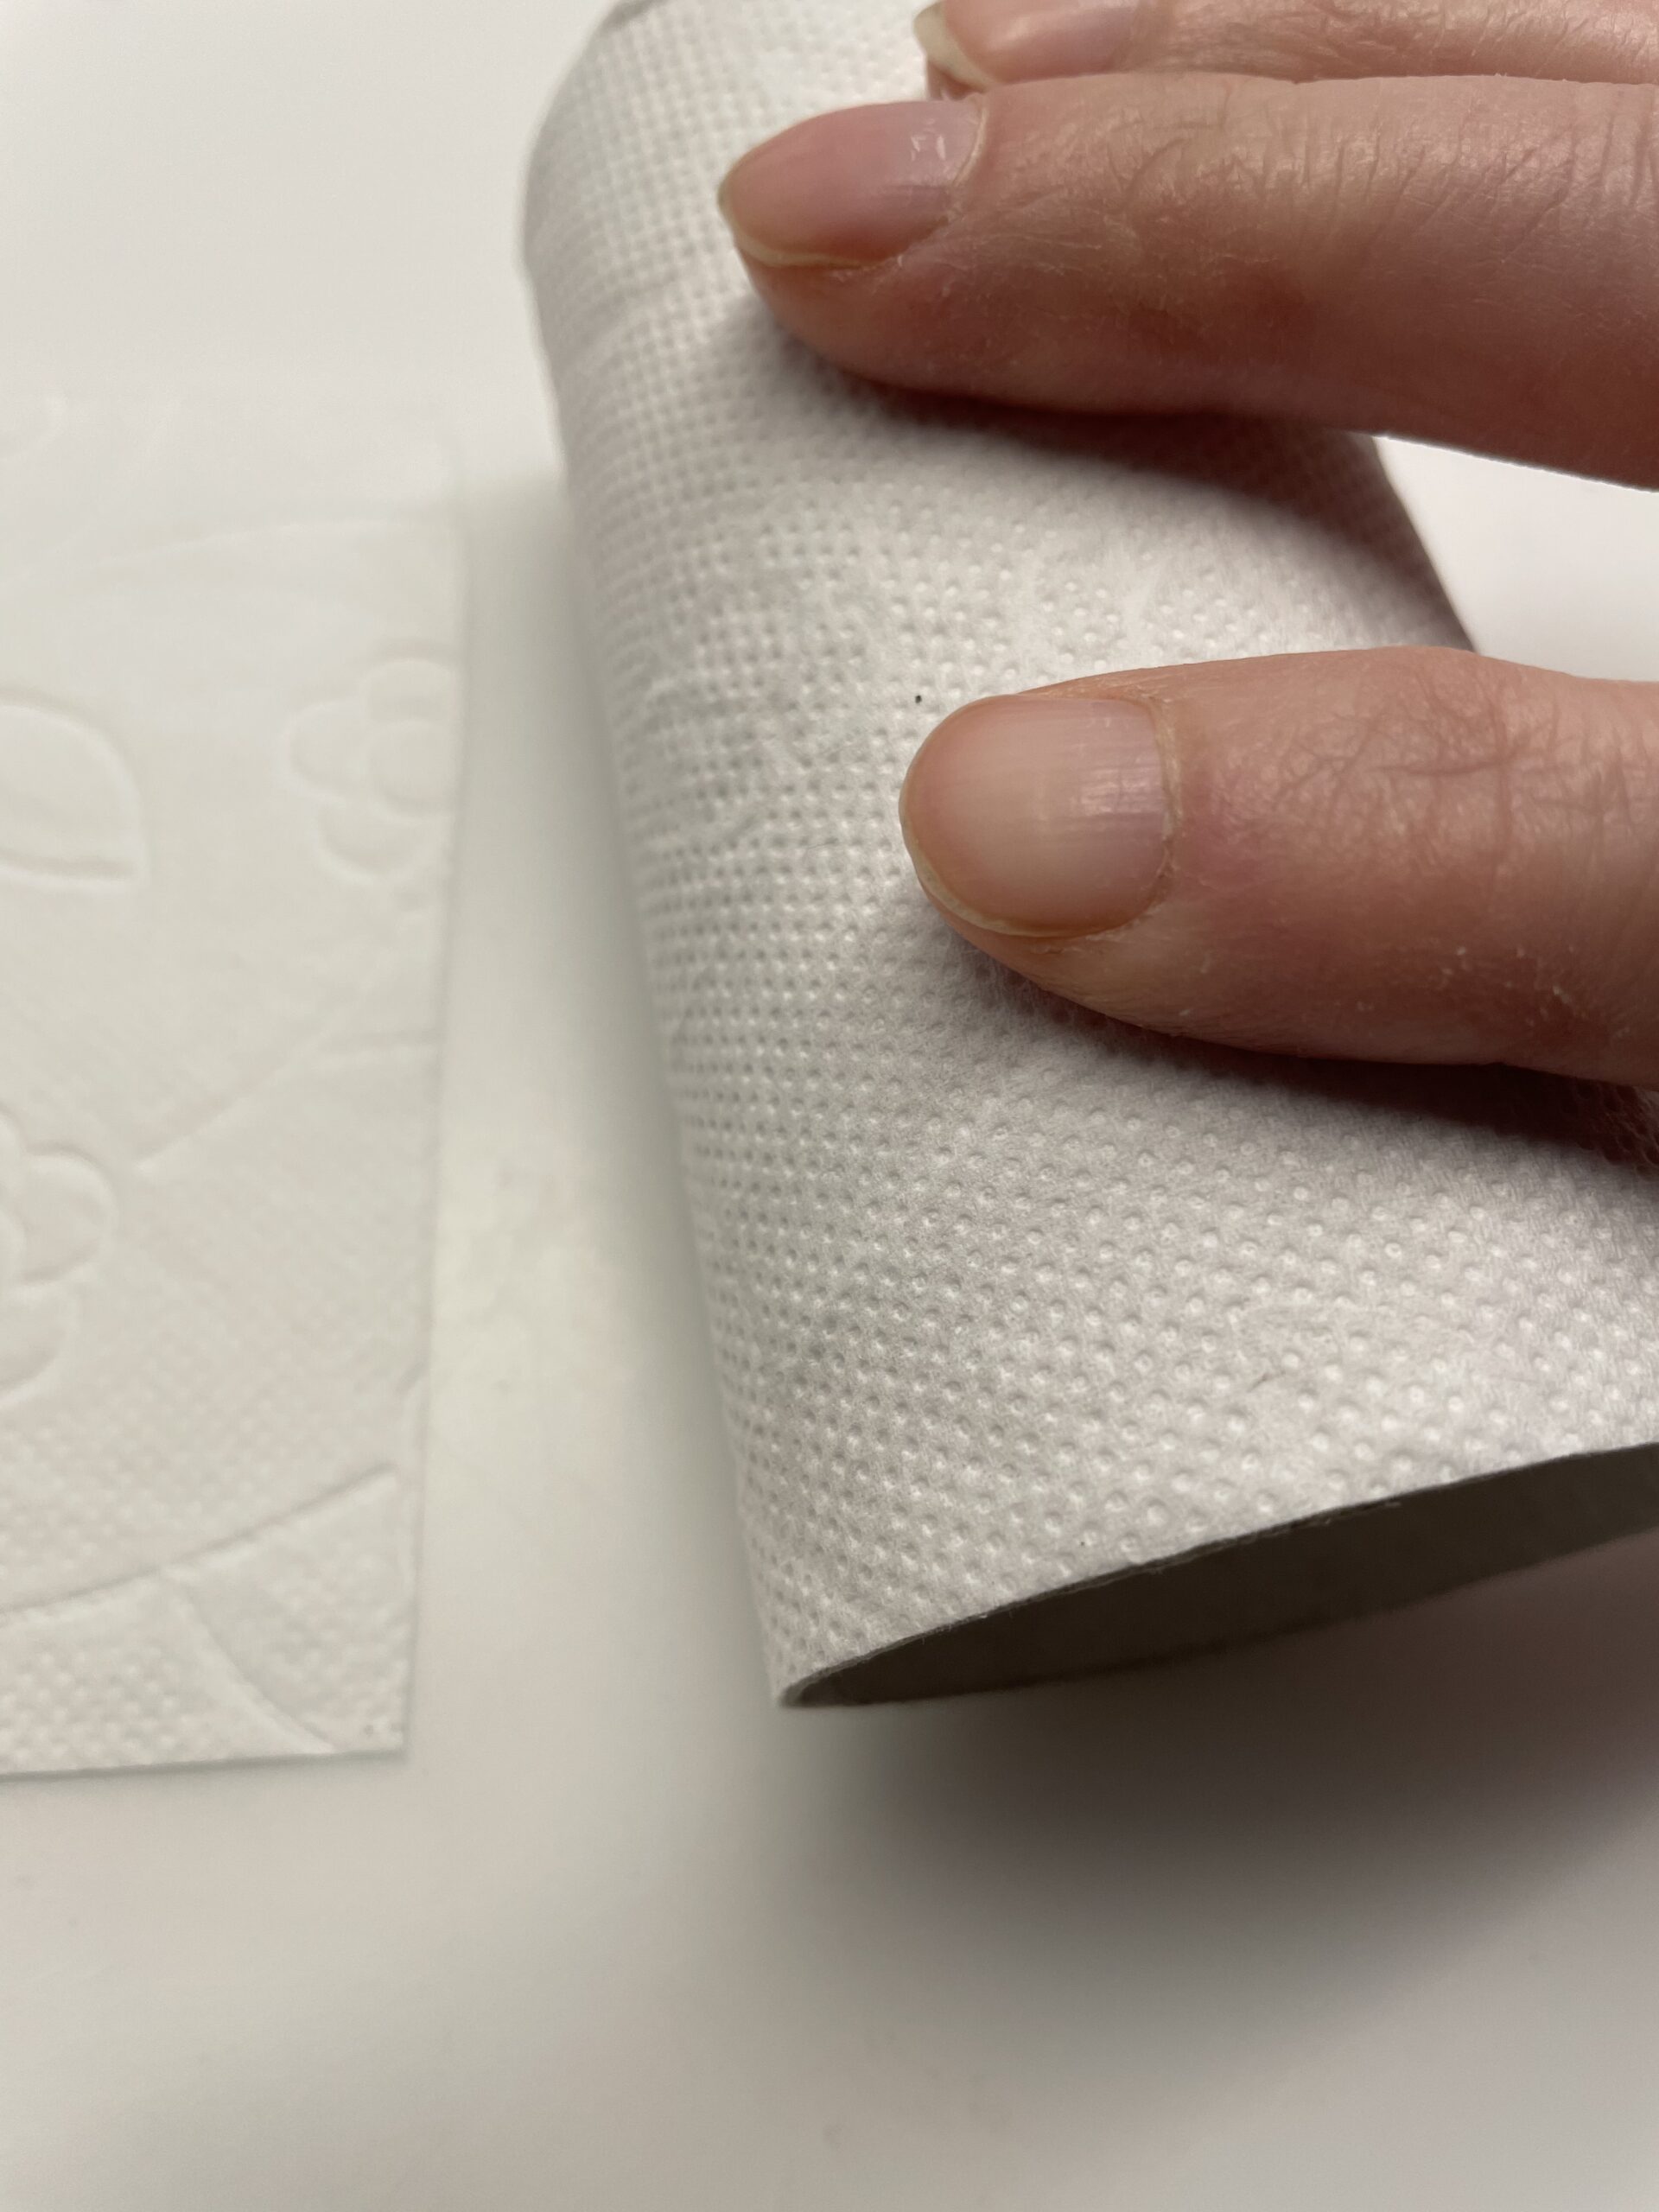
Put the toilet paper over the paper roll and press the paper firmly on the glue.

Bild zum Schritt 6 für das Bastel- und DIY-Abenteuer für Kinder: 'Legt das Toilettenpapier über die Papprolle und drückt das Papier...'

6

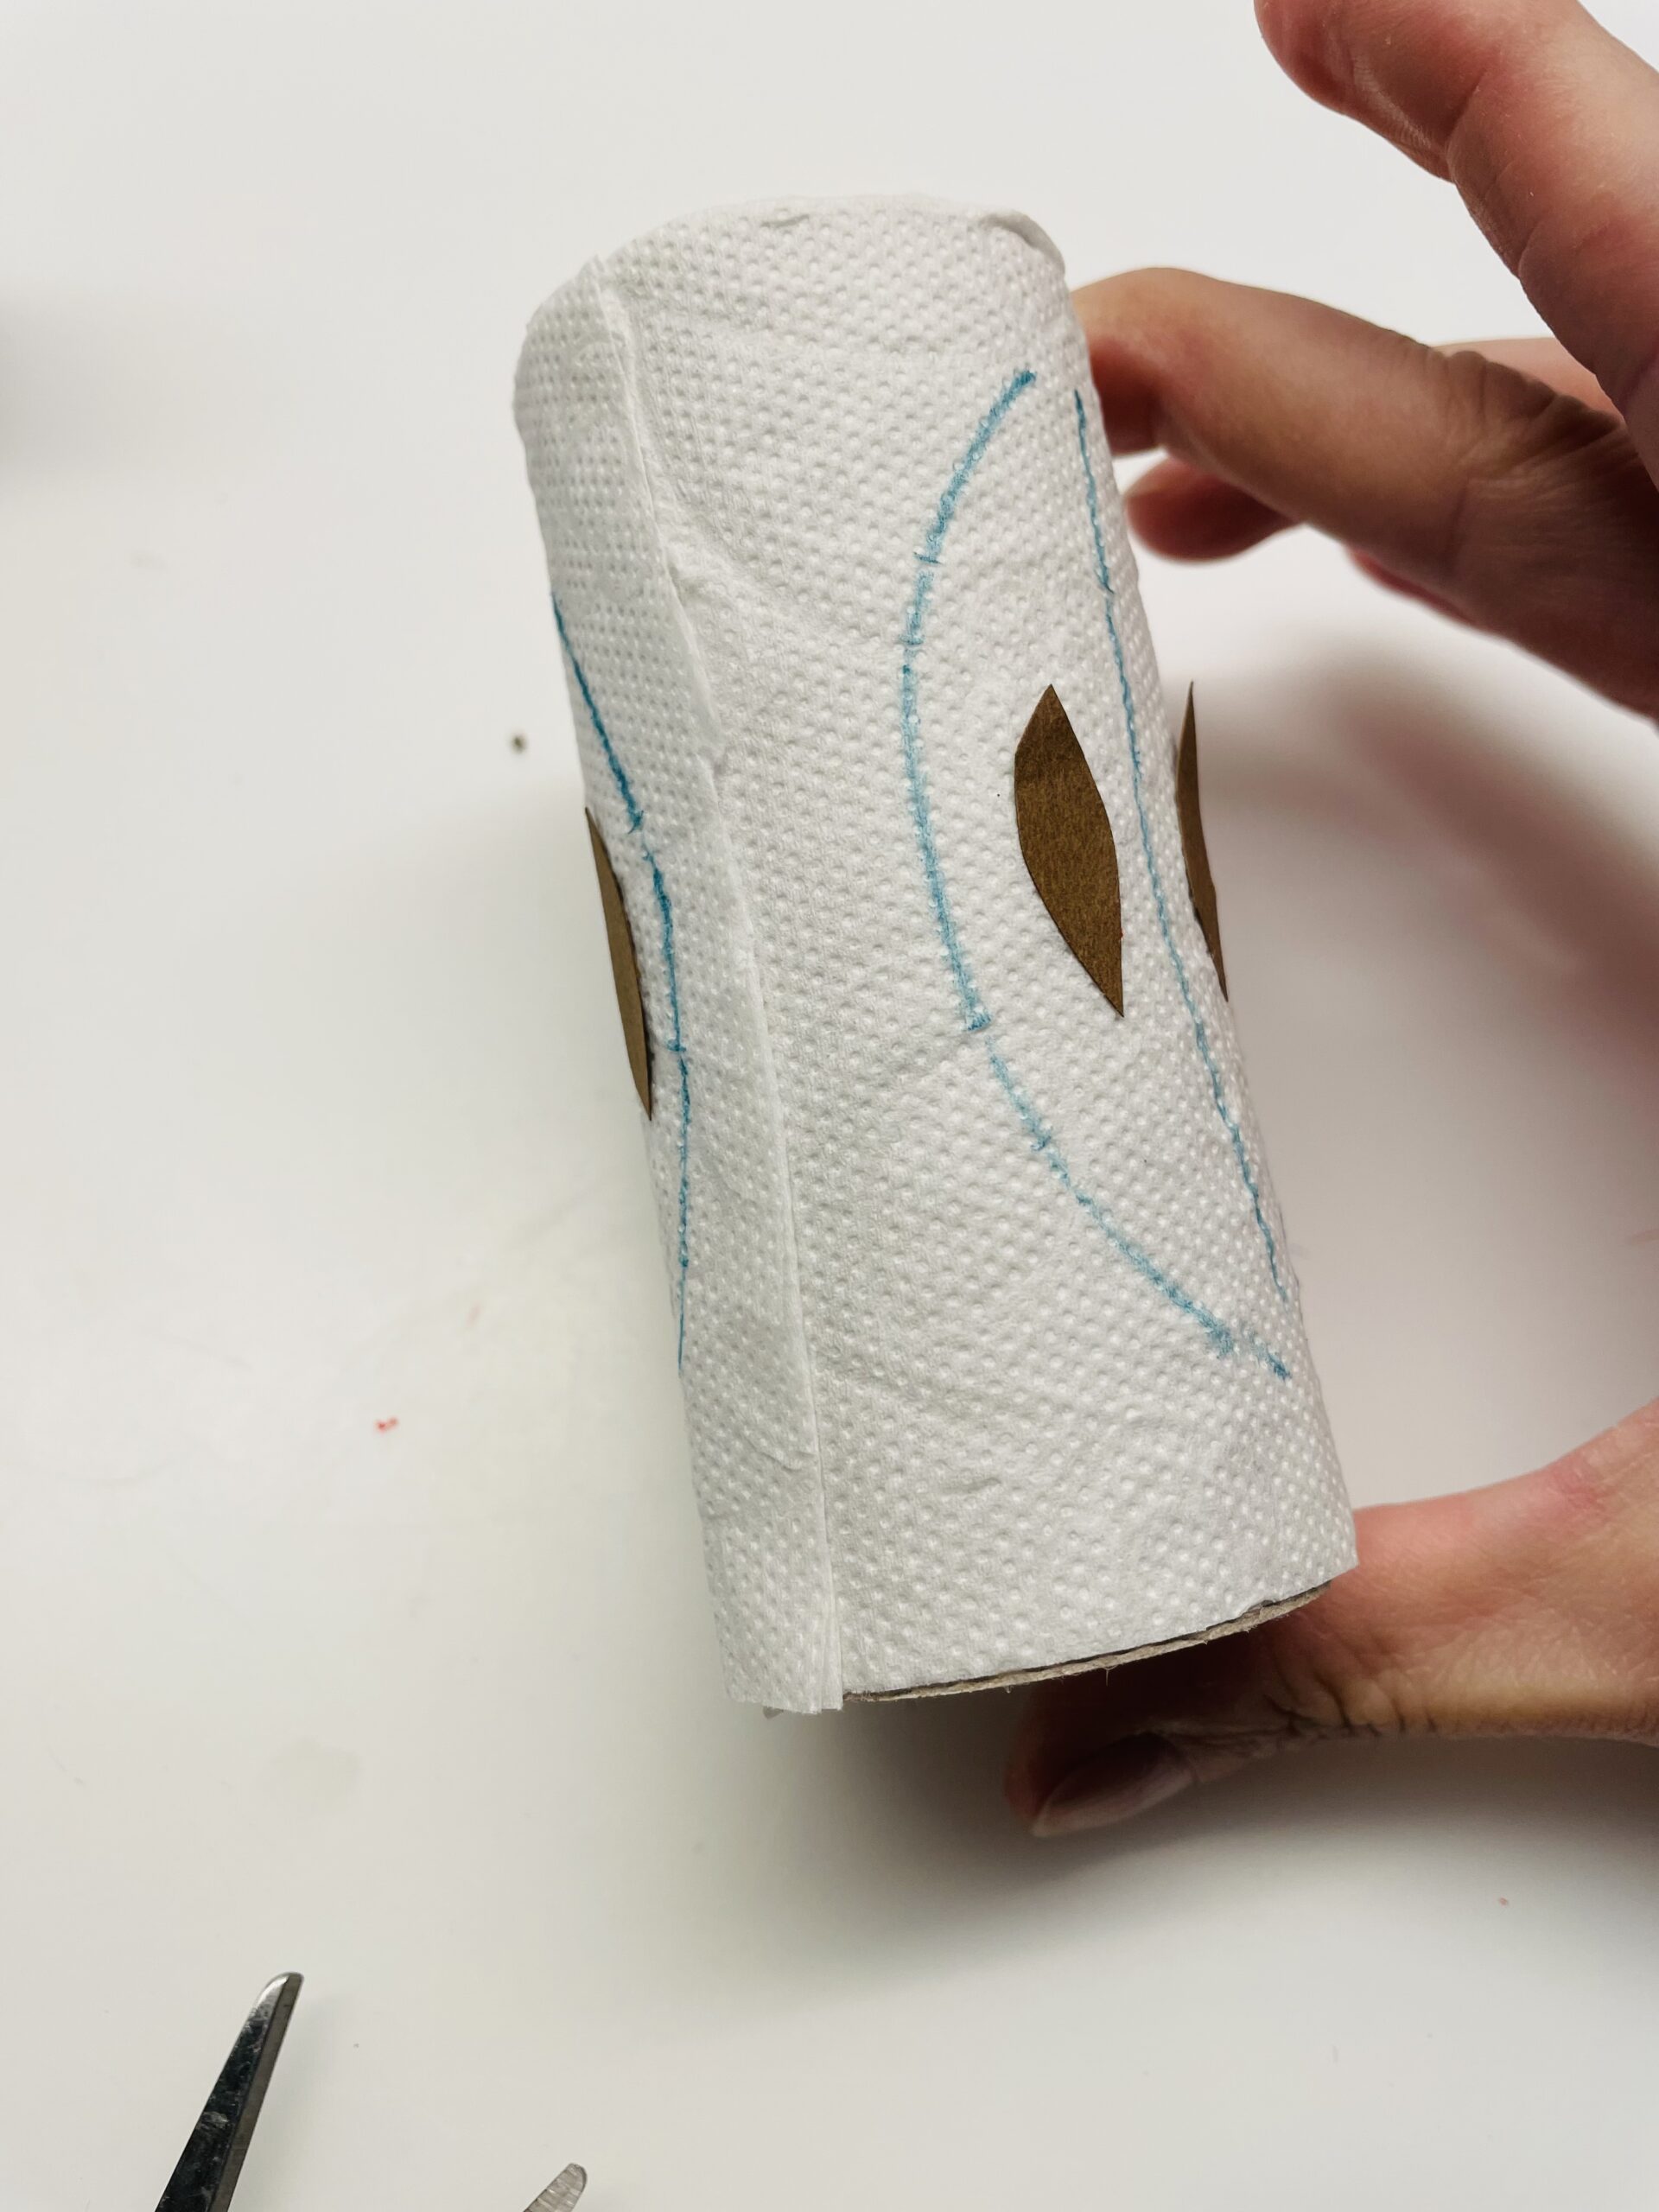
Gently fold back the still loose toilet paper and brush the cardboard roll over another piece with glue.

Bild zum Schritt 7 für das Bastel- und DIY-Abenteuer für Kinder: 'Klappt das noch lose Toilettenpapier vorsichtig zurück und bestreicht die...'

7

Make sure that the core housings are clearly visible.

Bild zum Schritt 8 für das Bastel- und DIY-Abenteuer für Kinder: 'Achtet darauf, dass die Kerngehäuse gut sichtbar sind.'

8

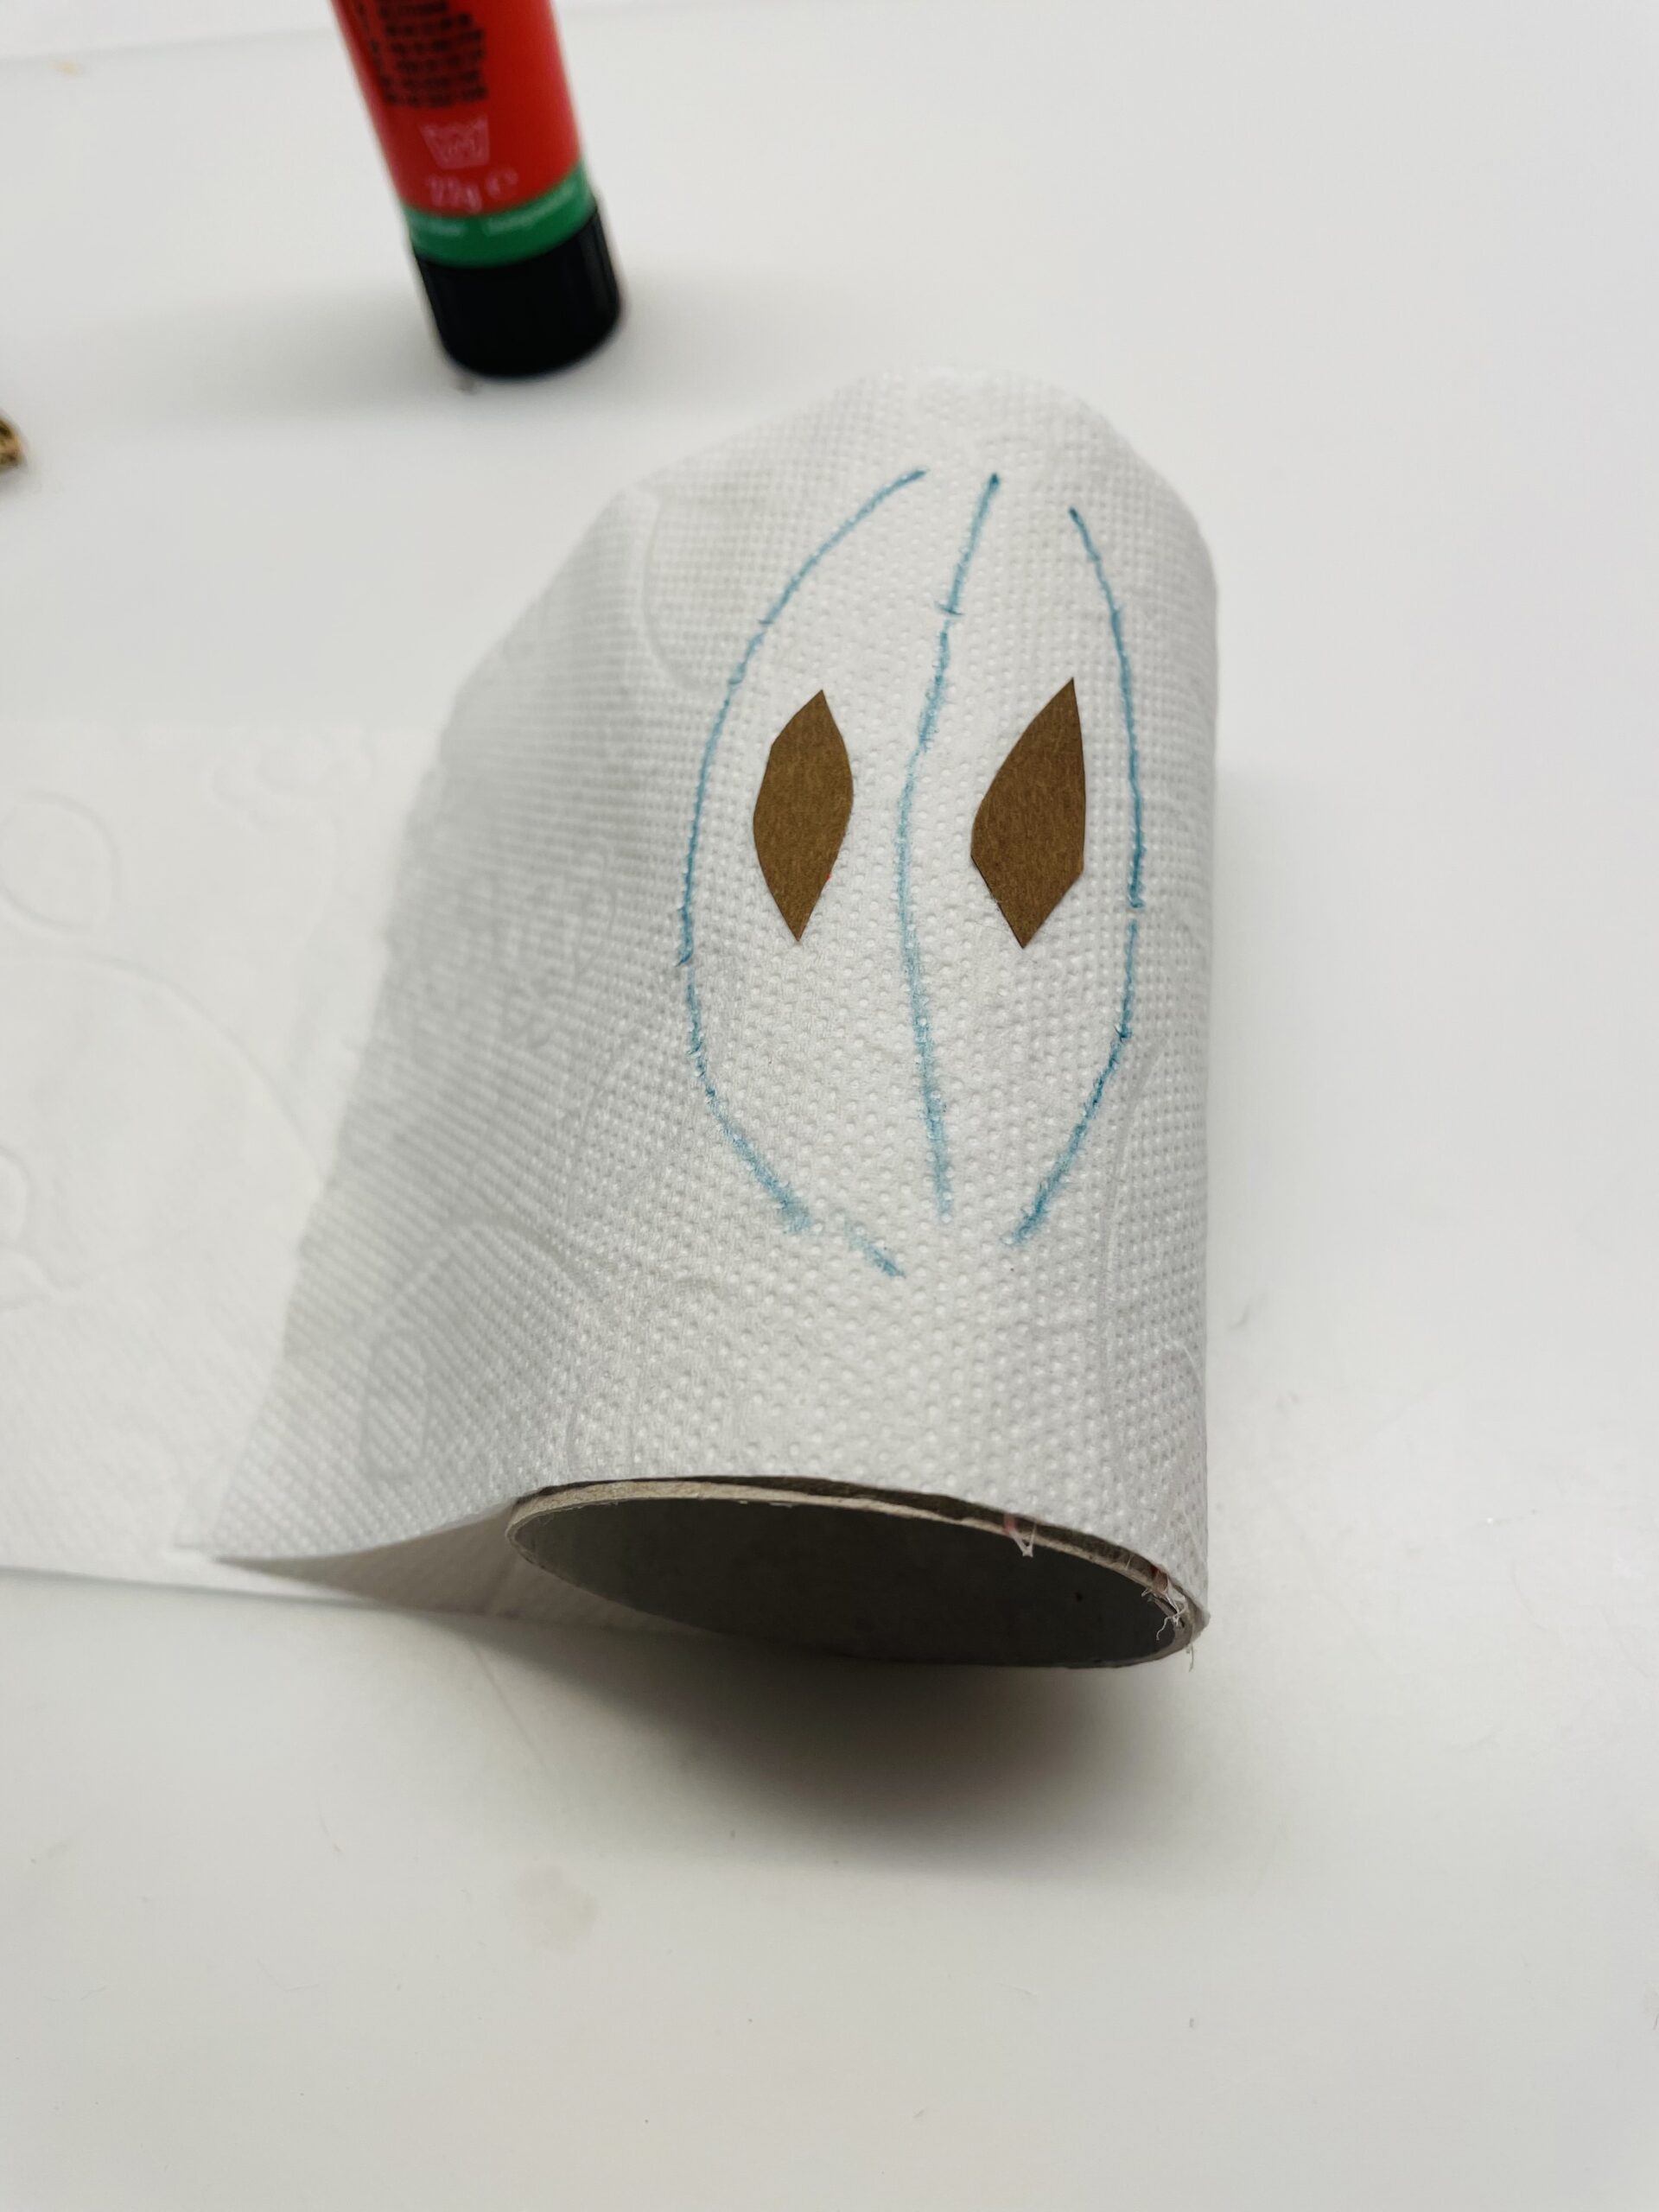
Then cut off the overhanging paper strip.

Bild zum Schritt 9 für das Bastel- und DIY-Abenteuer für Kinder: 'Schneidet dann den überstehenden Papierstreifen ab.'

9

Now you stick the ends to the cardboard roll.

Bild zum Schritt 10 für das Bastel- und DIY-Abenteuer für Kinder: 'Jetzt klebt ihr die Enden an der Papprolle fest.'

10

Put the cardboard roll on the inside of the one lid and stick it on.

Bild zum Schritt 11 für das Bastel- und DIY-Abenteuer für Kinder: 'Stellt die Papprolle auf die Innenseite des einen Deckels und...'

11

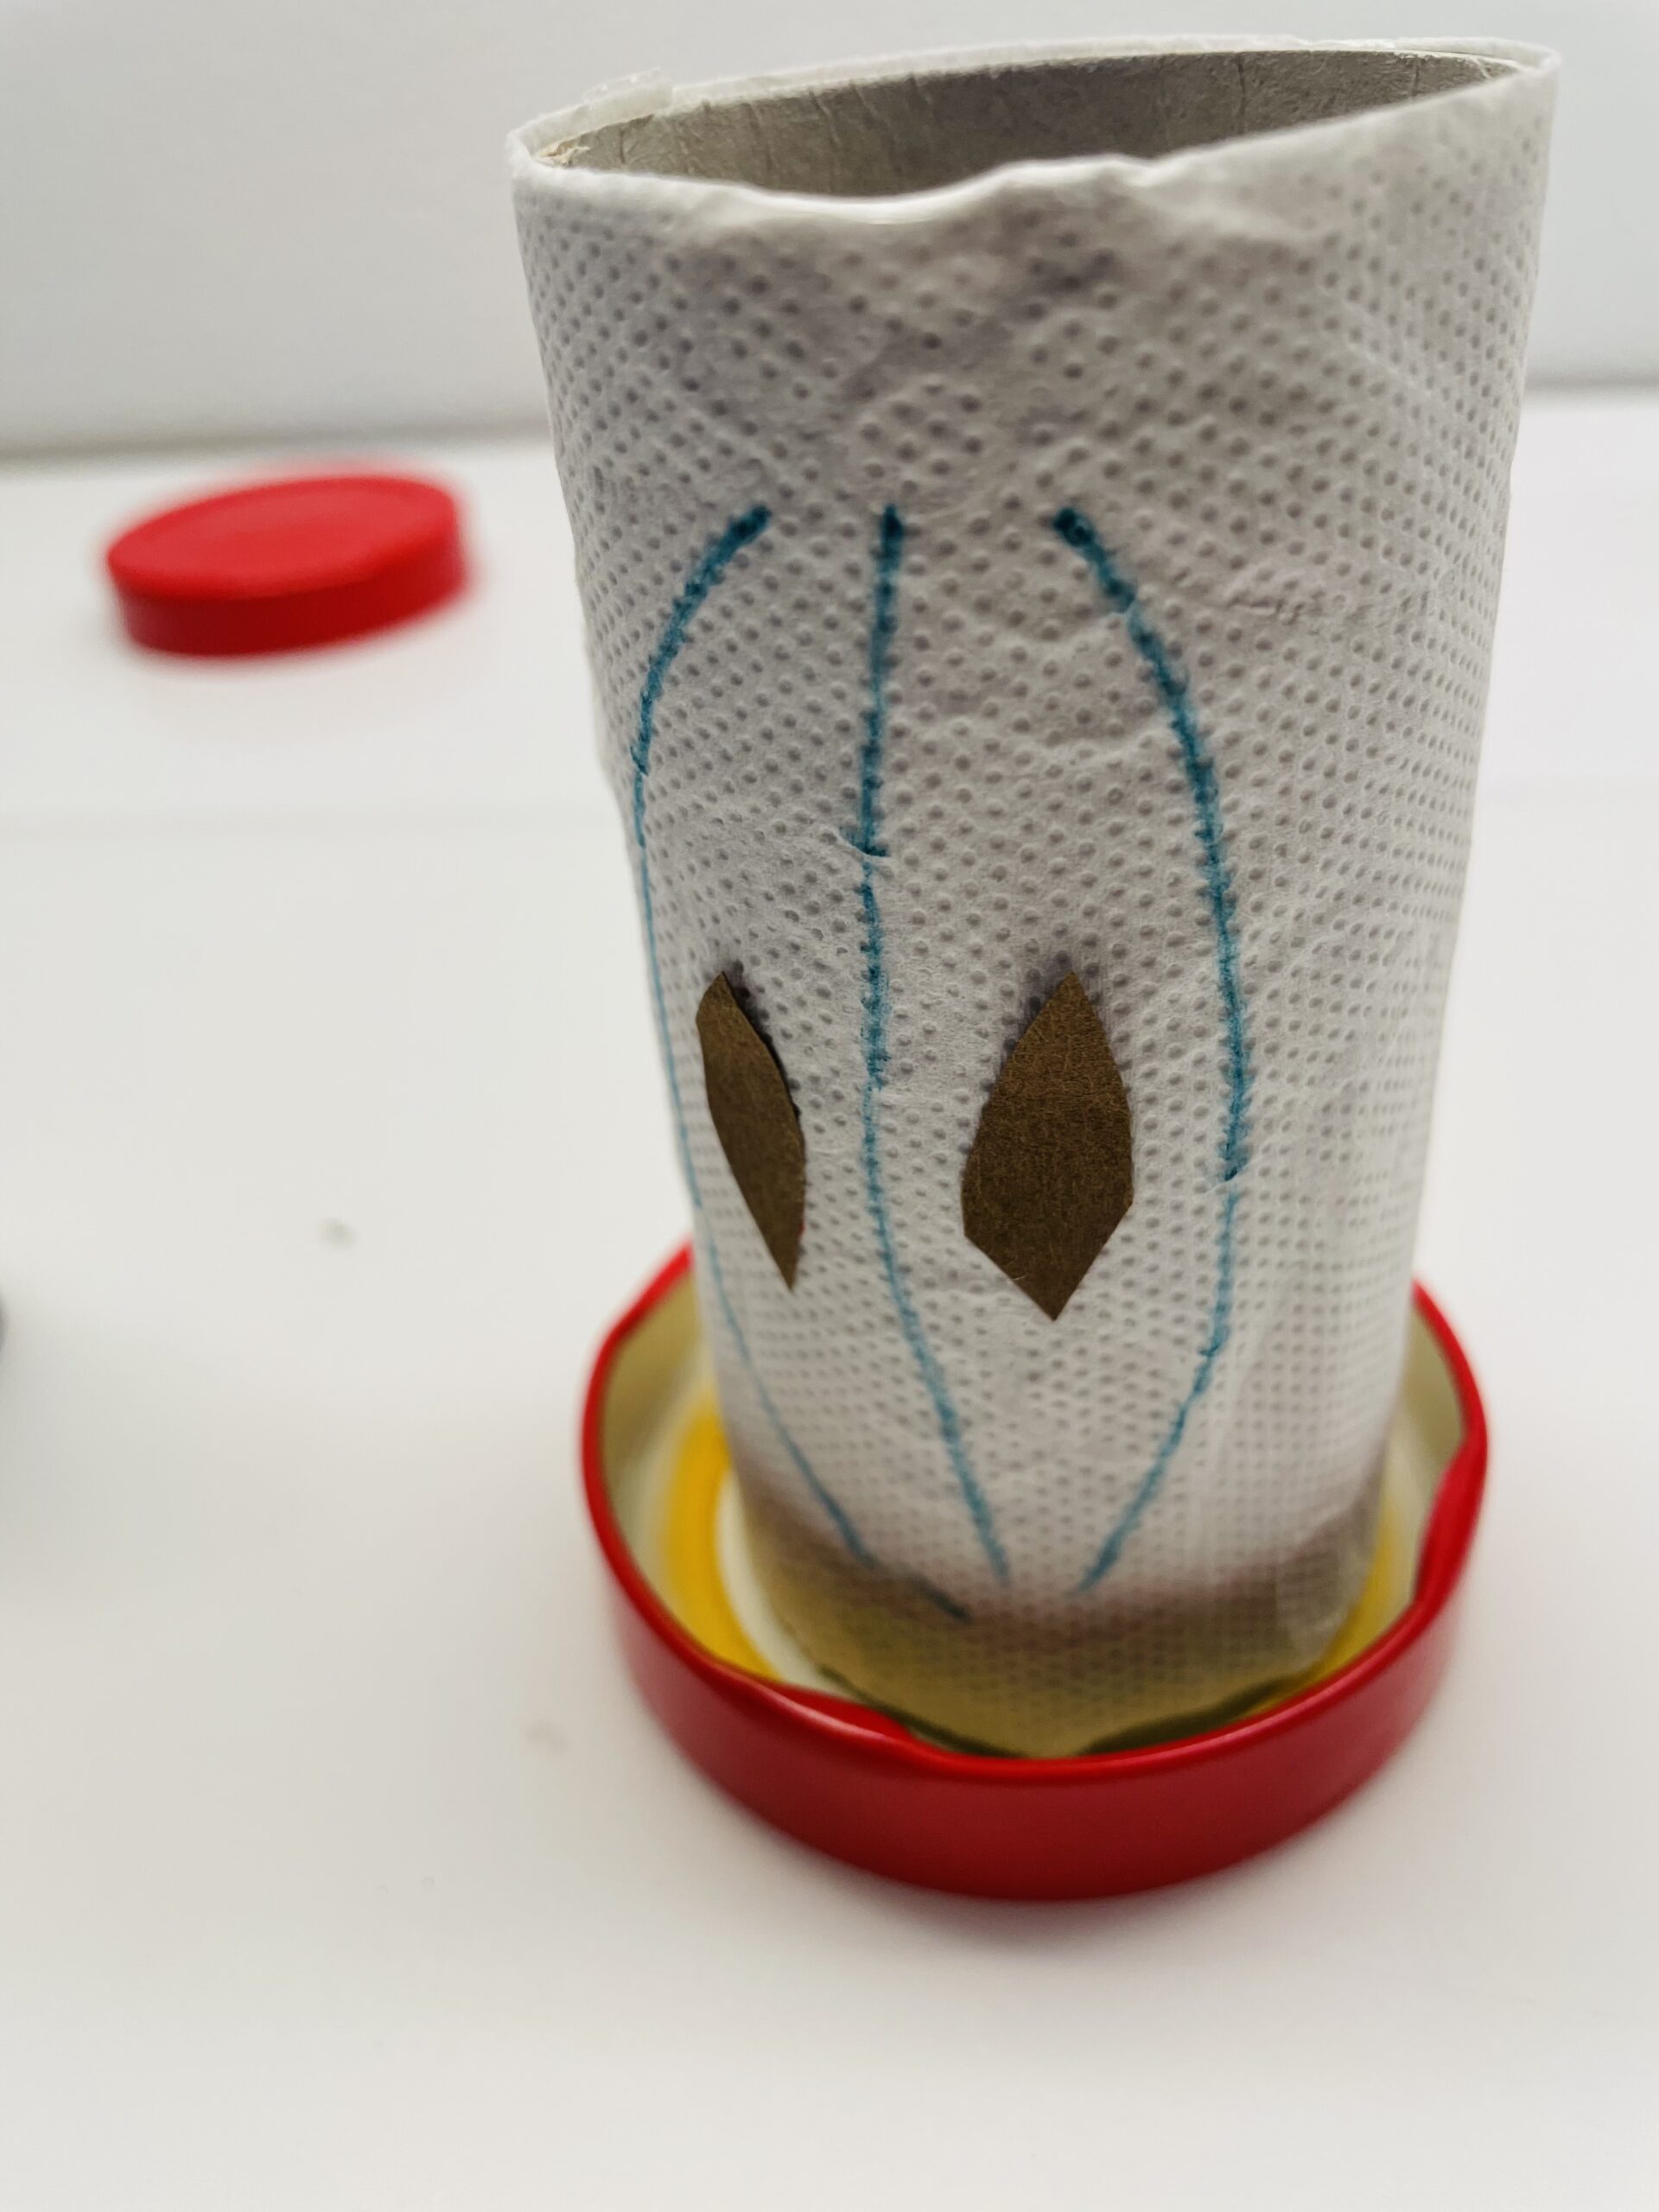
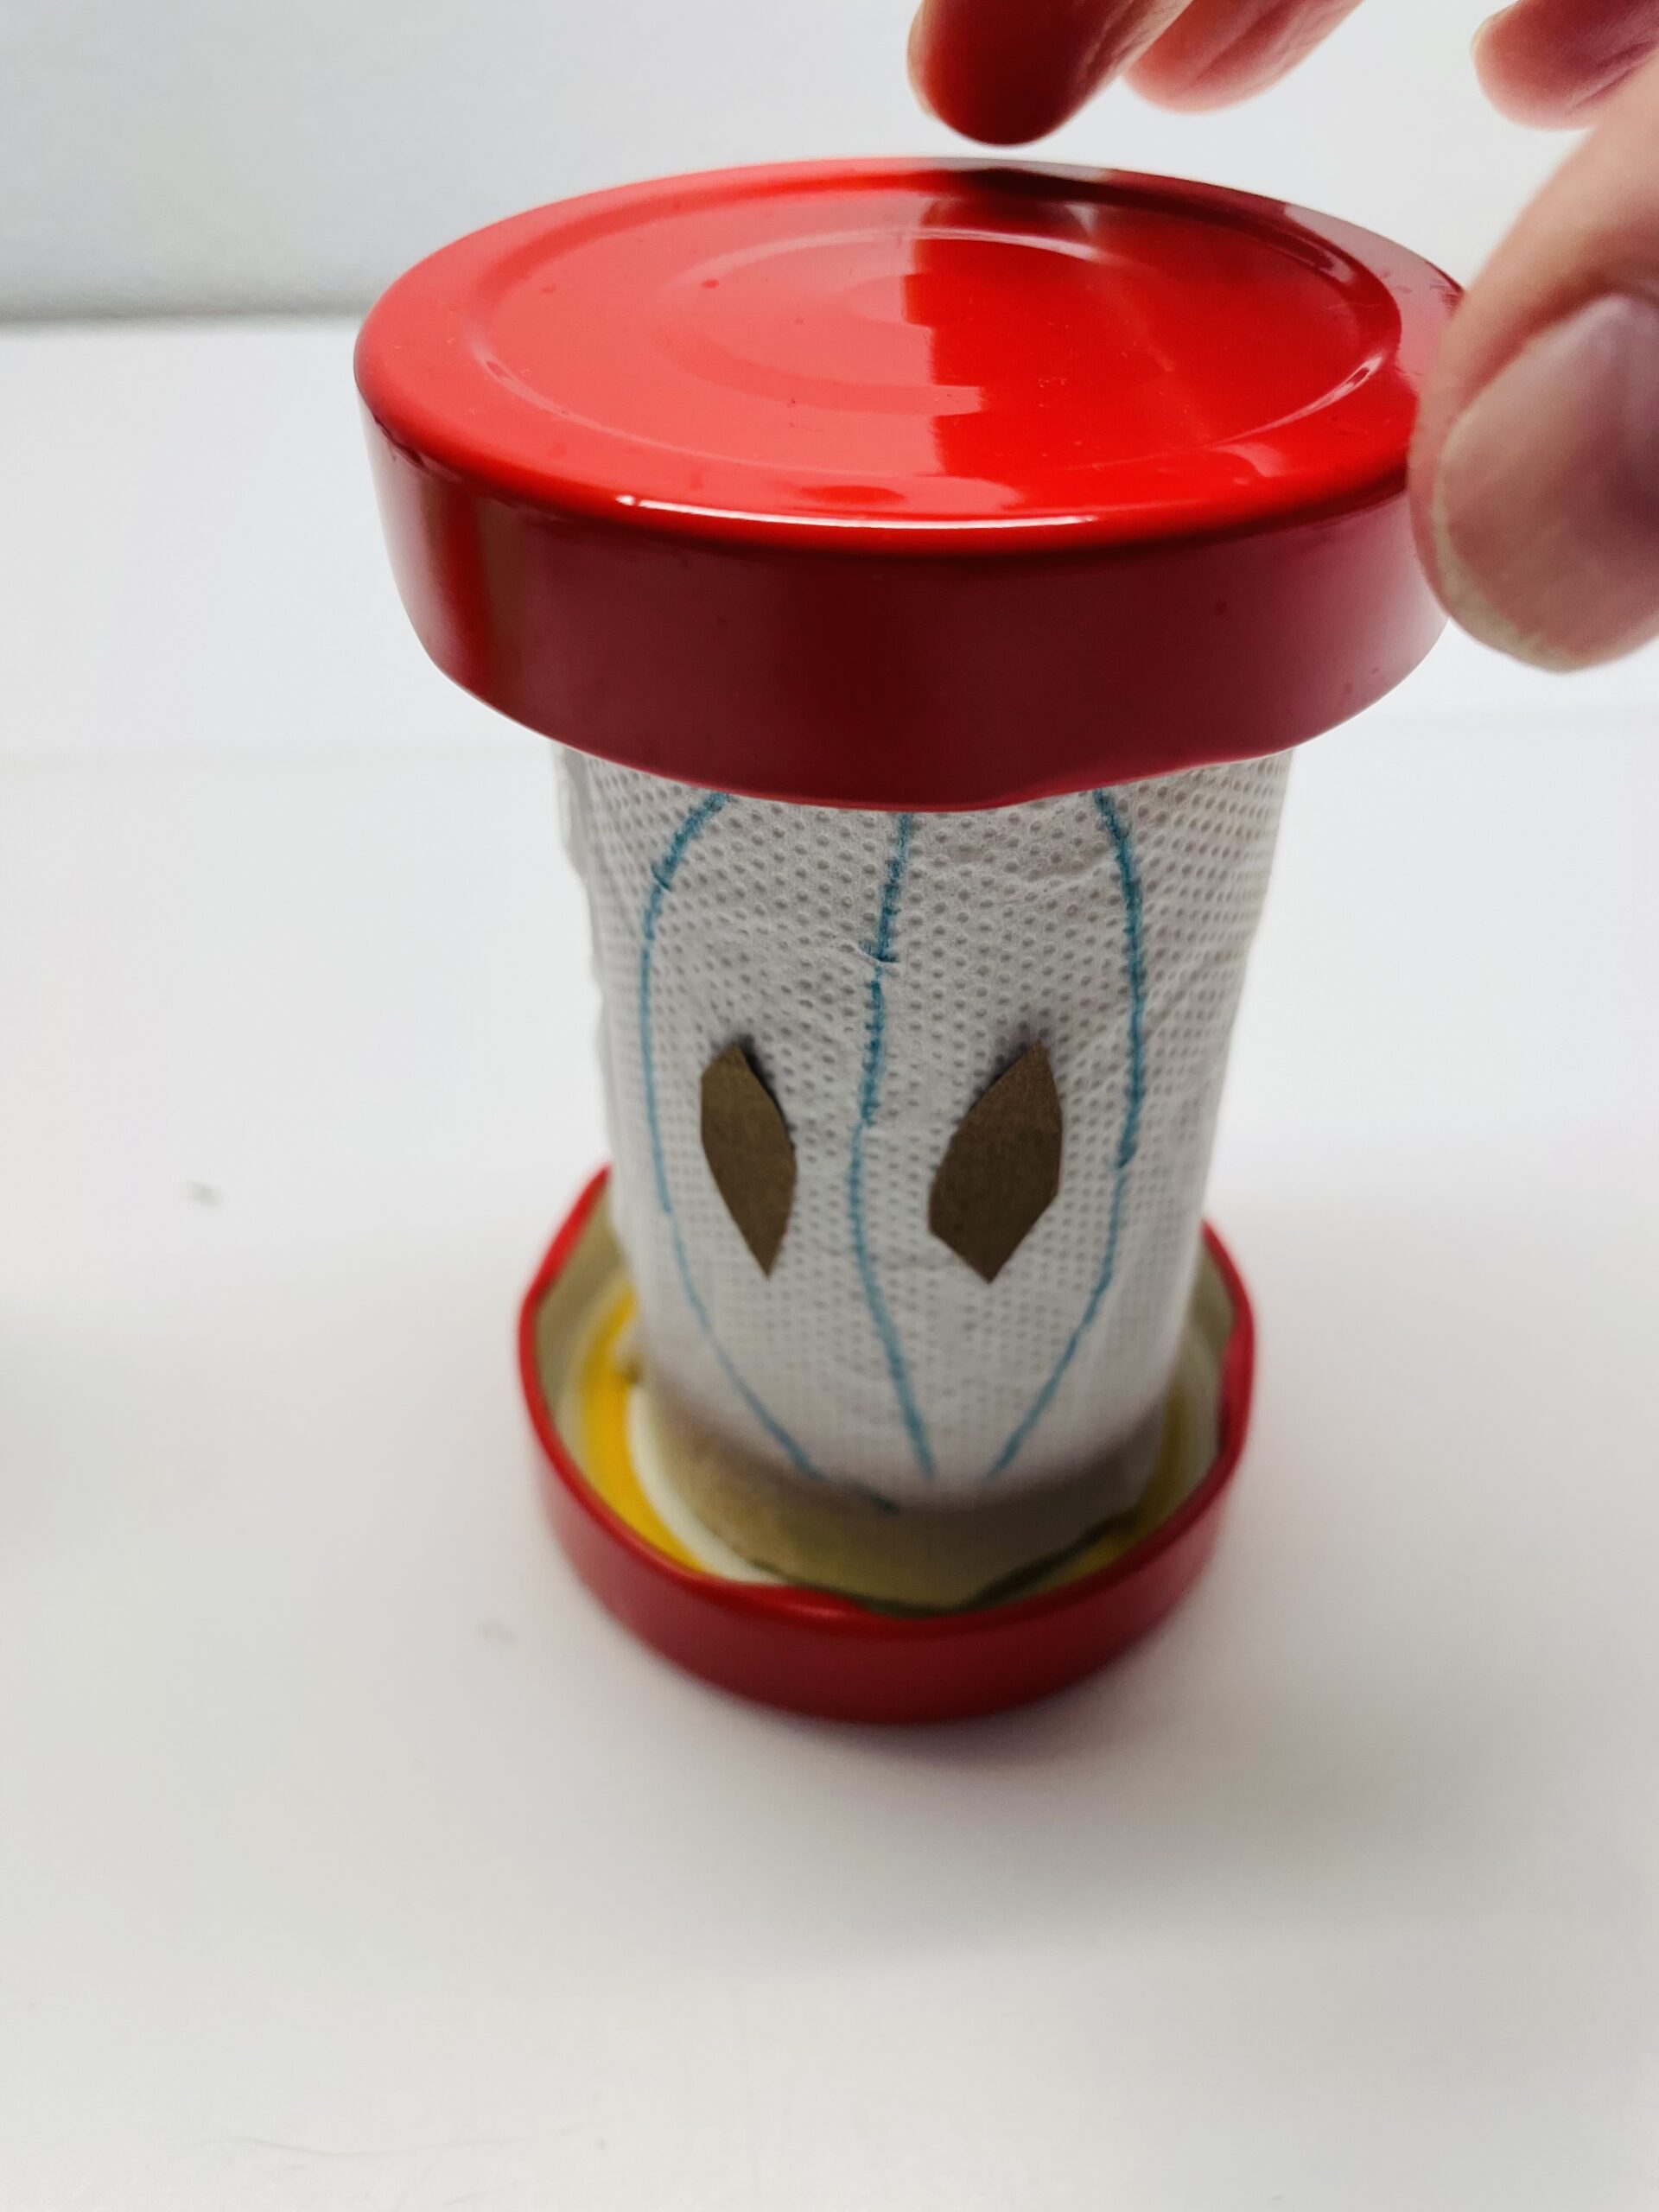
Then you put the second lid on top of the cardboard roll. Also stick to it. Use hot glue if necessary. But be careful when handling the hot glue - risk of injury!

Bild zum Schritt 12 für das Bastel- und DIY-Abenteuer für Kinder: 'Anschließend legt ihr den zweiten Deckel oben auf die Papprolle....'

12

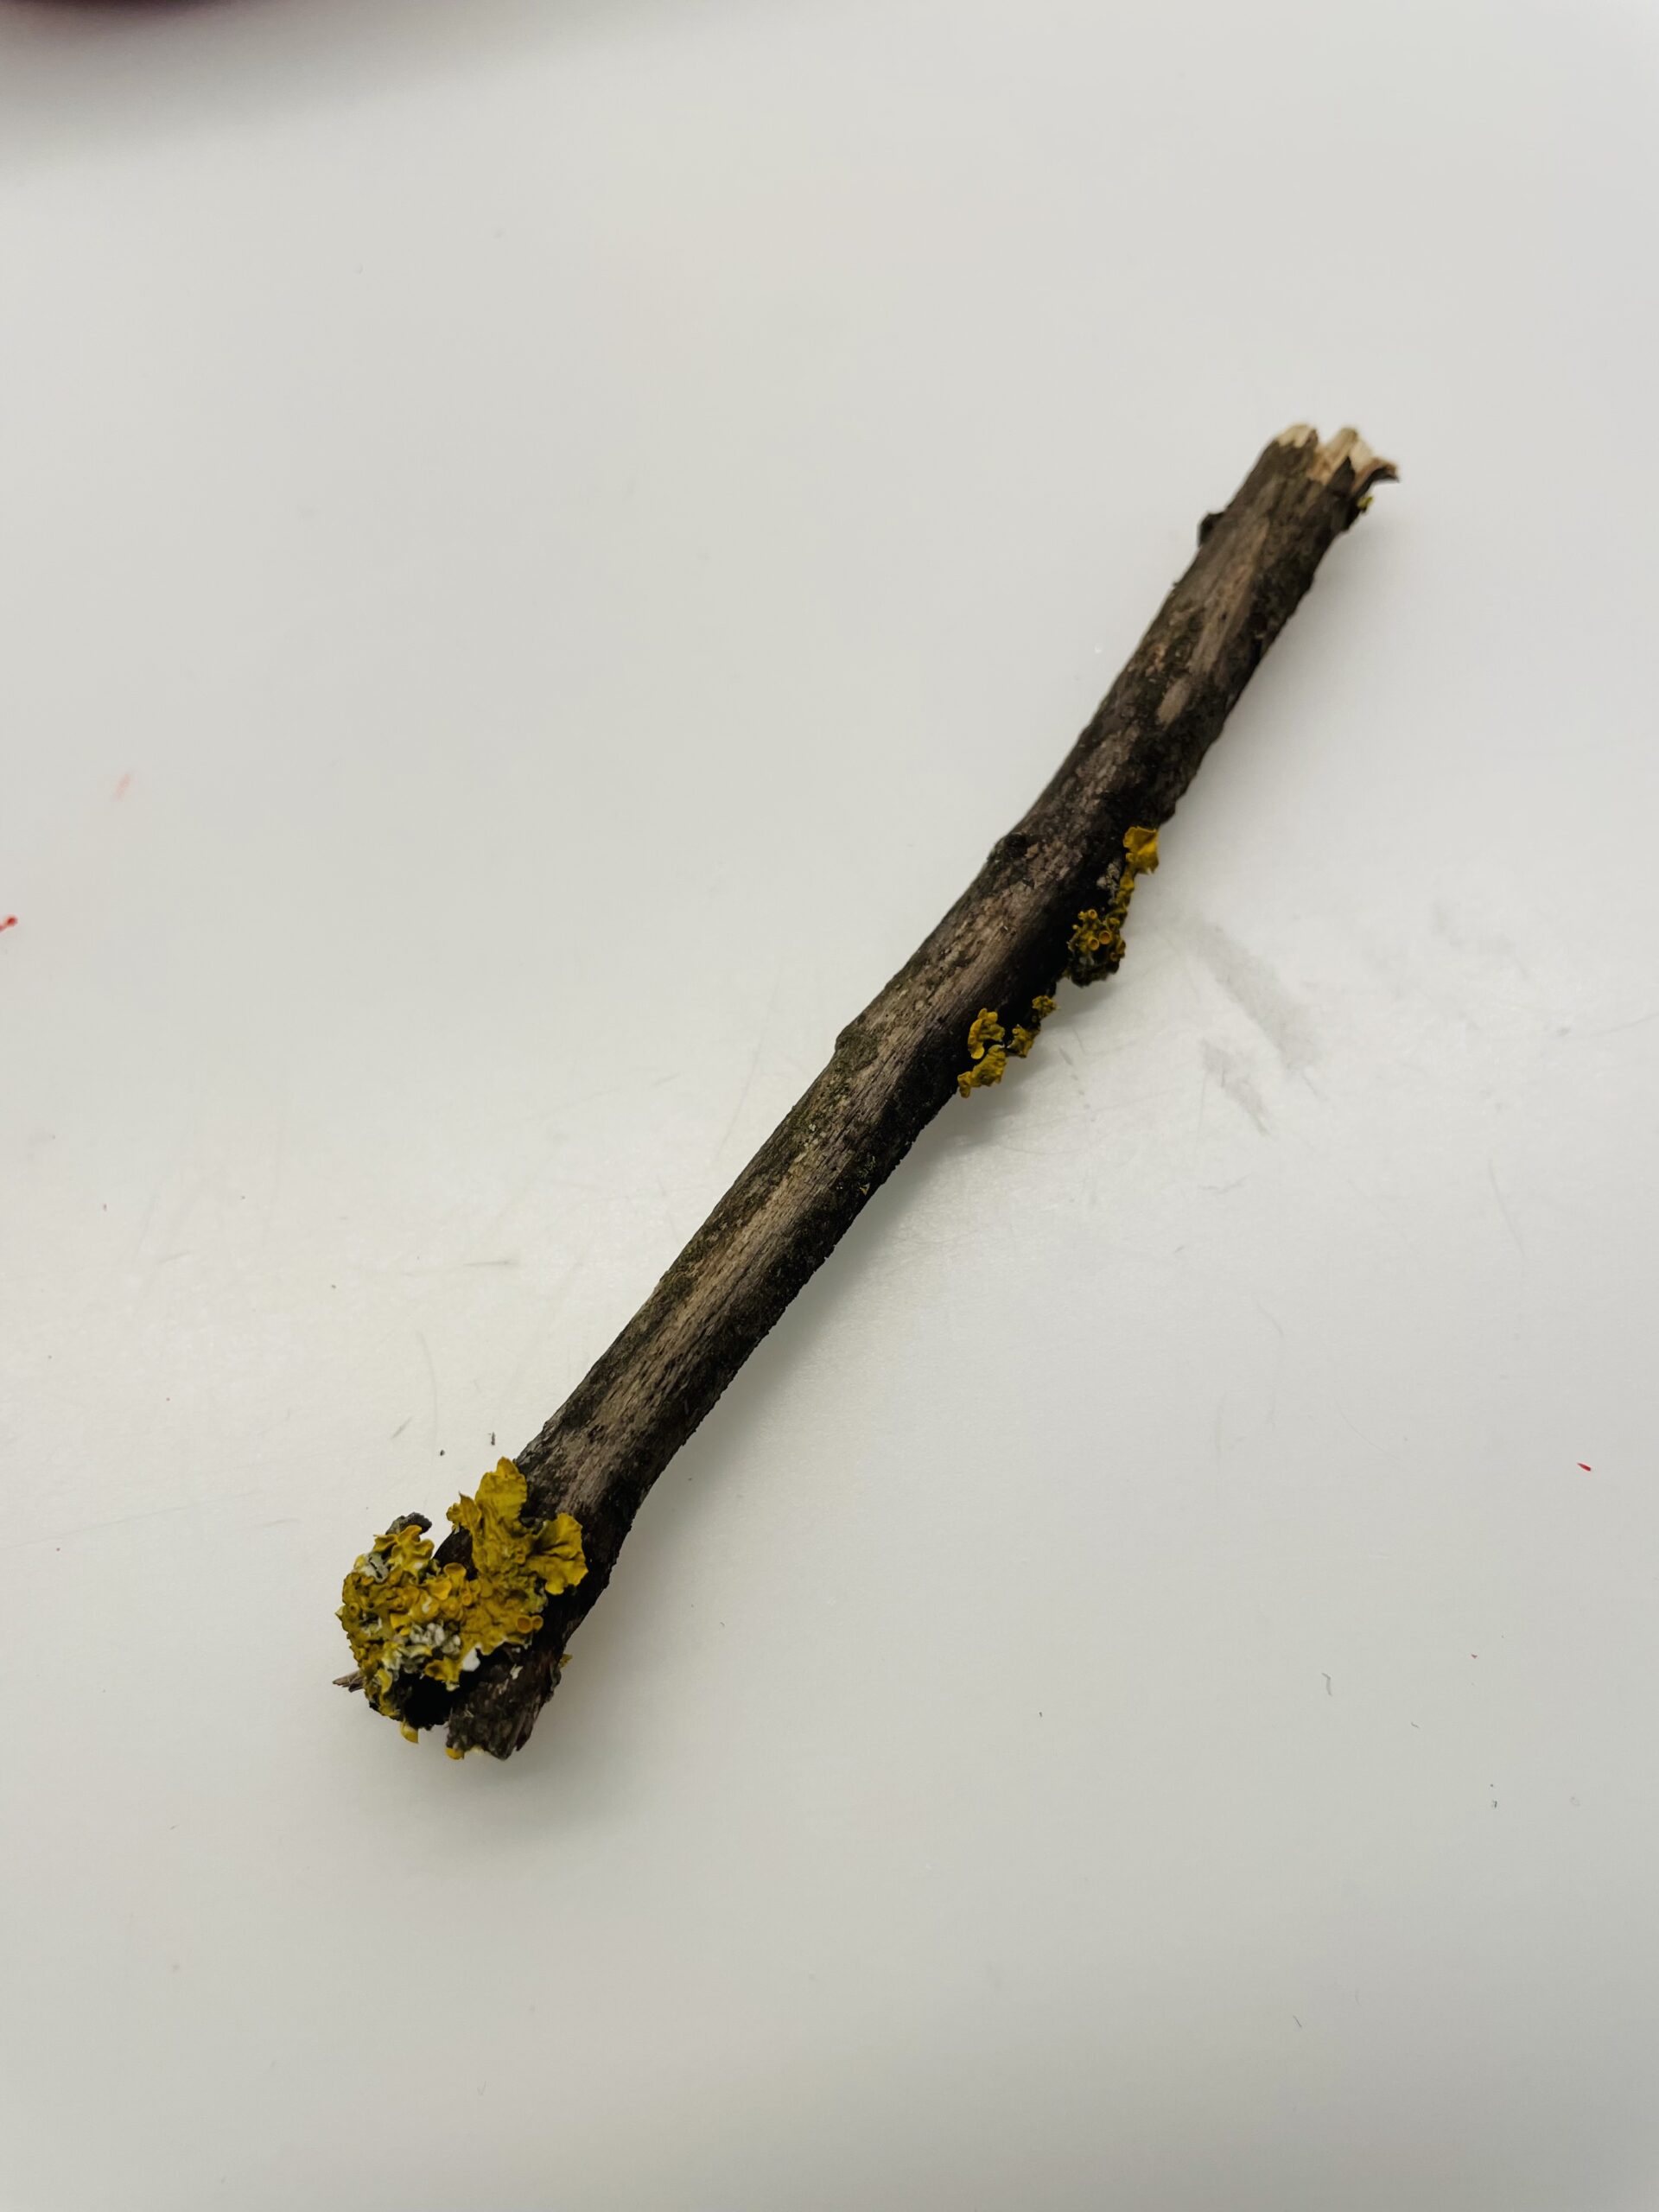
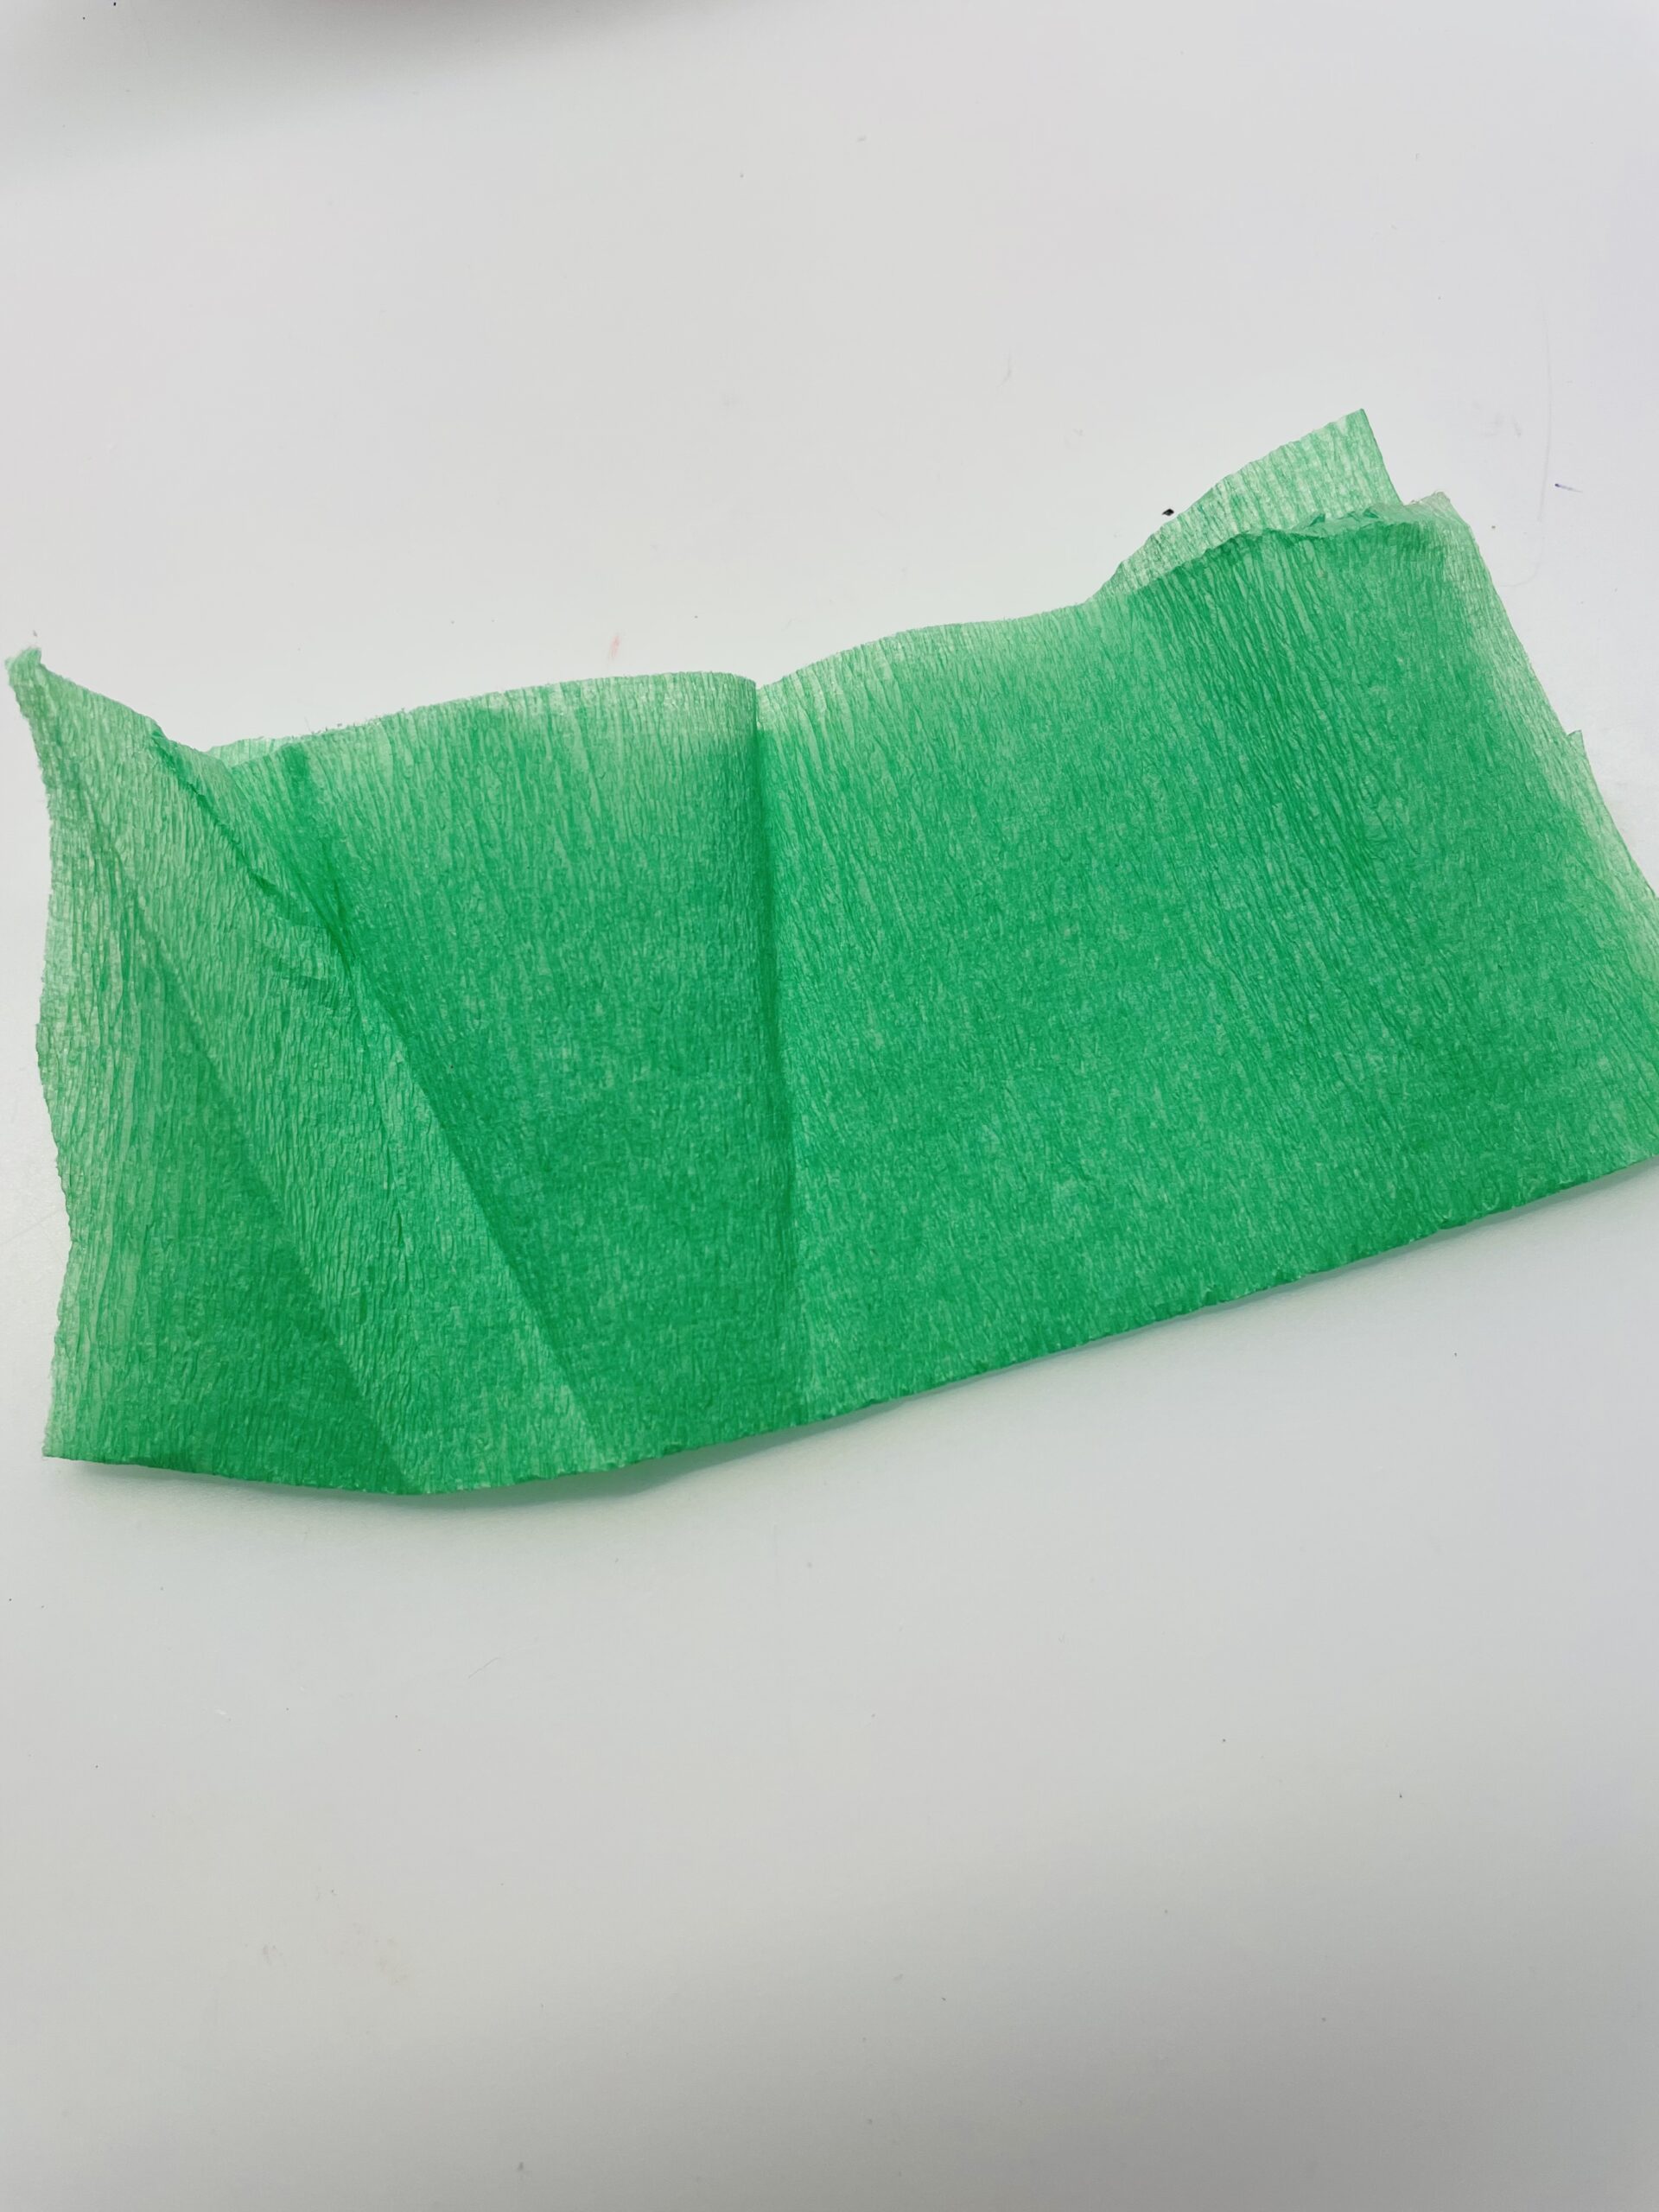
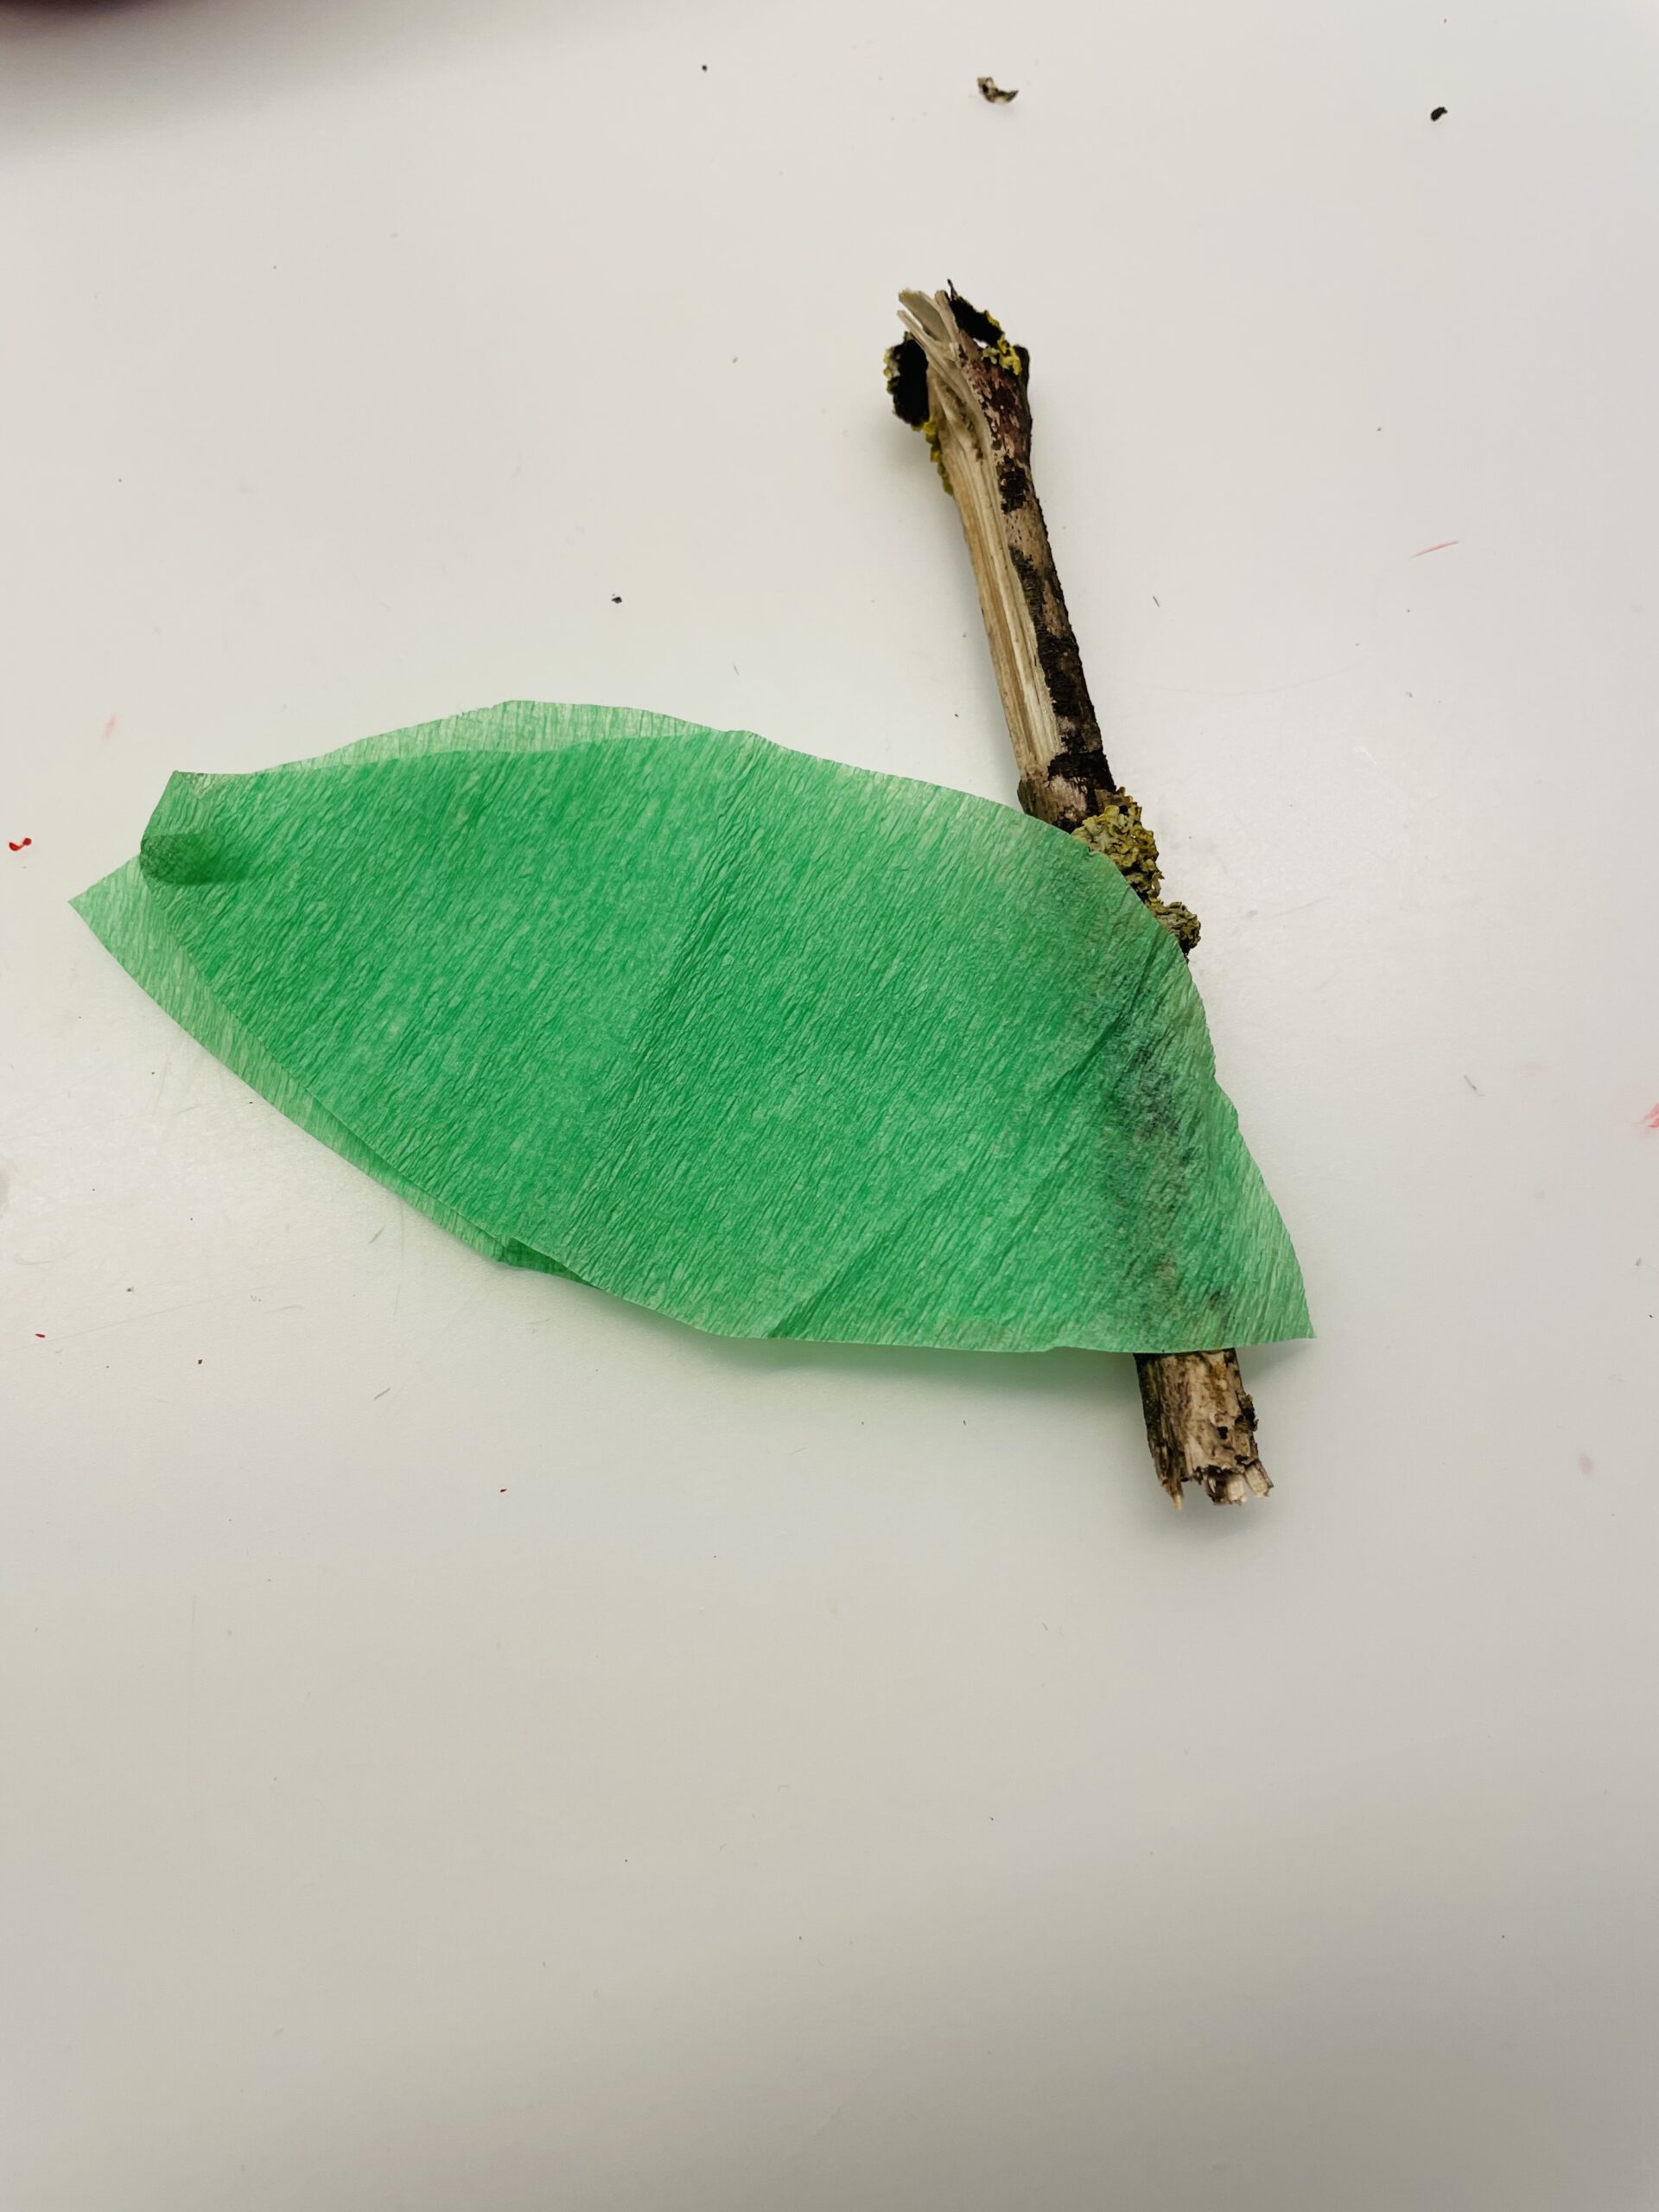
You need her a little branch and a piece of green crepe paper.

Bild zum Schritt 13 für das Bastel- und DIY-Abenteuer für Kinder: 'Ihr braucht ihr einen kleinen Ast und ein Stück grünes...'

13

2. Bild zum Schritt 13 für das Bastel- und DIY-Abenteuer für Kinder: 'Ihr braucht ihr einen kleinen Ast und ein Stück grünes...'

14

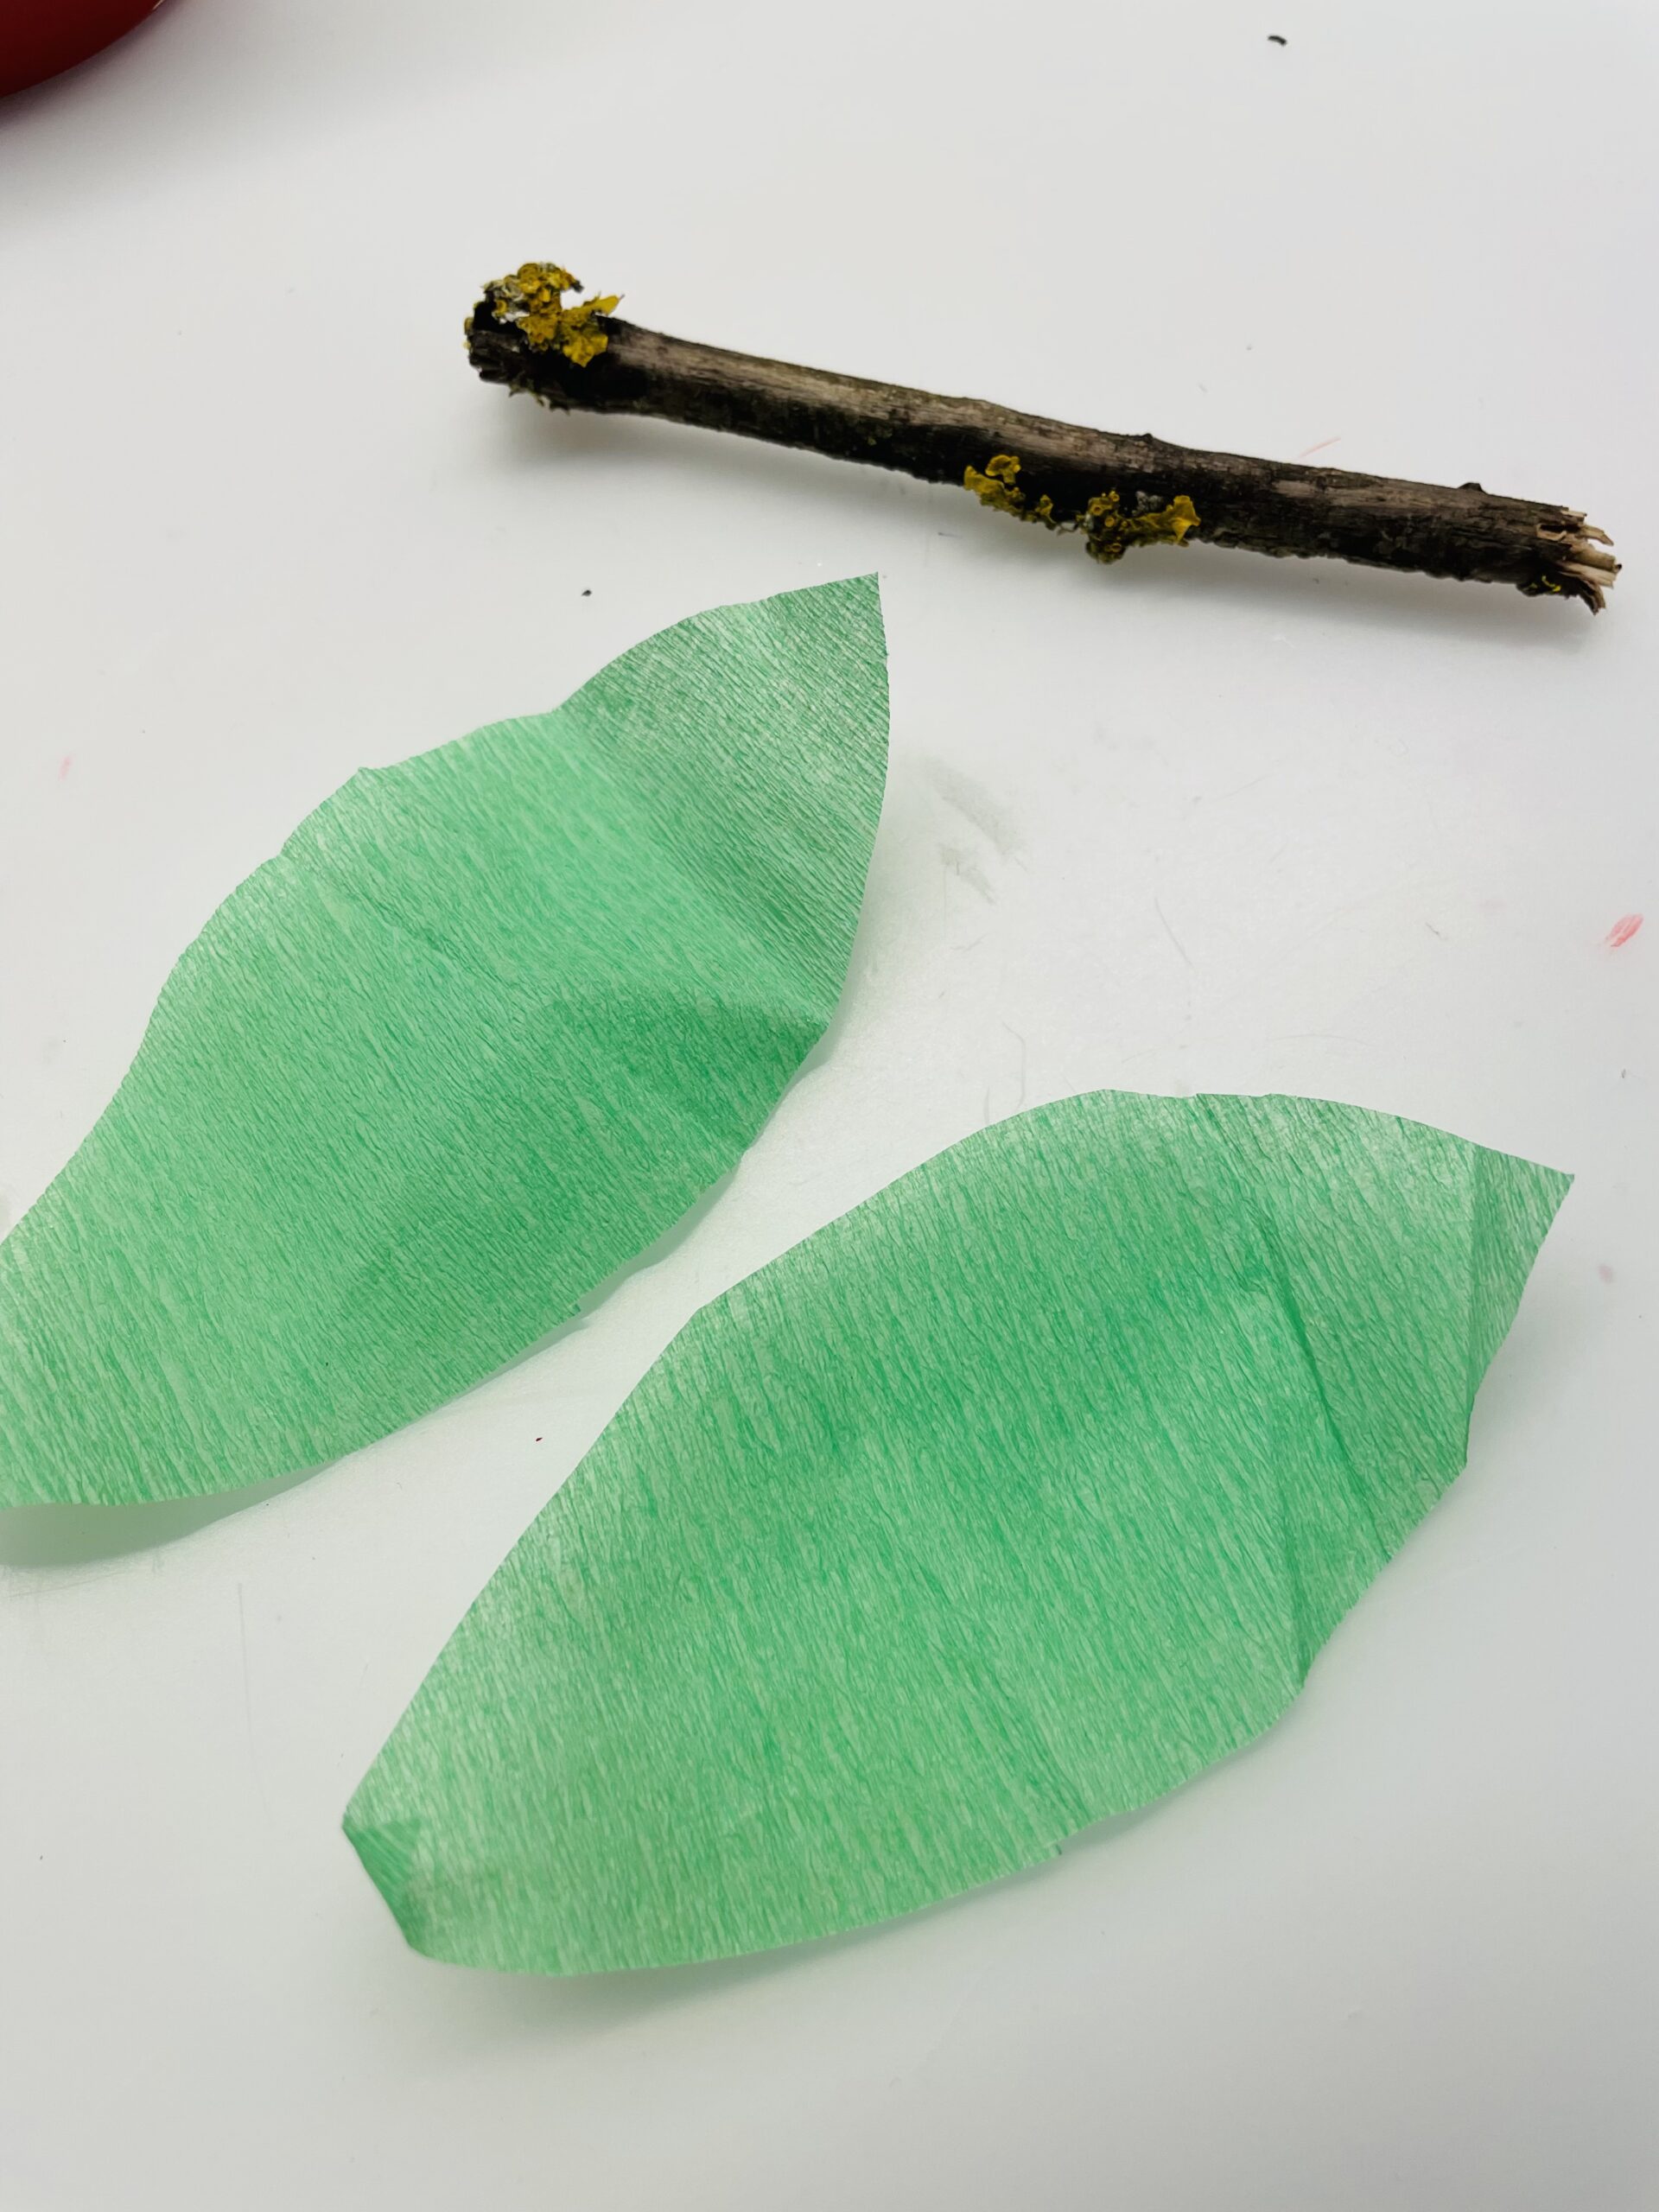
Cuts out 2 leaves from the crepe paper.

Bild zum Schritt 15 für das Bastel- und DIY-Abenteuer für Kinder: 'Schneidet aus dem Krepppapier 2 Blätter aus.'

15

First stick a leaf to the branch.

Bild zum Schritt 16 für das Bastel- und DIY-Abenteuer für Kinder: 'Klebt zuerst ein Blatt an den Ast.'

16

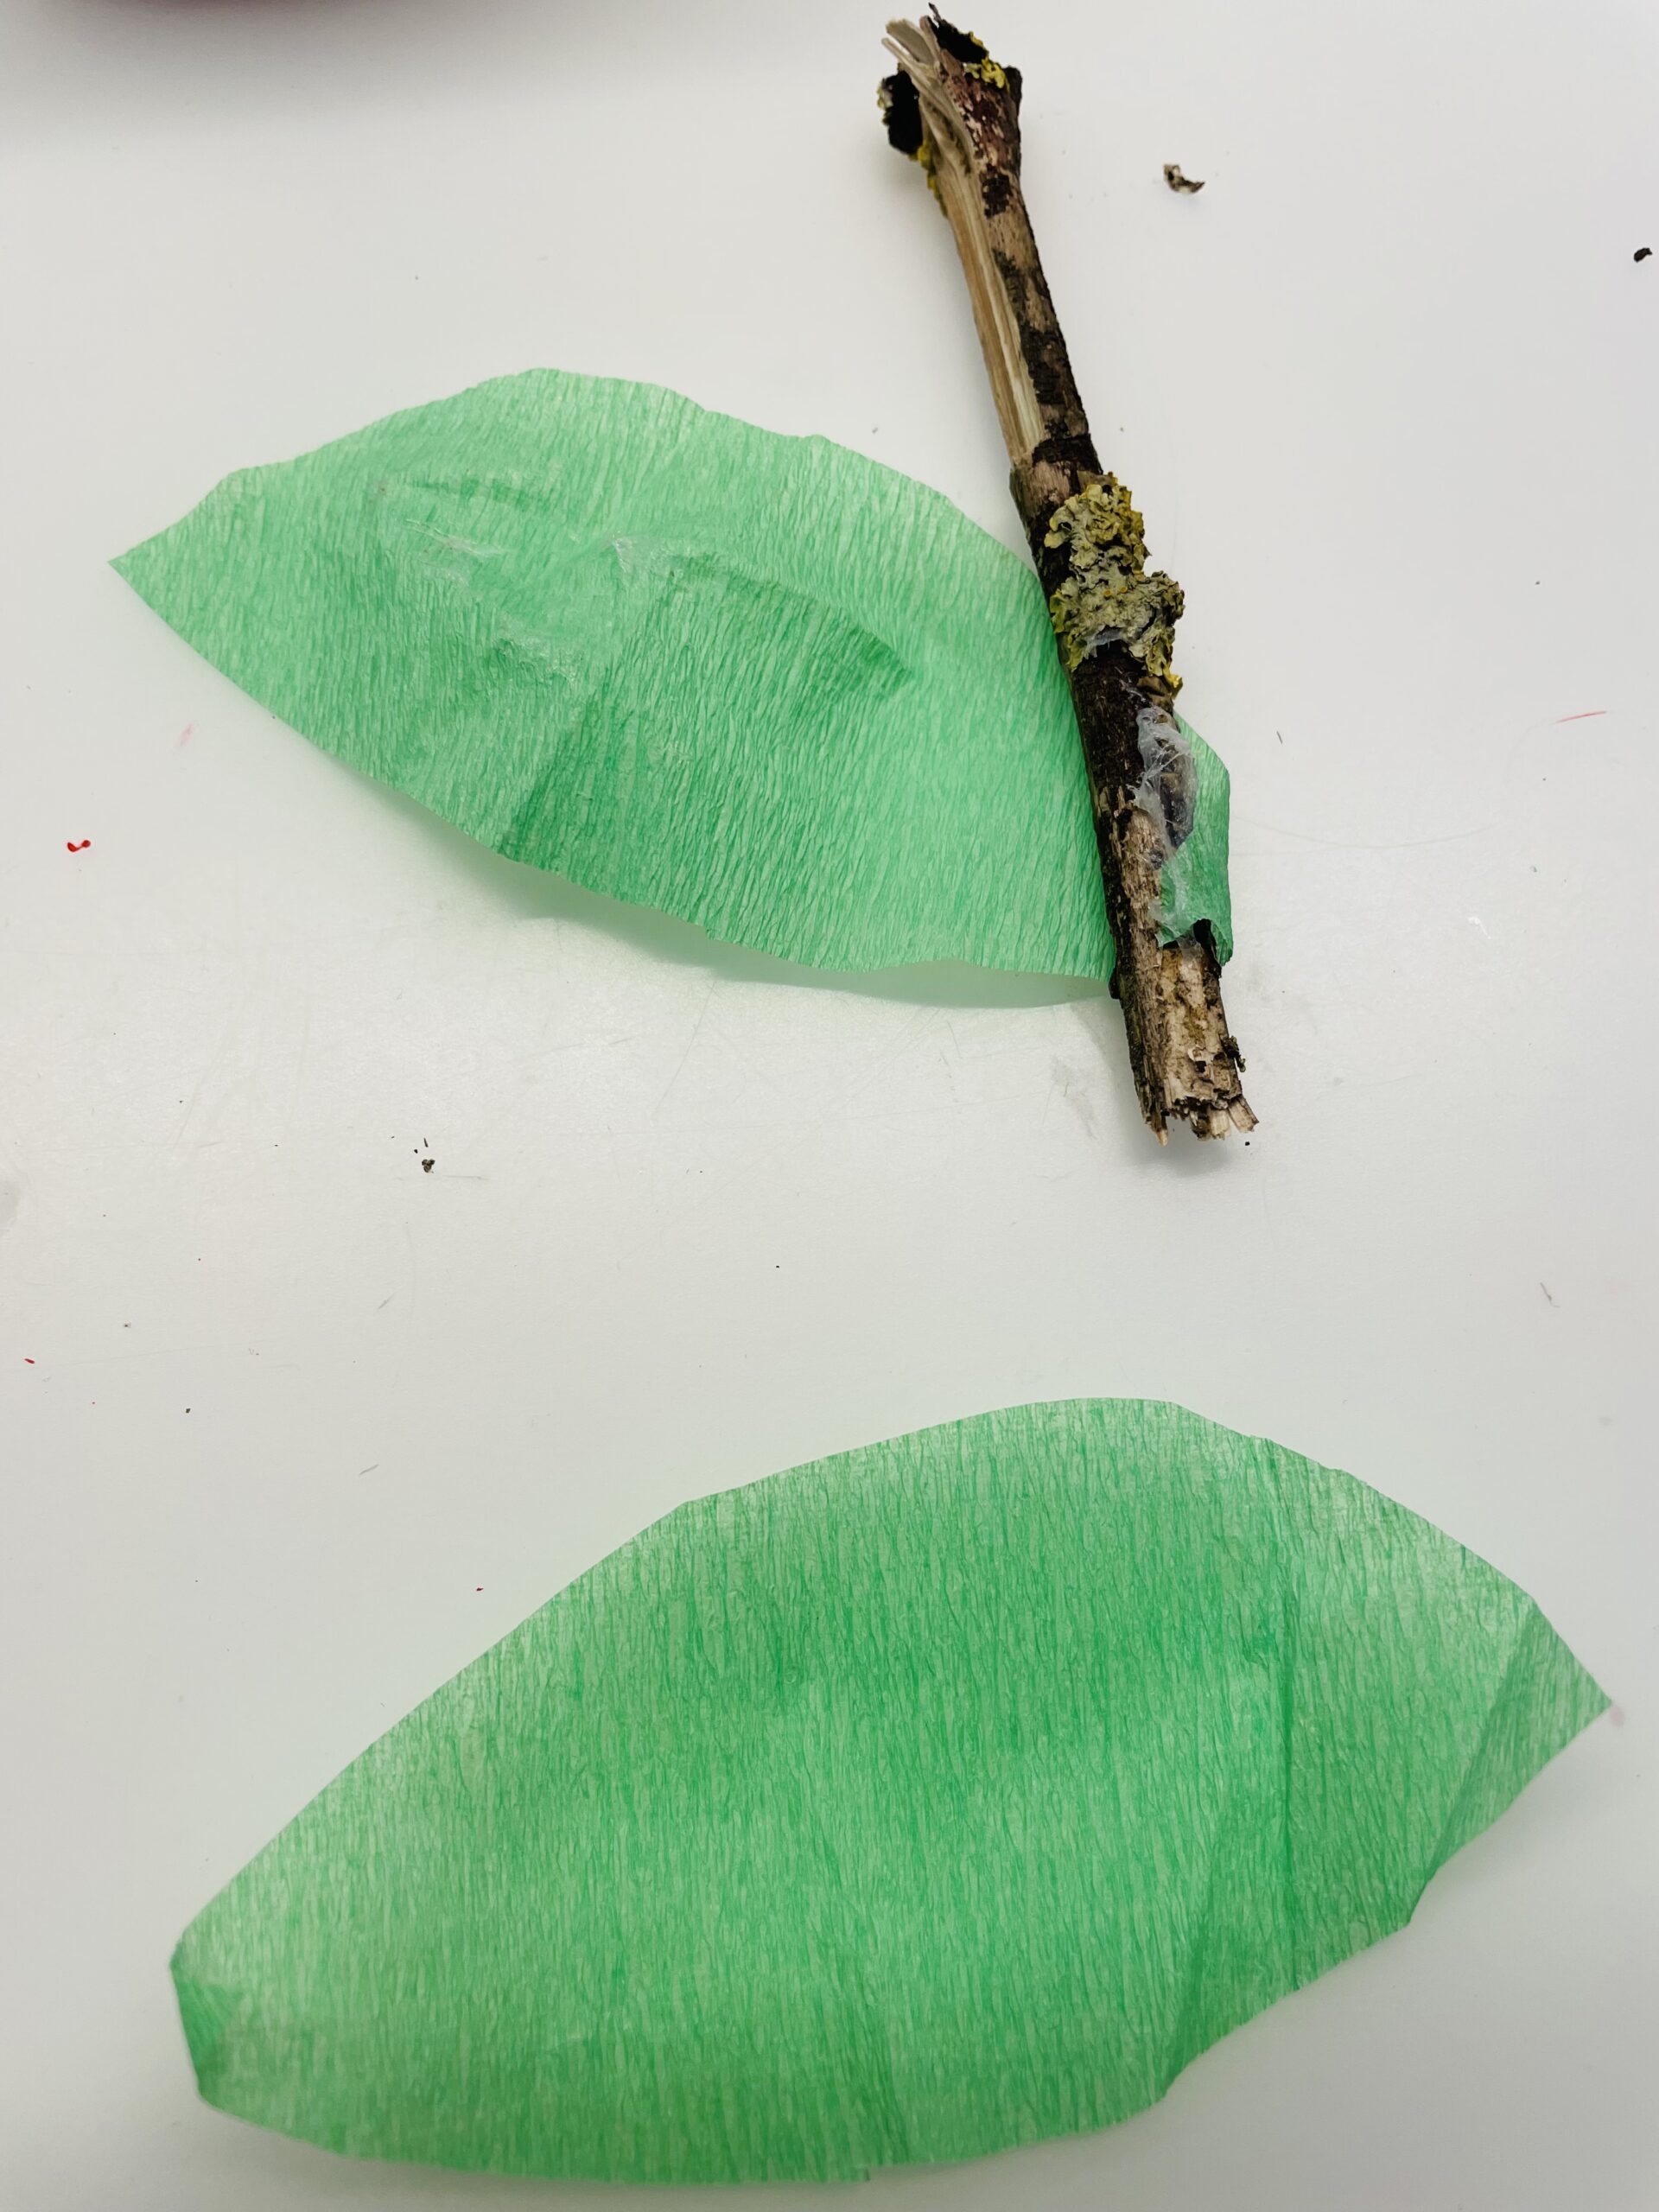
Then you lay the second leaf over the already fixed and glued both together.

Bild zum Schritt 17 für das Bastel- und DIY-Abenteuer für Kinder: 'Danach legt ihr das zweite Blatt über das bereits befestigte...'

17

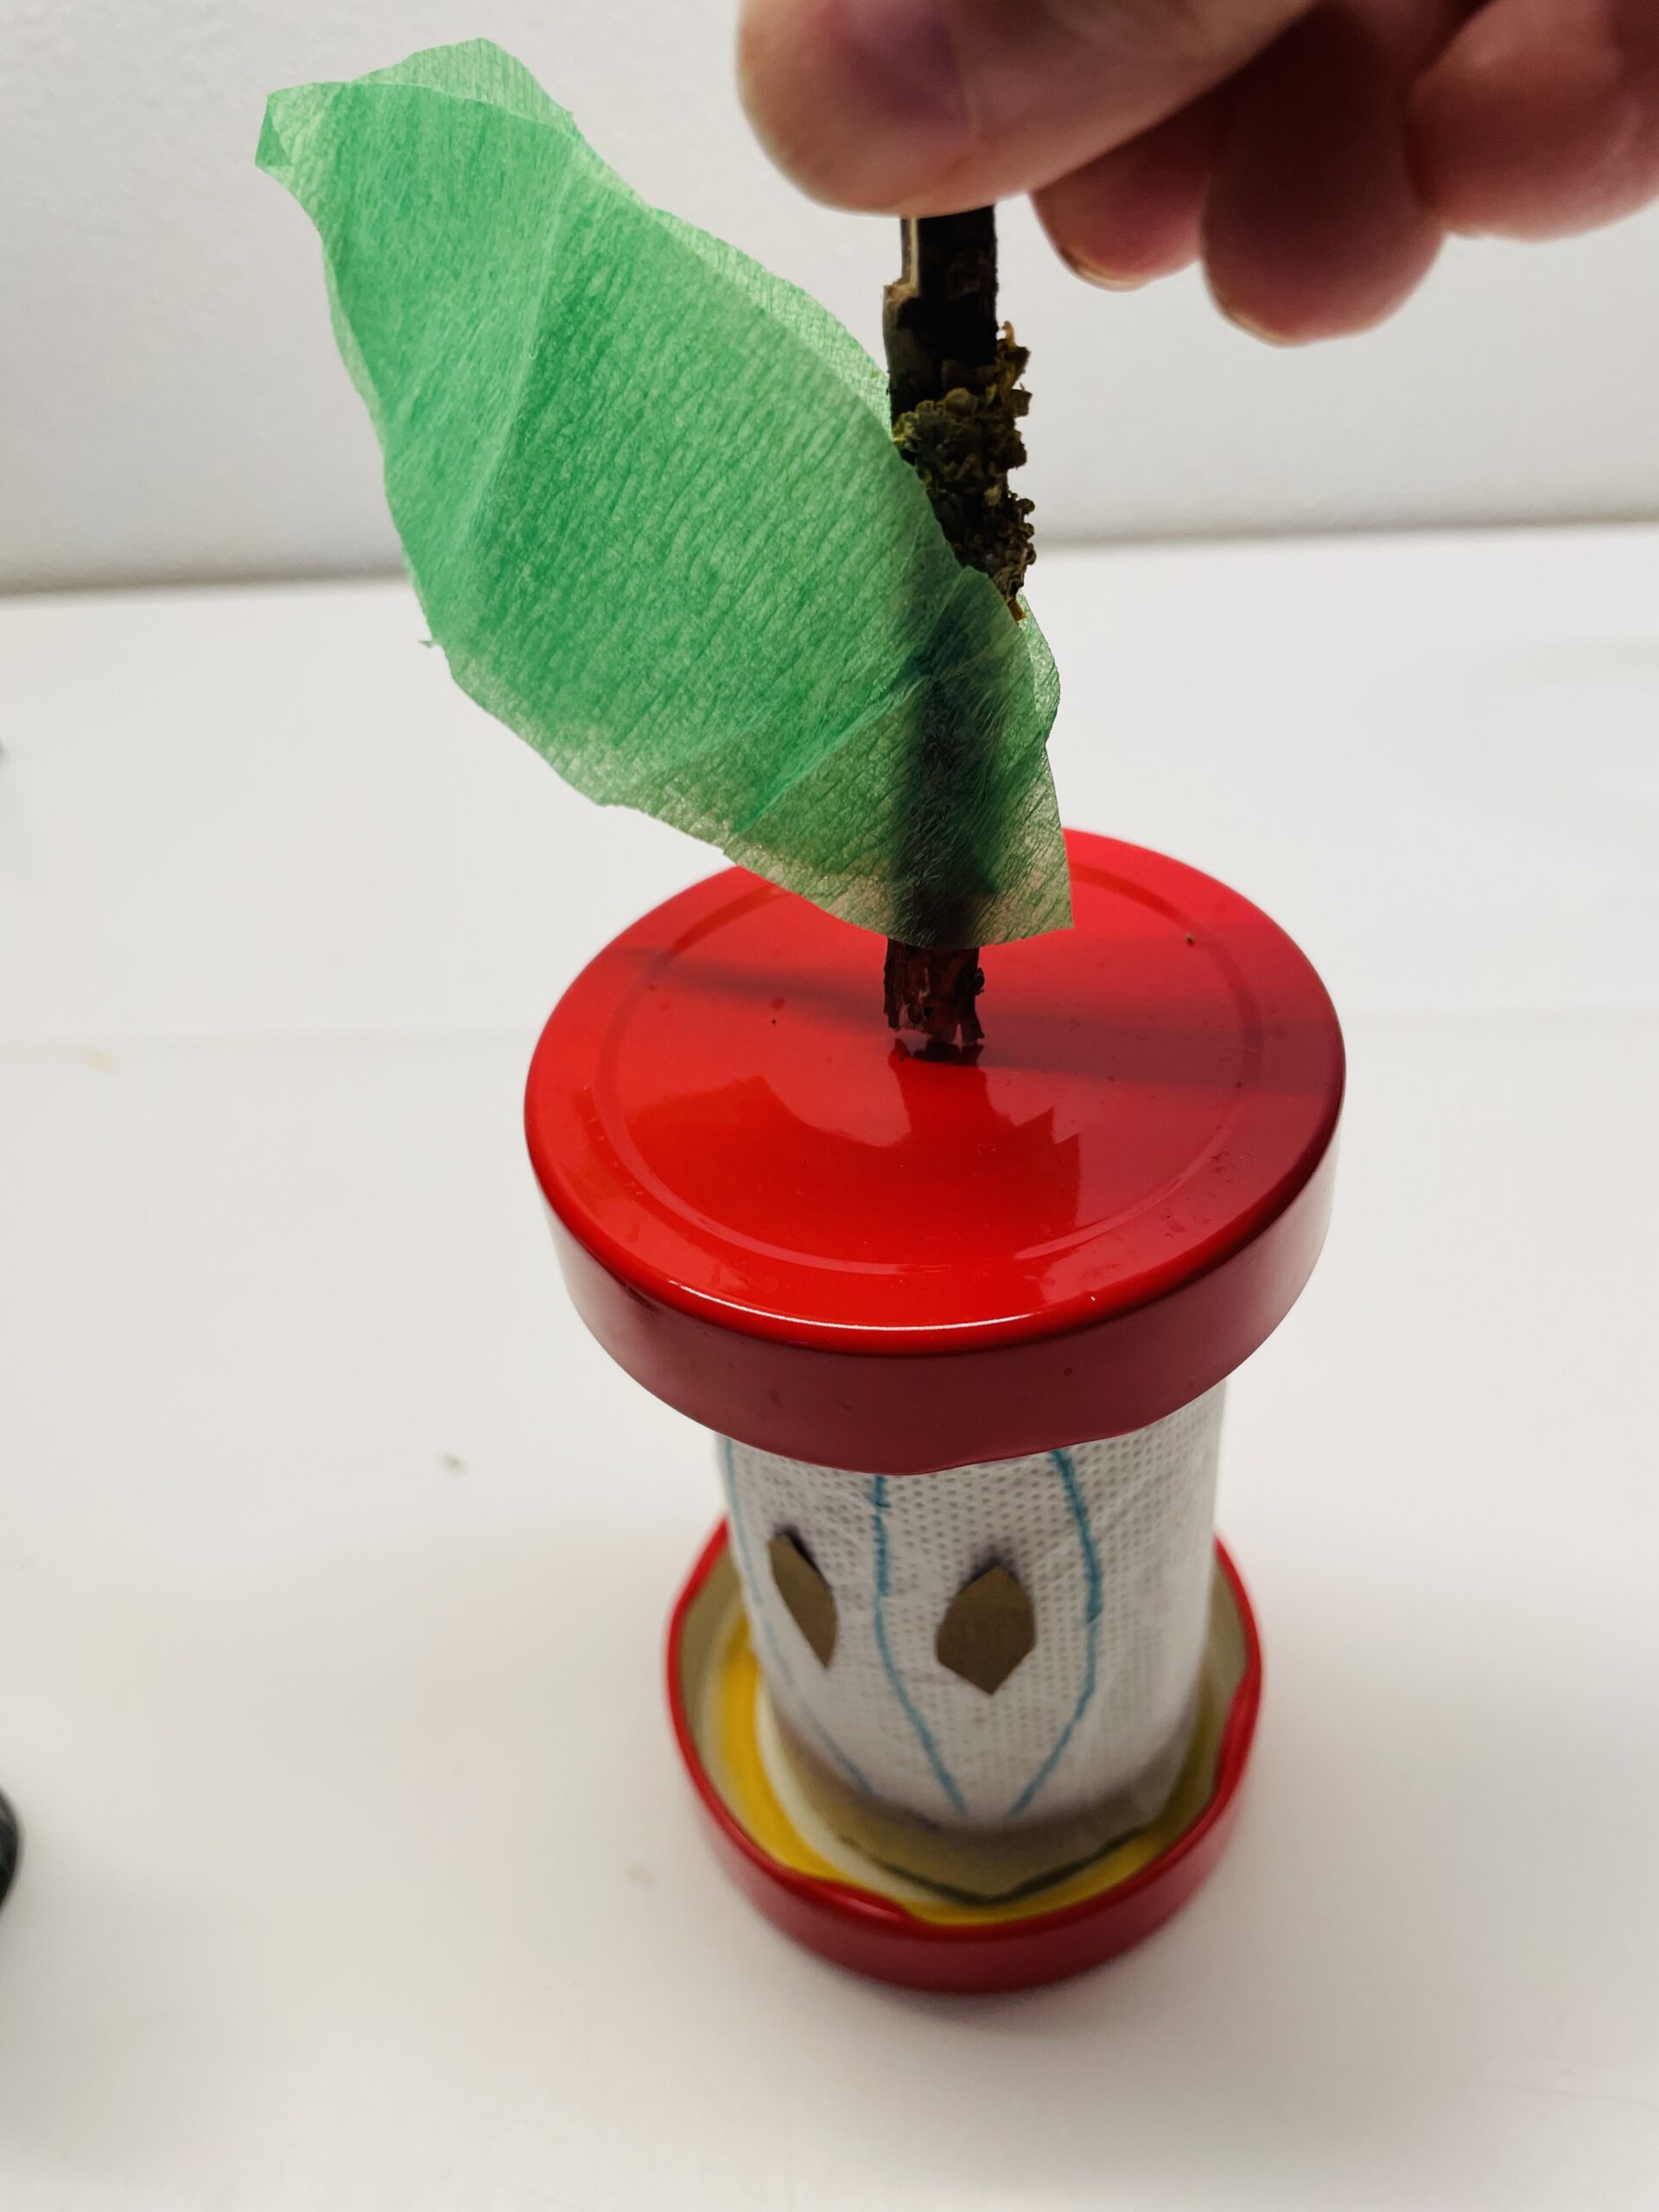
Now you stick the handle with the leaves on the top lid. Use the hot glue for this. Attention when handling the hot glue - risk of injury!

Bild zum Schritt 18 für das Bastel- und DIY-Abenteuer für Kinder: 'Jetzt klebt ihr den Stiel mit den Blättern auf den...'

18

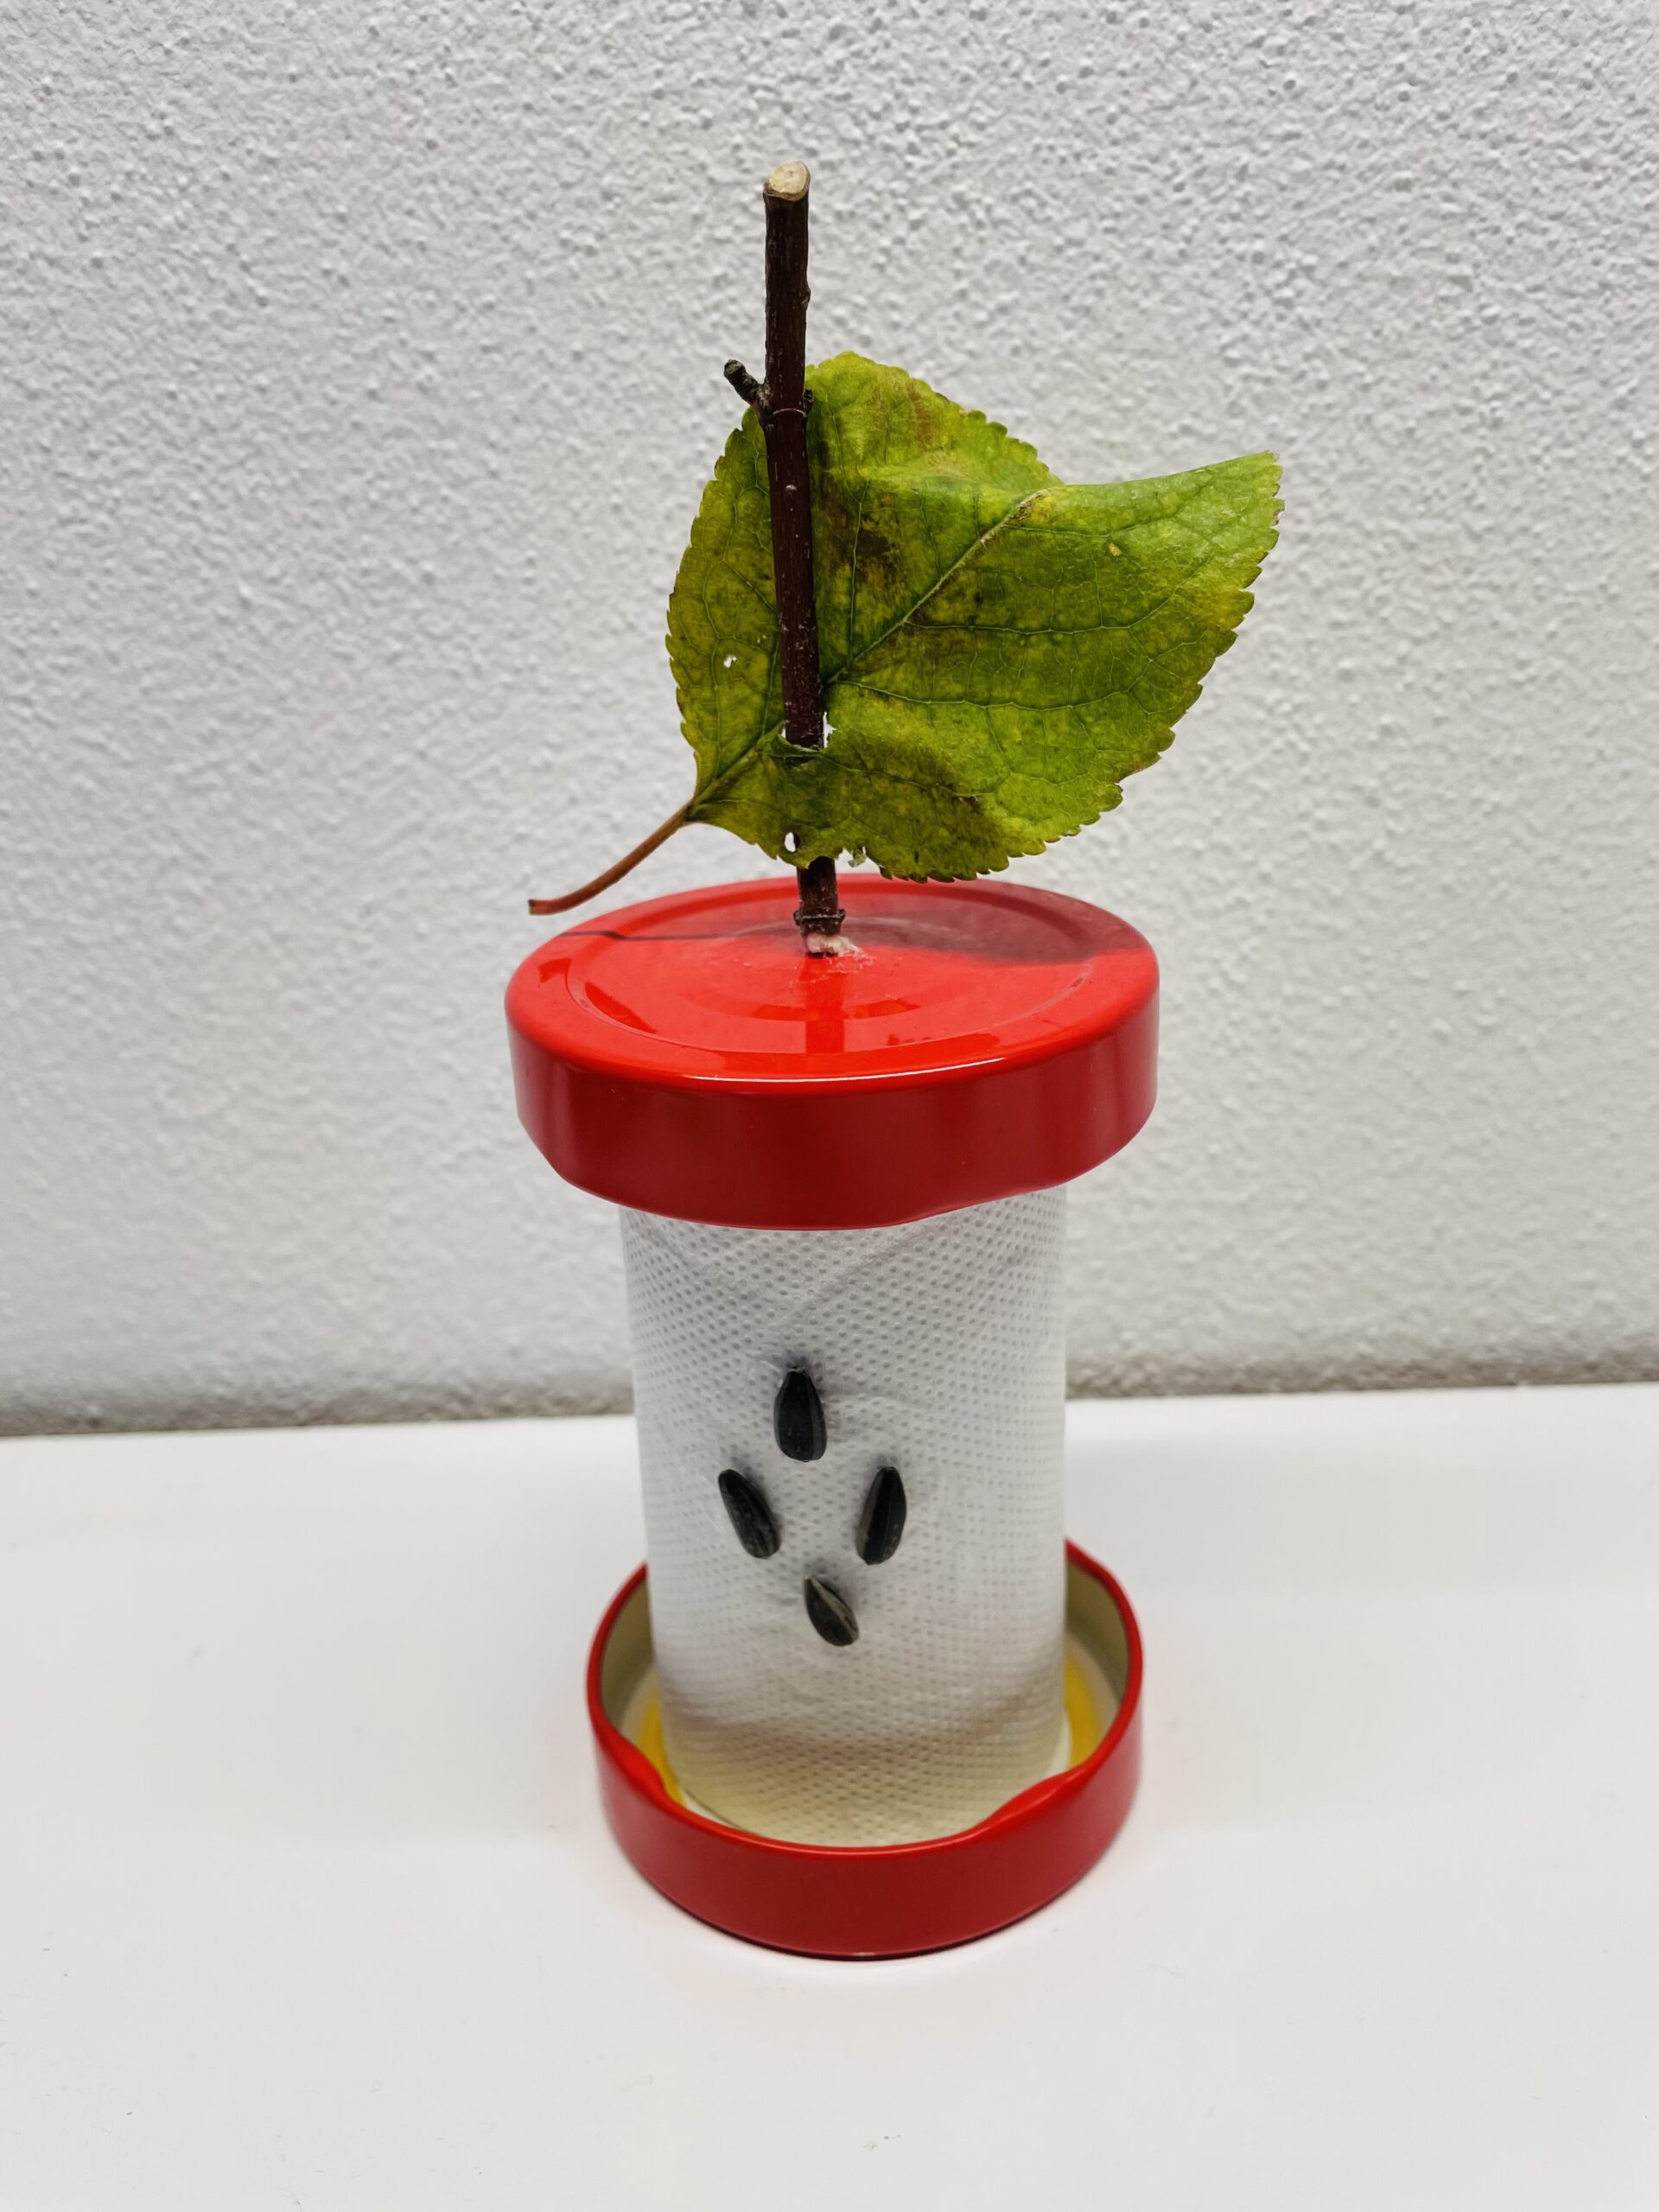
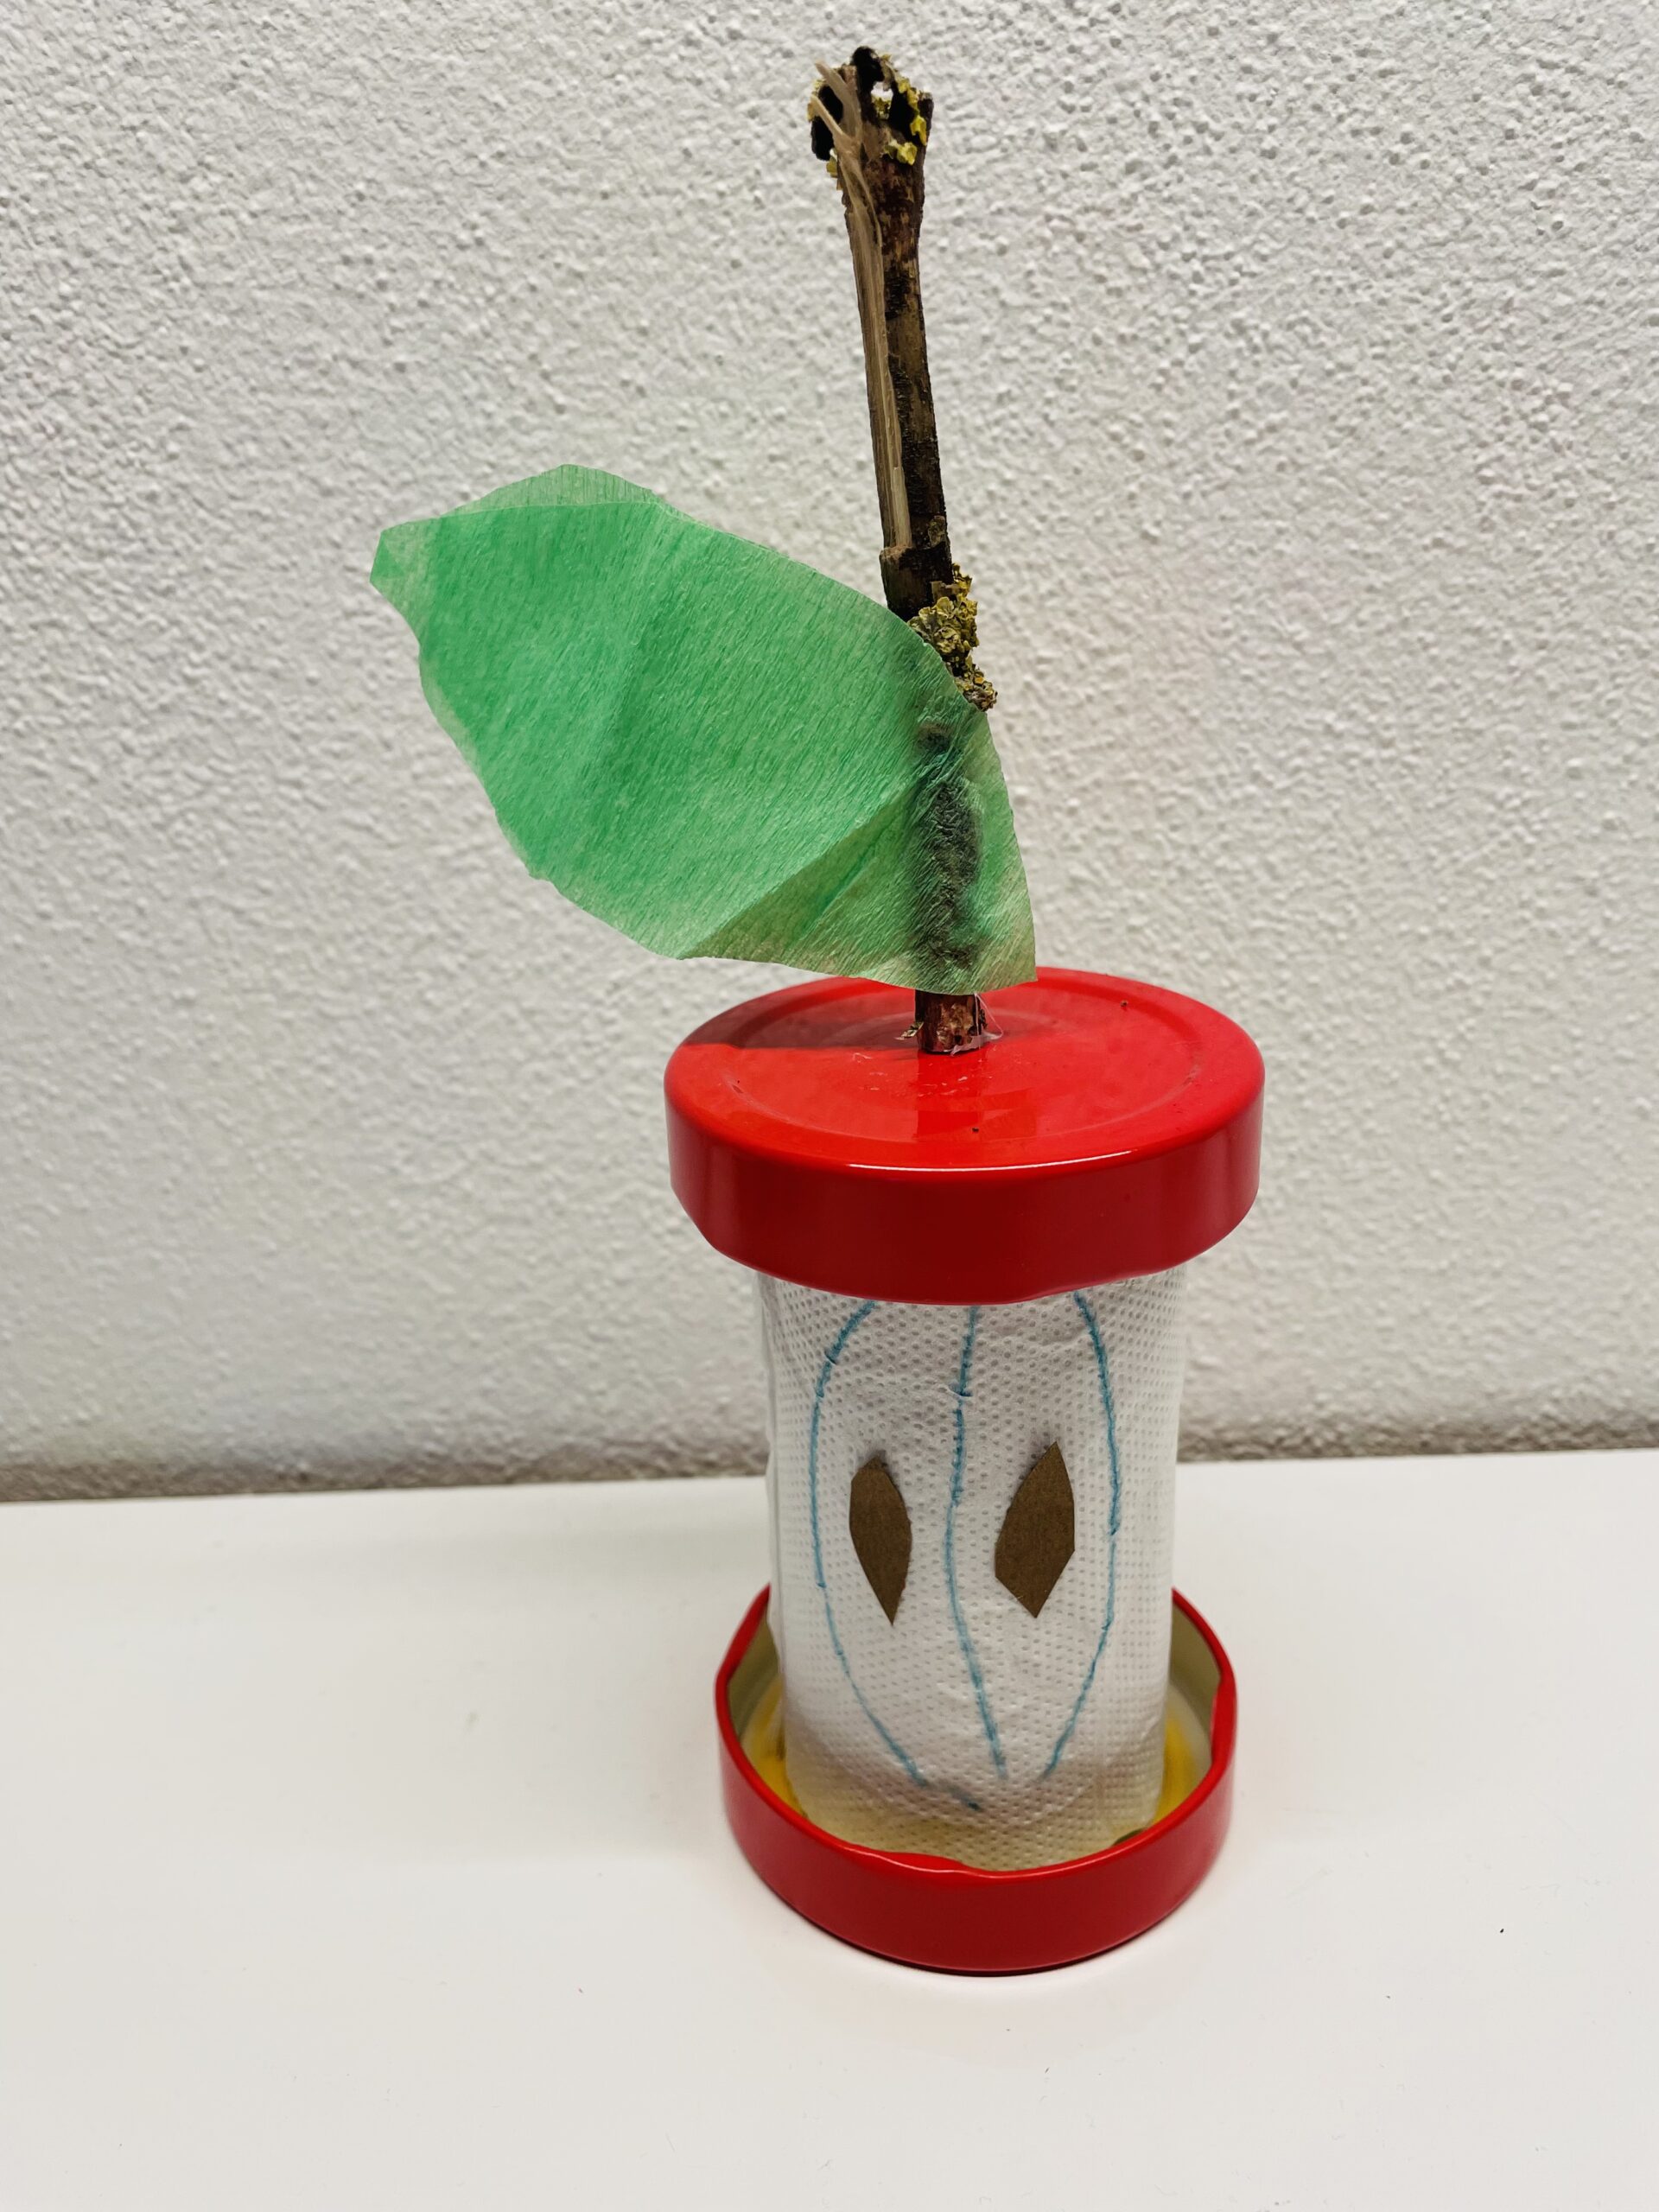
The apple poop is ready.

Bild zum Schritt 19 für das Bastel- und DIY-Abenteuer für Kinder: 'Fertig ist der Apfel-Butzen.'

Variant 2 with natural material:
19

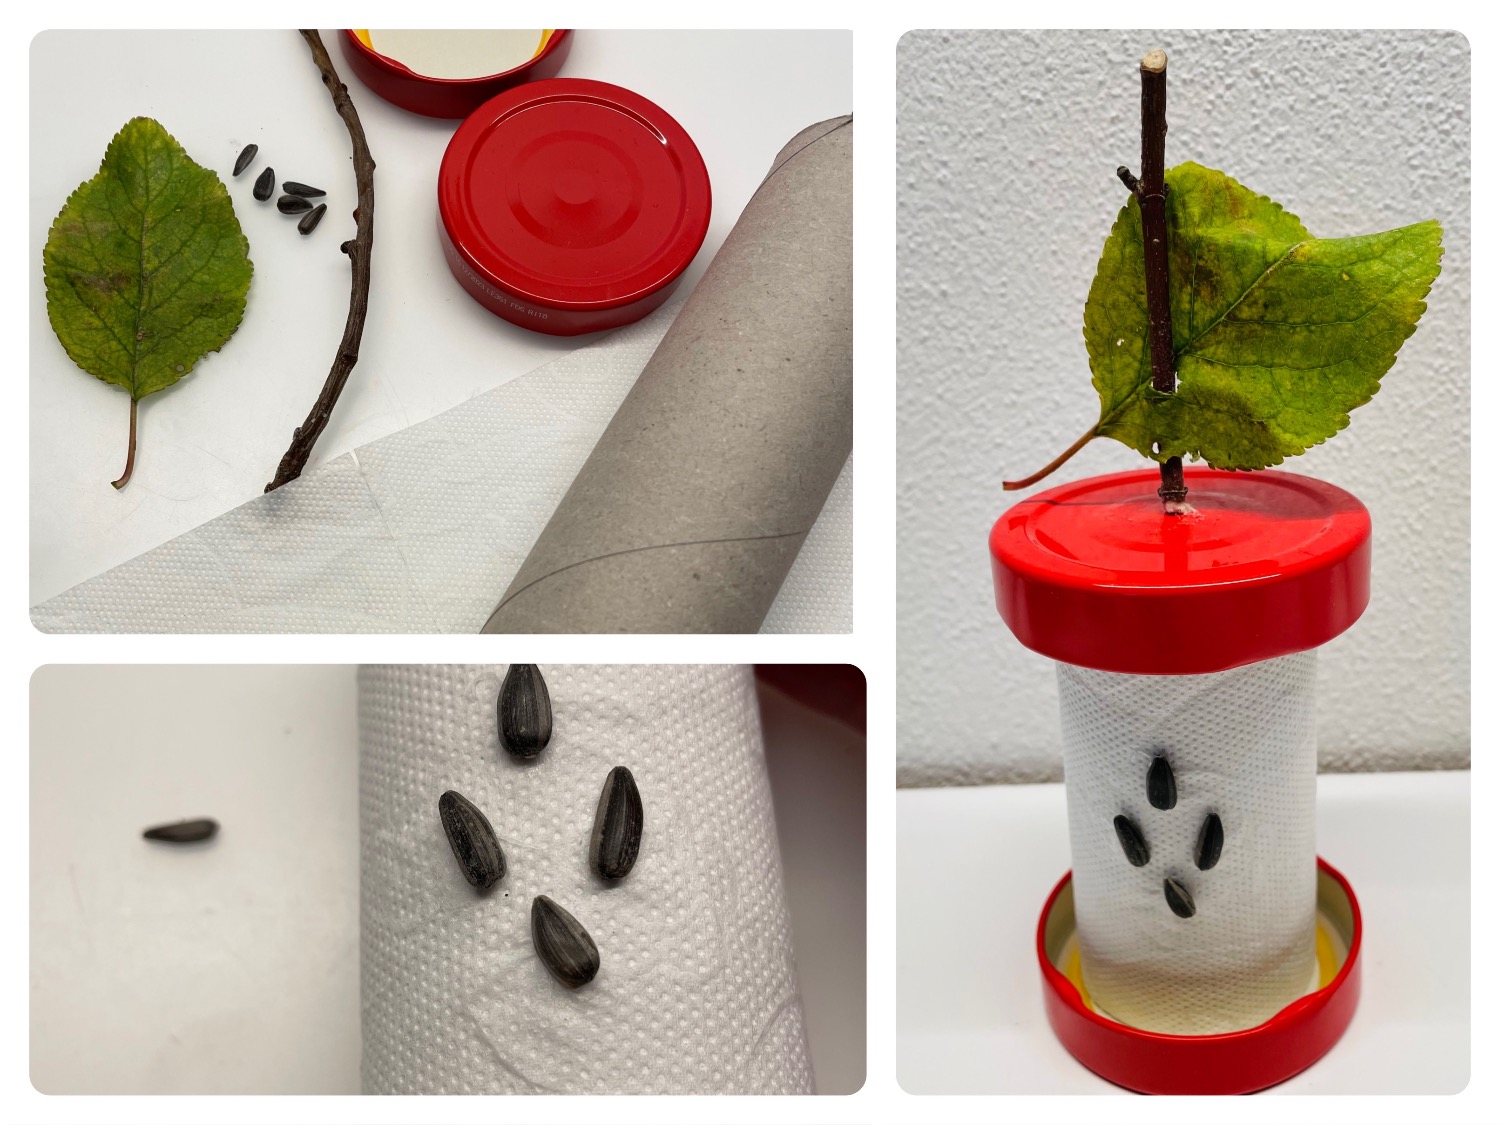
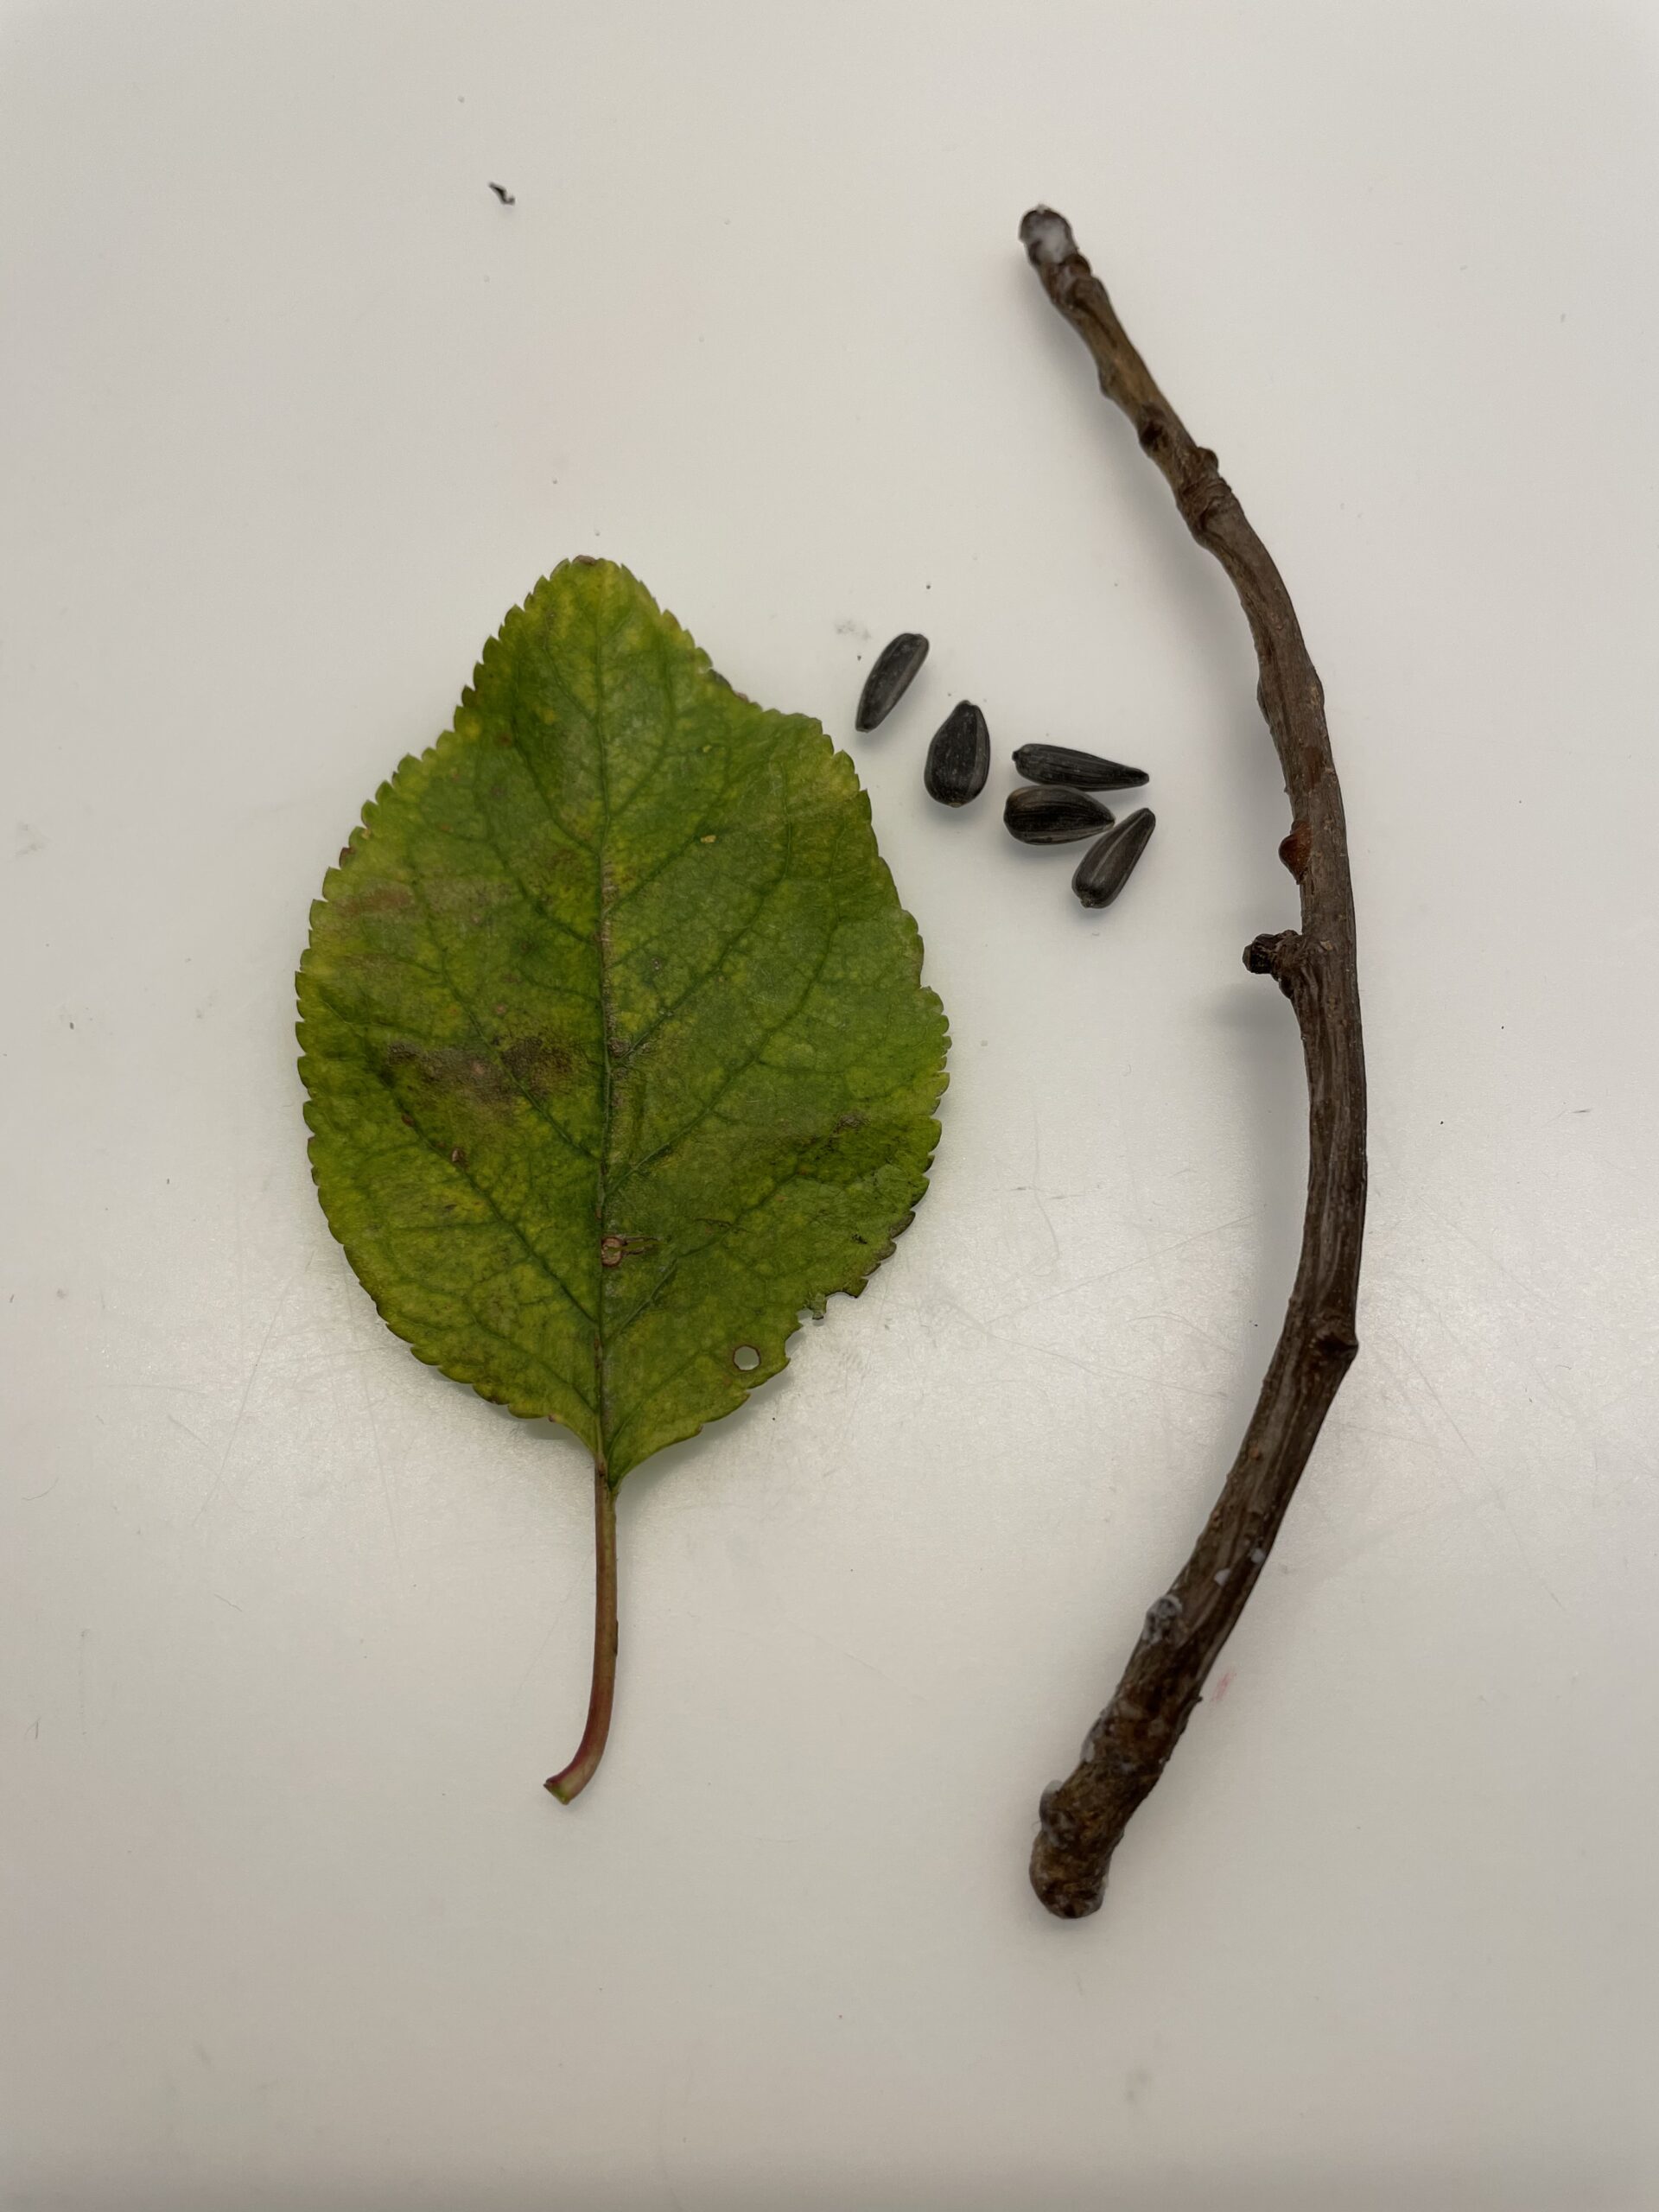
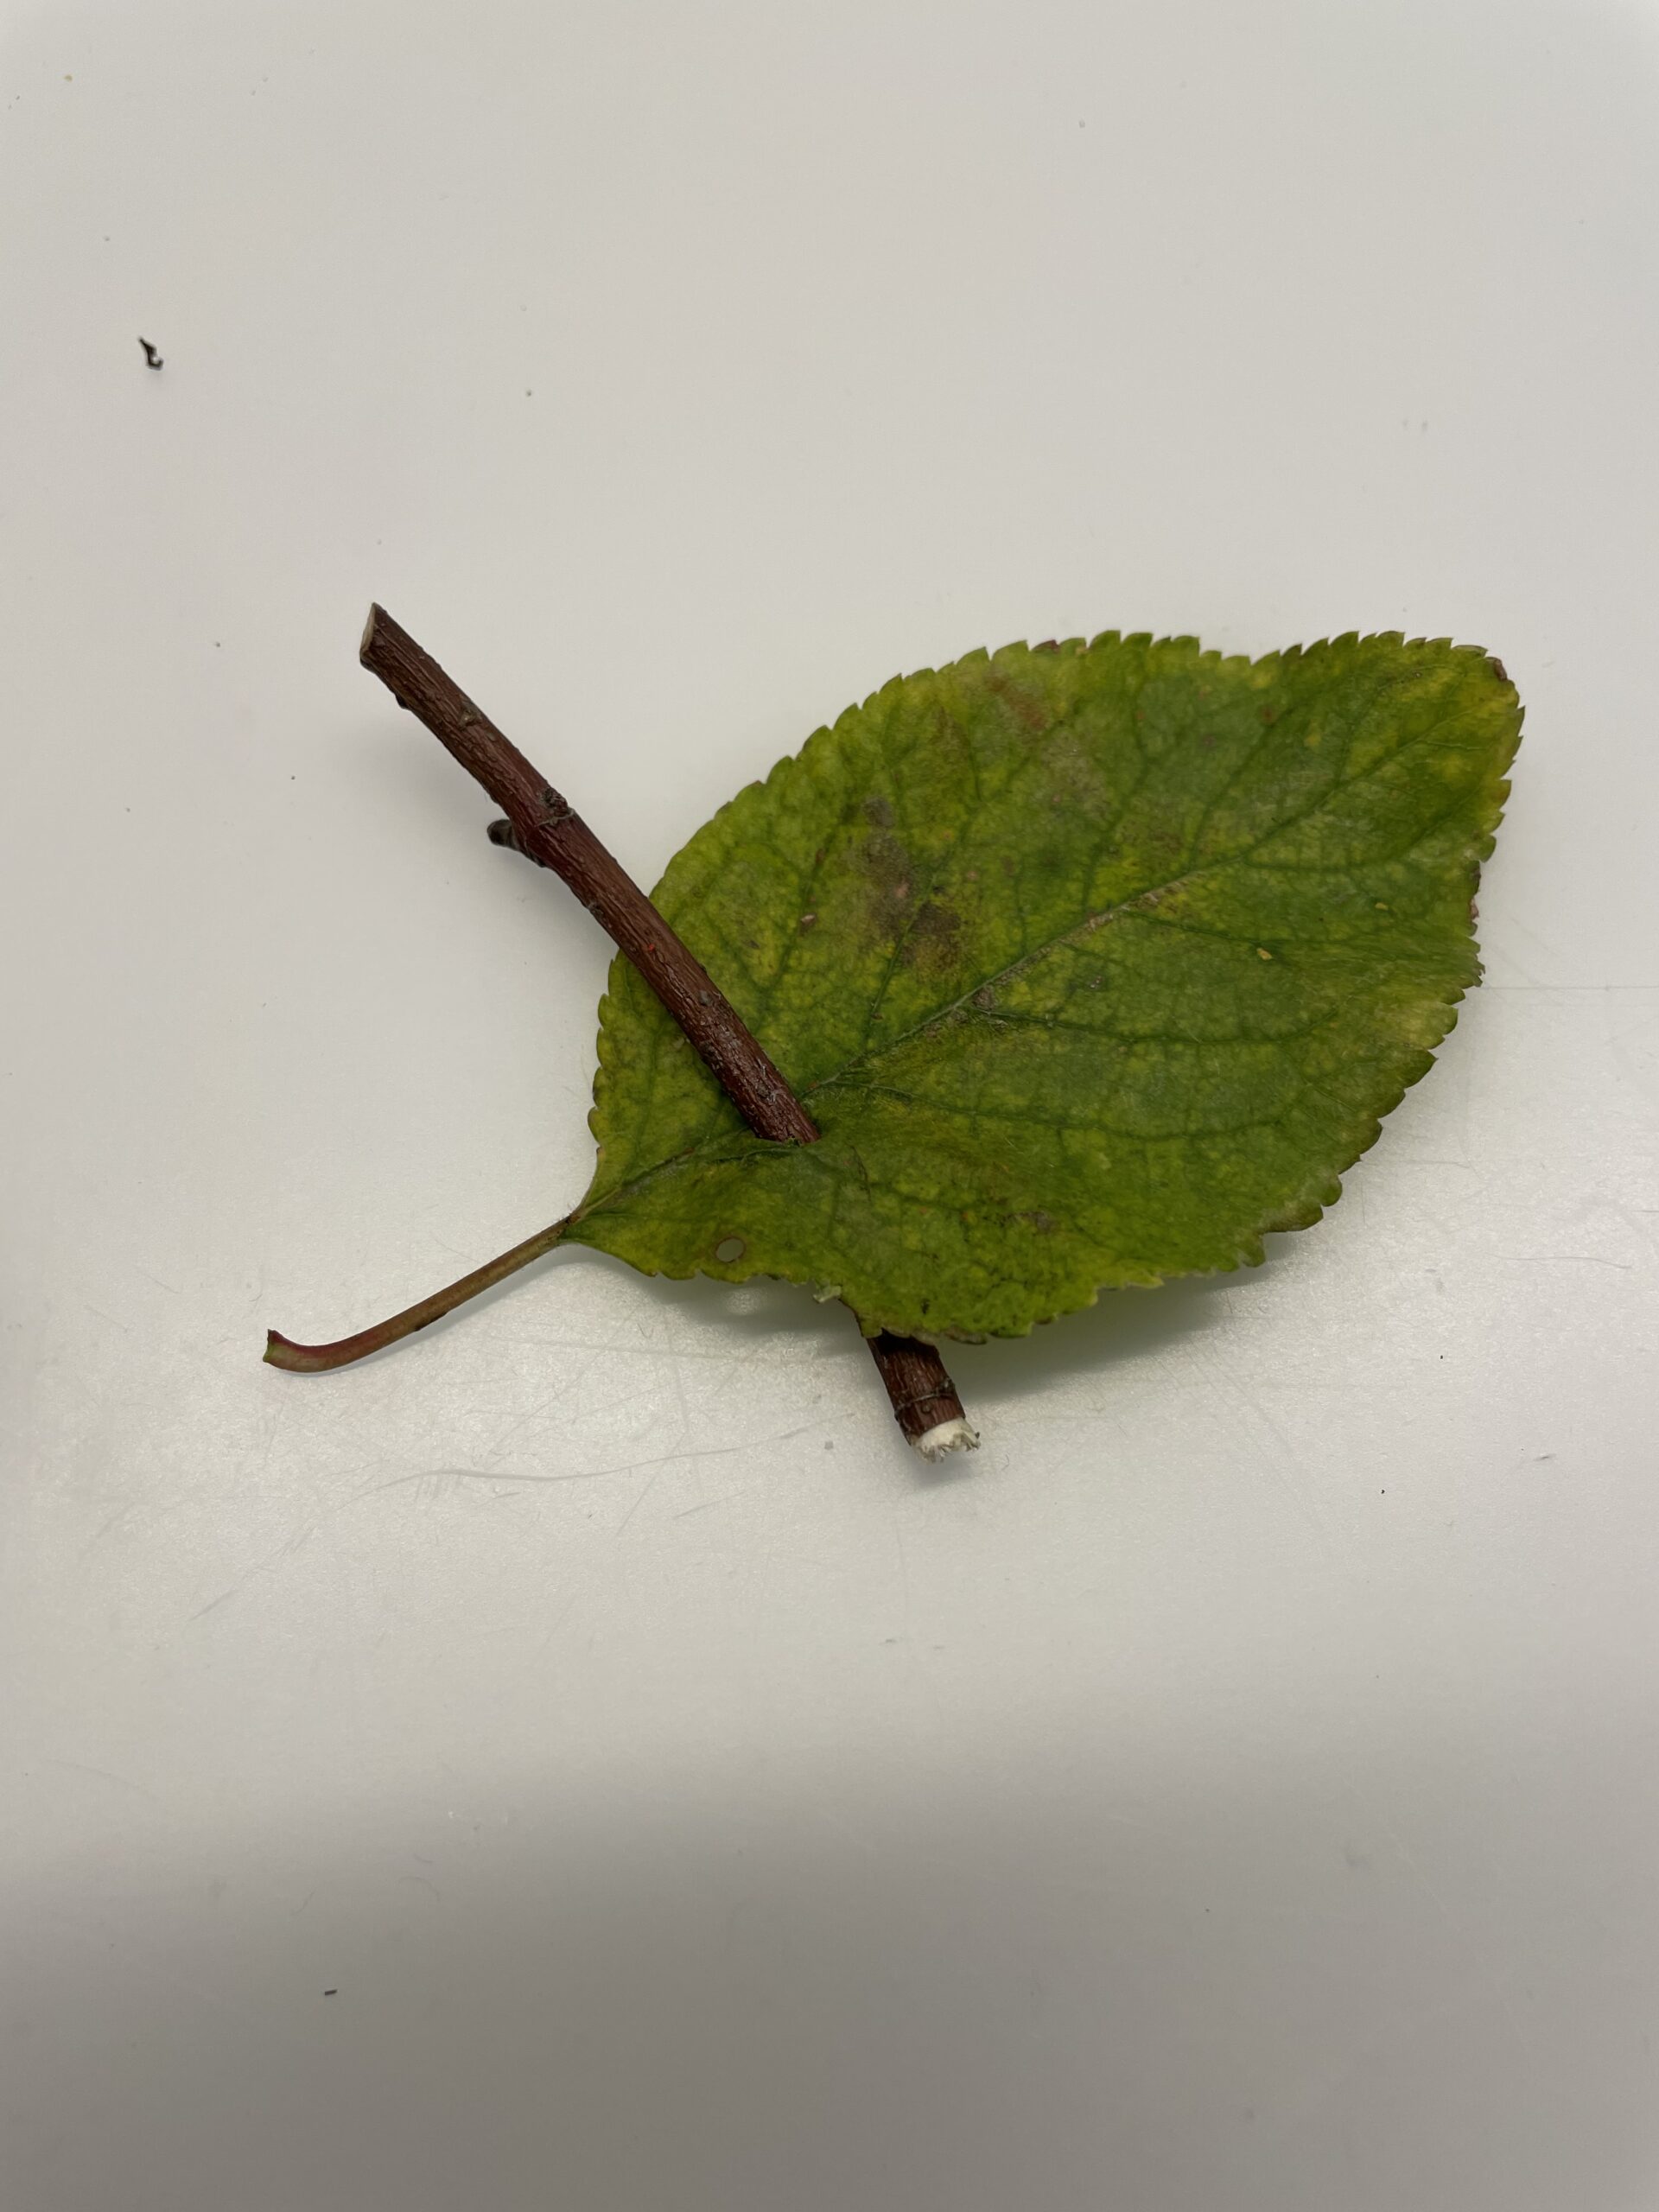
First prepare your material. Use real apple seeds and a leaf of an apple tree.

Bild zum Schritt 21 für das Bastel- und DIY-Abenteuer für Kinder: 'Legt zuerst euer Material bereit. Verwendet echte Apfelkerne und ein...'

20

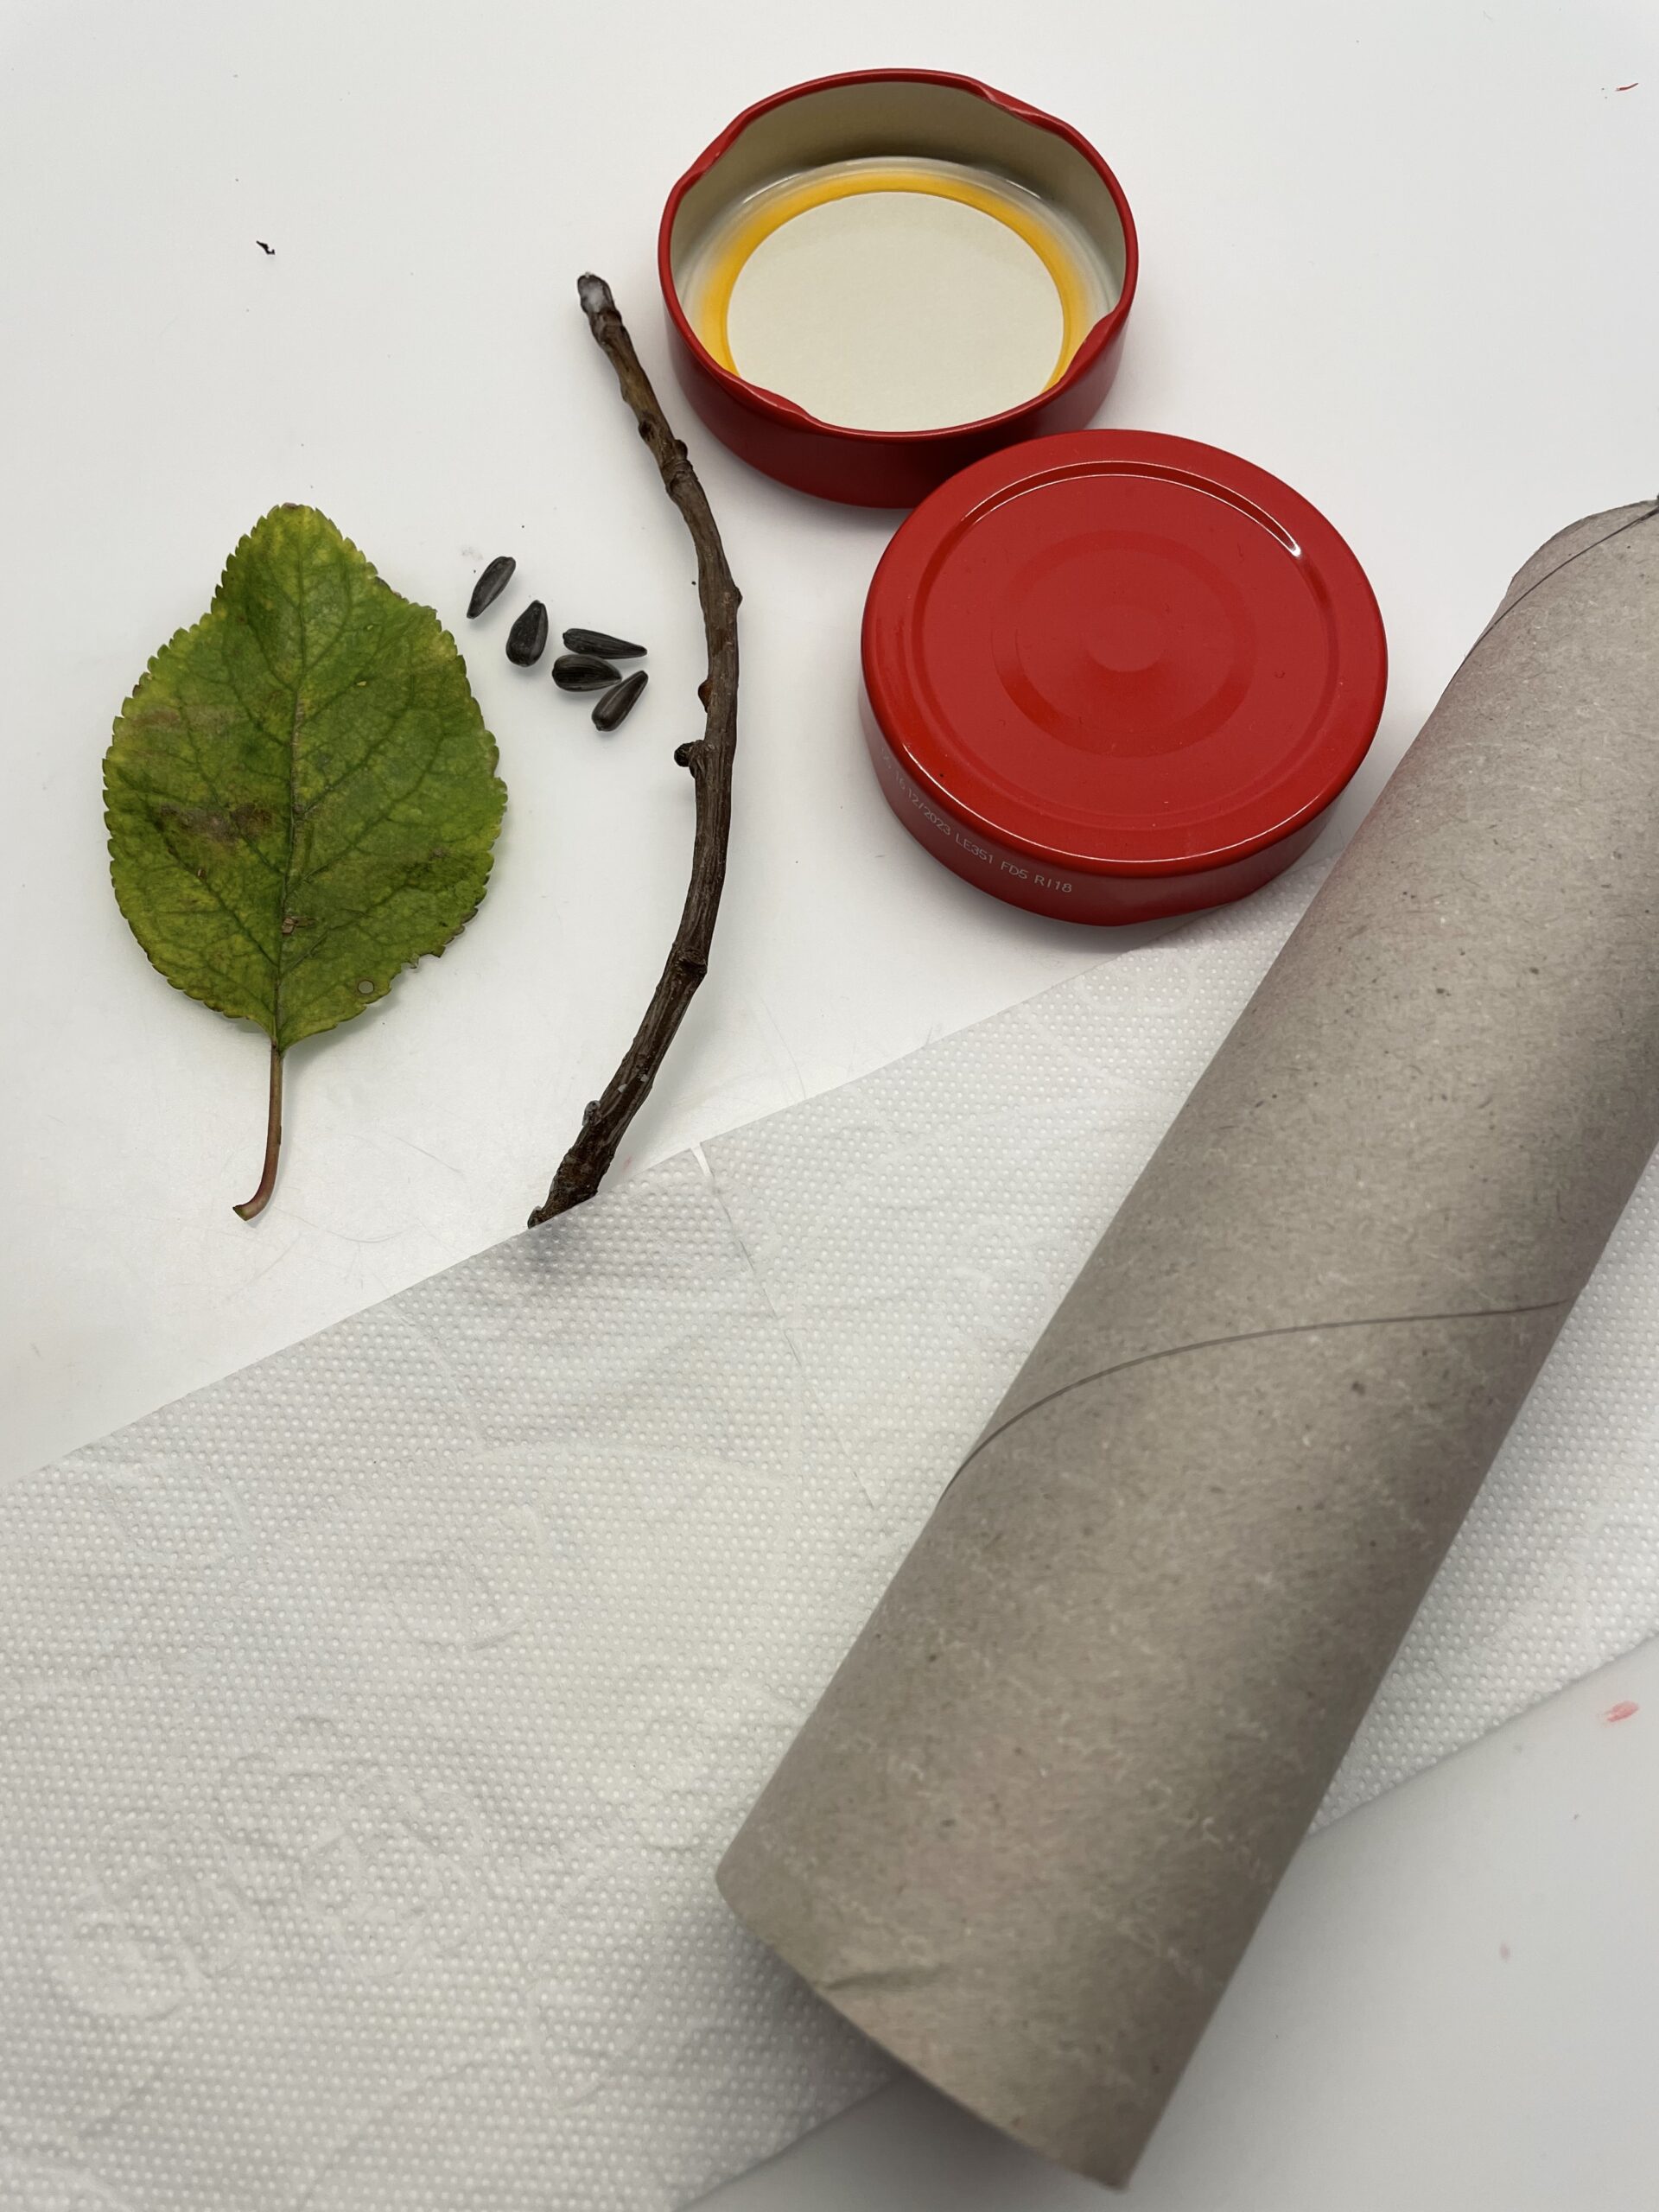
If you don't find a leaf from an apple tree, take a similarly shaped leaf.

Bild zum Schritt 22 für das Bastel- und DIY-Abenteuer für Kinder: 'Wenn ihr kein Blatt von einem Apfelbaum findet, dann nehmt...'

21

Now glue the toilet paper with the back to the outside on the cardboard roll.

Bild zum Schritt 23 für das Bastel- und DIY-Abenteuer für Kinder: 'Klebt nun das Toilettenpapier mit der Rückseite nach außen auf...'

22

Seasons overhanging toilet paper with scissors.

Bild zum Schritt 24 für das Bastel- und DIY-Abenteuer für Kinder: 'Kürzt überstehendes Toilettenpapier mit der Schere.'

23

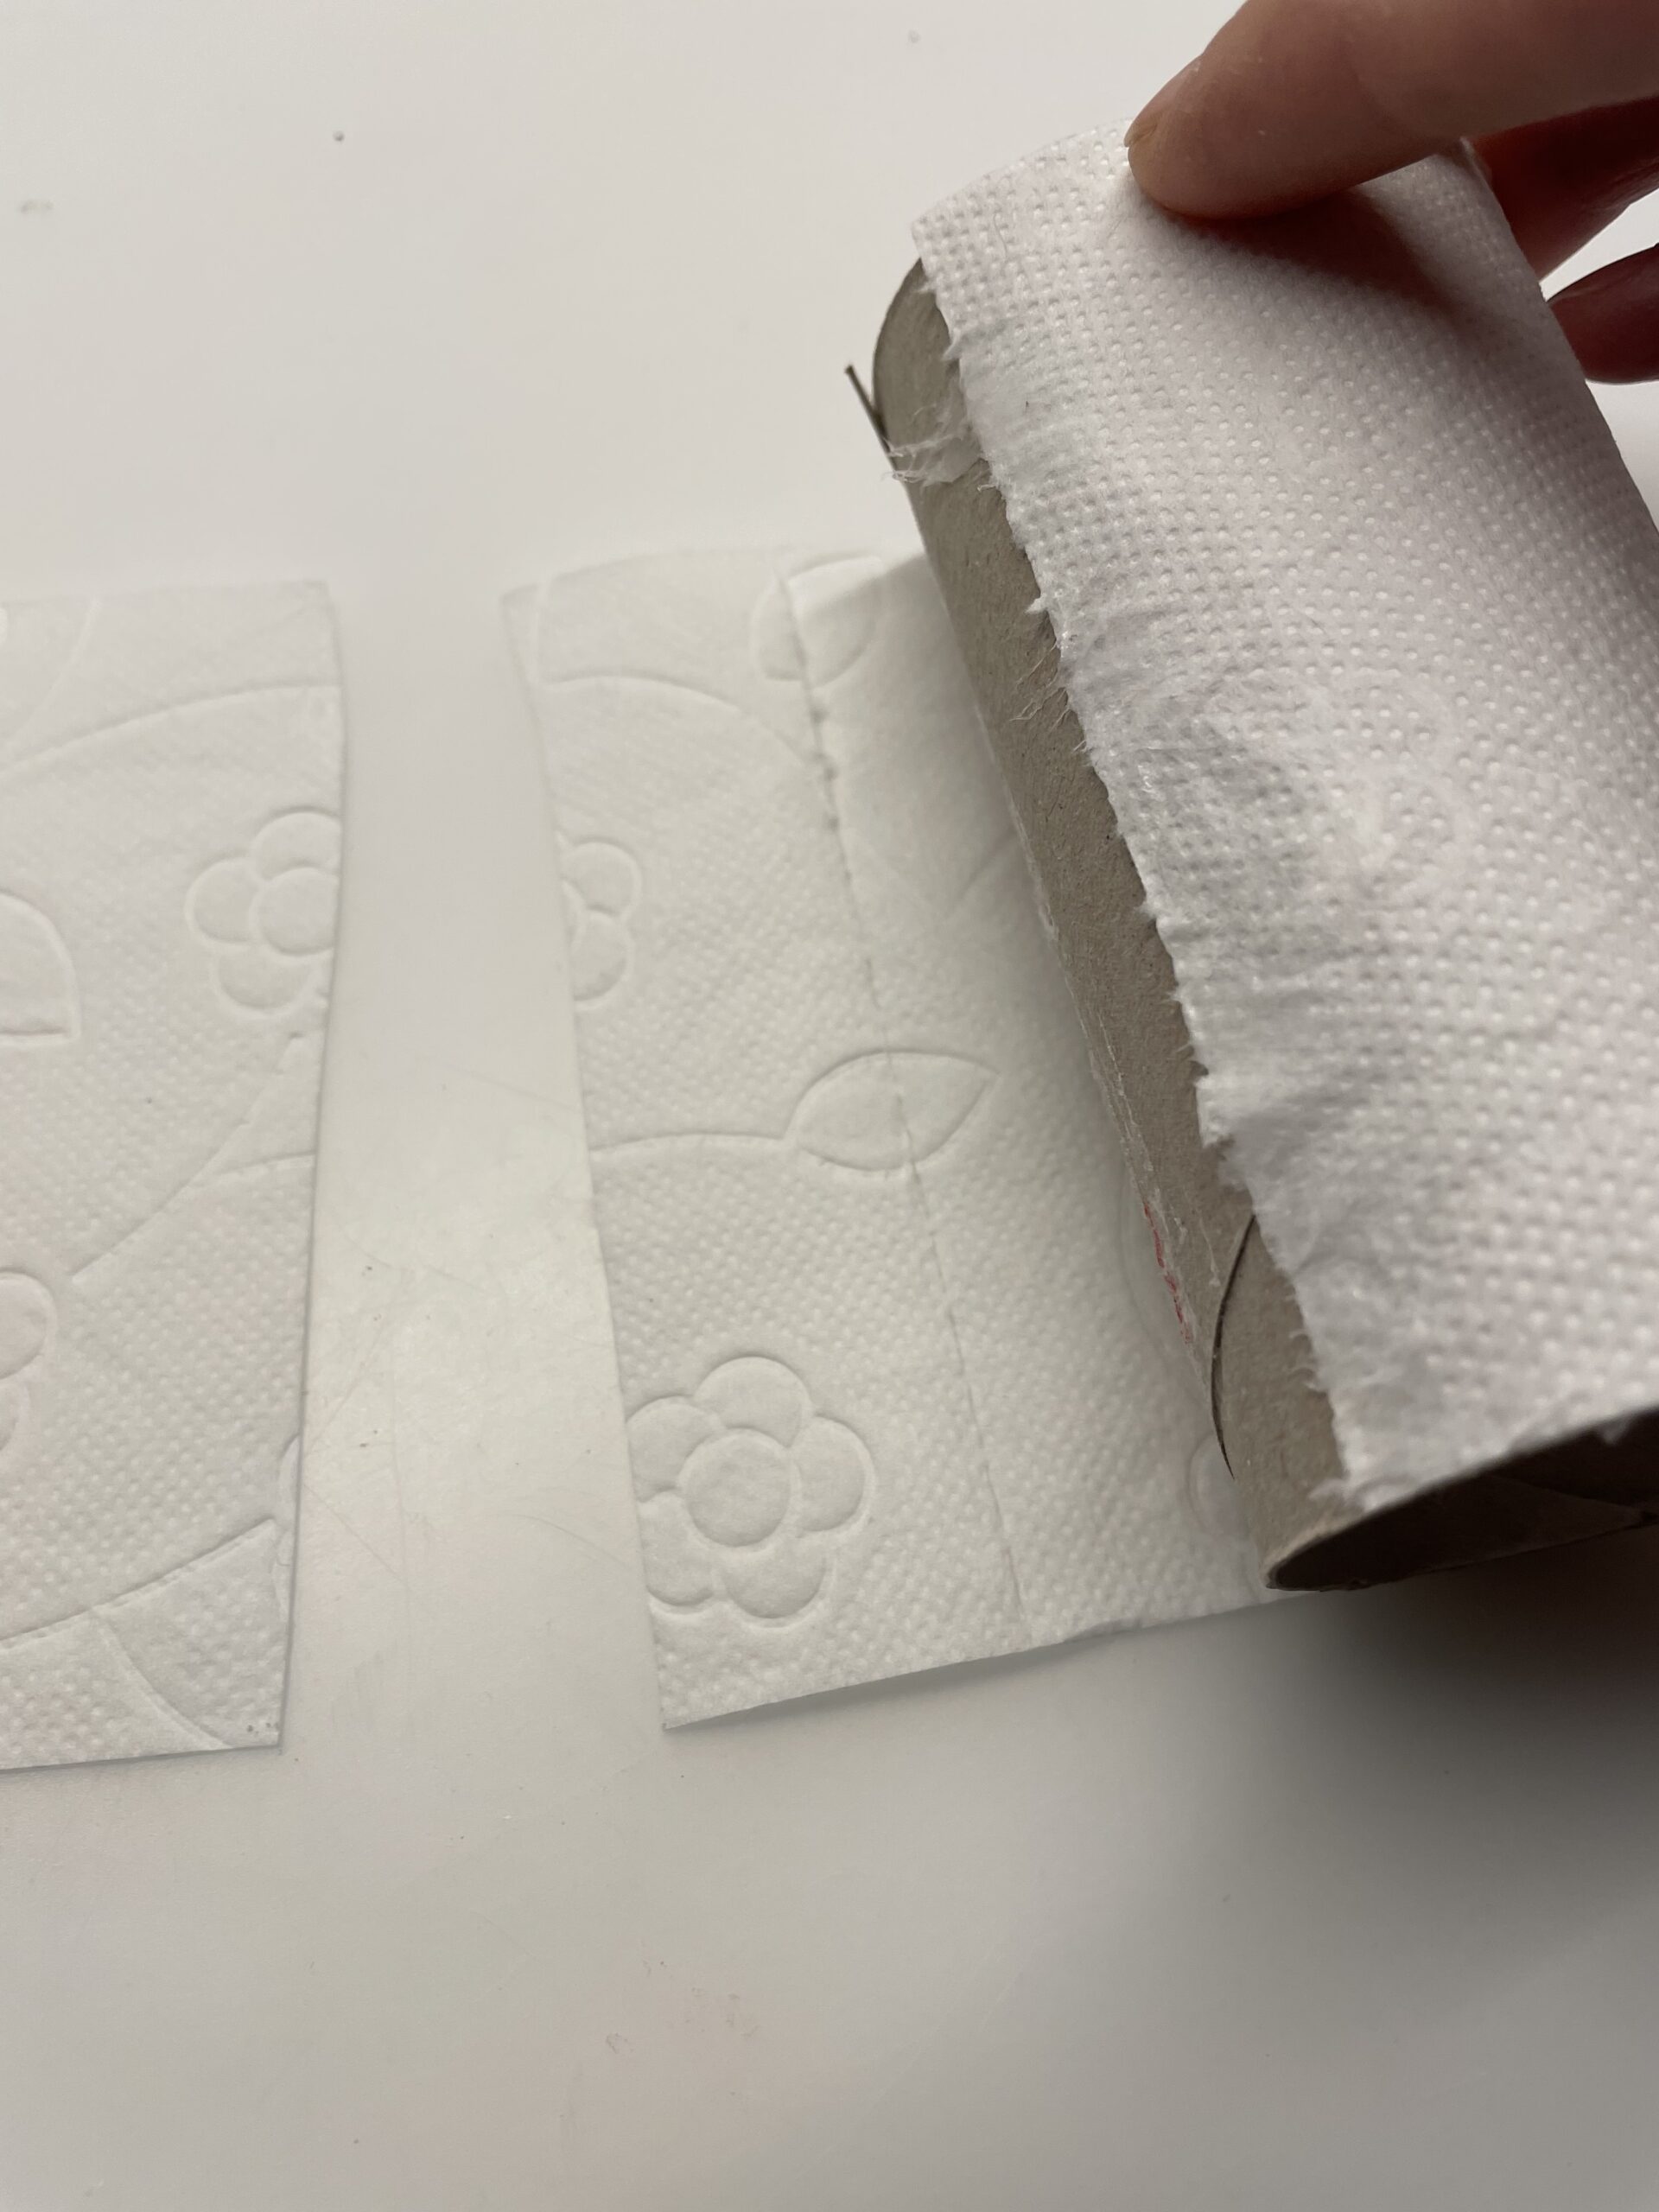
Then you stick the paper ends to the roll.

Bild zum Schritt 25 für das Bastel- und DIY-Abenteuer für Kinder: 'Dann klebt ihr die Papierenden an die Rolle.'

24

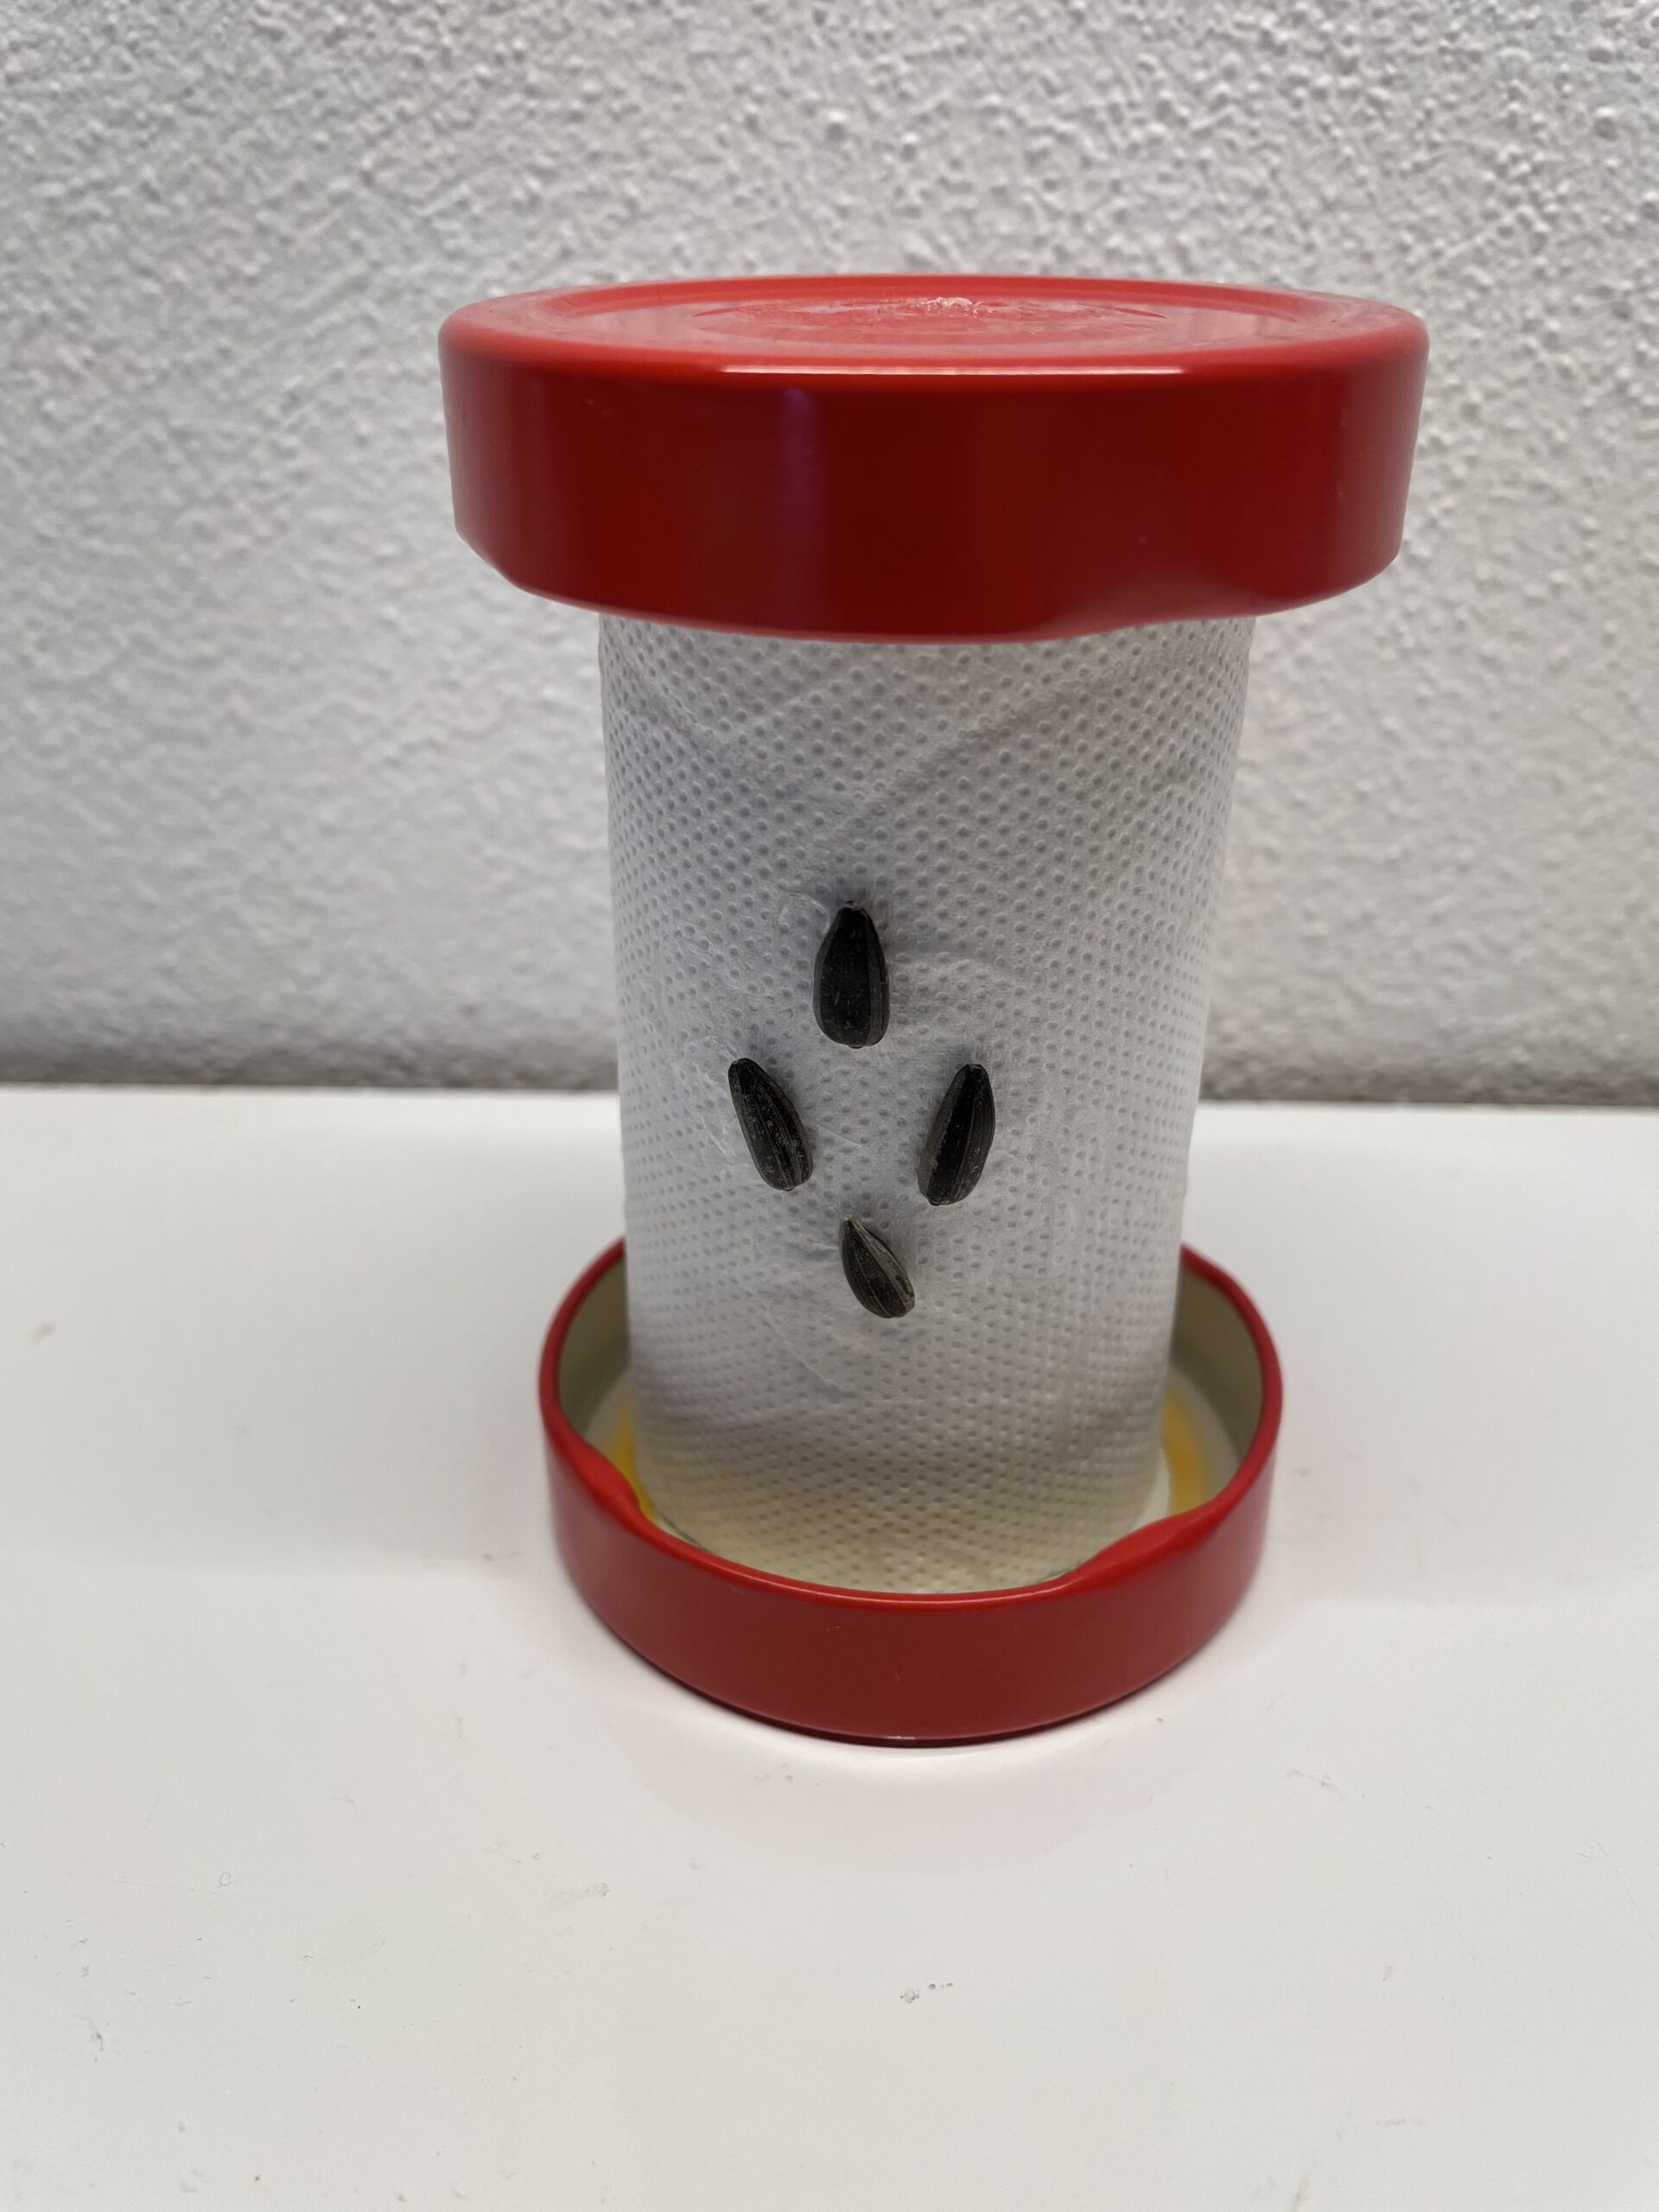
Now you need the nuclei.

Bild zum Schritt 26 für das Bastel- und DIY-Abenteuer für Kinder: 'Jetzt braucht ihr die Kerne.'

25

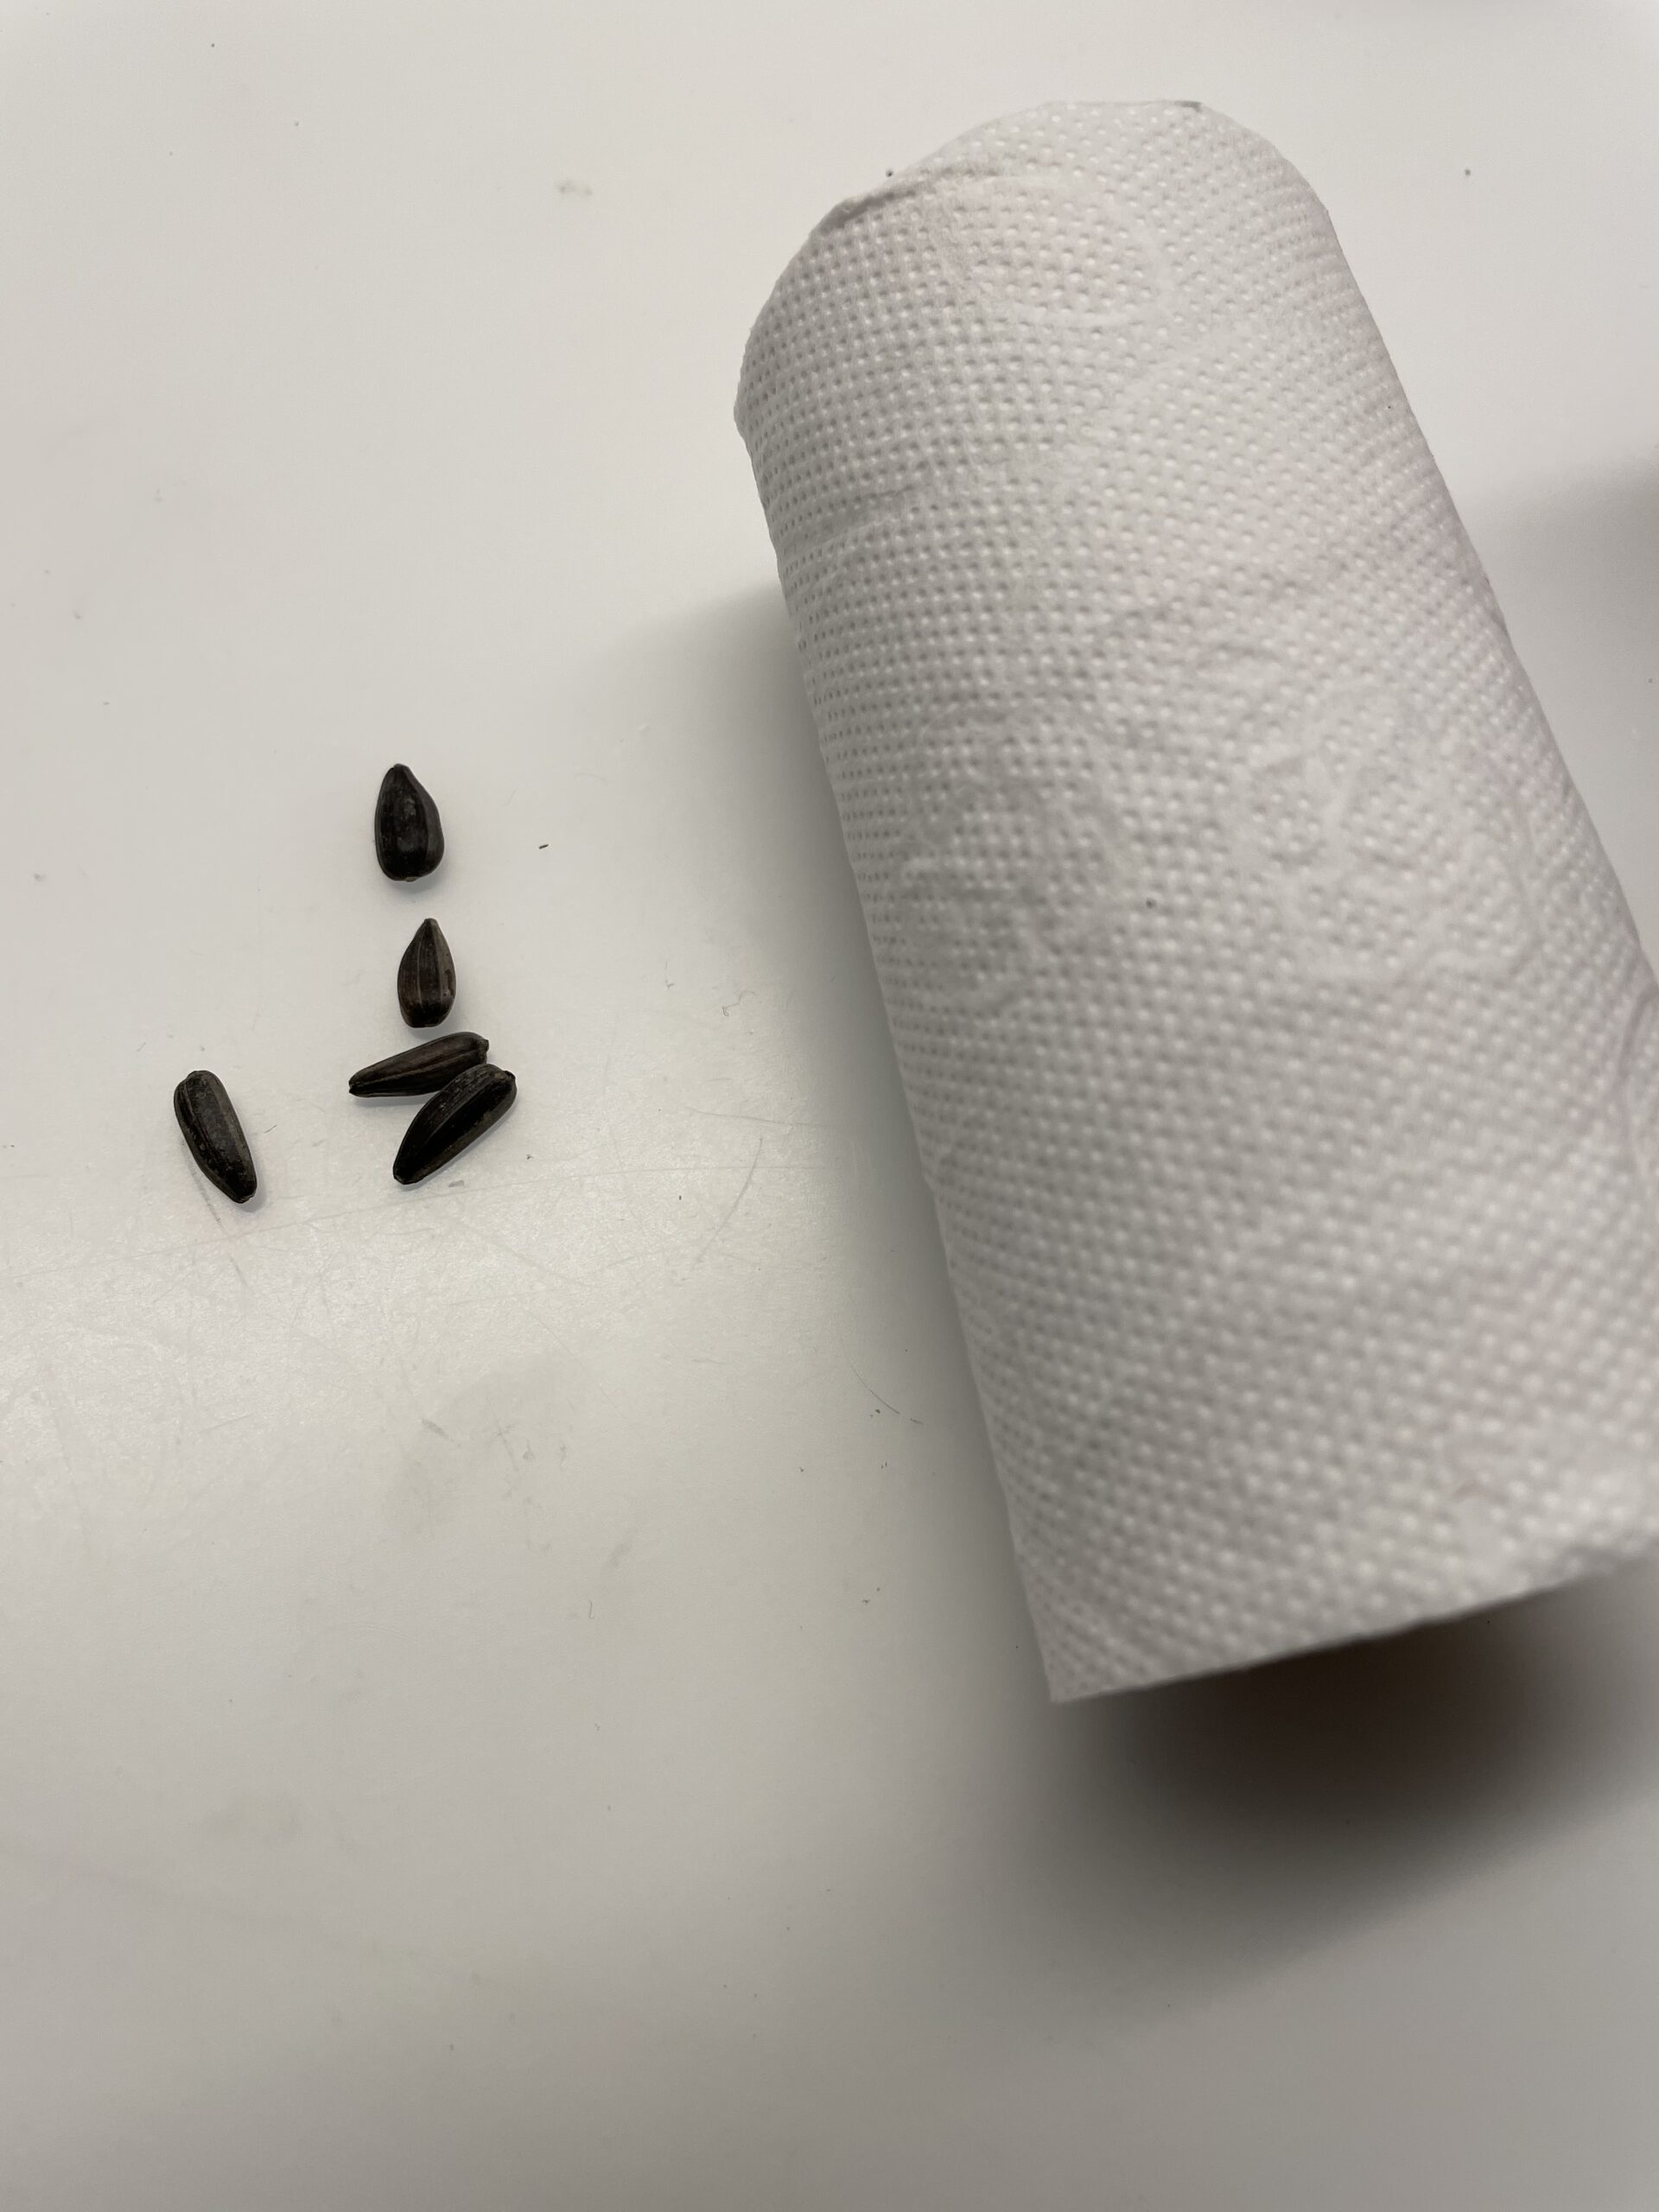
Attaches the cores individually with the glue pin and presses them to the roll.

Bild zum Schritt 27 für das Bastel- und DIY-Abenteuer für Kinder: 'Bestreicht die Kerne einzeln mit dem Klebestift und drückt sie...'

26

Then attach a red screw glass lid at the top and bottom. Stick the cardboard roll with hot glue to the inside of the lid. Attention when handling the hot glue - risk of injury!

Bild zum Schritt 28 für das Bastel- und DIY-Abenteuer für Kinder: 'Befestigt anschließend oben und unten einen roten Schraubglasdeckel. Klebt die...'

27

Then you stash the branch through the leaf and fix it with glue on the branch.

Bild zum Schritt 29 für das Bastel- und DIY-Abenteuer für Kinder: 'Danach stecht ihr den Ast durch das Blatt und fixiert...'

28

Then glue the handle with hot glue on the top lid.

Bild zum Schritt 30 für das Bastel- und DIY-Abenteuer für Kinder: 'Anschließend klebt ihr den Stiel mit Heißkleber auf dem oberen...'

29

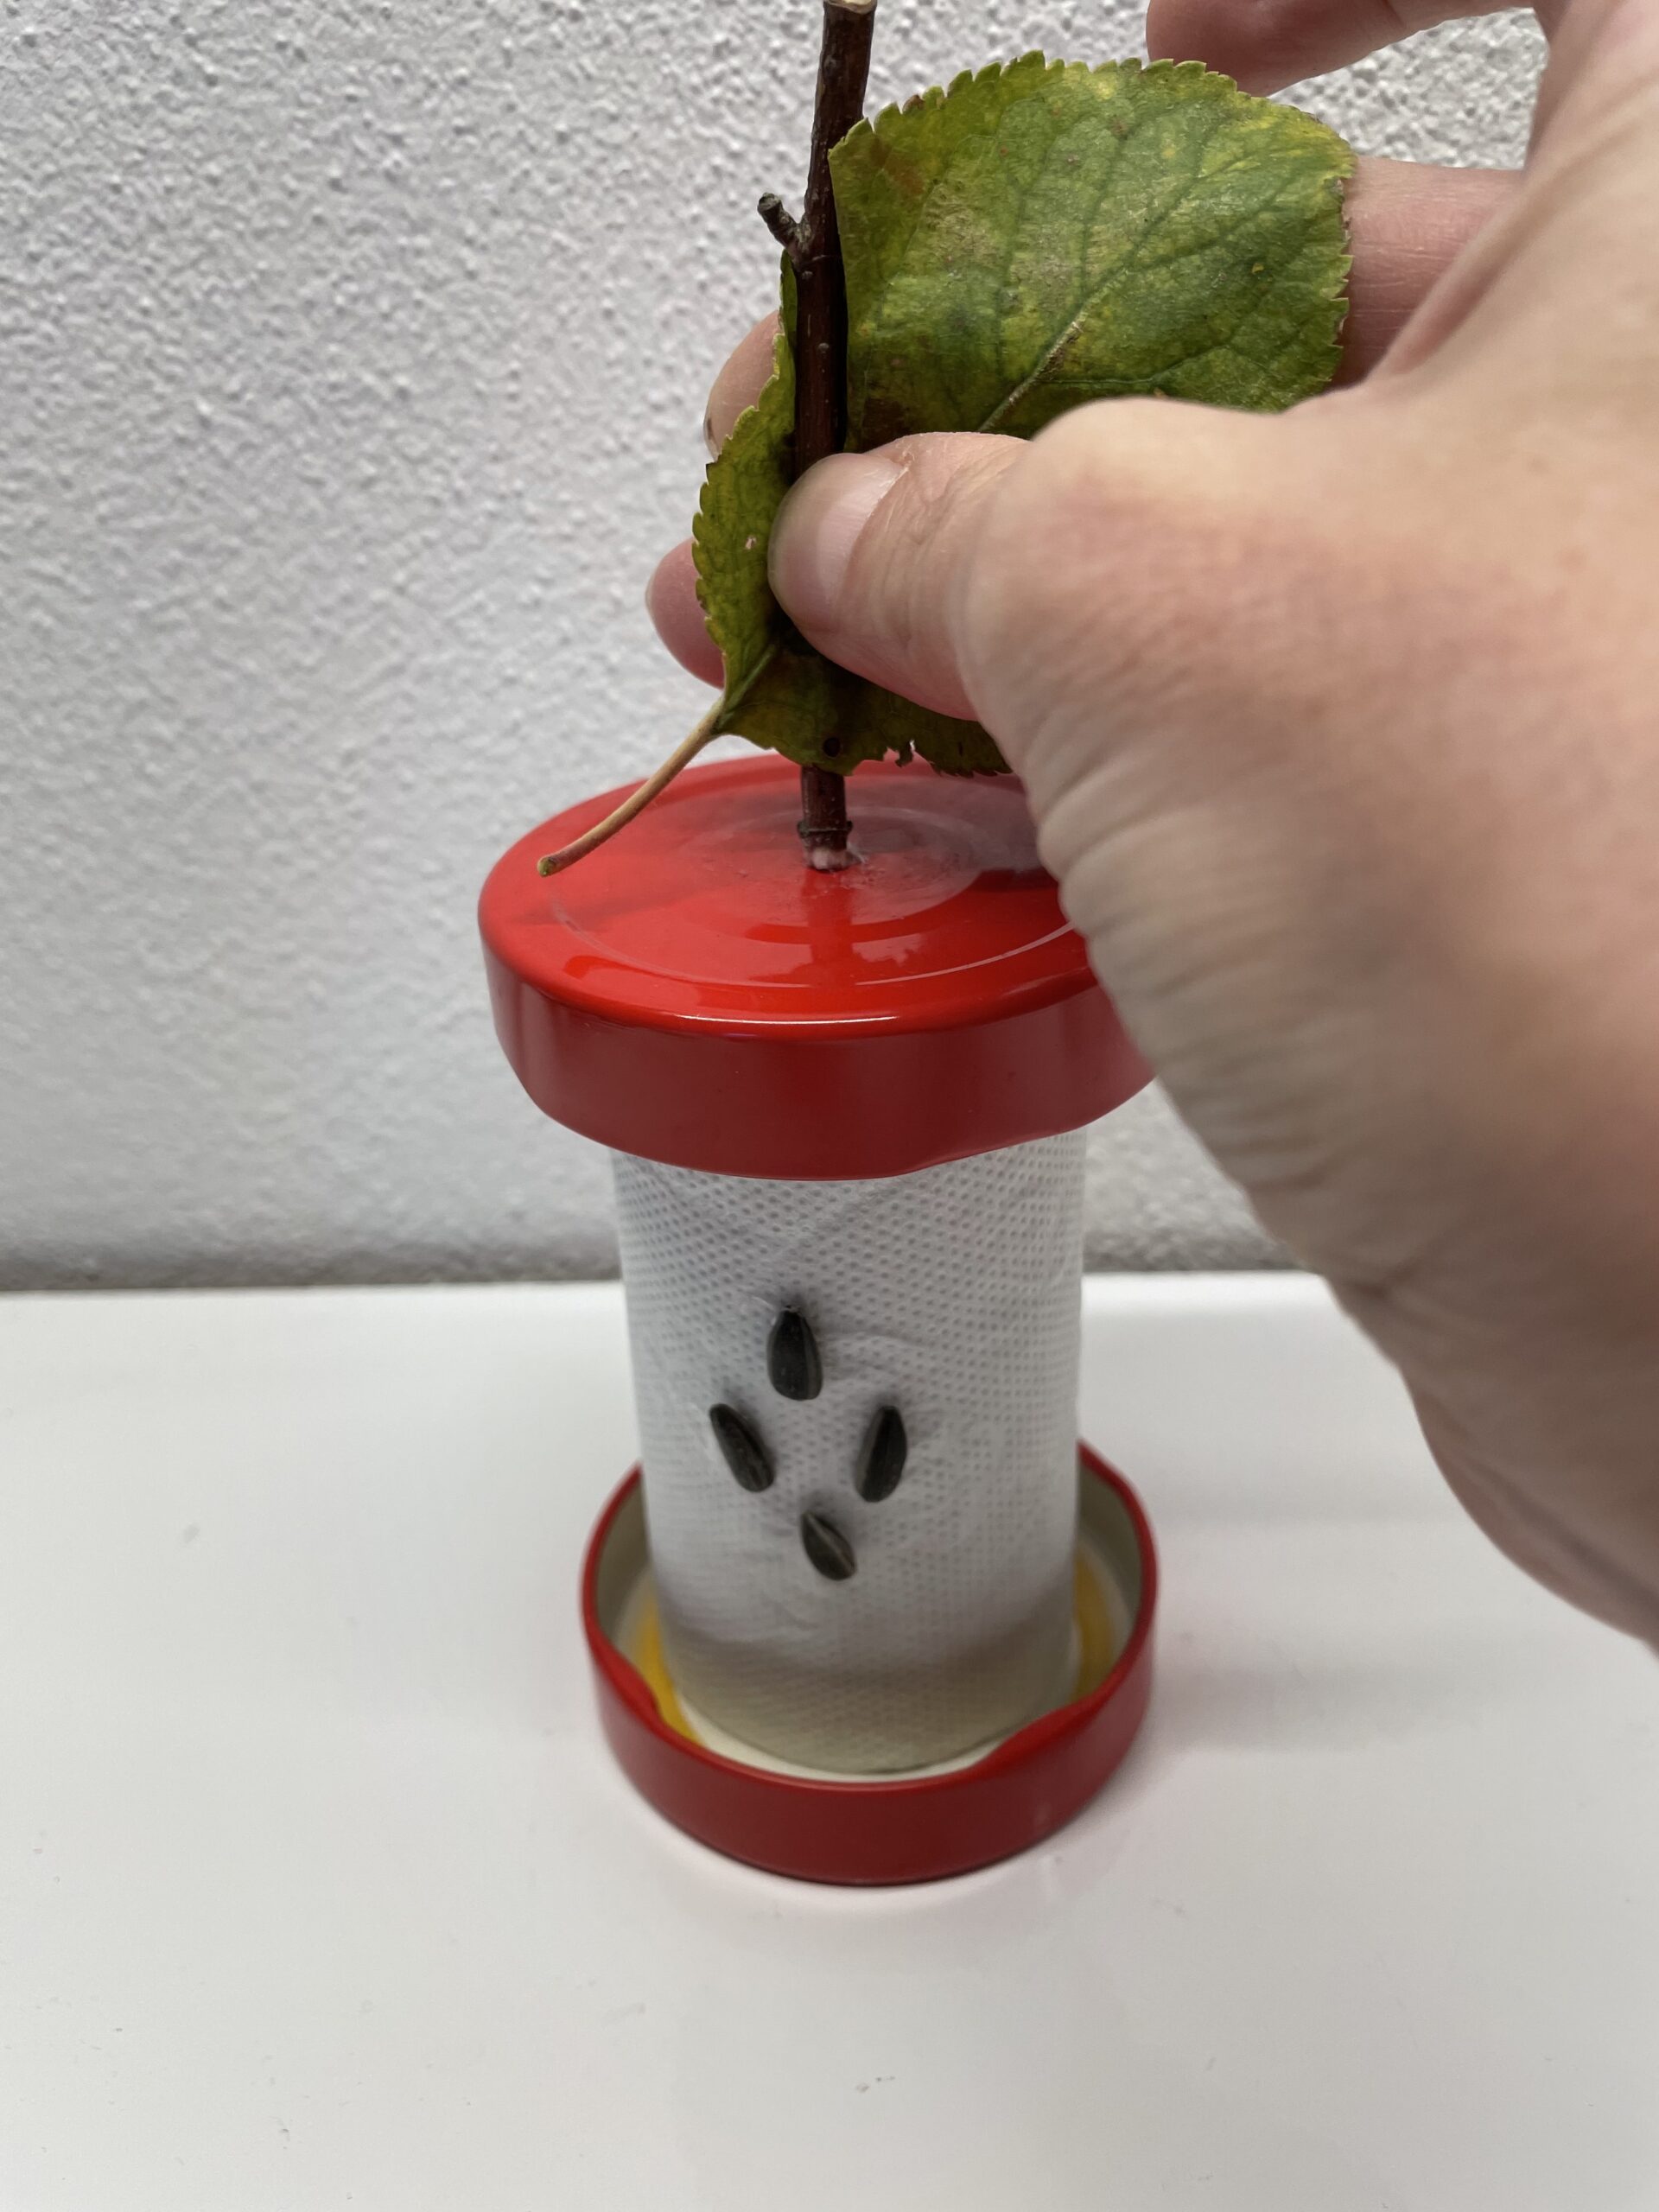
Your apple butt is ready.

Bild zum Schritt 31 für das Bastel- und DIY-Abenteuer für Kinder: 'Fertig ist euer Apfelbutzen.'