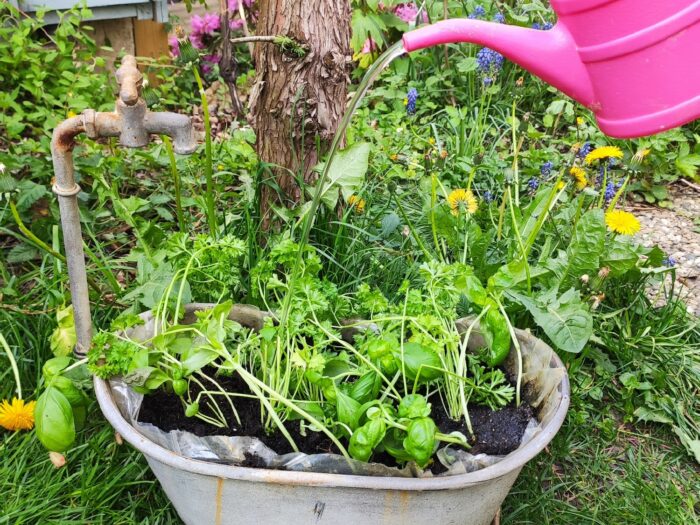
Build grow greenhouse – Mini grow greenhouse (for the window sill)

AdventurerJohanna
Rating5.03.8 Thousand times & (2) DifficultyIntermediate

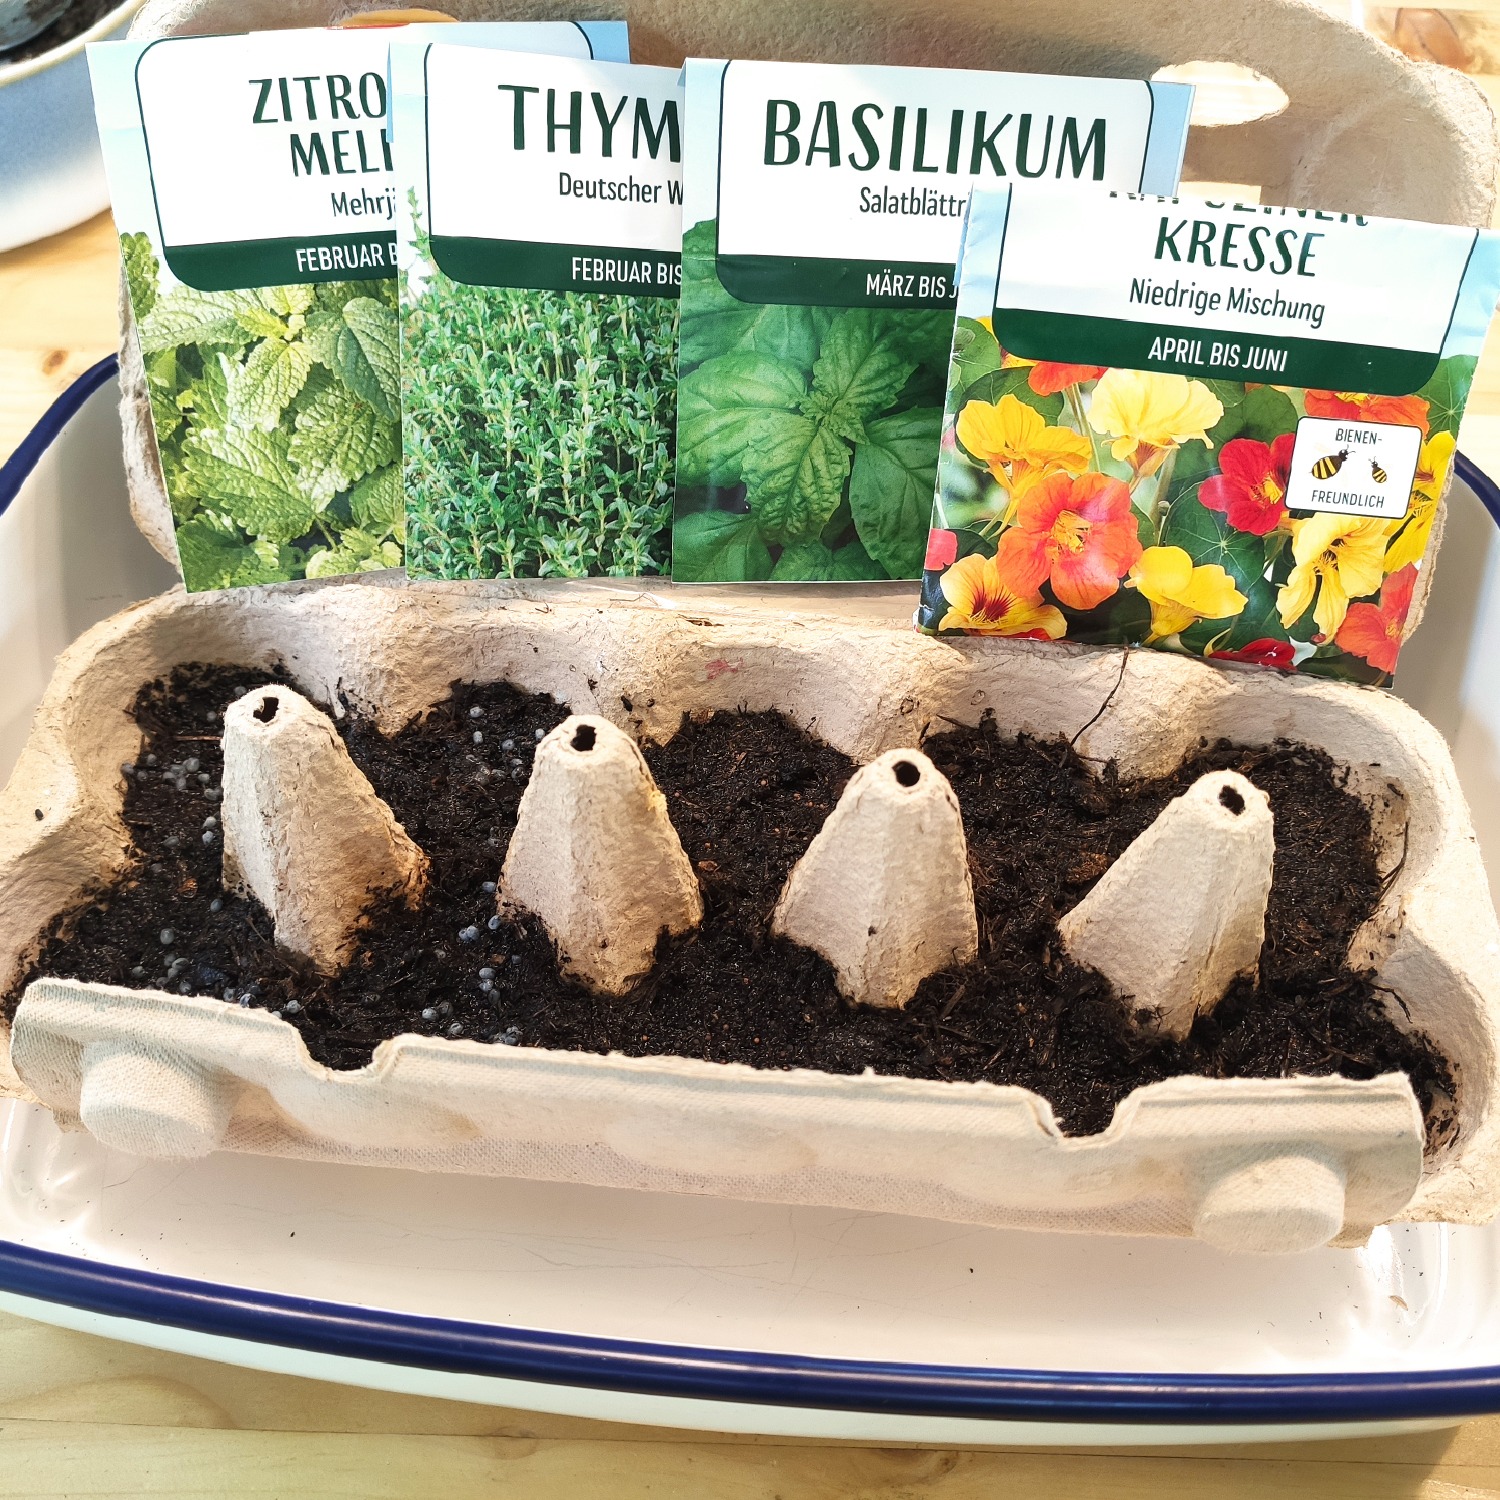
This mini greenhouse is ideal for sowing herbs and a first mini herb garden. Surely you have everything you need at home. See how easy and fast you can make this. Have fun!

Titelbild zur Bastel- und DIY-Idee für Kinder '(1080) Anzucht-Gewächshaus basten – Mini-Gewächshaus basteln (für die Fensterbank)'
Material for1 Child
Prep Time10 min.Adv. Time30 min.Total Time40 min.
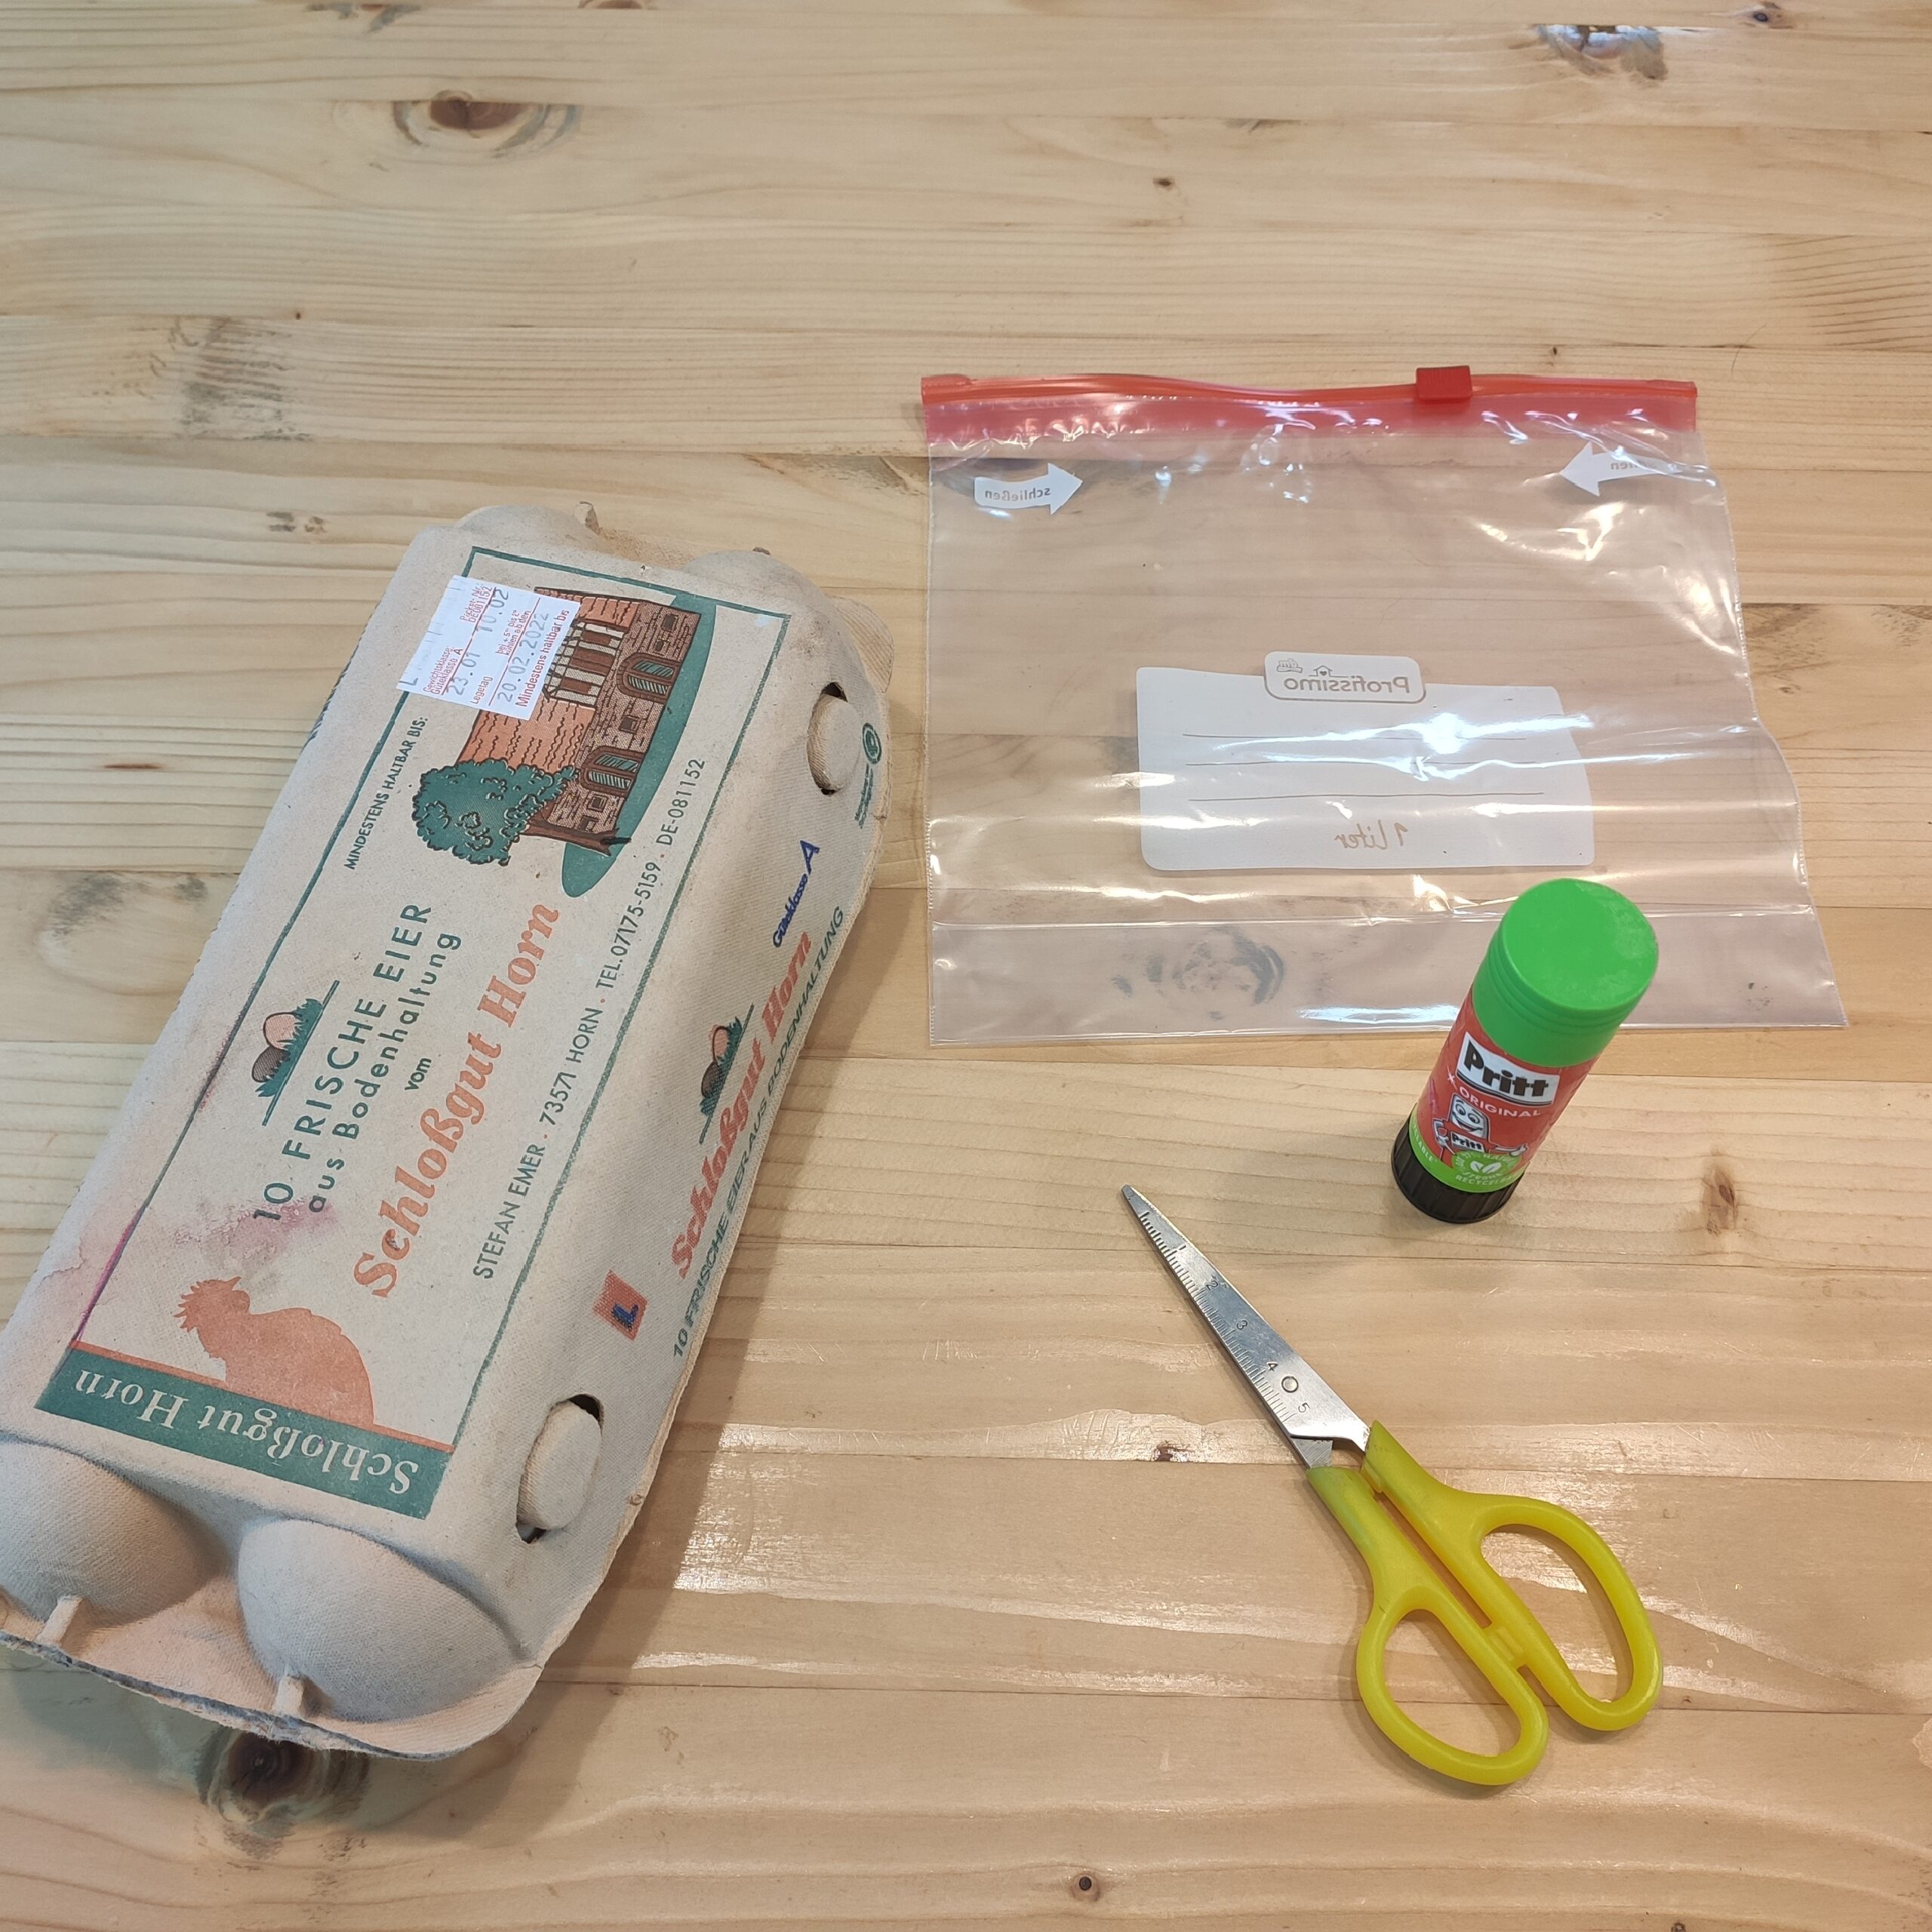
 1 Egg carton
 1 Freezer bags Plastic film
 250 mg EarthCultivation soil
 100 ml Water
 SeedsBasil, thyme, lemon balm, capuchin cress
 Waterproof backinge.g. casserole, cutting board
 Table spoons
All links marked with a shopping cart lead to Amazon - here we have selected products that we would order ourselves and in part also ordered. In a qualified purchase via the advertising link, we as Amazon partner receive a commission, for you there are no costs. You thus support our cost- and advertising banner-free, educational offer.
1

First, you prepare your materials.

Bild zum Schritt 1 für das Bastel- und DIY-Abenteuer für Kinder: 'Zuerst legt ihr euch eure Materialien bereit.'

2

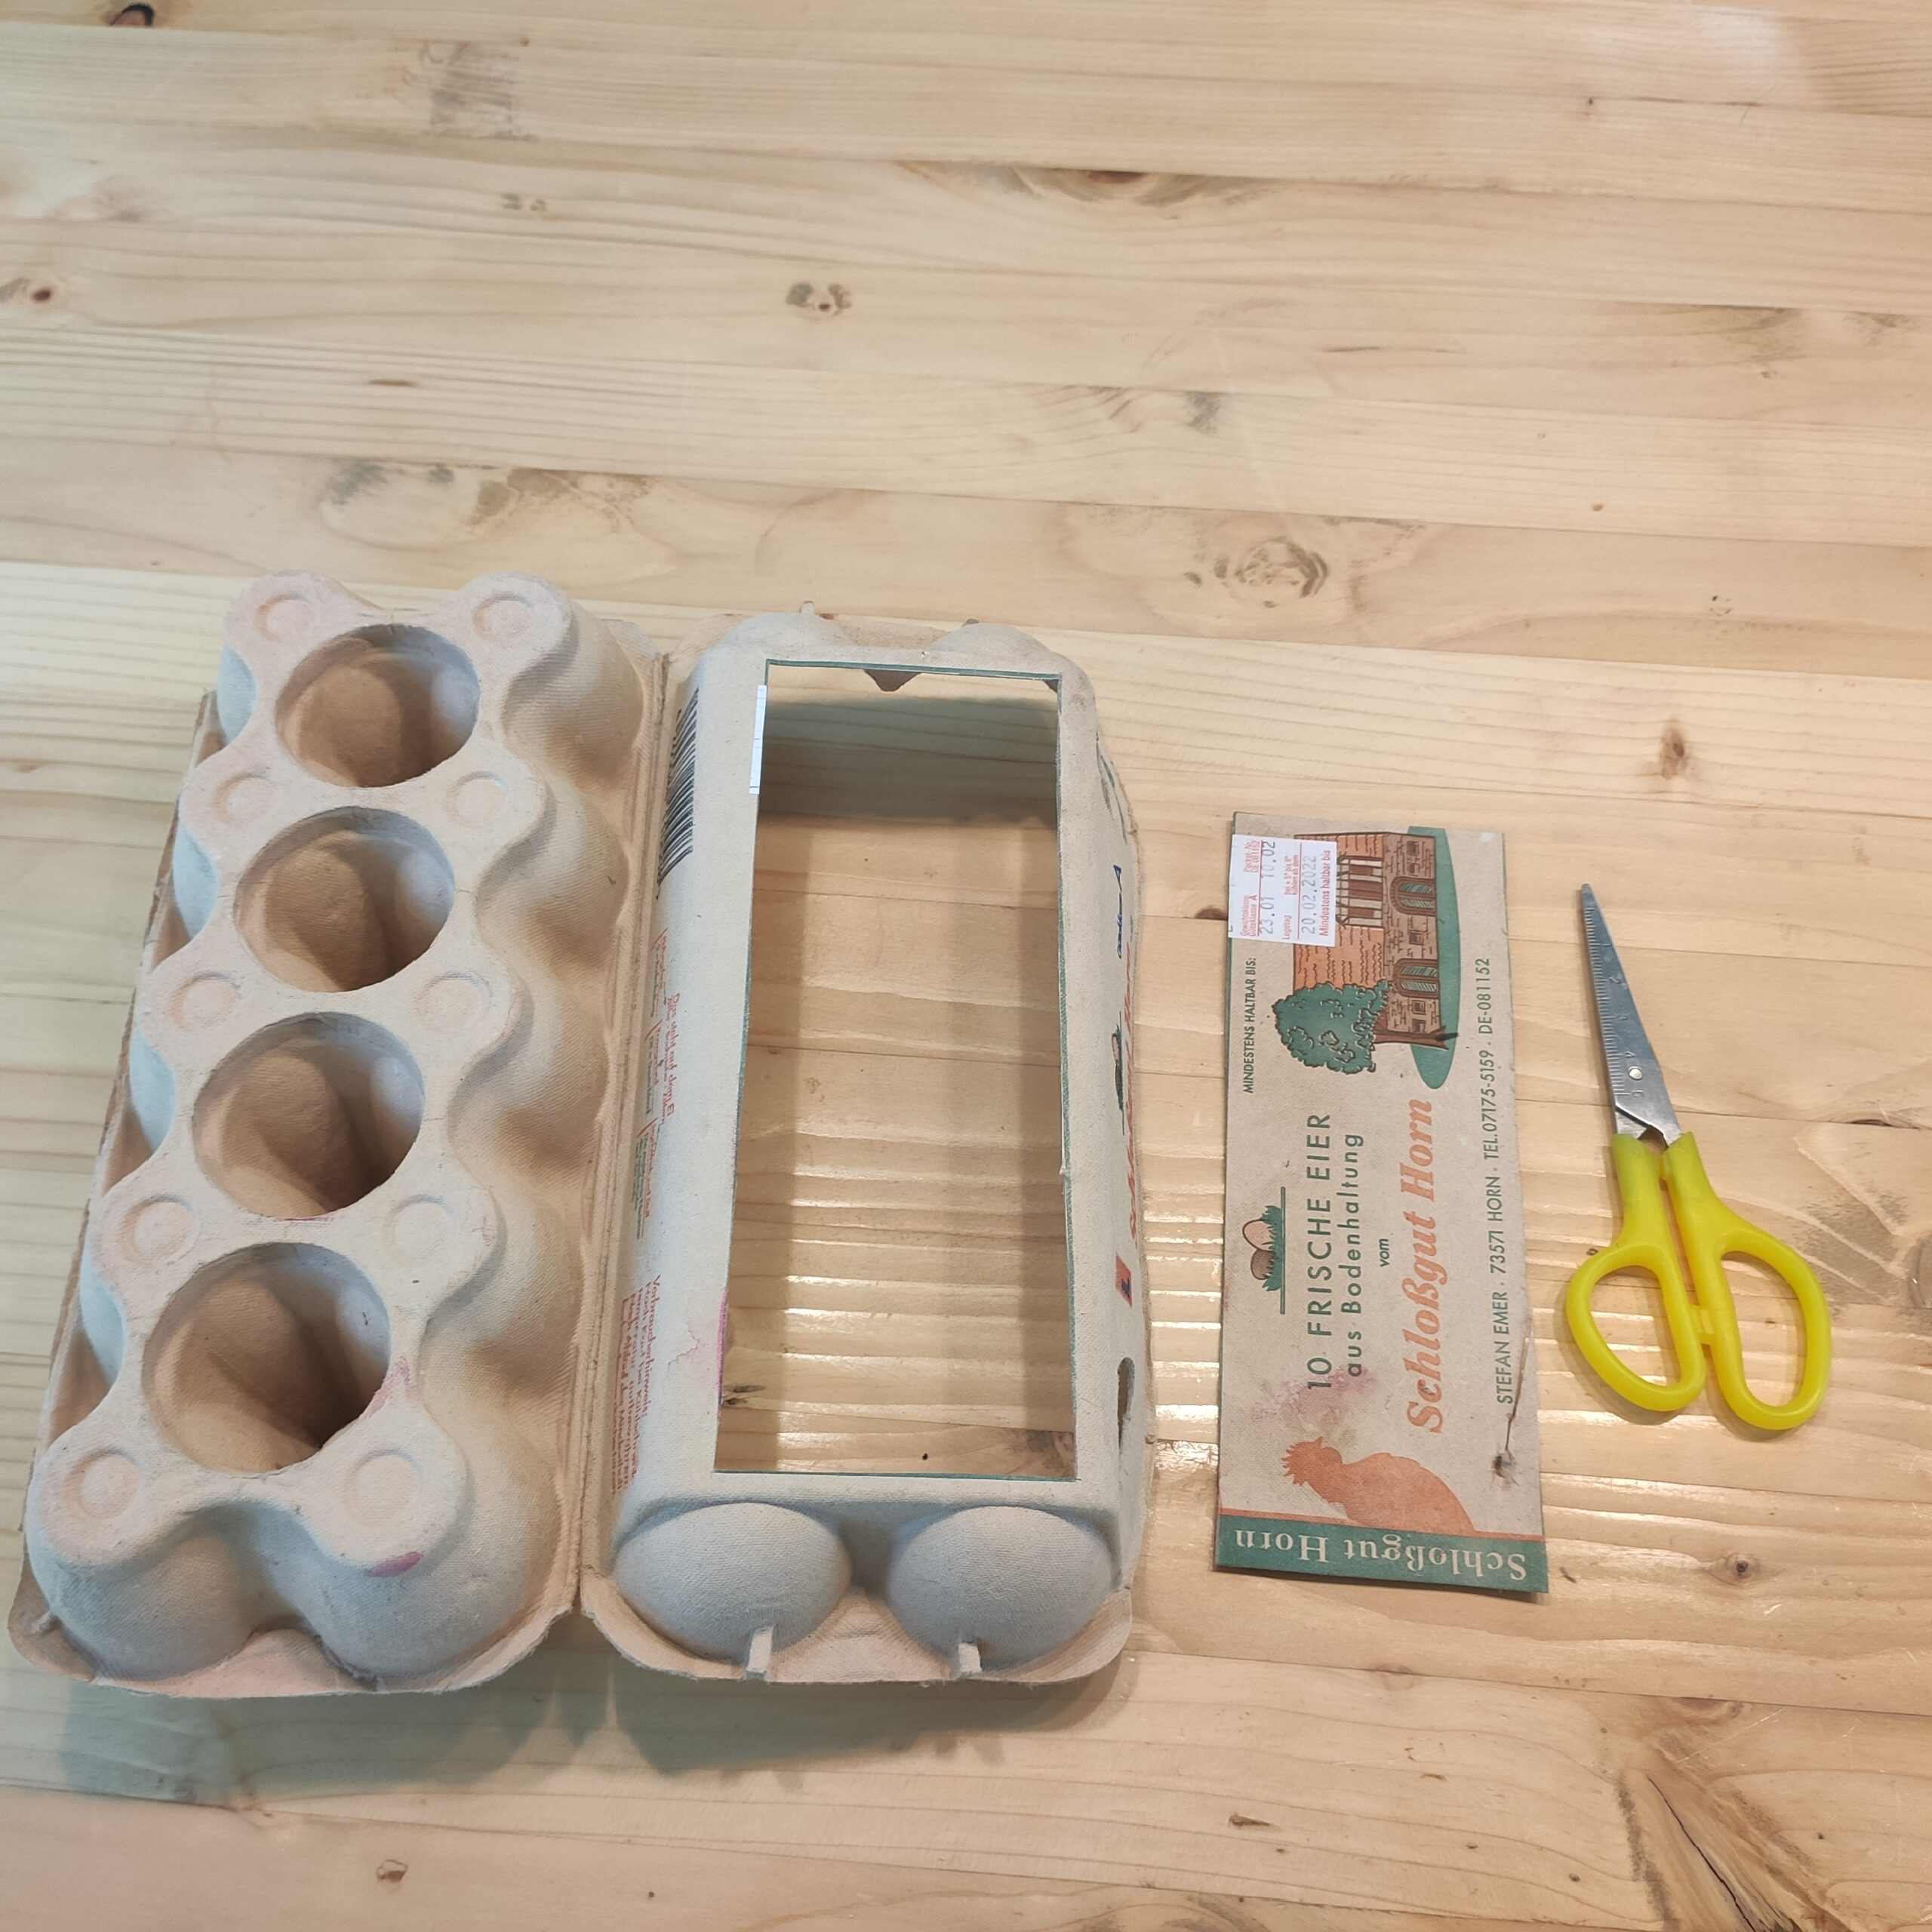
Now you cut a large rectangle from the lid of the egg box with the scissors.
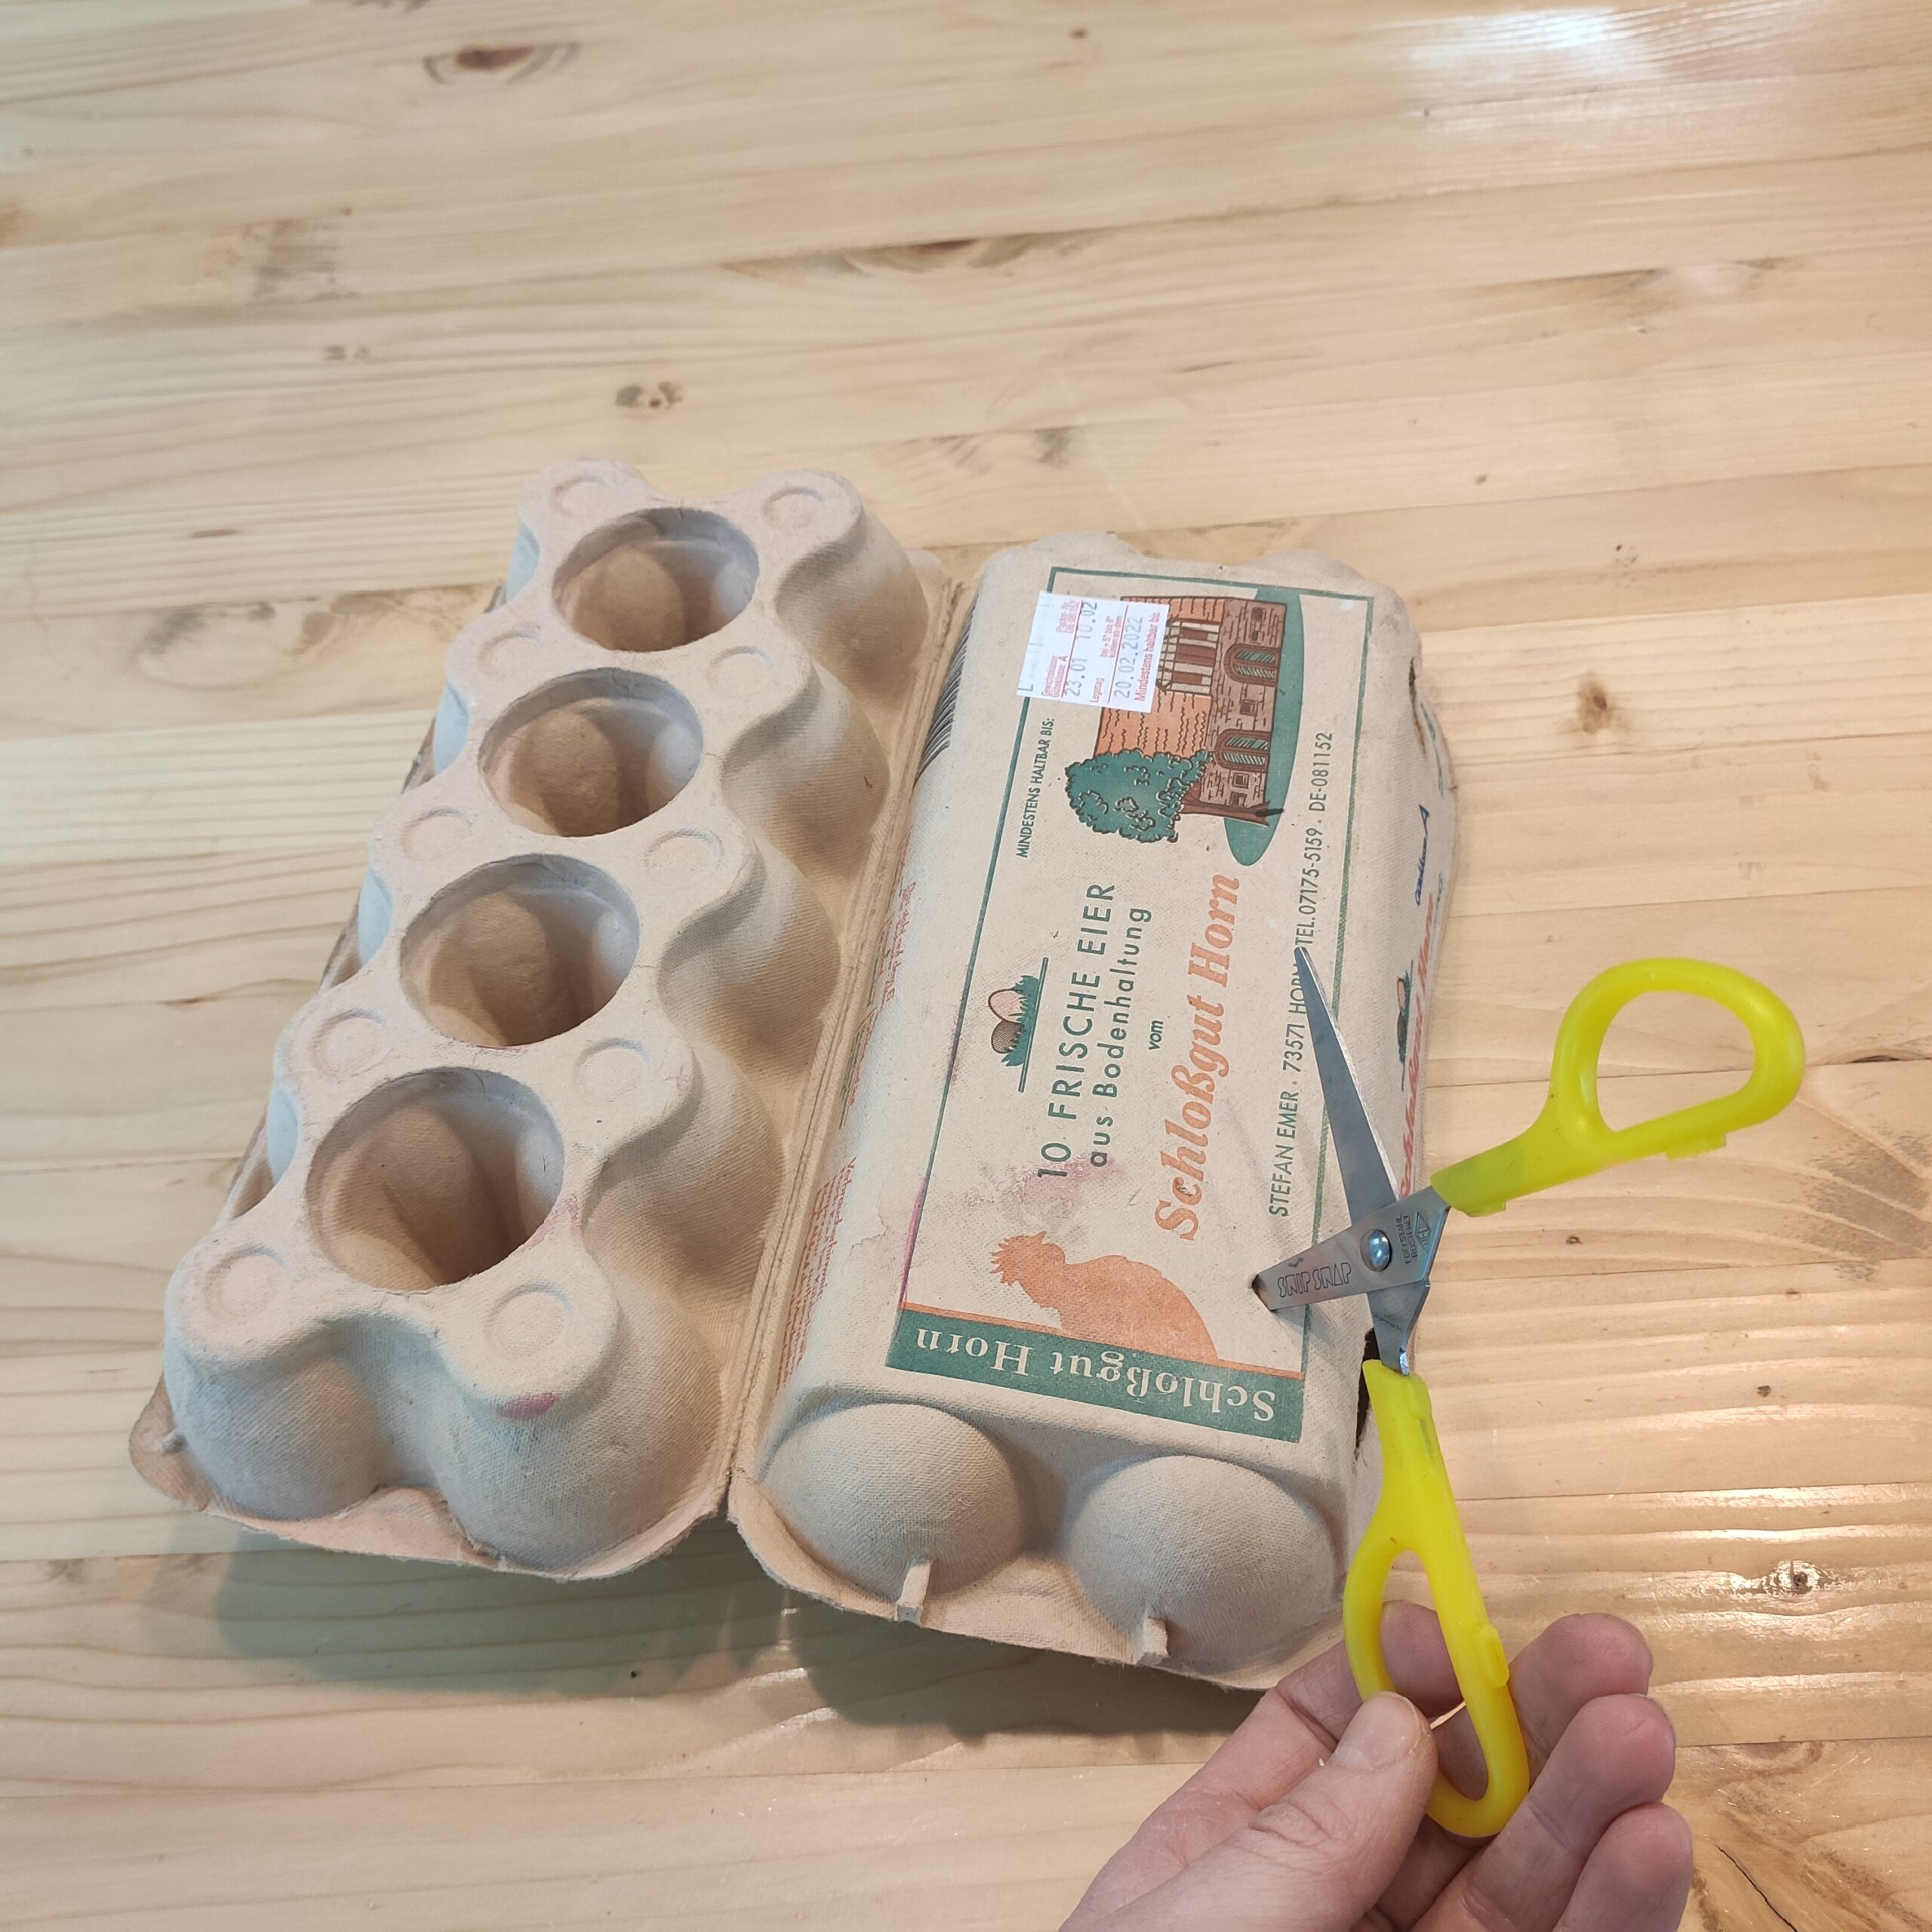
Bild zum Schritt 2 für das Bastel- und DIY-Abenteuer für Kinder: 'Jetzt schneidet ihr mit der Schere ein großes Rechteck aus...'

3

Make sure a border stops.

Bild zum Schritt 3 für das Bastel- und DIY-Abenteuer für Kinder: 'Achtet darauf, dass ein Rand stehen bleibt.'

4

Next, take the scissors and the freezer bag at your hand.

Bild zum Schritt 4 für das Bastel- und DIY-Abenteuer für Kinder: 'Als nächstes nehmt ihr euch die Schere und den Gefrierbeutel...'

5

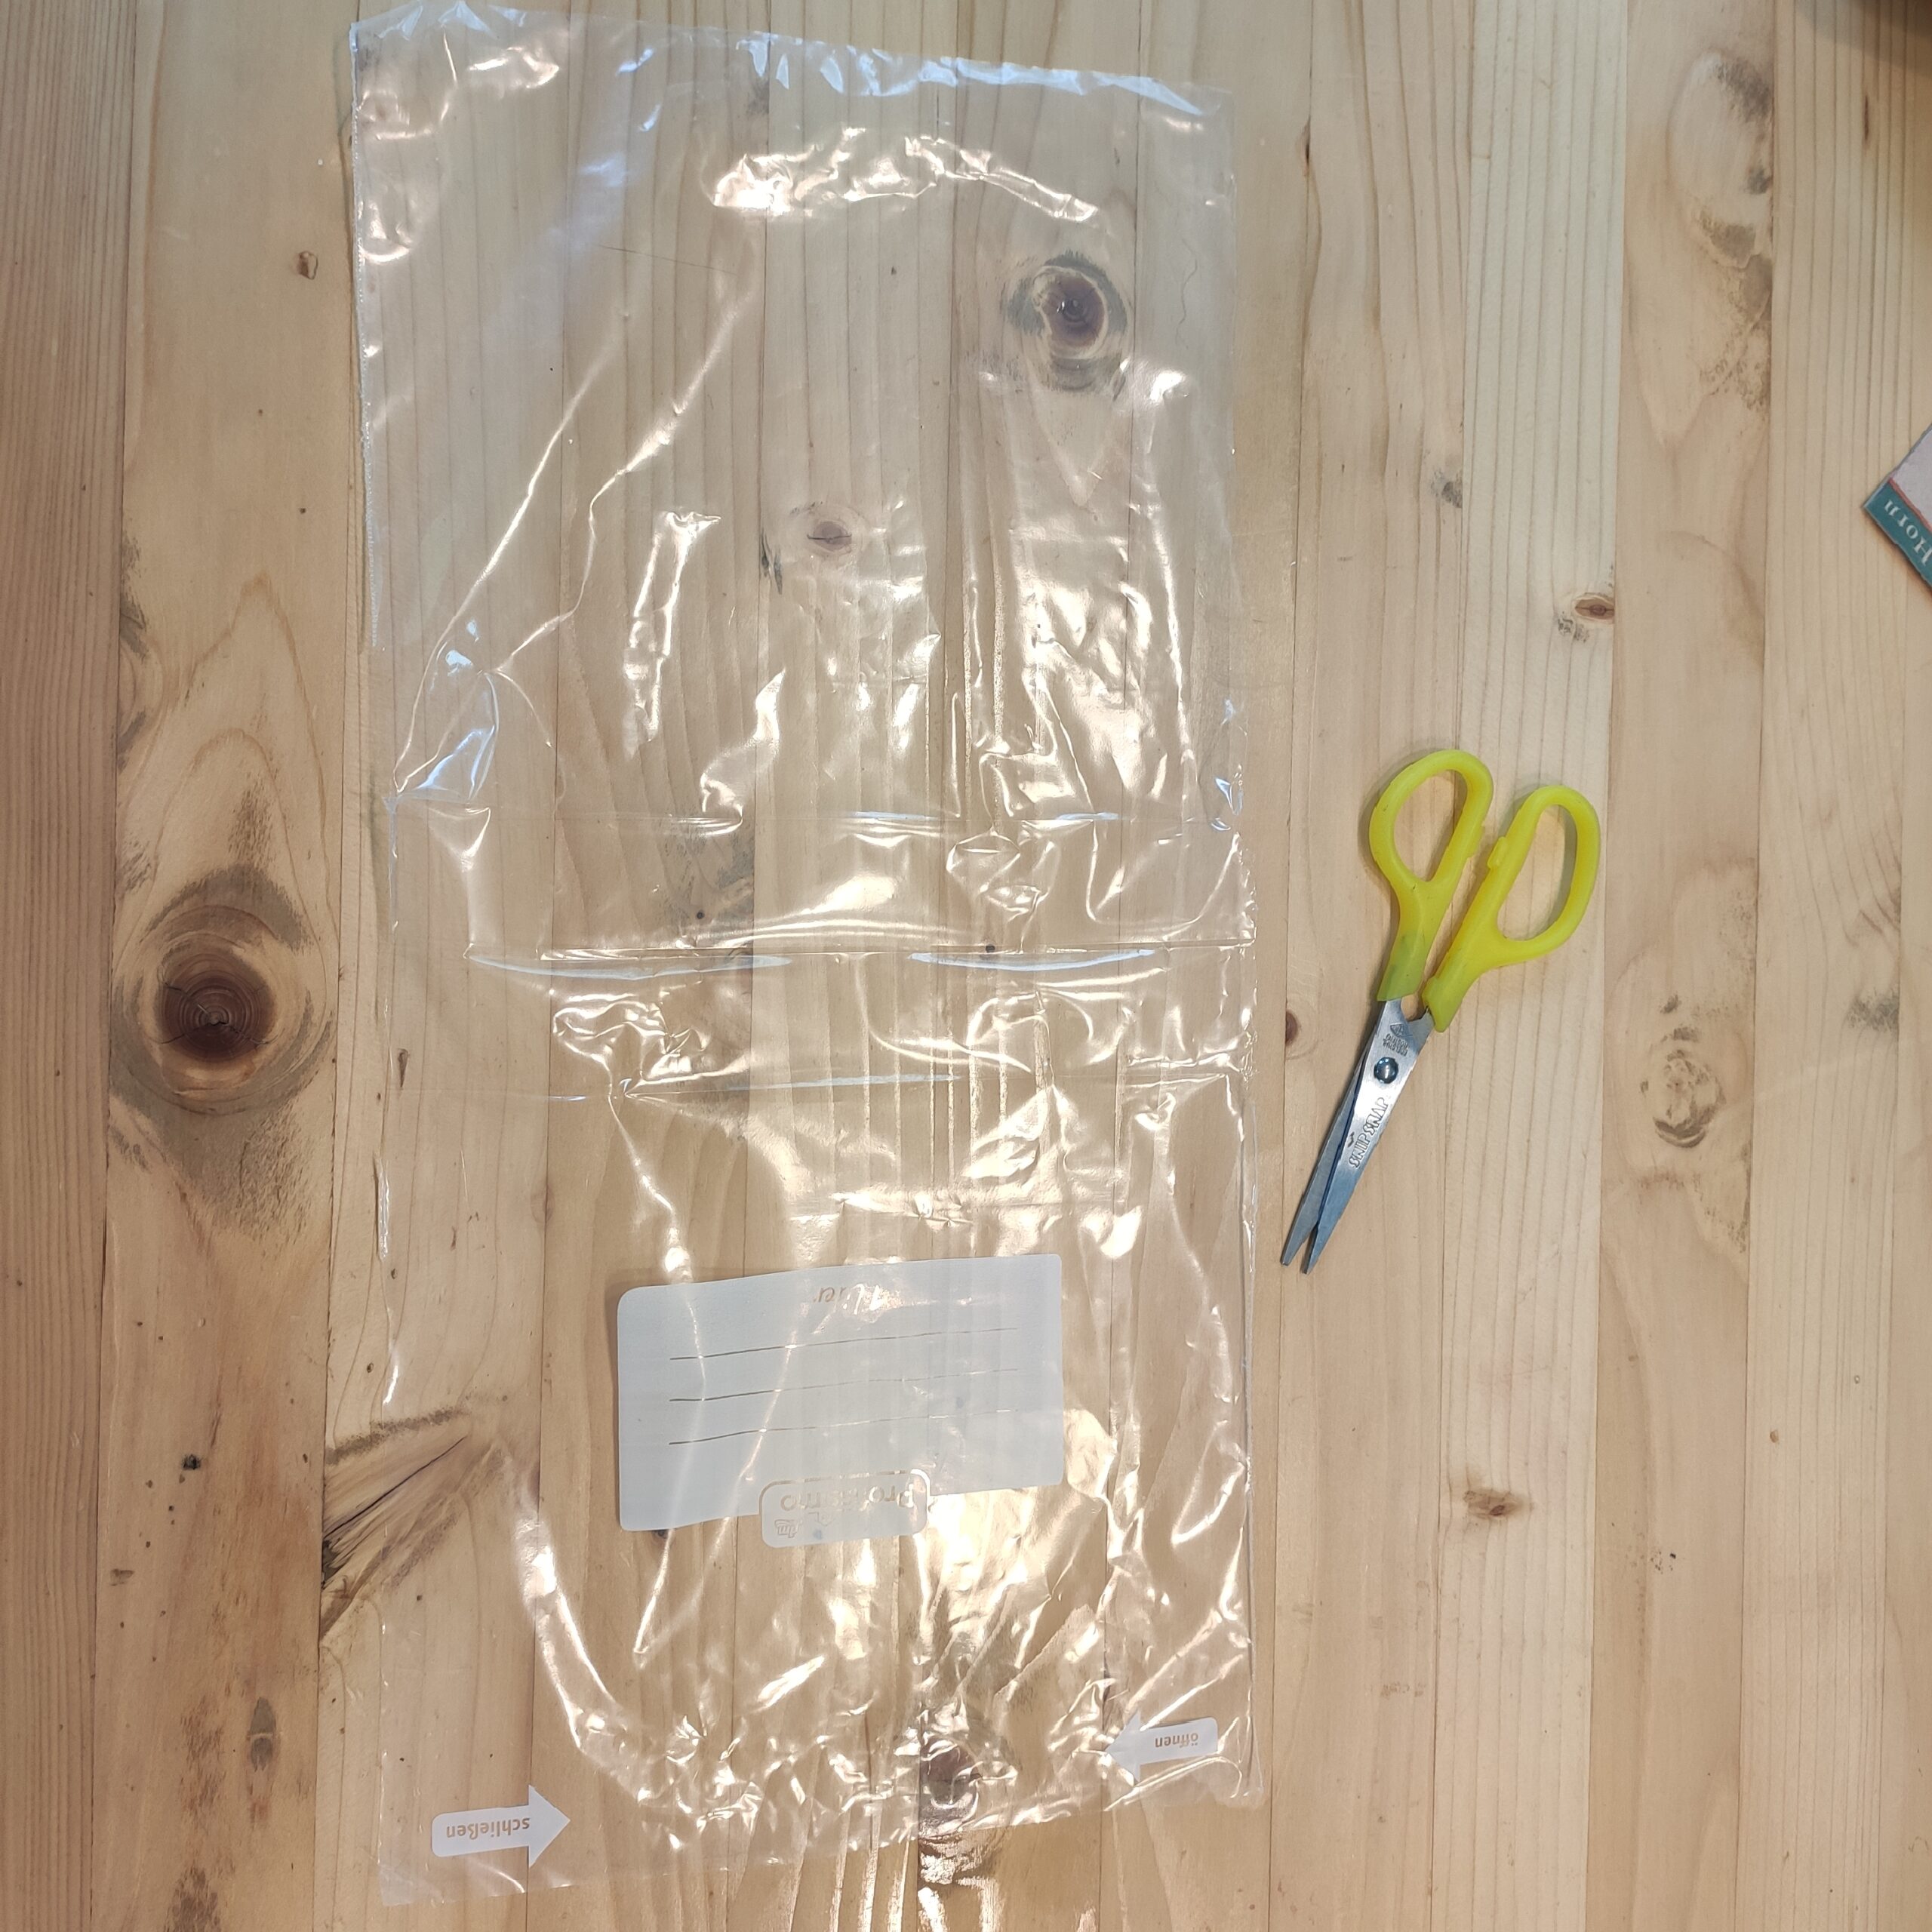
Now you separate 3 sides of the freezer bag. You leave the bottom of the bag closed.

Bild zum Schritt 5 für das Bastel- und DIY-Abenteuer für Kinder: 'Jetzt trennt ihr 3 Seiten des Gefrierbeutels auf. Den Boden...'

6

So you get a big piece of foil.

Bild zum Schritt 6 für das Bastel- und DIY-Abenteuer für Kinder: 'So erhaltet ihr ein großes Stück Folie.'

7

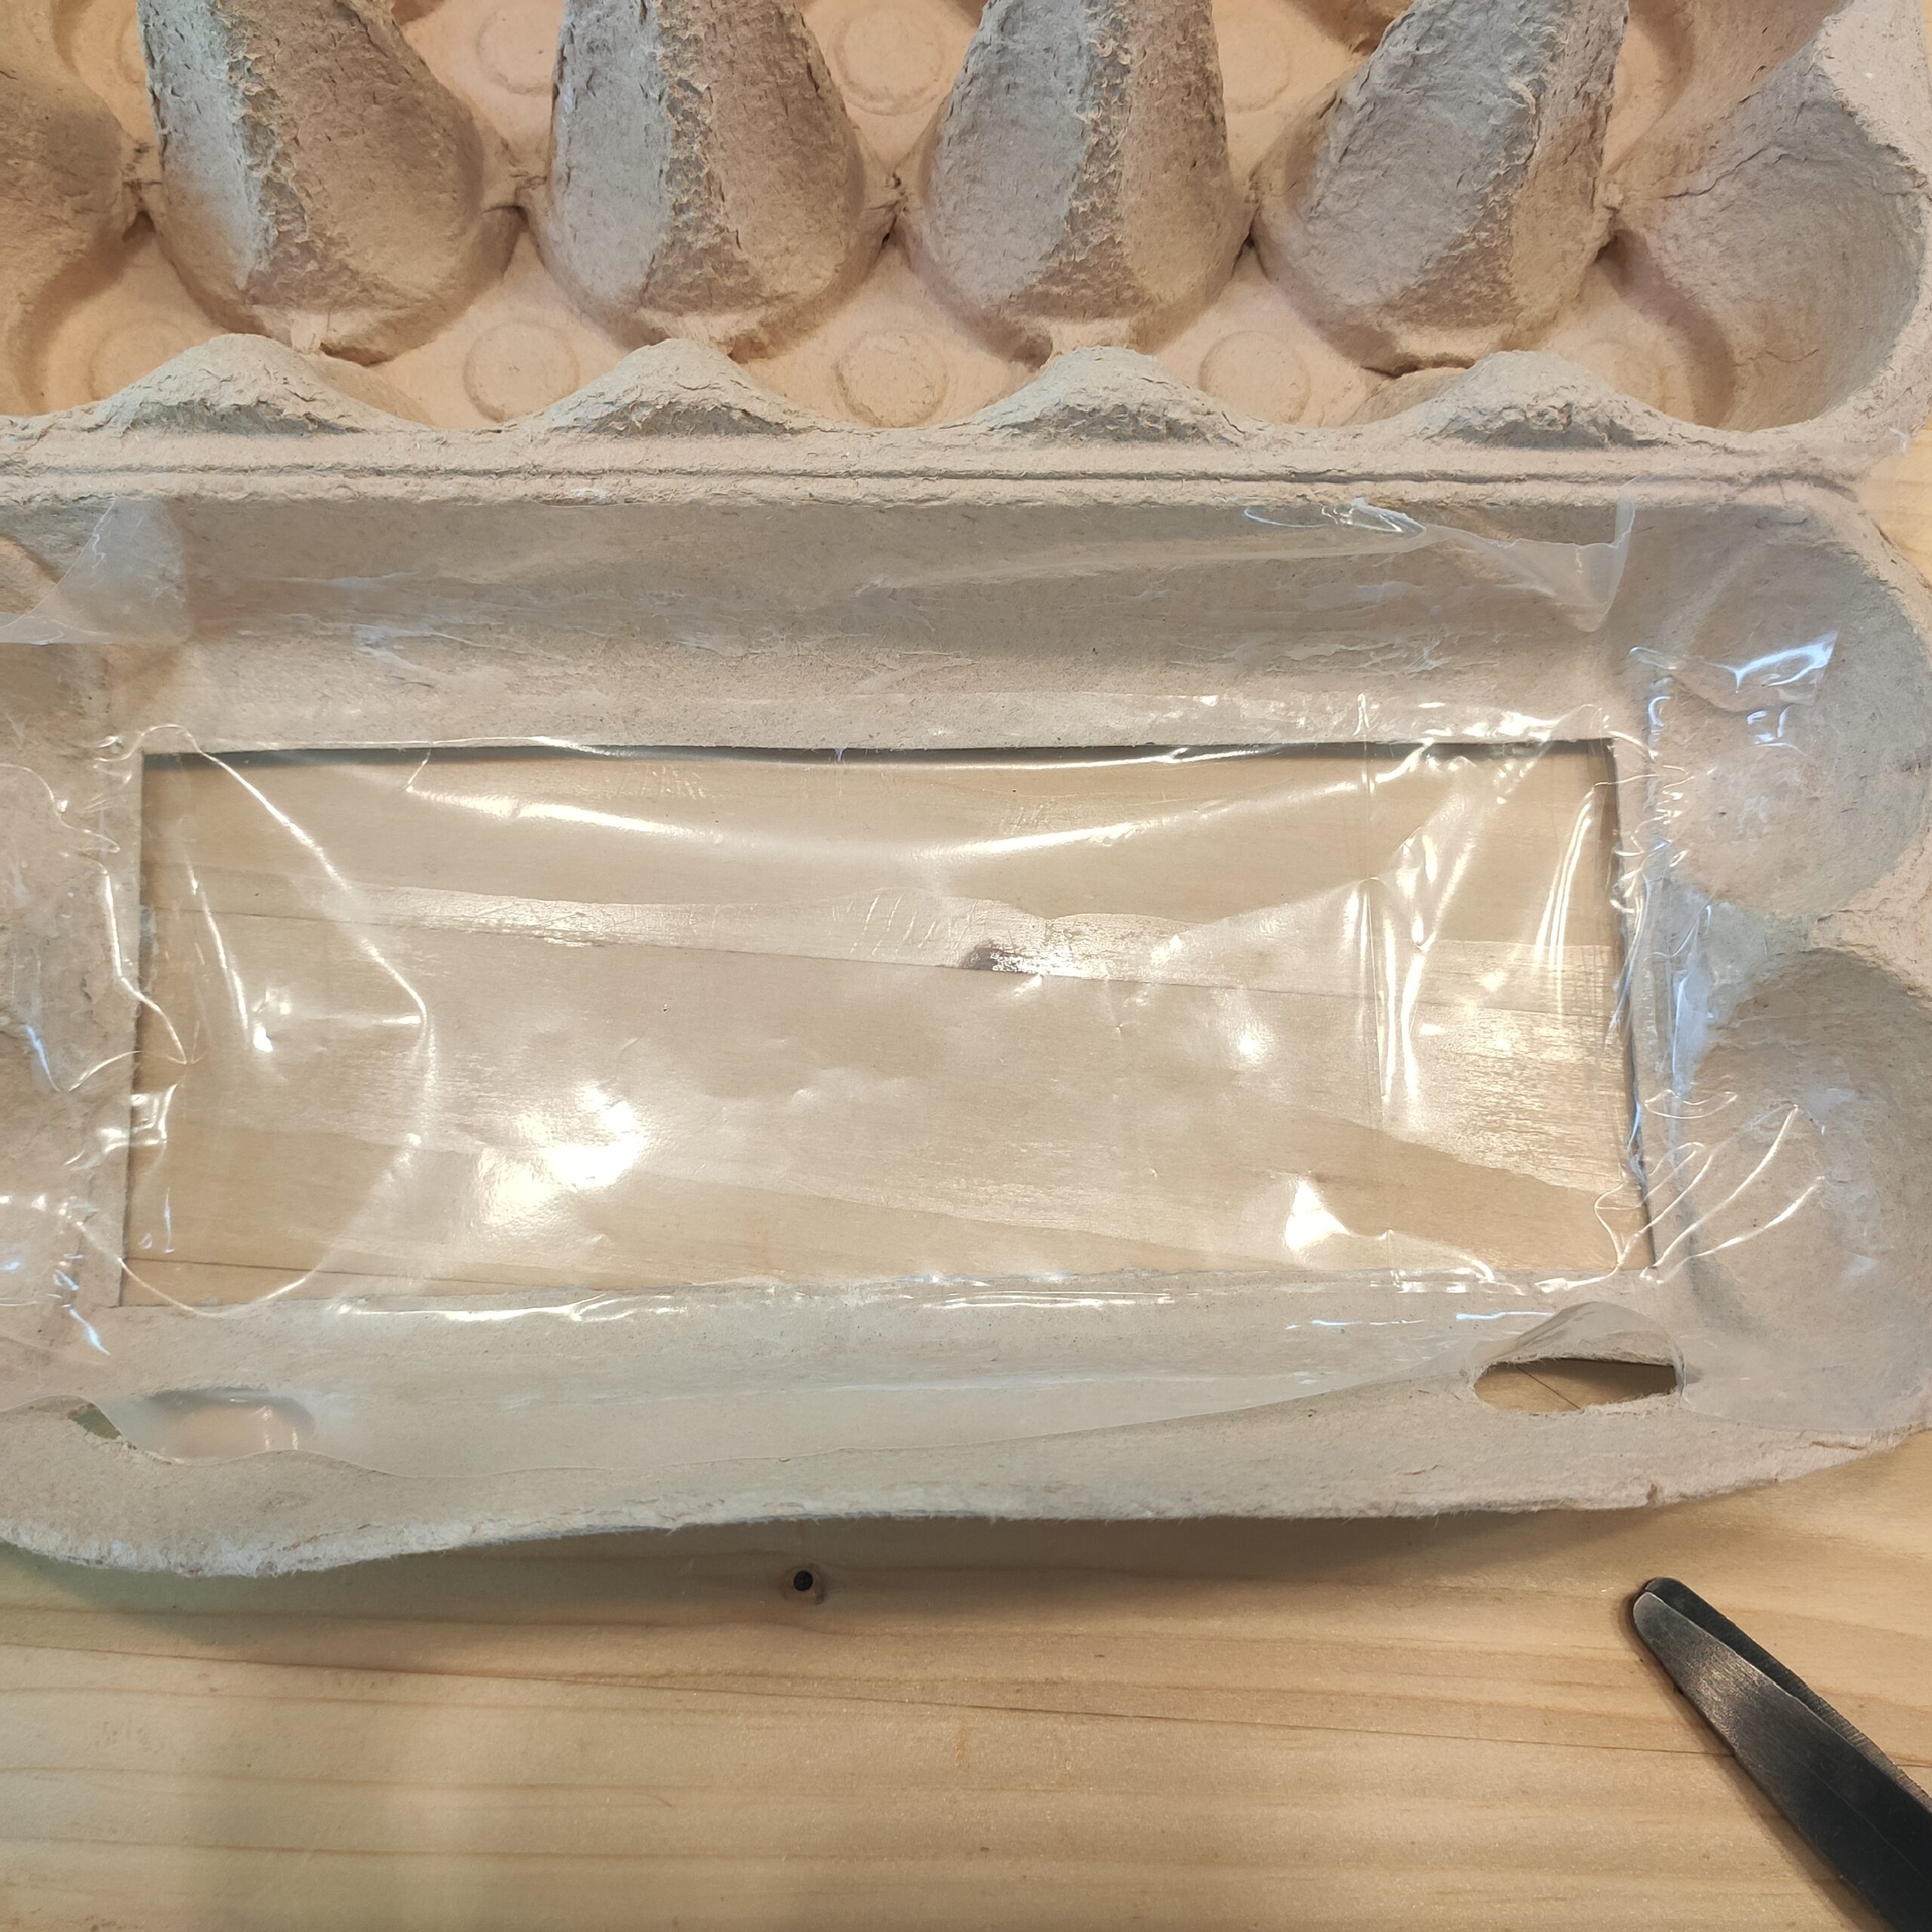
Then cut the foil slightly larger than the opening in the lid of the egg box.

Bild zum Schritt 7 für das Bastel- und DIY-Abenteuer für Kinder: 'Dann schneidet ihr die Folie etwas größer als die Öffnung...'

8

The foil must be larger than the opening.

Bild zum Schritt 8 für das Bastel- und DIY-Abenteuer für Kinder: 'Die Folie muss dabei größer sein als die Öffnung.'

9

Now use the glue stick to brush the edges of the lid.

Bild zum Schritt 9 für das Bastel- und DIY-Abenteuer für Kinder: 'Jetzt bestreicht ihr mit dem Klebestift die Ränder des Deckels.'

10

Now you press the foil onto the sticky spot. This closes the entire opening with the foil.

Bild zum Schritt 10 für das Bastel- und DIY-Abenteuer für Kinder: 'Nun drückt ihr die Folie auf die Klebestelle. Dadurch verschließt...'

11

2. Bild zum Schritt 10 für das Bastel- und DIY-Abenteuer für Kinder: 'Nun drückt ihr die Folie auf die Klebestelle. Dadurch verschließt...'

12

Finally, close the lid of the egg box.

Bild zum Schritt 12 für das Bastel- und DIY-Abenteuer für Kinder: 'Zum Schluss schließt ihr den Deckel des Eierkartons.'

13

Gardener knowledge:
?? In this small mini greenhouse you can easily sow and prefer your own plants.
?? Through the foil there is a warm and humid climate in your mini greenhouse. This climate is perfect for the small plants.
?? Important! Once a day you have to open the lid to provide fresh air. Otherwise it can quickly mold into your mini greenhouse.
?? Protects the small plants from too much sun, e.g. in summer on the window sill and from drought.

14

Have fun trying out and crafting with children!

Materials

 1 Egg carton
 1 Freezer bags Plastic film
 250 mg EarthCultivation soil
 100 ml Water
 SeedsBasil, thyme, lemon balm, capuchin cress
 Waterproof backinge.g. casserole, cutting board
 Table spoons
All links marked with a shopping cart lead to Amazon - here we have selected products that we would order ourselves and in part also ordered. In a qualified purchase via the advertising link, we as Amazon partner receive a commission, for you there are no costs. You thus support our cost- and advertising banner-free, educational offer.

Directions

1

First, you prepare your materials.

Bild zum Schritt 1 für das Bastel- und DIY-Abenteuer für Kinder: 'Zuerst legt ihr euch eure Materialien bereit.'

2

Now you cut a large rectangle from the lid of the egg box with the scissors.

Bild zum Schritt 2 für das Bastel- und DIY-Abenteuer für Kinder: 'Jetzt schneidet ihr mit der Schere ein großes Rechteck aus...'

3

Make sure a border stops.

Bild zum Schritt 3 für das Bastel- und DIY-Abenteuer für Kinder: 'Achtet darauf, dass ein Rand stehen bleibt.'

4

Next, take the scissors and the freezer bag at your hand.
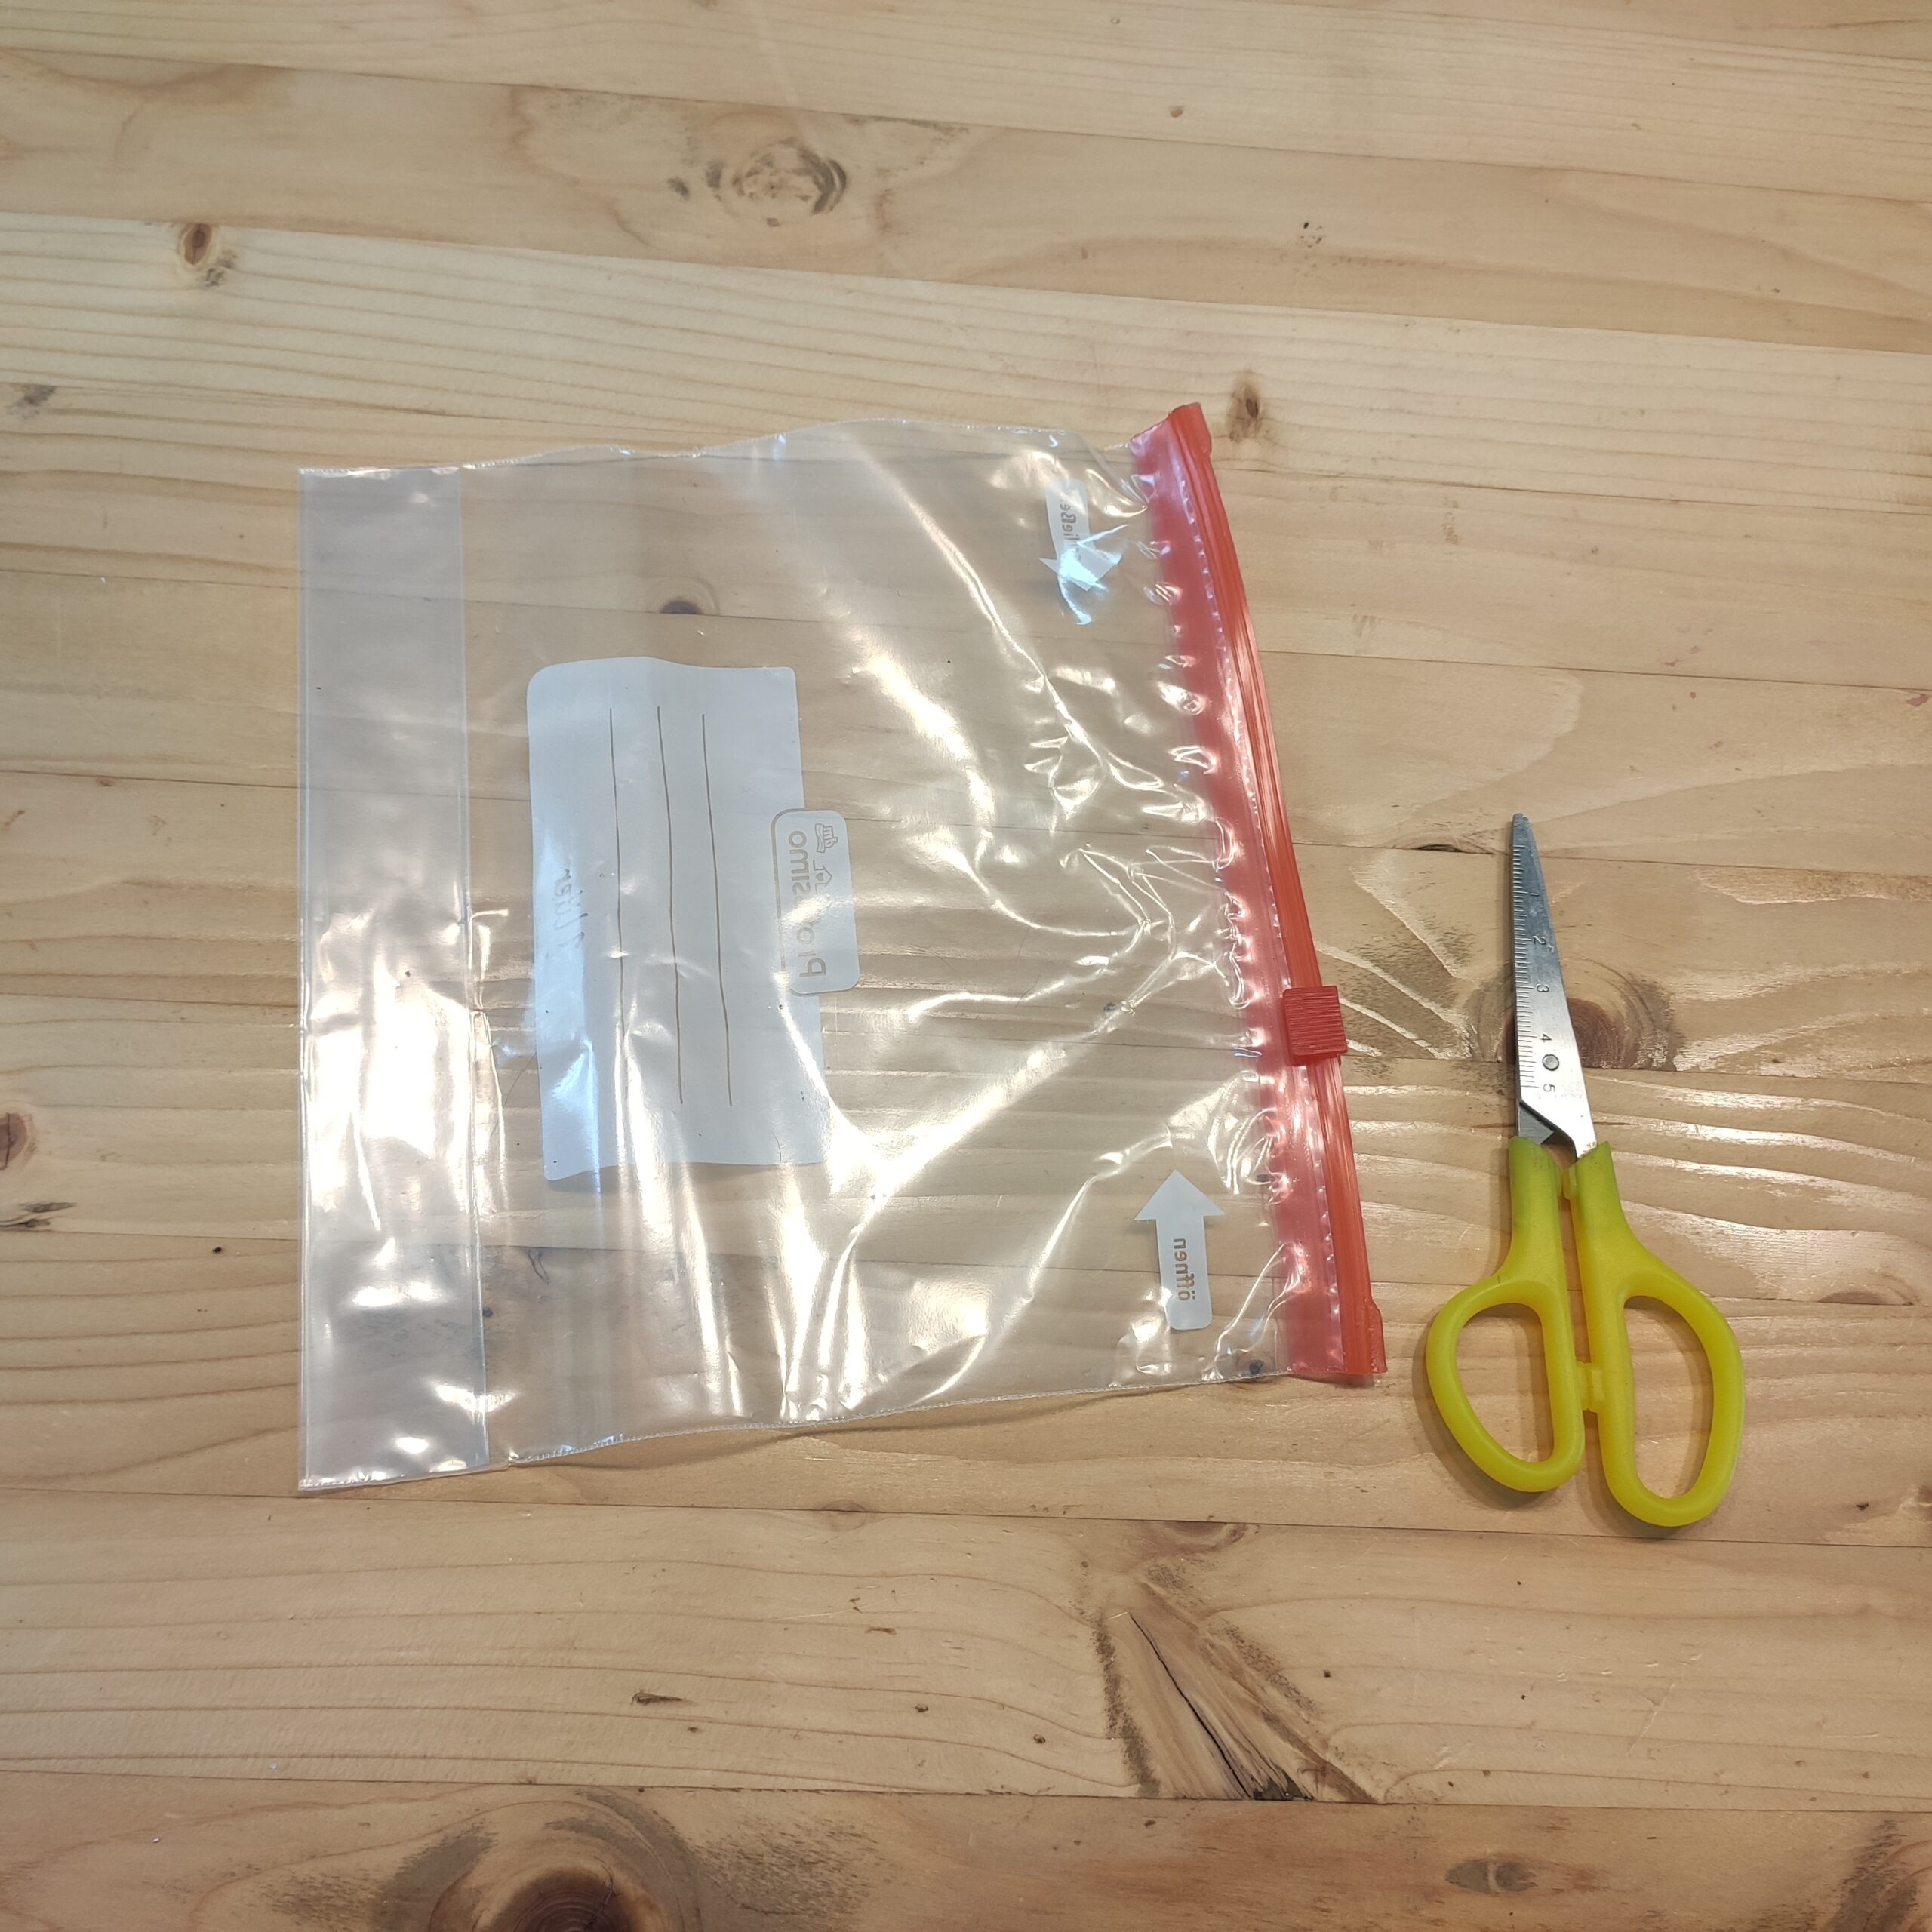
Bild zum Schritt 4 für das Bastel- und DIY-Abenteuer für Kinder: 'Als nächstes nehmt ihr euch die Schere und den Gefrierbeutel...'

5

Now you separate 3 sides of the freezer bag. You leave the bottom of the bag closed.
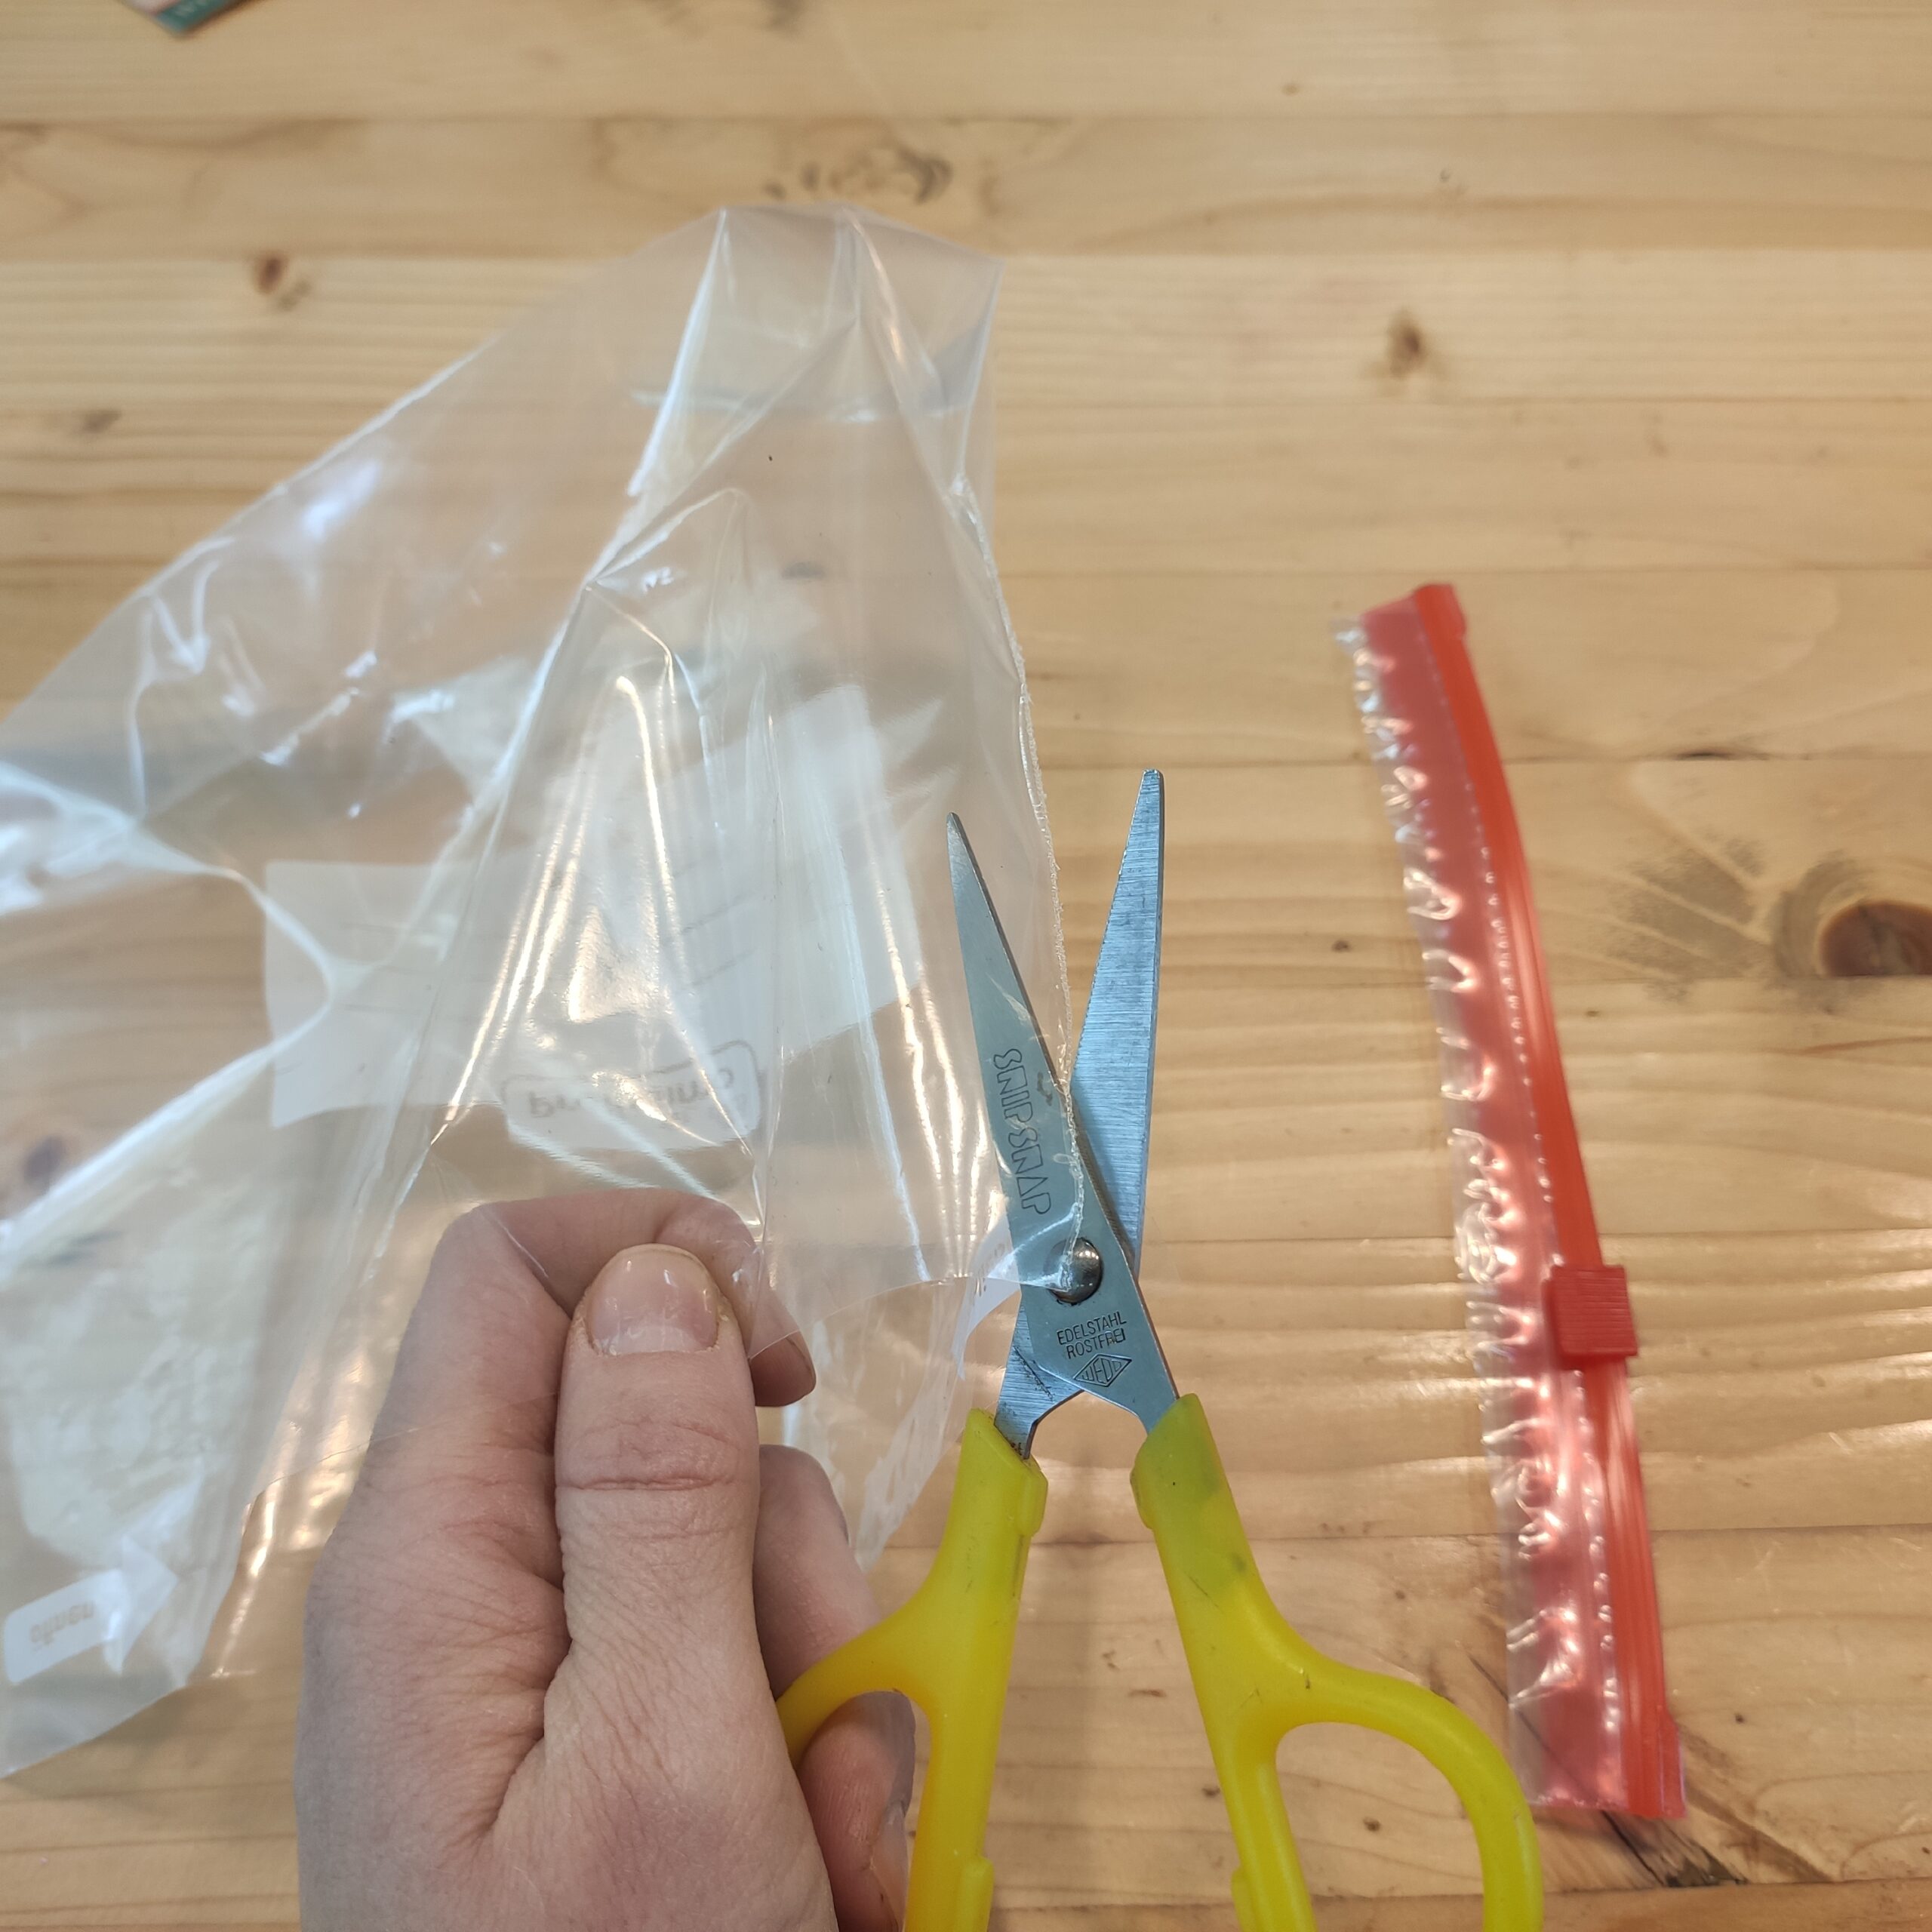
Bild zum Schritt 5 für das Bastel- und DIY-Abenteuer für Kinder: 'Jetzt trennt ihr 3 Seiten des Gefrierbeutels auf. Den Boden...'

6

So you get a big piece of foil.

Bild zum Schritt 6 für das Bastel- und DIY-Abenteuer für Kinder: 'So erhaltet ihr ein großes Stück Folie.'

7

Then cut the foil slightly larger than the opening in the lid of the egg box.

Bild zum Schritt 7 für das Bastel- und DIY-Abenteuer für Kinder: 'Dann schneidet ihr die Folie etwas größer als die Öffnung...'

8

The foil must be larger than the opening.
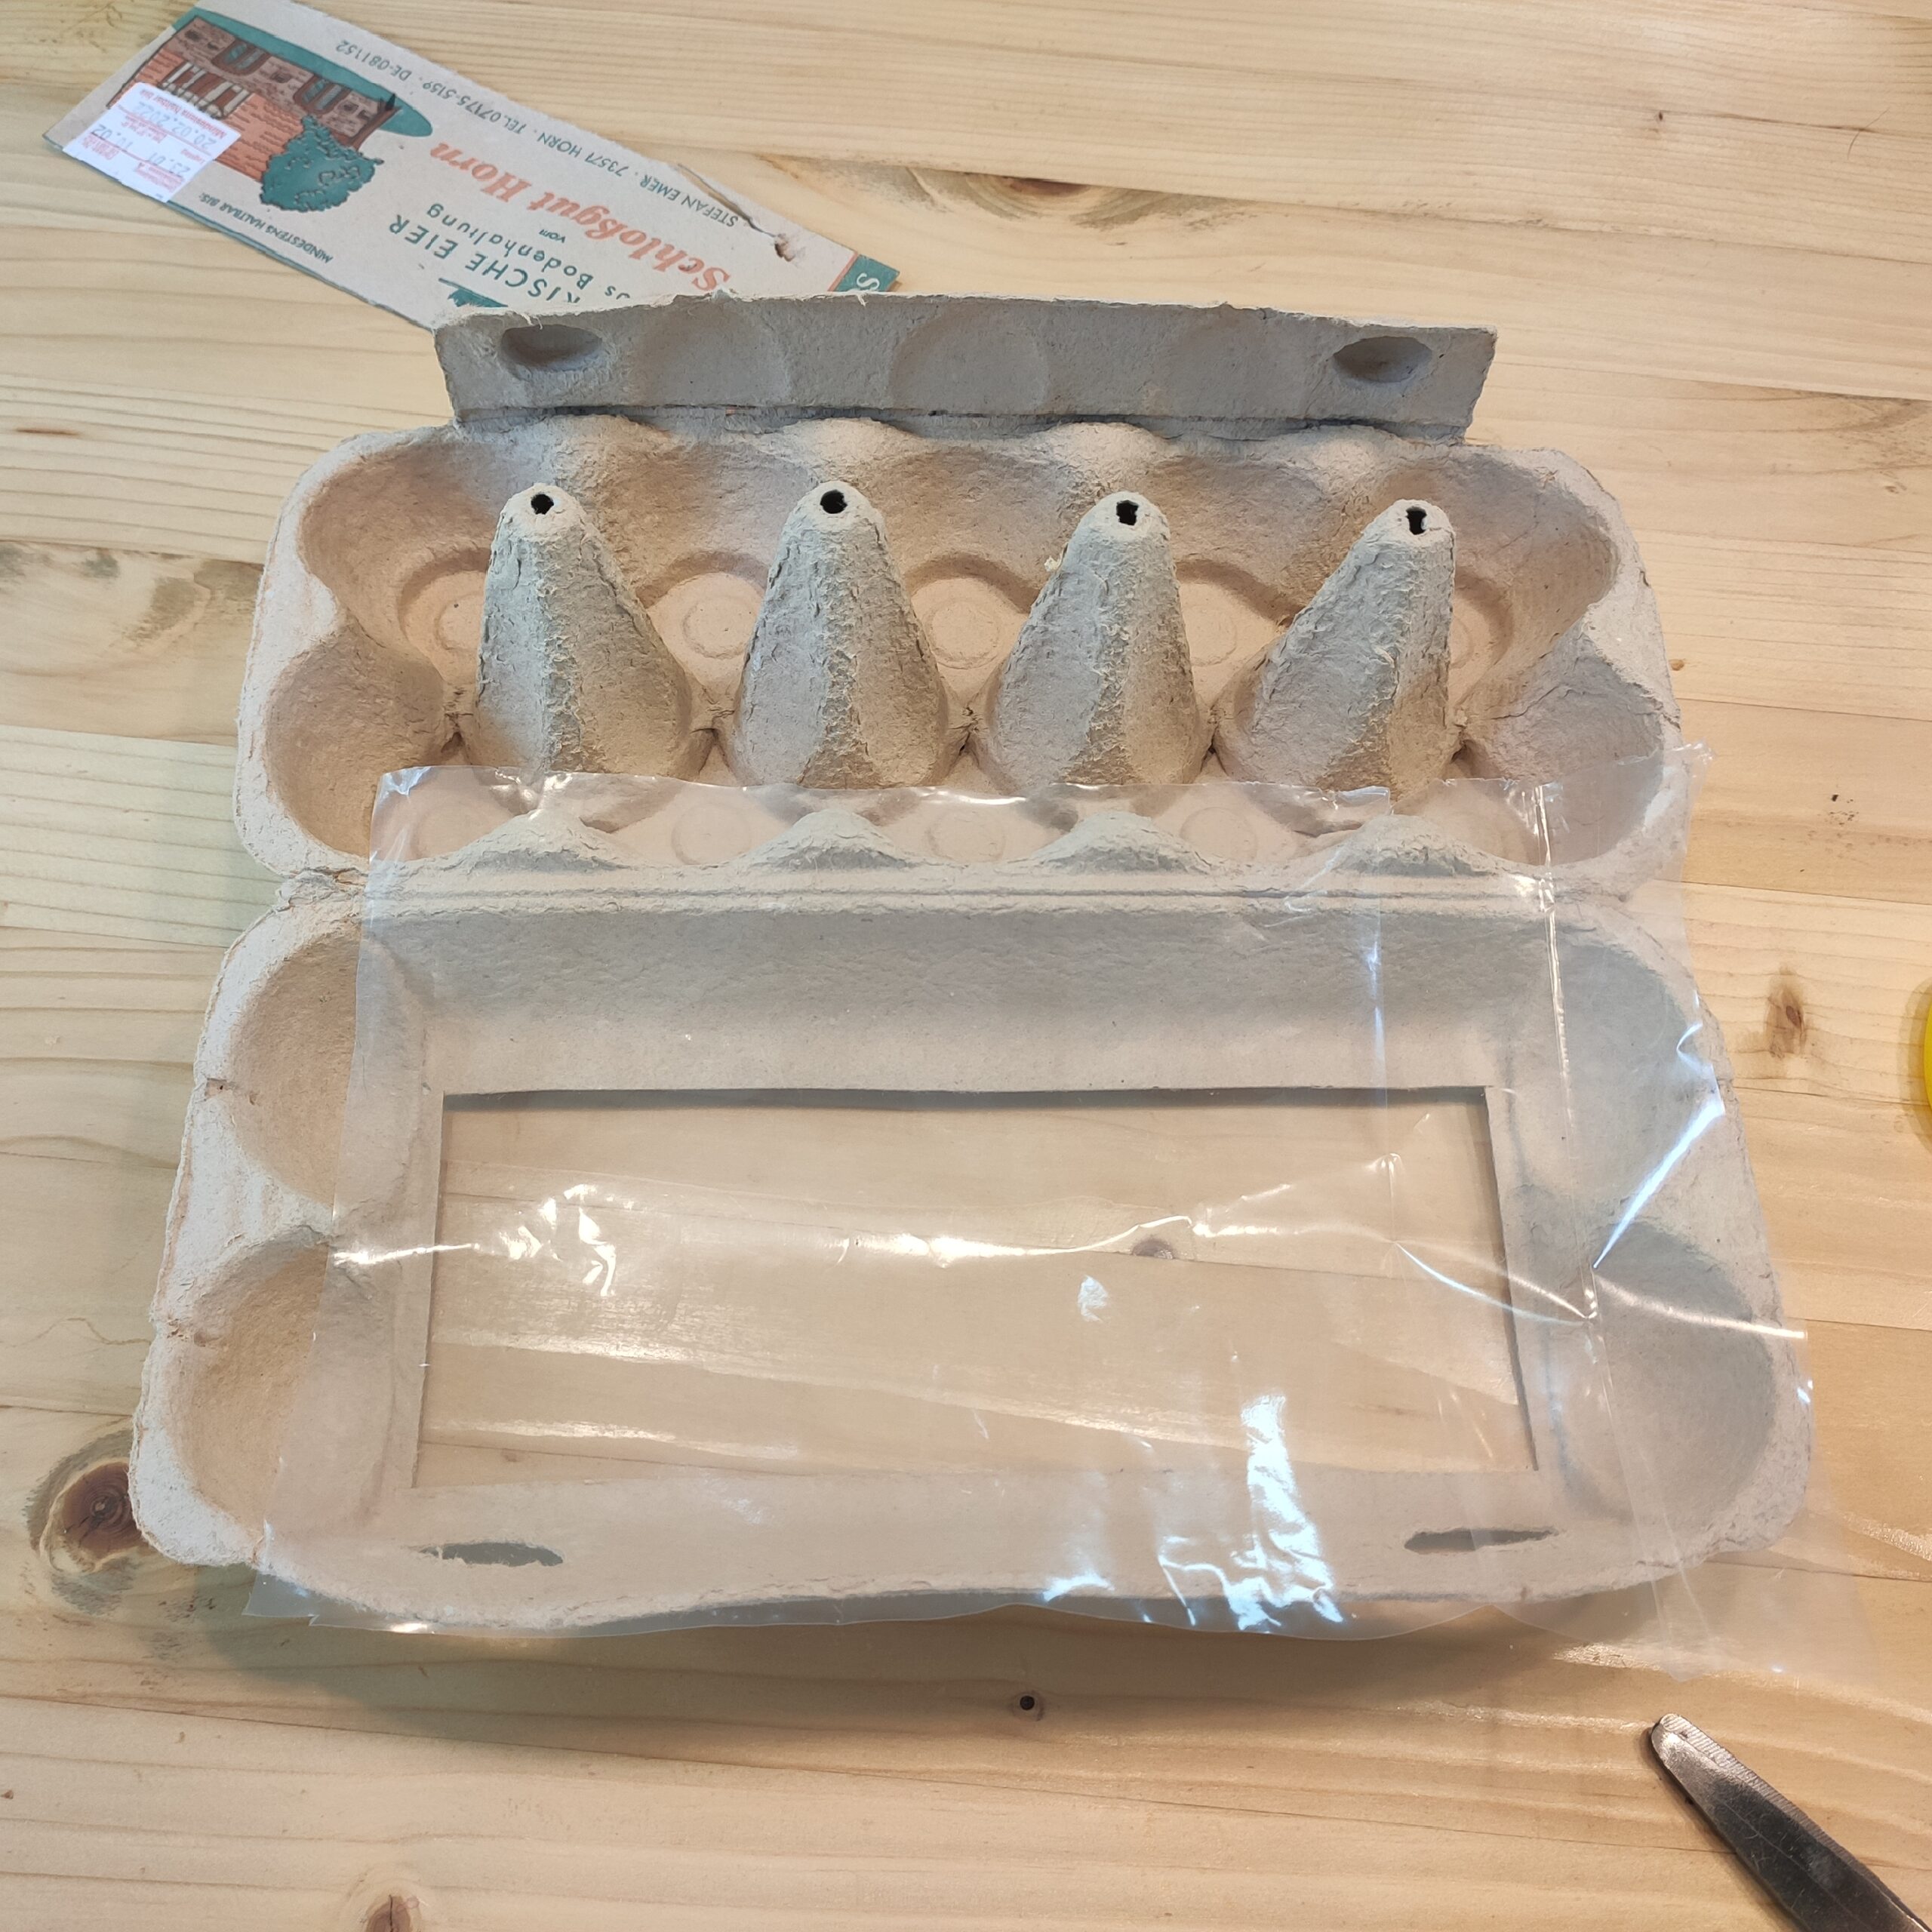
Bild zum Schritt 8 für das Bastel- und DIY-Abenteuer für Kinder: 'Die Folie muss dabei größer sein als die Öffnung.'

9

Now use the glue stick to brush the edges of the lid.
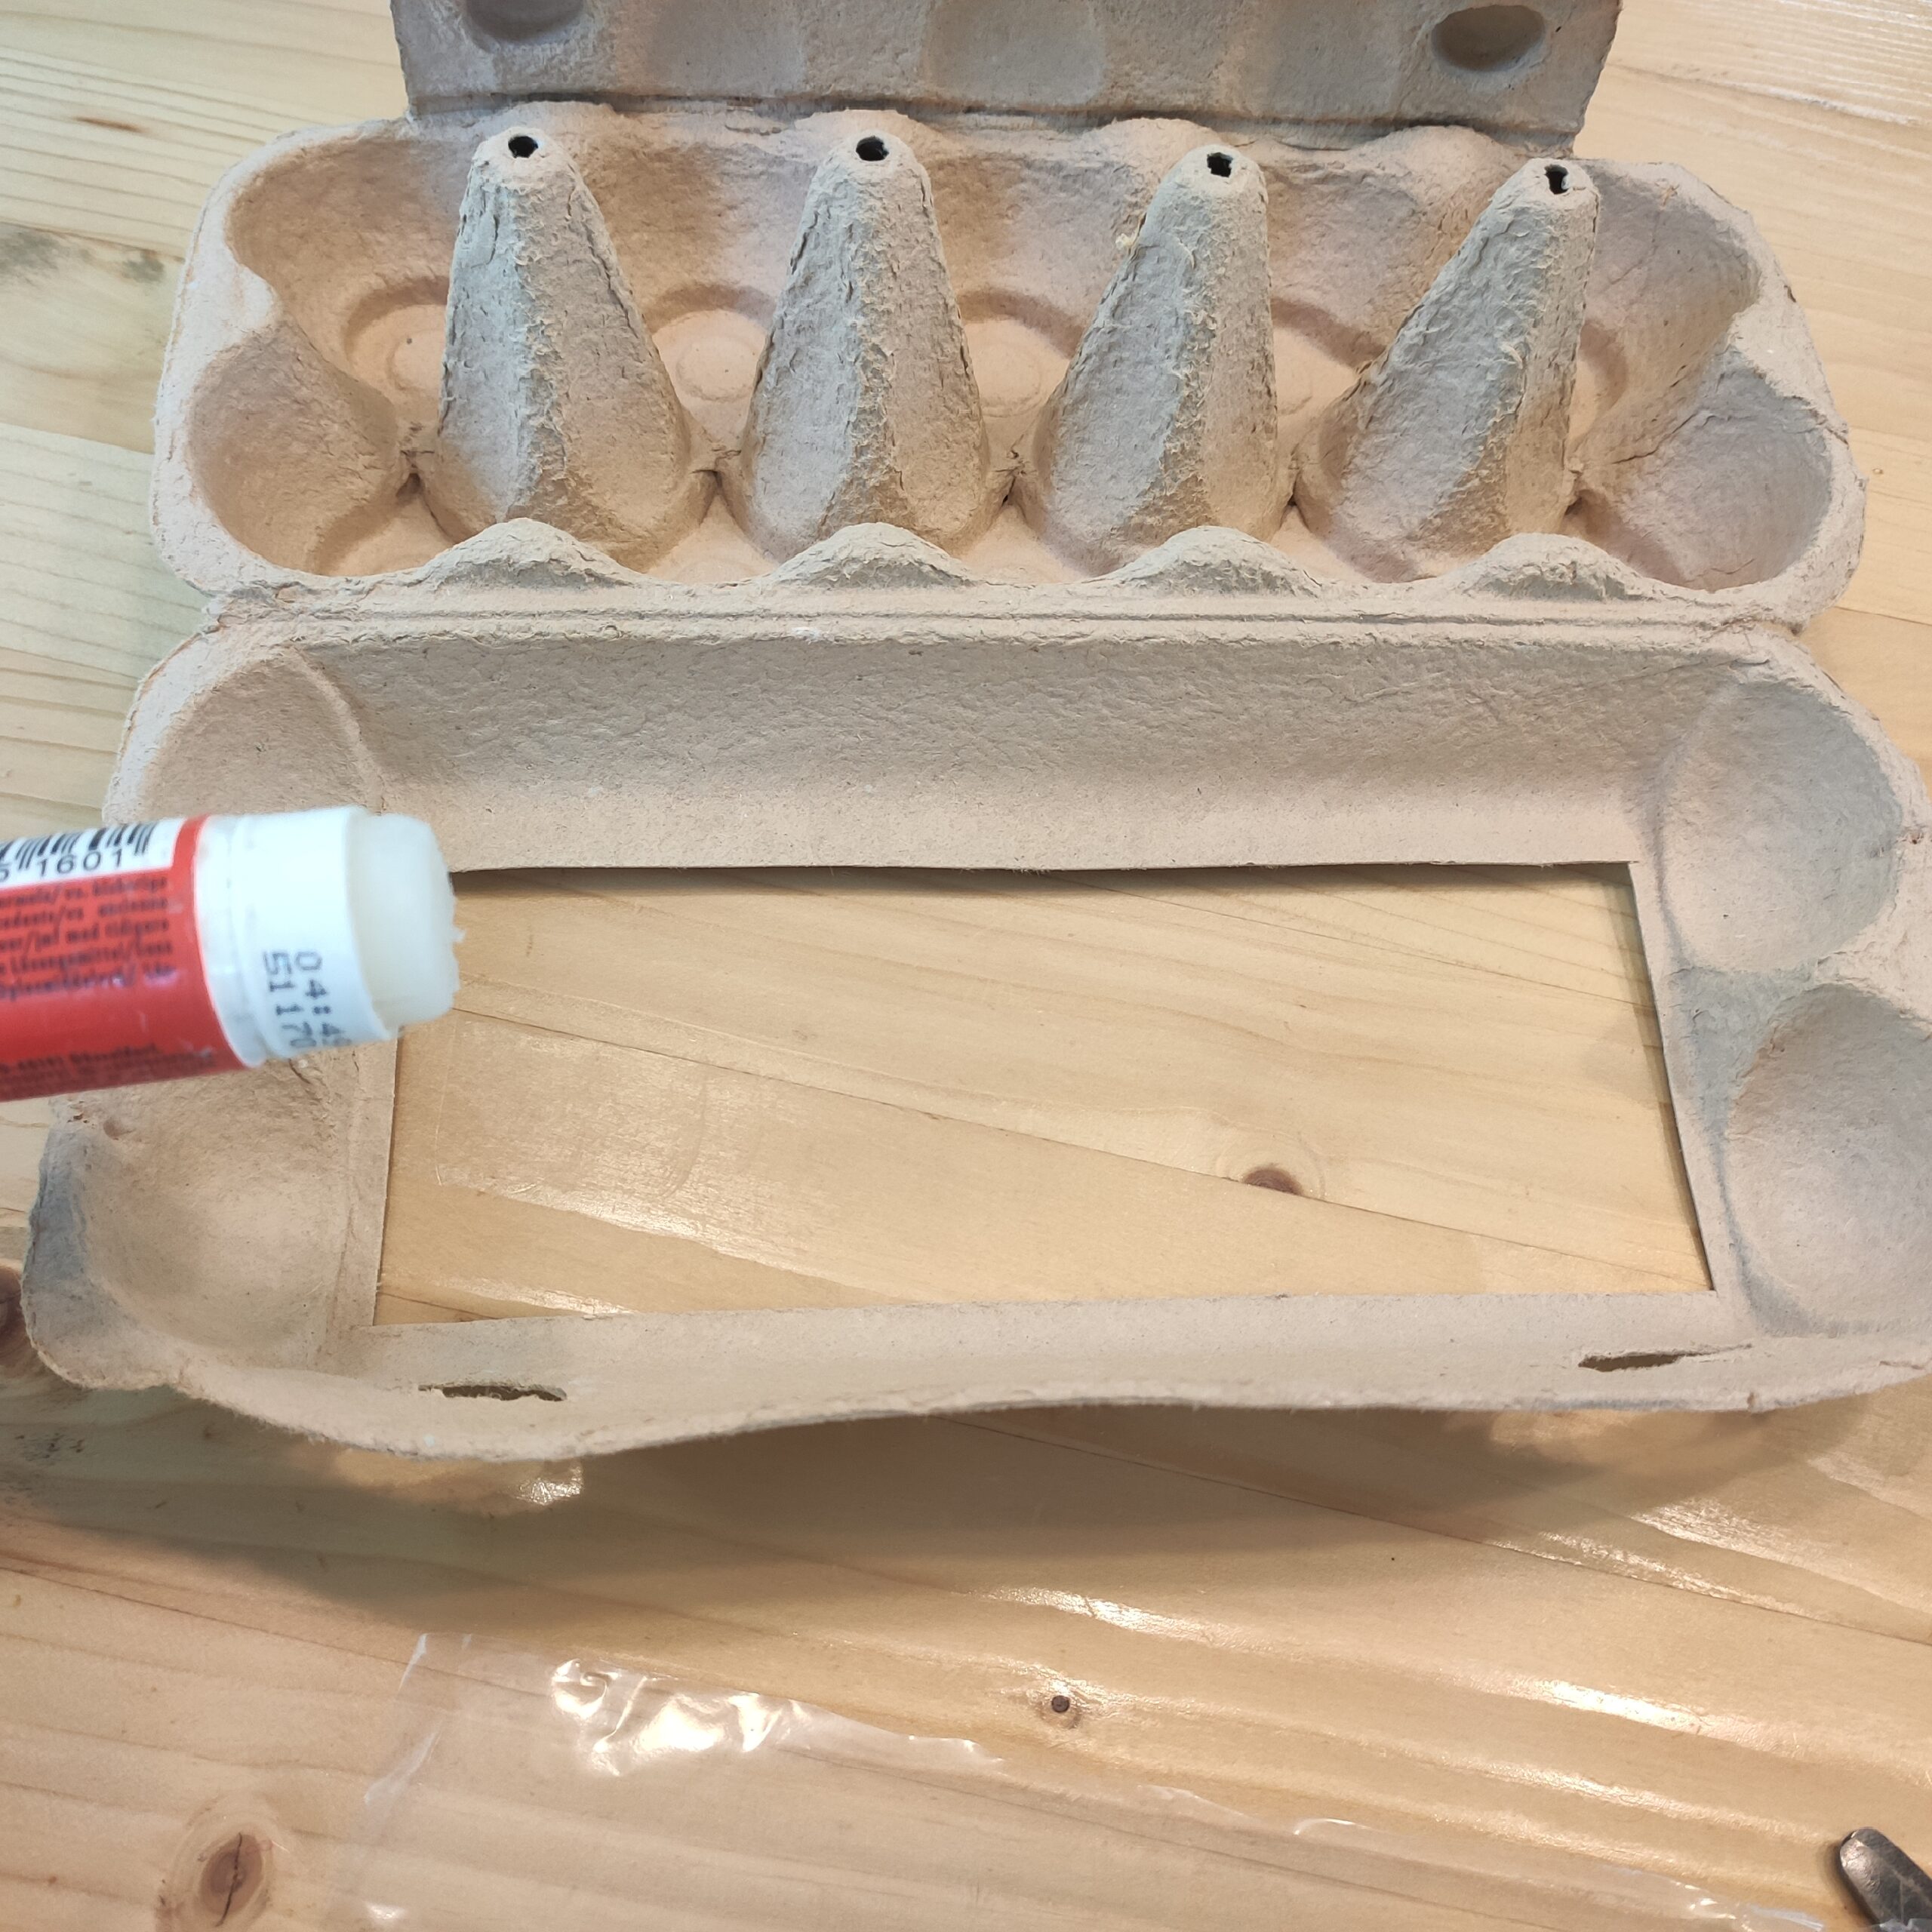
Bild zum Schritt 9 für das Bastel- und DIY-Abenteuer für Kinder: 'Jetzt bestreicht ihr mit dem Klebestift die Ränder des Deckels.'

10

Now you press the foil onto the sticky spot. This closes the entire opening with the foil.
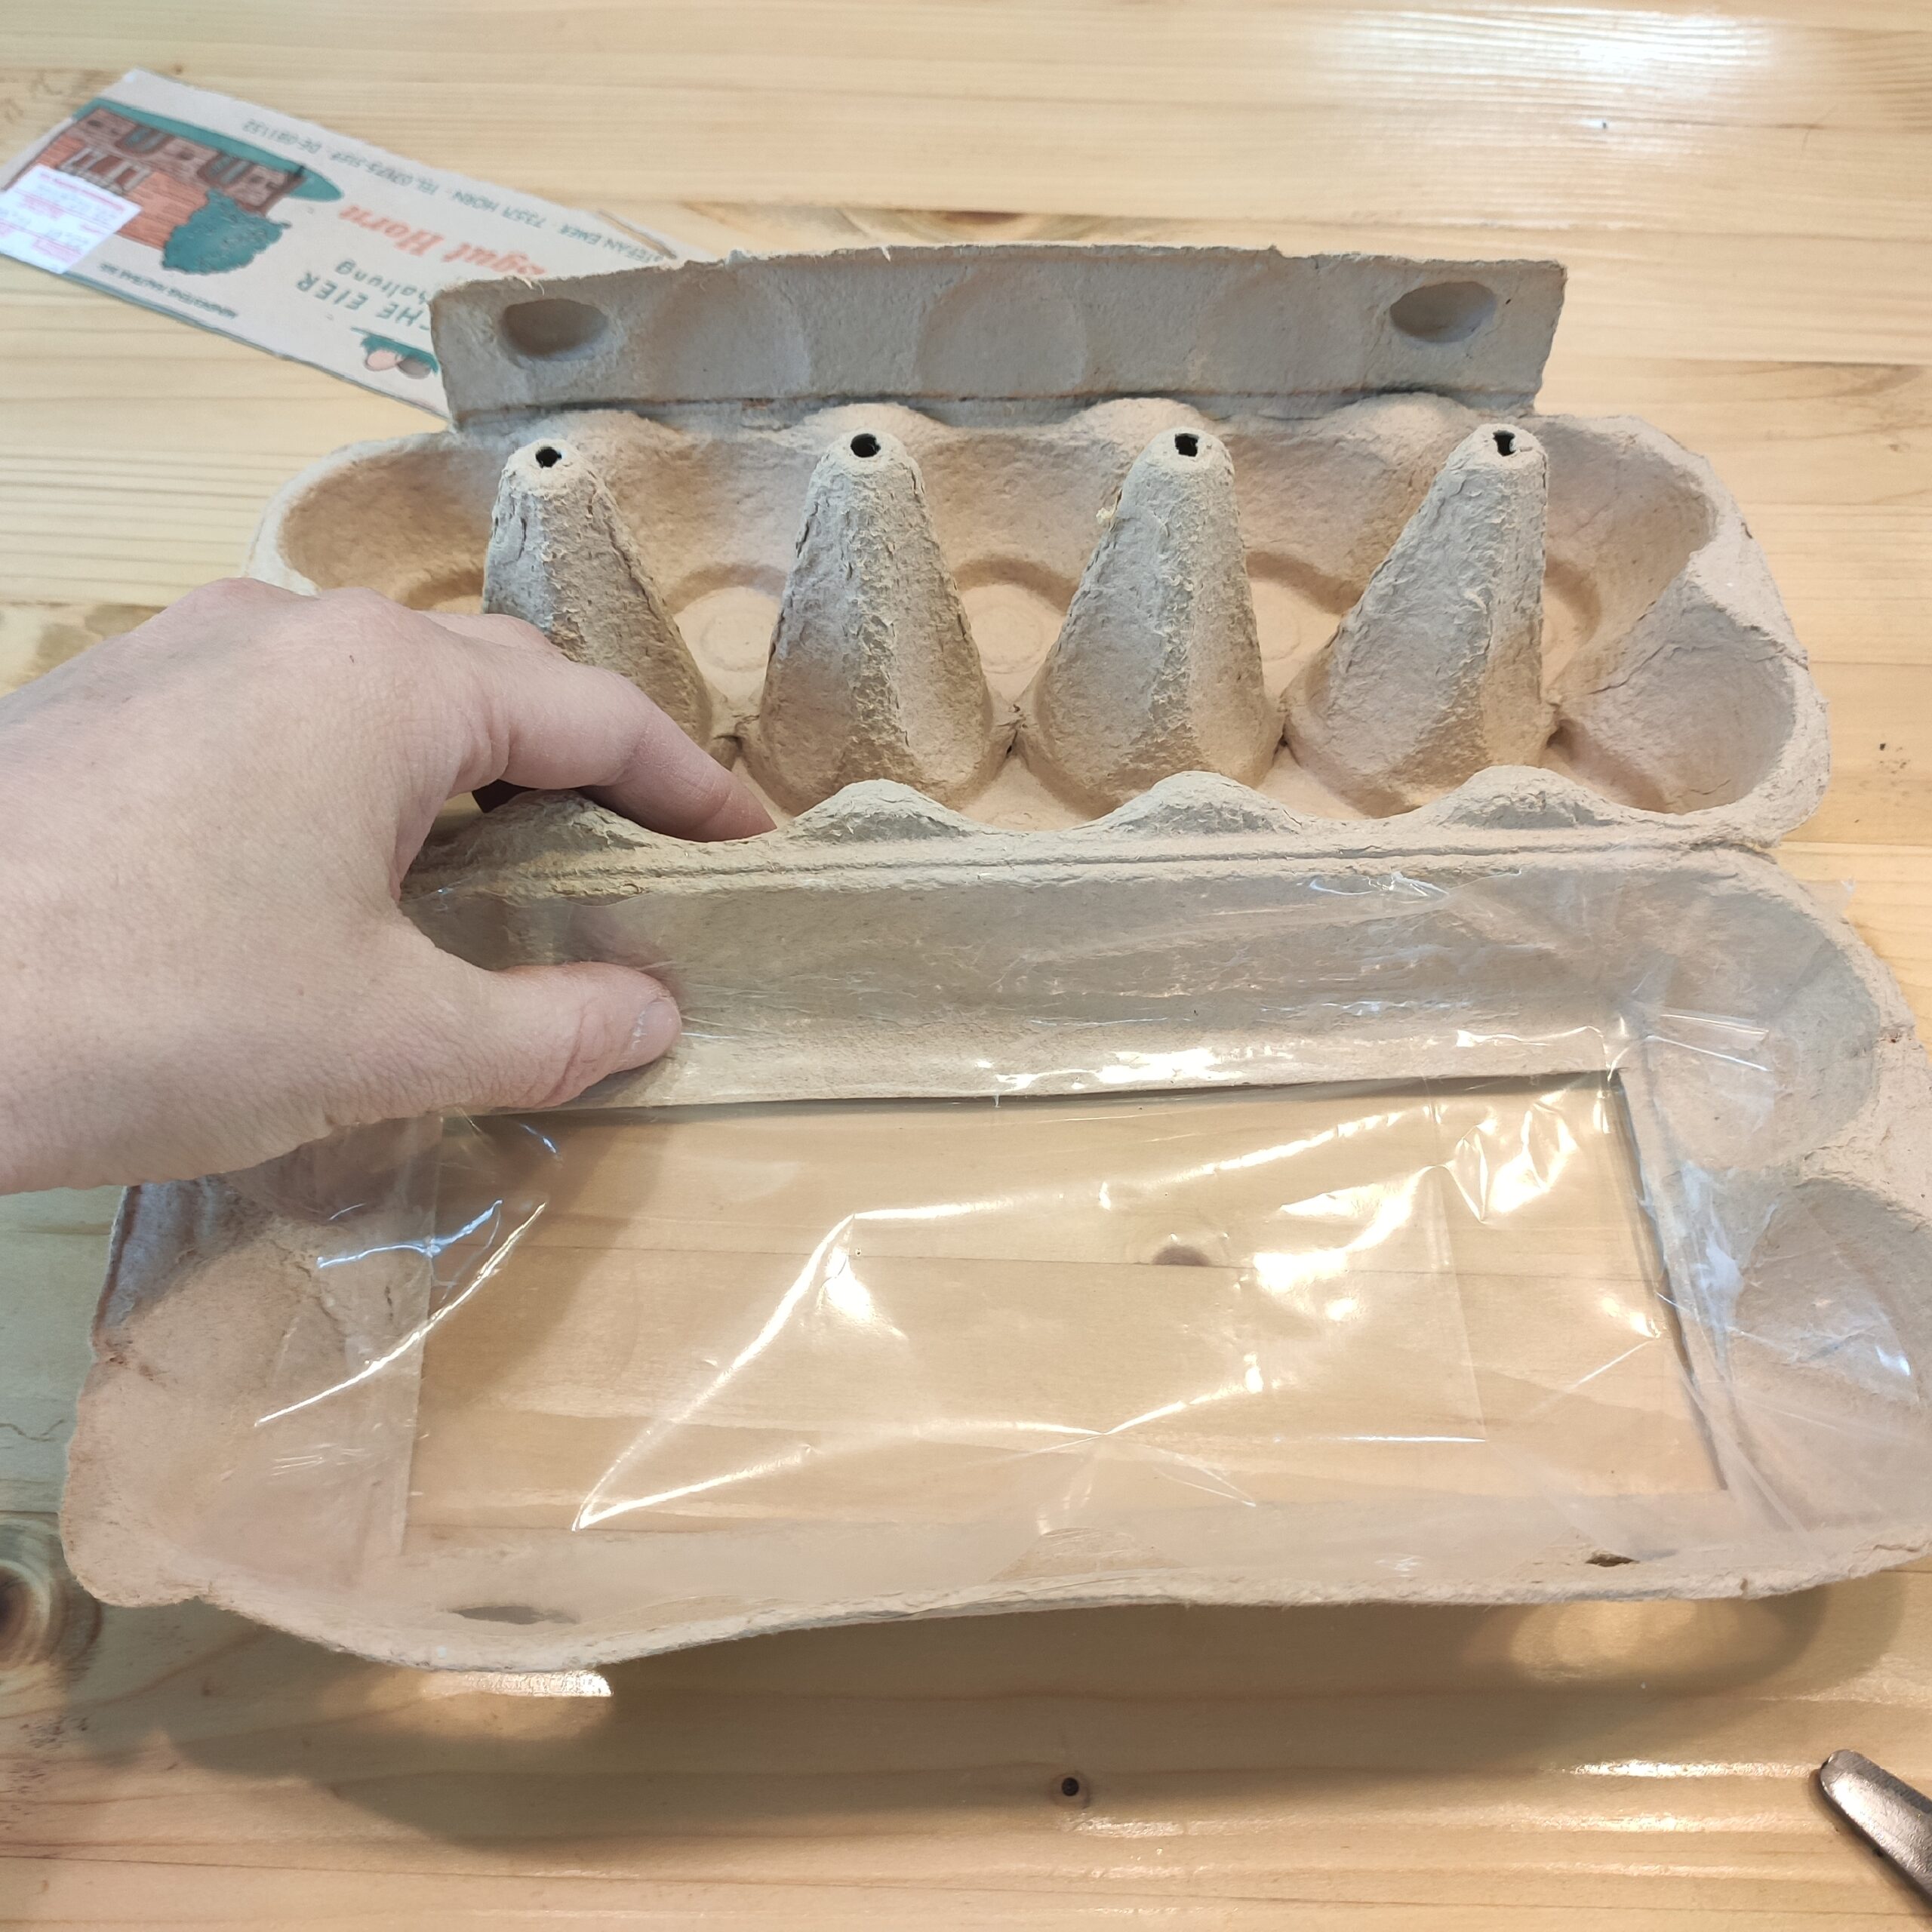
Bild zum Schritt 10 für das Bastel- und DIY-Abenteuer für Kinder: 'Nun drückt ihr die Folie auf die Klebestelle. Dadurch verschließt...'

11

2. Bild zum Schritt 10 für das Bastel- und DIY-Abenteuer für Kinder: 'Nun drückt ihr die Folie auf die Klebestelle. Dadurch verschließt...'

12

Finally, close the lid of the egg box.
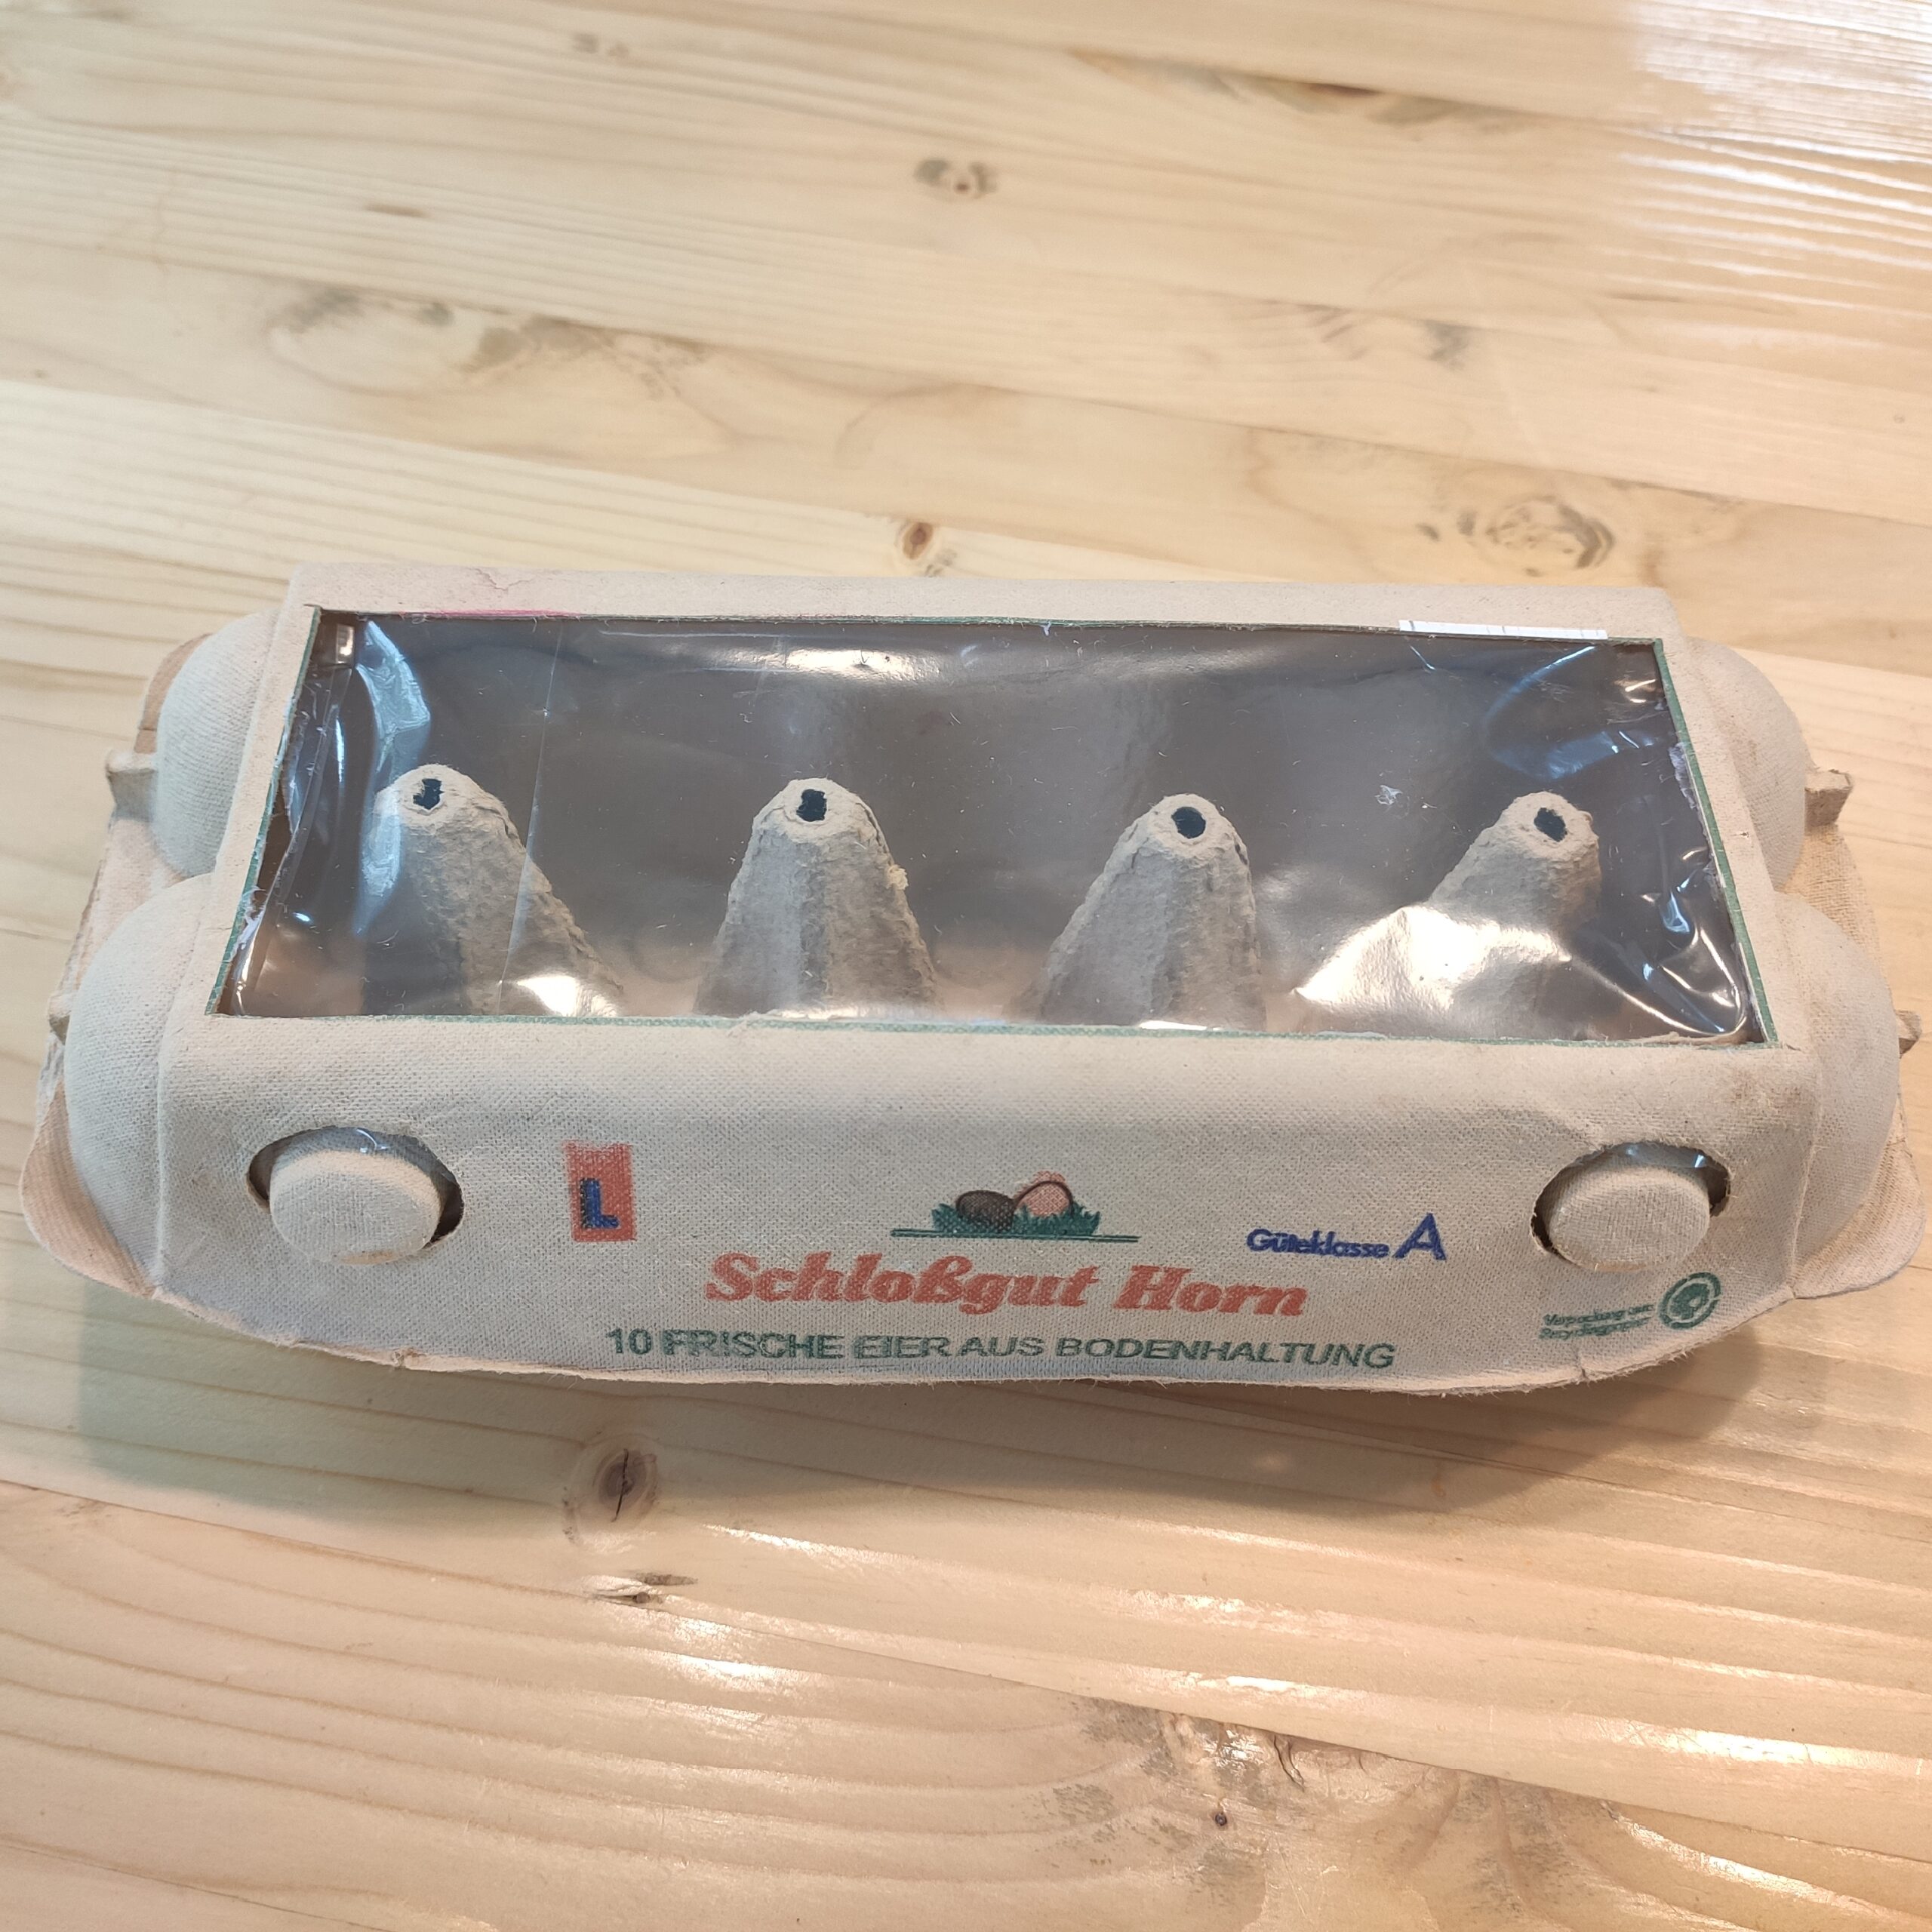
Bild zum Schritt 12 für das Bastel- und DIY-Abenteuer für Kinder: 'Zum Schluss schließt ihr den Deckel des Eierkartons.'

13

Gardener knowledge:
?? In this small mini greenhouse you can easily sow and prefer your own plants.
?? Through the foil there is a warm and humid climate in your mini greenhouse. This climate is perfect for the small plants.
?? Important! Once a day you have to open the lid to provide fresh air. Otherwise it can quickly mold into your mini greenhouse.
?? Protects the small plants from too much sun, e.g. in summer on the window sill and from drought.

14

Have fun trying out and crafting with children!

Build grow greenhouse – Mini grow greenhouse (for the window sill)

Follow us on Facebook , Instagram and Pinterest
Don't miss any more adventures: Our bottle mail

Leave a Reply

Your email address will not be published.

The maximum upload file size: 5 MB. You can upload: image, document. Drop file here